I avoid slots and notches wherever possible, but whenever needed, I have a small test piece with multiple sizes of each that I print in a corner for that specific sheet of material. Learned a long time ago not to trust previous measurements.
4 Likes
BTW. What do you use to create dodecahedrons?
Design? Inkscape.
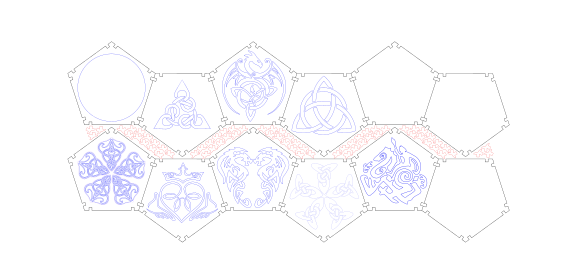
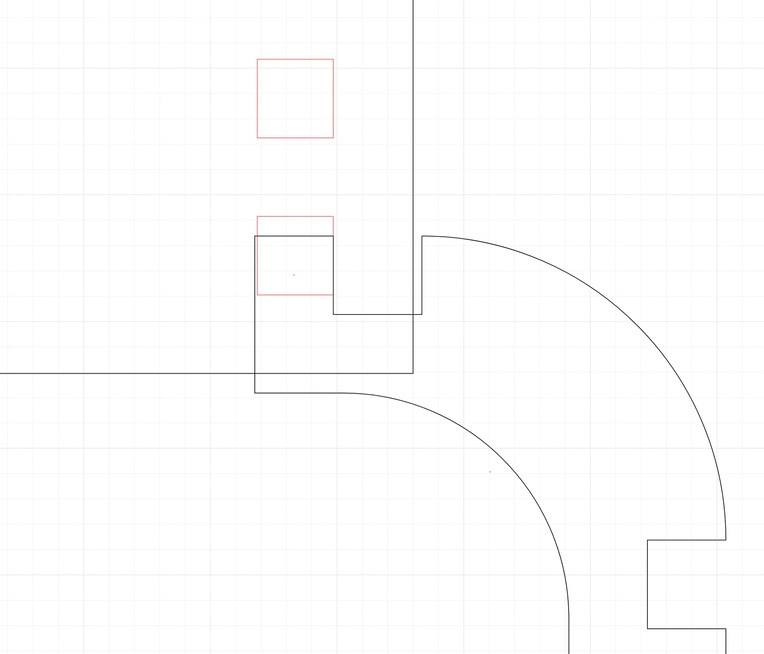
I don’t think this was the final but it gives you the rough idea. I’ve got something like 40 files in the folder for this one. It took me weeks to get all the designs to a point where they could be cut - most would just have dropped out of the panels so you had to build in connectors and such.
10 Likes
I, too, was inspired by the 3D Printed Rounded Corner Box, but I don’t have a 3D printer, so I dismissed the idea as impossible for me. Your design has prompted me to consider new possibilities…
Thank you!
4 Likes
I have been wondering “why stack 1/8” pieces?" with 3/8 or 7/16 " material it would stack with much fewer pieces. I would not want to try that with Zebrawood, but hard Walnut, or Maple or something more exotic but fire-resistant could work as well. ![]()
5 Likes
Duh! Of course. That’s a great idea.
2 Likes
The thicker the material, the more pronounced the cut profile “sawtooth” pattern will be.
This project is a lot like any other layered box with multiple parts per layer, and has the same caveats. Take a more extreme example like my space invaders box:
The “pixels” aren’t squares because of the cut profile, and you can see it if you look closely.
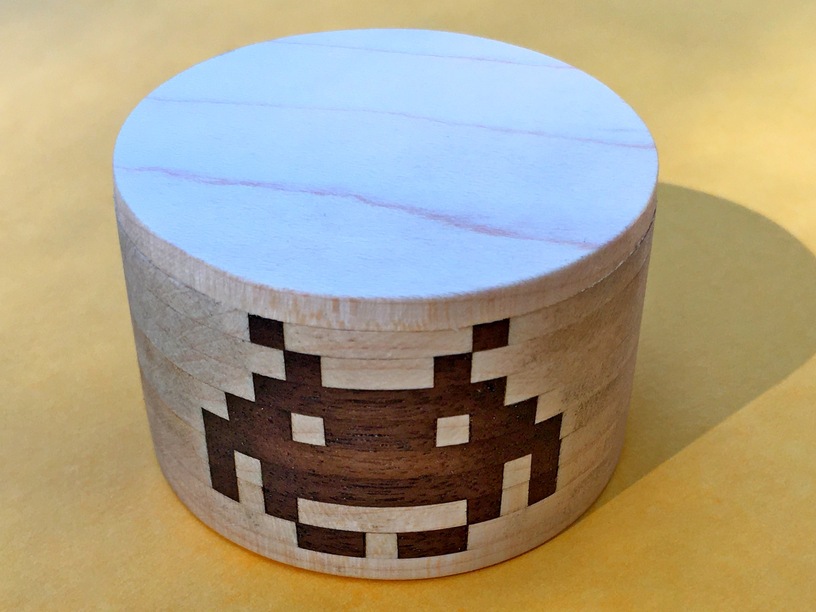
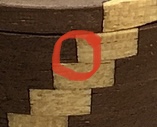
If you zoom in…
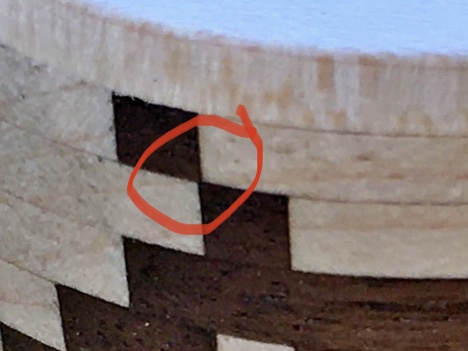
I flip-mated these layers to eliminate the gap but the misalignment is all down to the inconsistent pixel shape.
Same thing with the spiral staircase box:
Note the stairs are not 90 degrees, but are slightly sharper, about 88/89 degrees:
Again, no gap due to flip mating and good kerf adjustment but the shape of the cut profile is pretty apparent even at 1/8” layers.
In terms of how it applies here, it makes butting stacked cut pieces against a straight cut edge have a noticeable gap on each layer. From the OP:
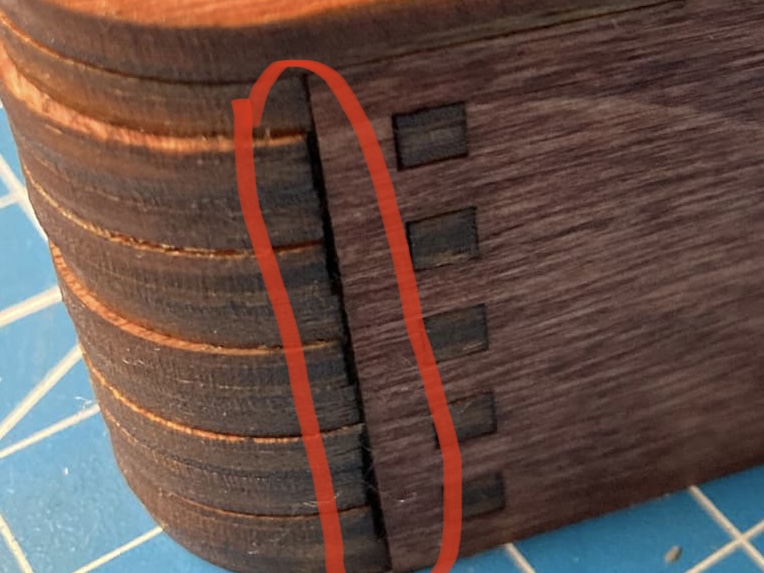
This gap is almost impossible to avoid even with registration pins and is exacerbated by having thicker layers.
I even experimented with alternating top and bottom per layer to get a more of a 1/4” “zig zag” pattern instead of a sawtooth pattern. It is a different and maybe better look but it’s still noticeable.
The only way I ever managed to get rid of the gap involved leaning into the cut profile and making each layer a bit longer to offset the cut profile, then make my solid wood panels that butted up against it have an edge profile of about 89 degrees. That makes the gap much smaller but it’s much more design work to scale each corner layer piece, and takes some trial and error to get the profile angle right.
If you don’t mind the gap, thicker layers will definitely speed things up, but that’s the tradeoff.
10 Likes
Sandpaper or needle files will also even out the kerf especially if you account for it in the cut.
1 Like
Yeah you could try that but again it’s really hard to get a pure 90 degree surface even using needle files, especially on an inside corner like that.
If your goal is to get to sub-kerf gap management accuracy level, hand filing isn’t likely to be the solution, and I’d think sanding would be even less accurate without some sort of mechanical aid. A cnc milling machine could do it but I think we’re far afield from a laser project at that point 
1 Like
That is one thing I use scrap for even 220 sandpaper glued tight to whatever shaped scrap works like a file and done before gluing can tighten that up, On the outside, outhangers are much easier to get an even curve as the outhangers will be there even at 1/8 inch and the plywood like layering of thin wood as an alternative to few (or one) layers using thicker wood is a design decision that could go either way.
2 Likes
5 Likes
Ingenius! I’ve been pondering this very challenge and was also not keen on stacking 100%. This looks so good
2 Likes
Quite the clever build! Did you have to sand at all or did the cuts leave a great finish without any charring?
It was 3mm Baltic Birch that I lightly sanded and stained. I then masked it with paper tape. I think I did a batch of 5 or 6. It was a bit sticky after cutting, but it all came off with rubbing alcohol. A lot of what looks like charing is really smoke and resin. The little pieces were a bit of a chore. After it was glued up I rubbed on some Danish finishing oil.
4 Likes
I really like the look of the stacked corners and flat sides being mixed in the same plane.
2 Likes
The few stacking projects I’ve done, I have glued up the stacks and then measured them for the height of the matching flat pieces.
4 Likes
@bwente I hope you don’t mind, but I had to give this a try. I really like getting to use up some of the random strips of scrap material lying around. I didn’t glue the stacks. I only glued the top ring and bottom. As long as the top and bottom stay glued, the stacks can’t go anywhere, however, they do move just a bit. The camera flash makes it way more obvious than it is in person. I think a registration pin through the middle of the stack would fix this.
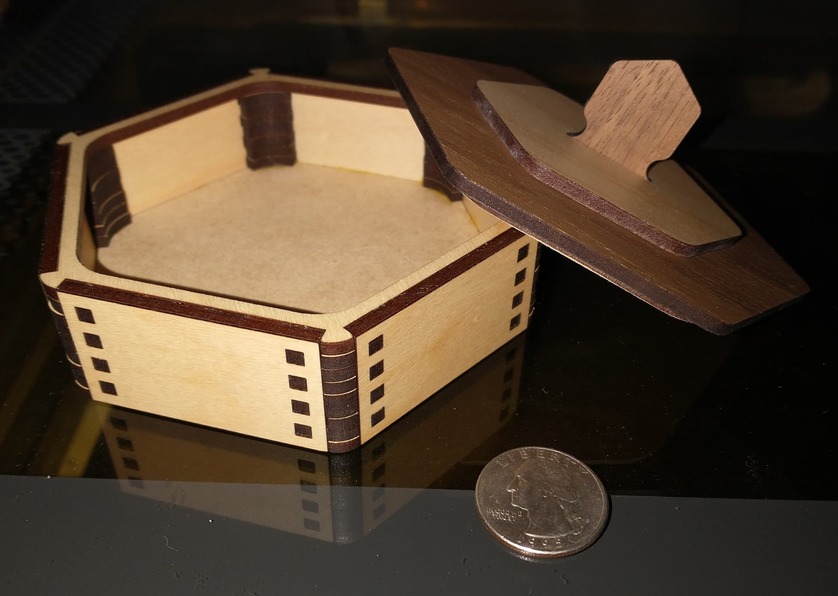
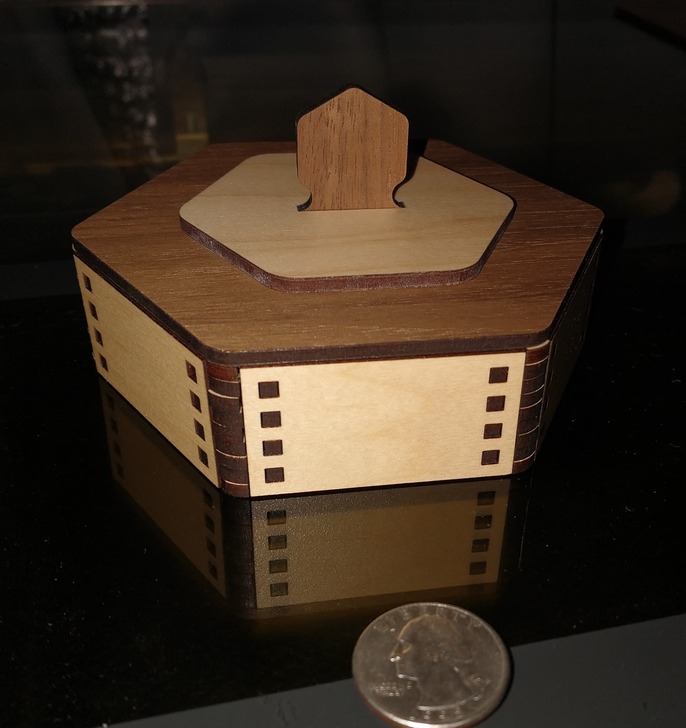
33 Likes
This looks really nice! Love the dark/light contrast of wood! Great design.
4 Likes
This looks really nice. Love the curves and clean design. Kudos to you for figuring it out!! A meticulous process, but with a great result.
5 Likes
Great job recreating and iffing on the design. I think in some case you might just skip the non-finger spacers. You have given me even more inspiration to try multiple sides.
6 Likes