Good afternoon, you can call me Oliver.
I was exploring some more spiral themes in layered boxes, trying to make the edges a design element instead of an unfortunate compromise [I don't love layered boxes because I find the edge to be ugly as a rule]. This is the latest thought I had.
Notes:
- Don’t do this the same way I did, it was too fiddly.
- Seriously, don’t. There are better ways.
- I mean it.
- All woods 1/8" hardwoods.
- Sanded to 600 grit
- Finished with wipe on satin polyurethane
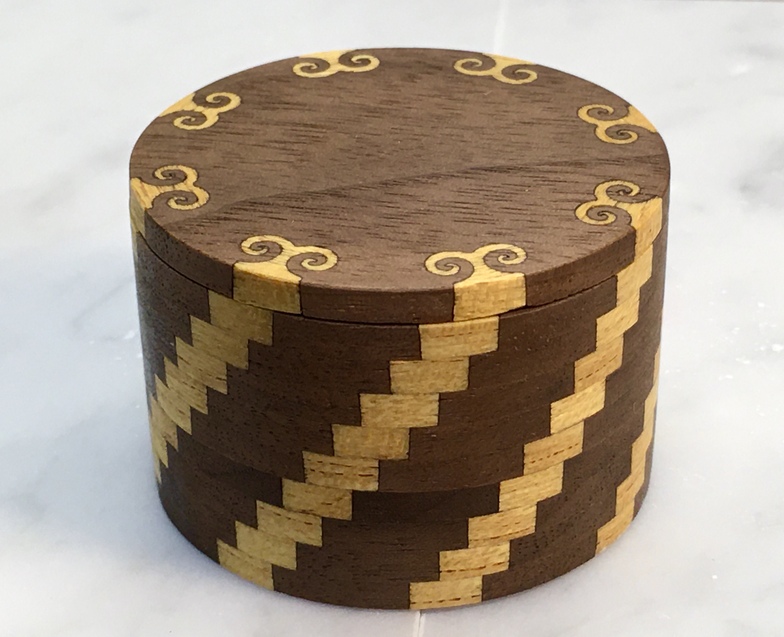
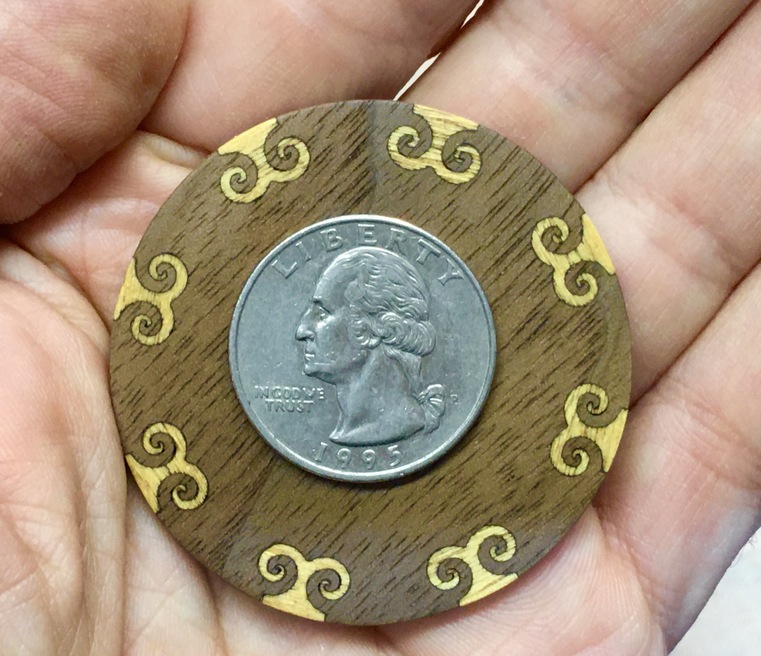
- Ten layers, overall height is 1.25", diameter is 1.9".
- See #1
I like the look of segmented turnings (Youtube “segmented woodturning”, I’ll wait. You’ll be back after a few days of rabbitholing), this form has been pretty thoroughly vetted in woodworking circles, this was my inadvertent attempt to replicate that look I suppose.
Yellowheart, Walnut
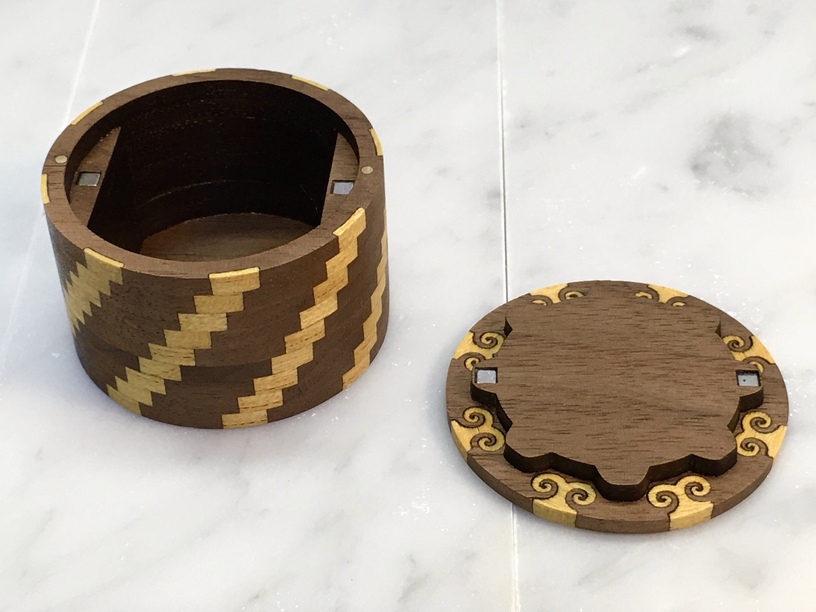
The design is roughly the same as my knurled box, it’s proven to be a very versatile form. I’ve refined the “insert” on the lid, the lobes serve two purposes: One, the lobed shape is inset into an engraved pocket, so the shape helps keep it aligned to ensure that the rotation is correct to keep the spiral even. Second, the lobes neatly avoid the inlaid spiral swirls in the lid, avoiding a nasty engraving problem and exposing the design, which I like. Eagle-eyed readers may recognize those swirls.
Yellowheart, Walnut, Brass pins, Neodymium magnets
The inlays on the sides are quite thin in the body of the box. This is to allow clearance for the registration holes for the brass rods, but they were painful to install. The key here was to make them thick enough to let the yellowheart color show through and ensure I wouldn’t sand clean through them, but it was far too fiddly. 10 layers, 8 inlays per layer, 80 total inlays? I was being dumb. Next time I’ll inlay 2 pieces per layer and then use a jig to cut the shapes out of the pre-inlayed (inlaid?) wood. See note #1, it’s key.
Yellowheart, Walnut, Brass pins, Neodymium magnets
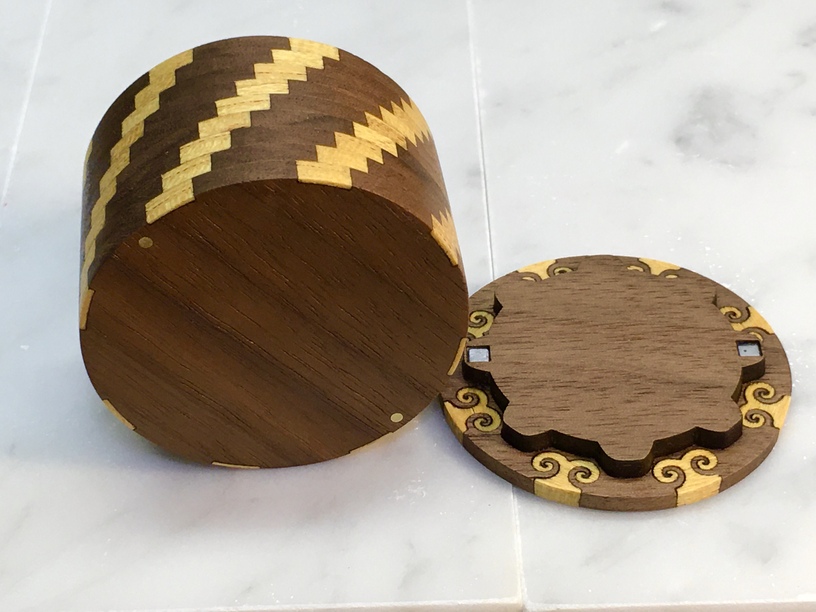
Bananas are for amateurs. This gives you a good look at the unusual half-moon shaped grain line on the lid. I like it, it’s got panache.
Yellowheart, Walnut
Final thoughts?
I think I may have invented a perfect gift for a poker player. this box looks like a stack of chips to me. This was not the intent, but it would take only a tiny nudge to make it very intentional.
I had a cutting issue on layer 7 (third from the bottom), so had to recut it. If you look closely you can see the shift in color on the edges, as it was from a different piece of walnut. I don’t mind it exactly, but it was unintentional.
I had to do a bunch of fiddly glue work on the layers, you want good coverage but also it’s nice to avoid squeeze out as much as possible. To give myself more working time I watered fown the titebond about 1:4 water/glue. It flowed much more smoothly than non-diluted woodglue and gave me the time I needed to get everything aligned. It’s a trick I’ll be keeping in mind as I go forward.
 had to click

 and not have hardly any waste!