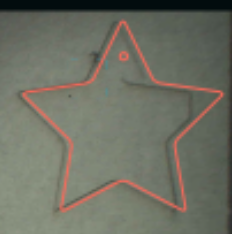
What’s happening, and how can I fix this?? Thank you in advance for guidance. Working on a project for my daughter, and mysteriously, the star keychain base stopped working – even though the circles are still intact, and we have successful cuts of stars done just prior to this set up.
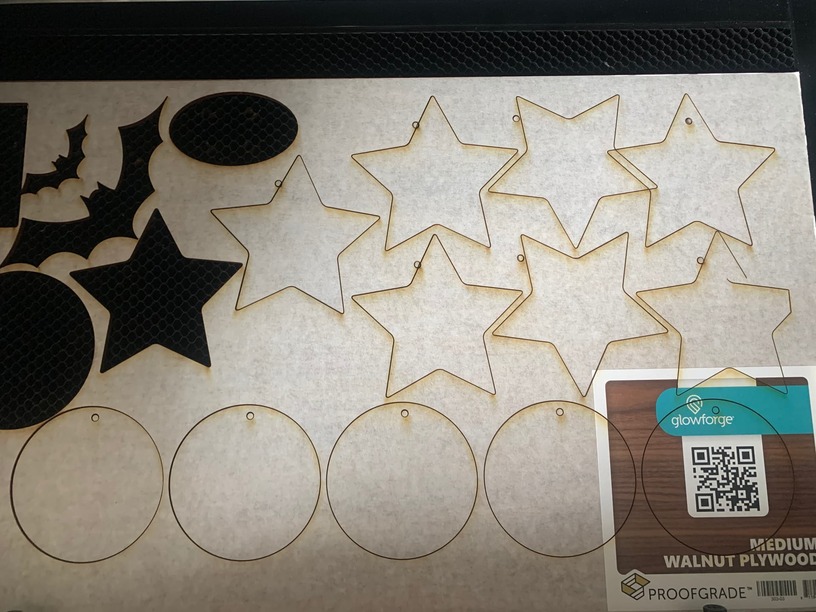
Working with Proofgrade Walnut Plywood. I wiped it down and turned GF off for a while after this. Just tested one star, and getting an even worse result.
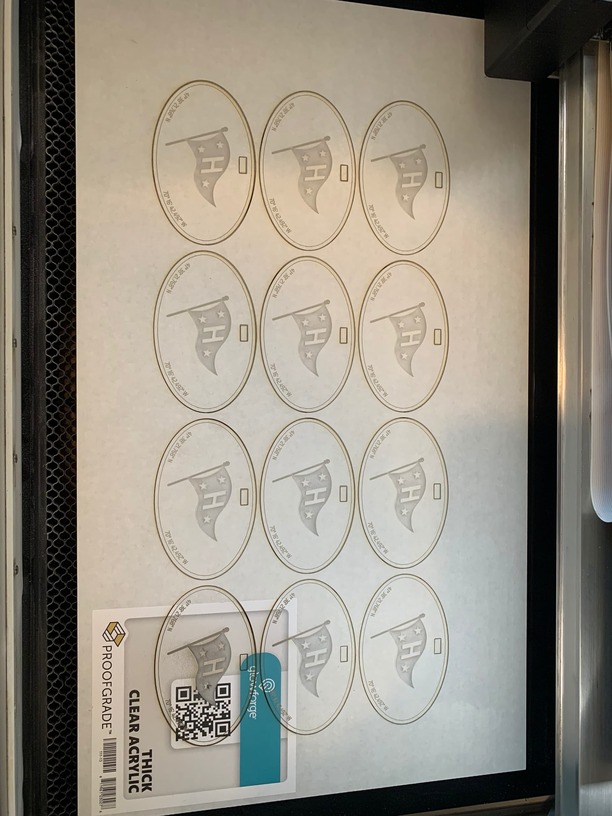
I had a score misalign on me earlier today, working with PG thick acrylic. I am nervous because I have a large production job to finish…
Is this a big problem?
Check closely for cracked wheels, debris in the belts, debris on the rails and belt tension. Have you recently removed the carriage plate belt by loosening the pulley tension wheel?
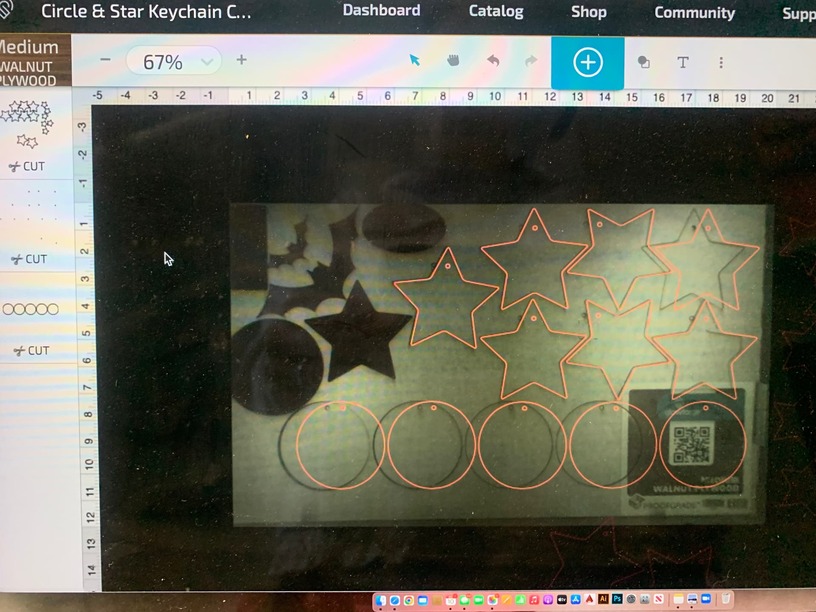
The one on the far right looks like it ran into the limits of the cut area, but that should not happen (i.e. that part should be ignored). Also, what’s with all the little random holes?
Are the others not cutting thru? The tube does have a 2-yr life expectancy.
Given the distortion exhibited in those shapes I’d say the horizontal motion is having problems. A cracked V-Wheel on the print head carriage plate seems like the most likely culprit. There was a bad batch of these wheels at one point and I’m guessing your machine was built with those.
You can see pictures of the carriage plate and V-wheels on this support page:
The carriage plate rolls back and forth on a set of rails. Try sliding the print head left and right (while the machine is off!) and make sure it moves smoothly. You should check the rails for debris; even if the wheels are ok they may be hitting bits of wood or other debris on the rails.
Another possible problem is incorrect tension on the driver belt (or even a damaged belt) that moves the carriage plate. It’s also possible for the data cable that connects to the print head to get snagged on something inside the machine.
You hit the side.
The left and right ~1.5" of the board are not laserable. The head will happily hit the side and stop moving.
Look at your right-most middle star. It hit the edge, screwing up the alignment for everything after that point.
What I did on my GF:
Power off.
Gently move the head left, right, forward, and back.
Mark the extreme edges where the laser head is using blue painter tape on the crumb tray. (Well, I used to use painter tape. Now I use fingernail polish on the crumb tray.) This marks the usable area.
NOTE: Don’t go by where the large rectangular head is located – go by where the hole for the laser at the bottom of the head is located. And give yourself at least 0.25" of extra room.
If the head ever hits the edge: Turn it off. Manually move the head under the camera, and turn it back on.
I did a cleaning, and even though I was very gentle, when I went to replace the printer head, I noticed the carriage plate had some play in it - didn’t seem right - so I reattached it, and it felt solid. I was convinced that this would solve things. I ran a one piece print on thick acrylic that came out perfectly. Celebrated the win.
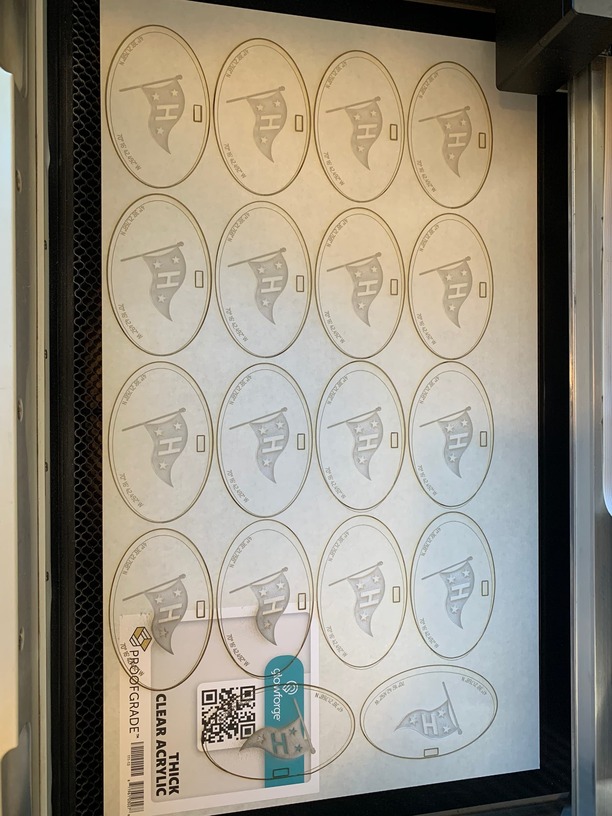
THEN… I ran the 18-up print of that same piece (4" ornaments with engrave, cuts, and score). And… you guessed it, misalignment. Much more subtle, but still problem that makes product unusable. I will show.
And … finally … A [somewhat] happy ending. I reduced the print area, and all pieces printed accurately. Phew. While I am quite relieved, and can now finish my job, this is only a somewhat happy outcome because of all the inefficiencies and wasted material.
Regardless, I learned a lot from this group, and appreciate your responses.
Thank you!