Continuing the discussion from Guilloche/Spirograph-like Design App with PNG/SVG save:
@gwygonik made the most awesome Processing script enabling me to do something I have thought of since I first started looking at life through the lens of a laser. I whipped out a design and scored it on Proofgrade acrylic and did a quick temporary mount using programmable RGB LEDs.
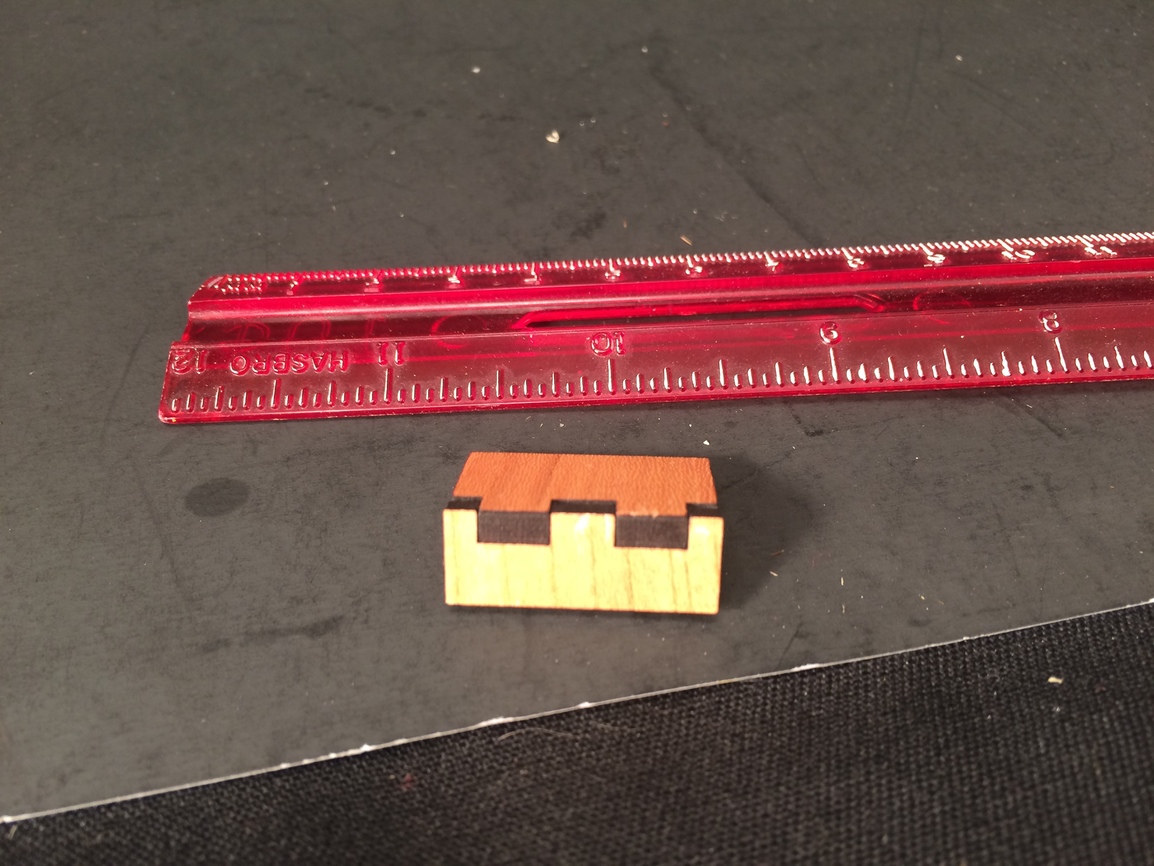
That got me thinking about what would be the best way to mount something like this. I’ve been thinking of picture frames and the like. So I started with some scrap thin non-proofgrade plywood and did some work on the top of the frame, designing in Inkscape.
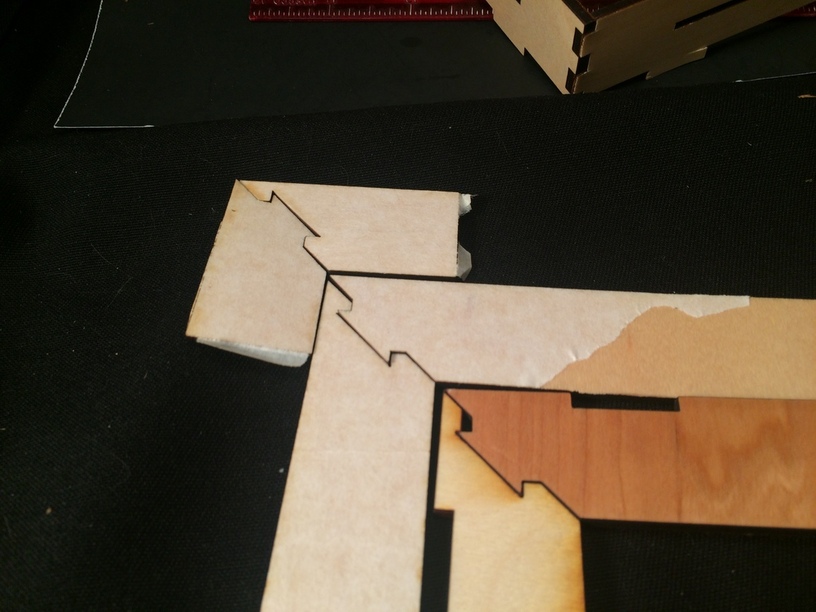
I was able to put my newfound knowledge of kerf management in Inkscape (thanks @Jules) to work.
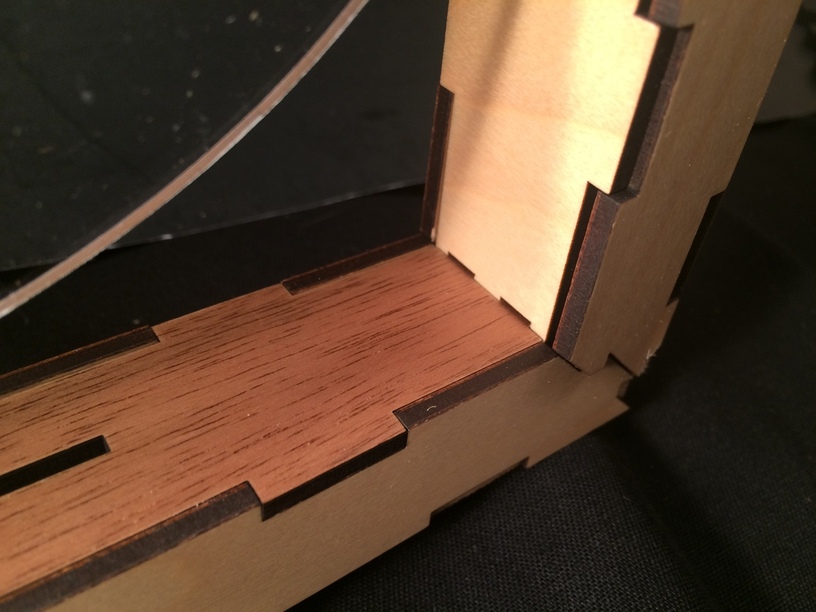
So proof on concept for the joints.
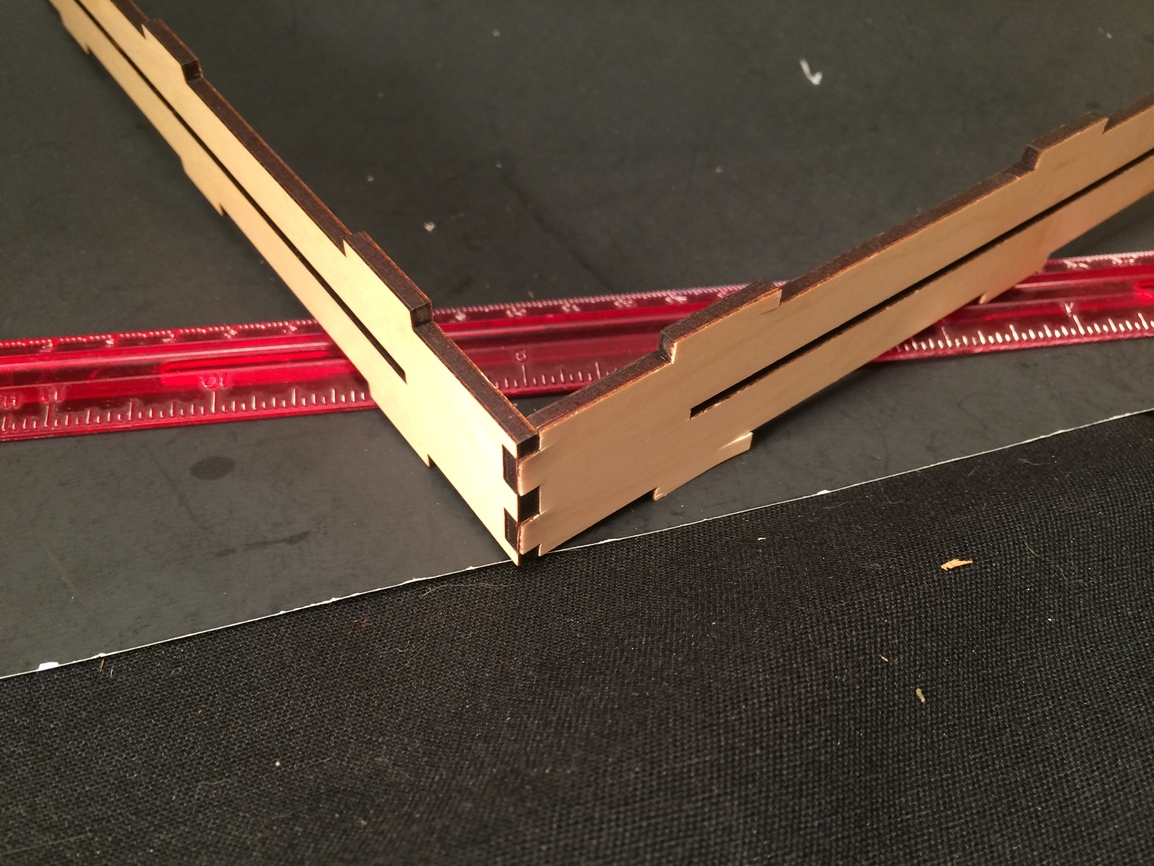
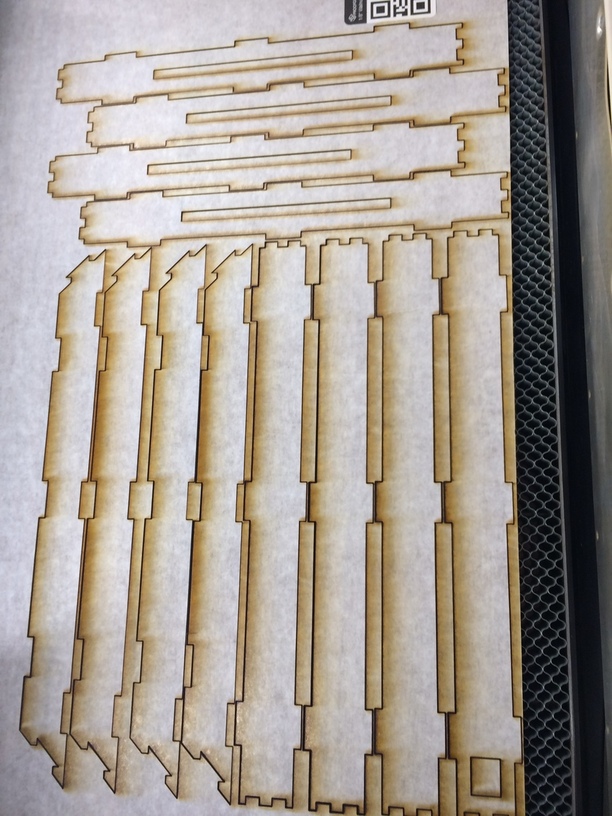
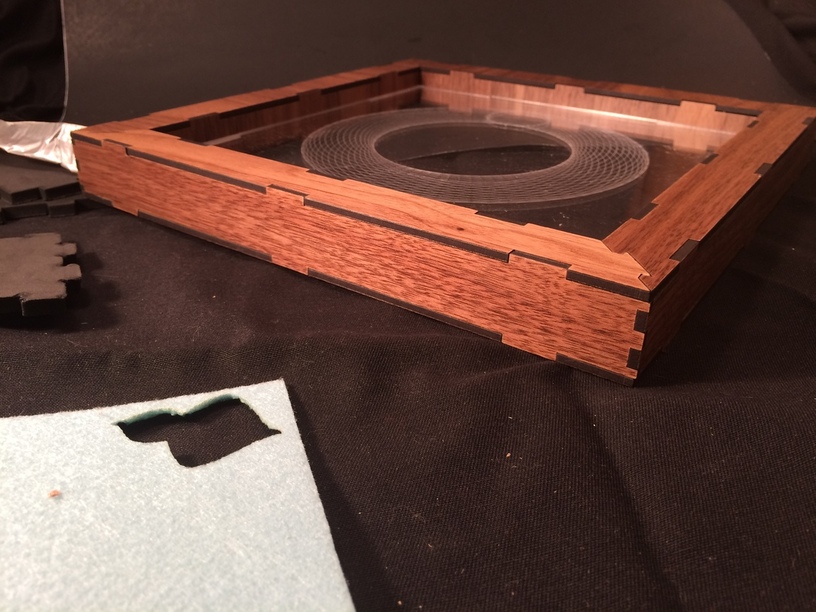
Now in proofgrade:
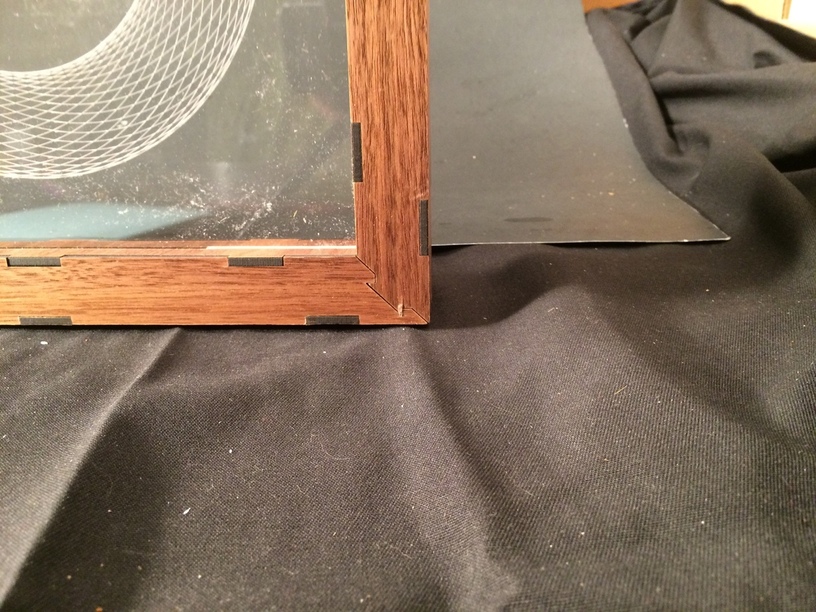
By the time I got the whole box together to be totally press fit, it was a little tight on the delicate joints. It all fit together fine, but I need to allow just the slightest more in the pockets for the 45 degree joints. They are stressed a bit too much wrangling the rest of the puzzle together.
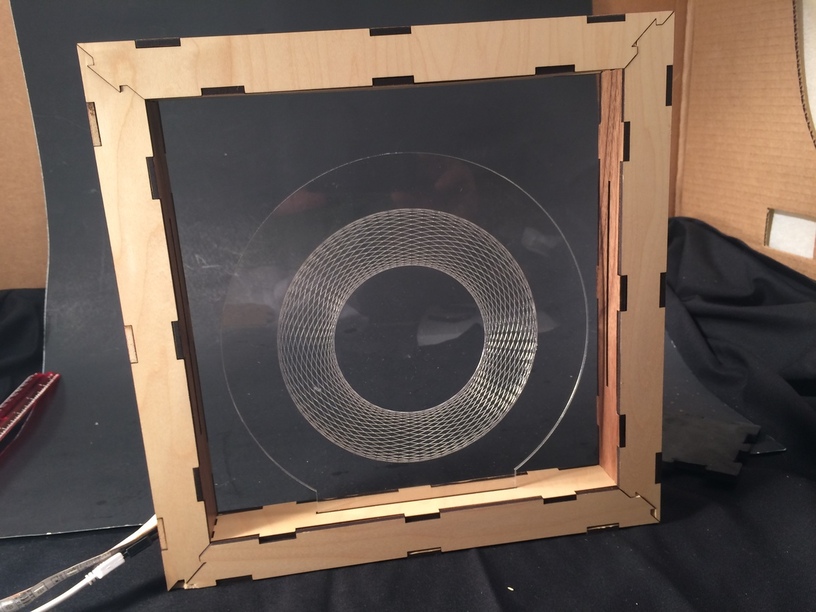
The top and the bottom are all made from one design so cut 8 pieces of that. The inner ring and the outer ring are two more pieces. Four exactly the same for the inner and four copies of the outer.
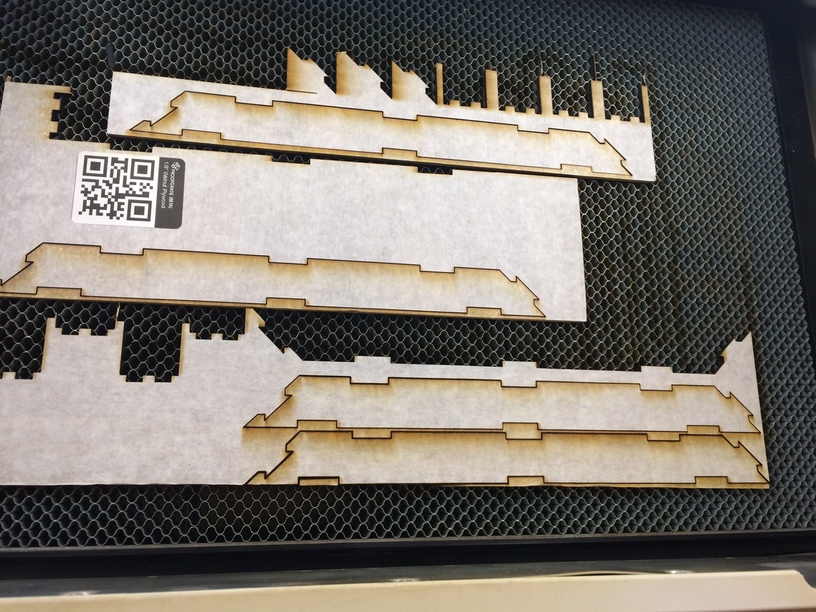
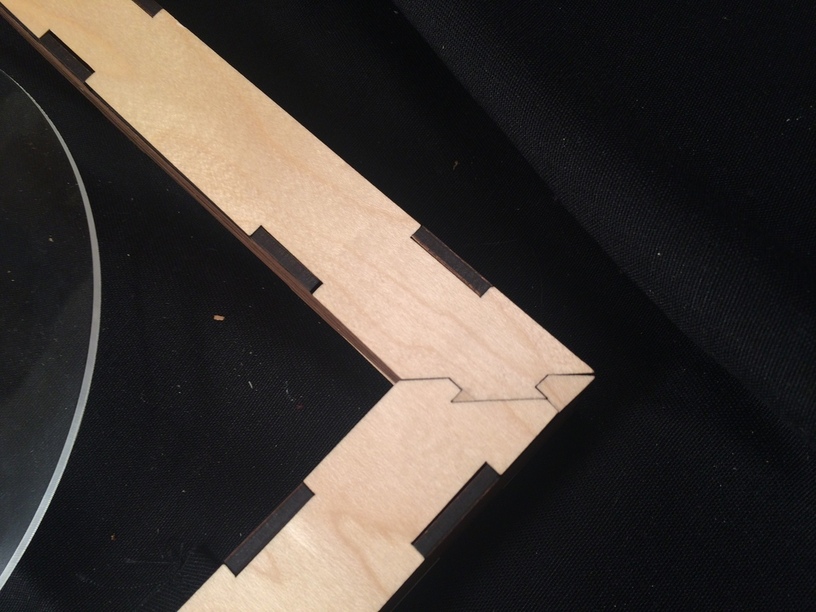
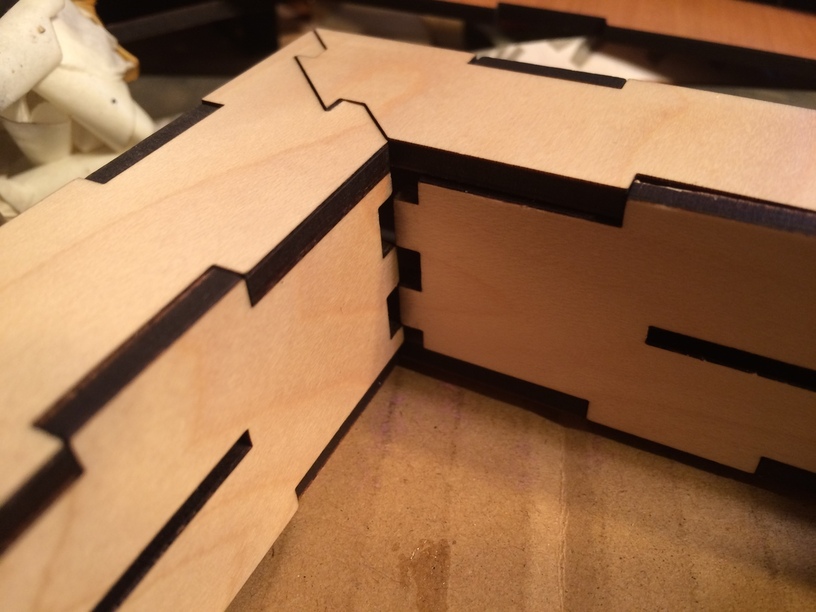
Whoops. I didn’t allow for the pockets shortening the end. That’s what I get for doing a 3D object with a 2D program. No problem. Just add 1/8" at each end.

One side is perfect. The other end needs just a smidge more length.
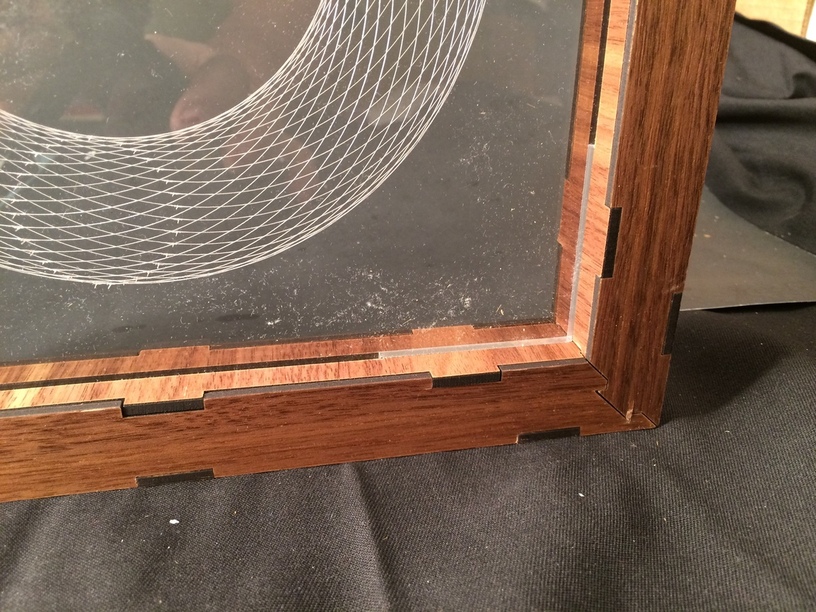
One of the things about this progressive build was using up scrapes of Proofgrade efficiently. While Proofgrade does literally grow on trees, there’s a lot that needs to take place between the tree and the laser. I appreciate the supply that I have received from Glowforge and want to show that I’m not wasting it (or at least try.) The cool thing about this particular piece was that I am doing a design and interchanging whatever Proofgrade I had laying around in smaller pieces. I didn’t have to change my design dimensions. The walnut, maple and cherry all seem to be interchangeable. Which is really good. You can do some efficient use of space with the positioning and not leave much margin between the pieces.

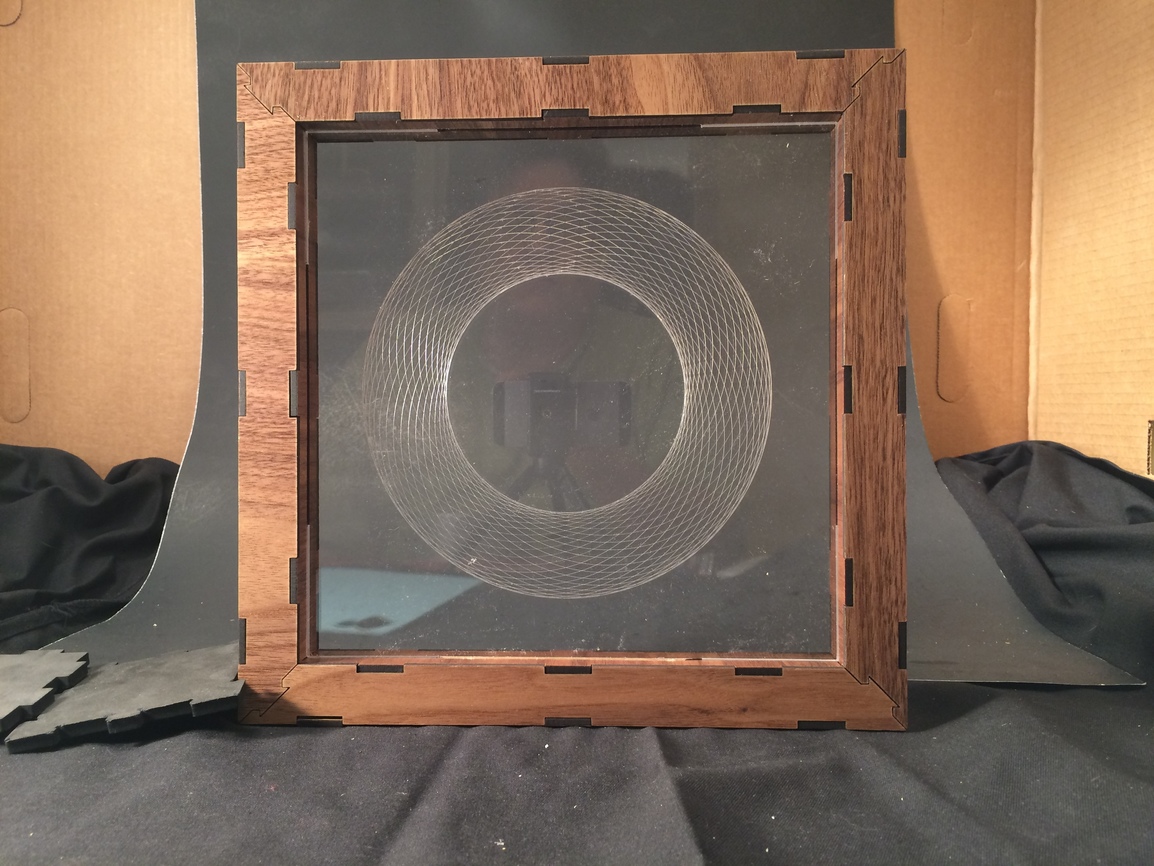
One of the design constraints of this was using the available dimensions of the Basic Glowforge. Theoretically this could scale up to the full width of the bed, about 20 inches. Right now it’s just 11" inches square on outside perimeter.
I still need to tweak the joints just a bit. The scraps of Proofgrade I was using were getting pretty mangled by the time I took it apart and put it together for testing each stage. The best thing is that since this is built from only three pieces, it’s easy enough to change. The design file is imported with just these three pieces and then you copy and paste as you wish. The inner ring can be cut vertically to have the grain go the short way.
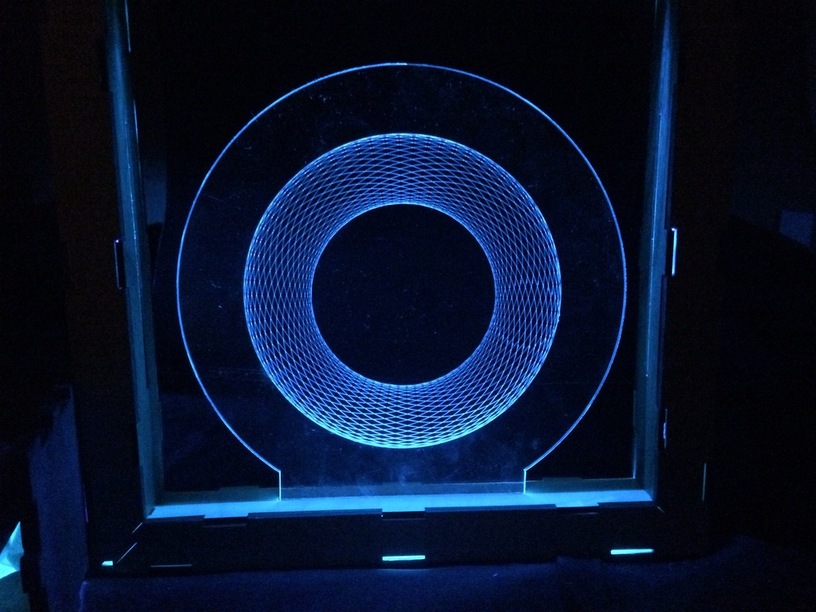
Having the light inside shows where the gaps are. Again this is just press fit and not glued together. It holds together well.
The left out ring section is made of cherry and it has the grain going the short width. I got that by sticking the wide edges that are the last to be cut from a full sheet sideways in the bed. The face is all maple. The inner is walnut.
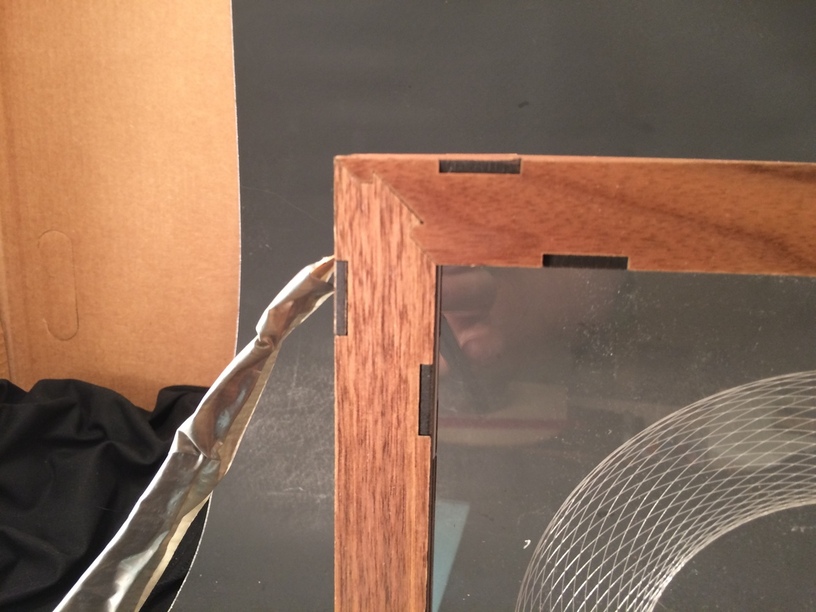
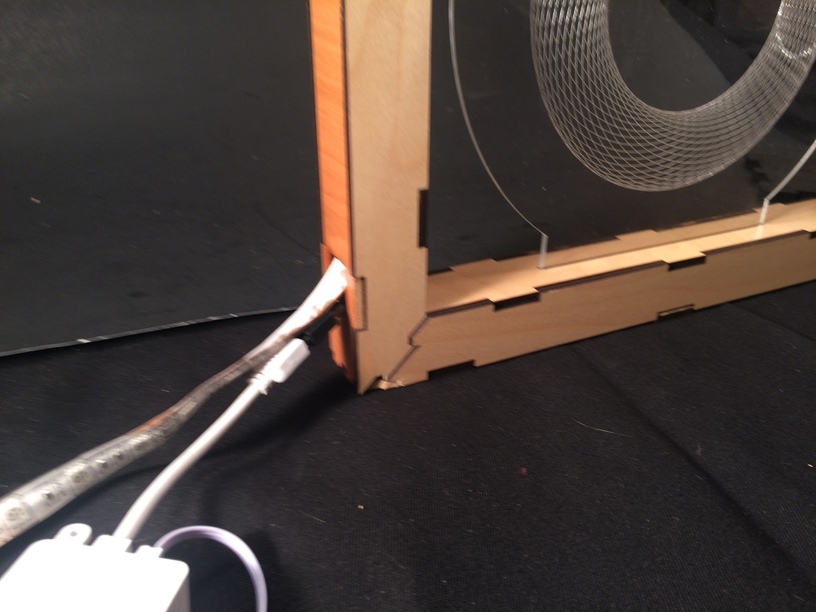
Electronics tail coming out. I still have the full spool of LEDs connected. I just wrapped it around the perimeter on the inside and then put the outer rings pieces on.
It has four slots, one on each inner ring. The next step is to recut the spiral acrylic design and shape it like a cross so that there is a tab going through each inner section and it will be lit equally all the way around. I’ll print a finish copy of both the wood and the acrylic. One cool thing: no tools needed (aside from anything for the electronics to do the final length.)
The video is not one of my better ones, but I just wanted to get the proof of concept out.