Finally.
That’s kind of how I feel about this post. I’ve been wanting to post about the small business that I’m in the process of starting, but I just didn’t feel like I had enough together to post about. Today is finally the day I reveal what I’ve been working on for the last coupe of weeks.
I would like to start by saying how incredibly naive I was when it came to the amount of work I thought this was going to take, because I had no clue I would be working as hard as I have been for such little results. Not to say that what I’ve accomplished isn’t really great, but the amount of time it takes to cut and prep these designs was sorely underestimated ![]() Also, I don’t mean to say that what I’ve learned wasn’t worth the journey, I’m specifically talking about the amount of prints I’ve able to get out of a couple of hours worth of work.
Also, I don’t mean to say that what I’ve learned wasn’t worth the journey, I’m specifically talking about the amount of prints I’ve able to get out of a couple of hours worth of work.
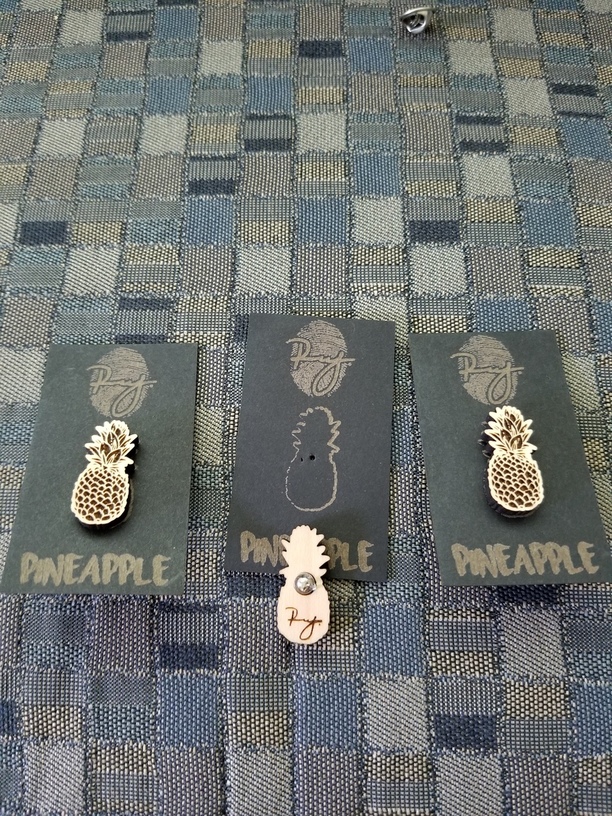
Anyway, it all started with Pins/Magnets and keychains that I designed a while back and people insisting that I start selling them. This eventually led me to designing my logo, and things started to fall into place. I figured that I could start with keychains and work my way up, eventually I ordered tie pin blanks and decided to make some of those with my pineapple design. After determining that the price I wanted to sell them for, I knew the presentation needed some work (I just had a bunch in a zip lock bag haha).
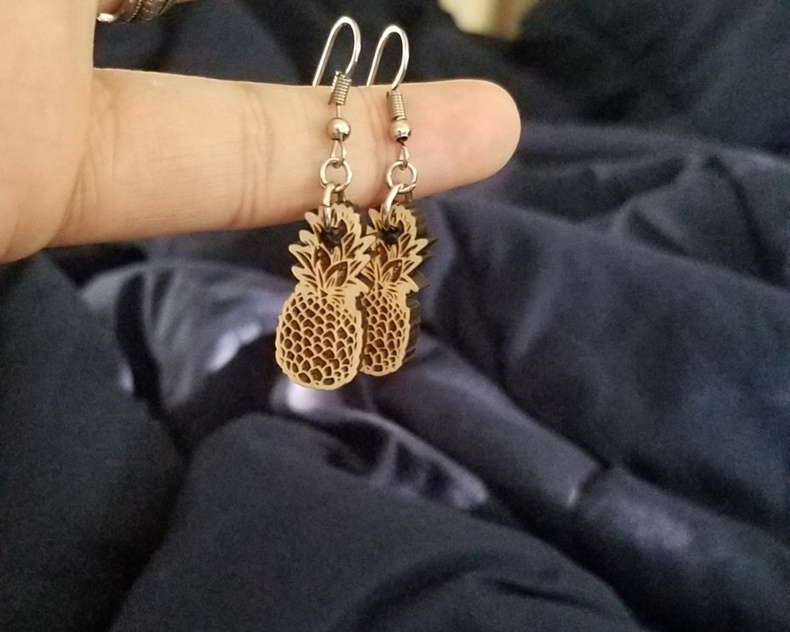
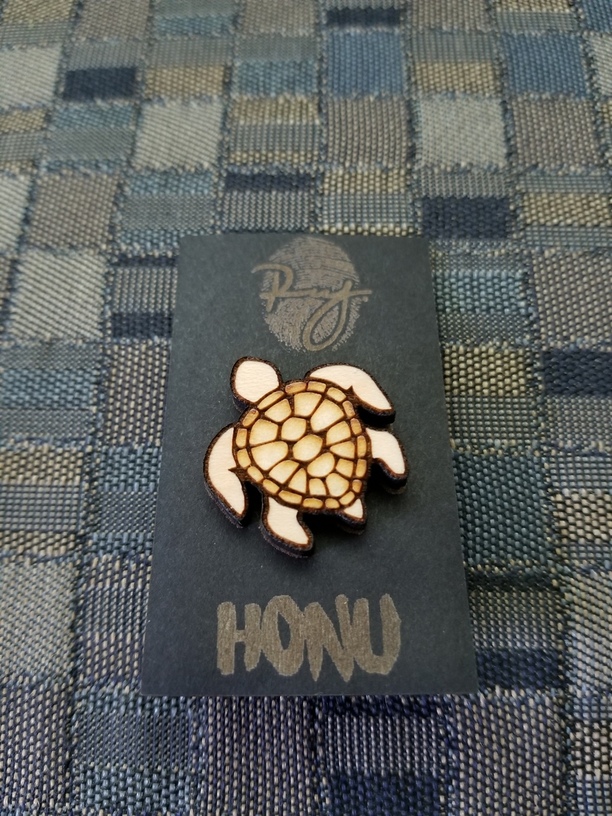
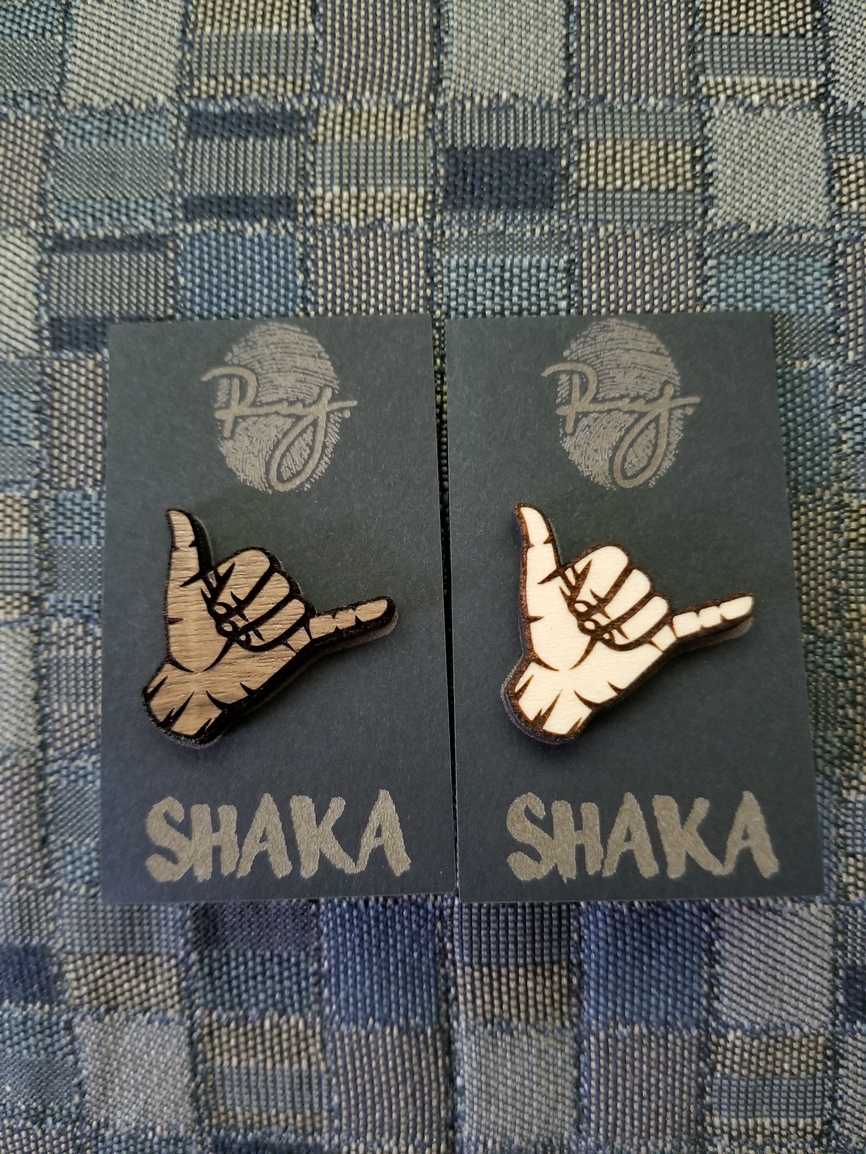
The weekend before all of this I had bought some card stock in order to eventually make custom cards, which I had yet to test out, so what better time than when I had a cool idea in my mind. I first glued two pieces together with stick glue, as the card stock I bought wasn’t the sturdiest. I then tested out engrave/cut settings to know what would be workable. After a few trial and error designs, I came up with a final product. So, now I had pineapple pins, which of course made my wife jealous, and this resulted in me making her matching earrings. I was feeling like the pineapple pin was missing some friends and so I made a plumeria flower, a turtle(honu is the Hawaiian word for turtle), as well as a couple of shakas. I also have started to make earrings from the other designs, but I just haven’t gotten around to finishing the holders for them or figuring out how I exactly want to connect them.
 !
!
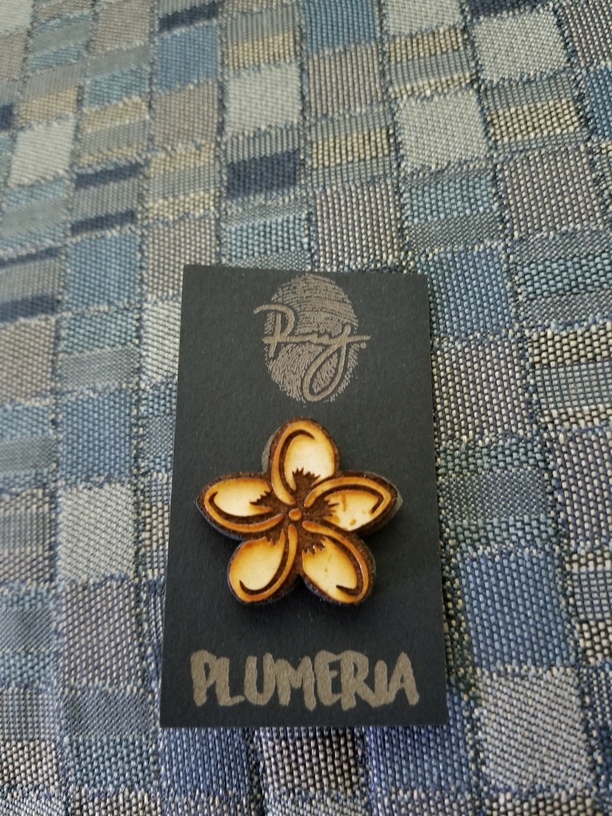
For the flower I left the all of the masking on, and the turtle I kept the masking on the shell as I liked the results better because I feel like it adds another layer to the overall design.
Okay, so I have a handful of things that I’ve got down, and I signed up for a market on Monday, but once I thought about what my booth would look like, I realized I didn’t have a sign! Simple fix, I thought, I would just send my logo to Costco and have them print it on a poster, go buy a frame from Walmart, and be done. Unfortunately, I still have a regular full time job which makes me exhausted by the time I get home, so I opted to just design something myself and let the glowforge help me out. Once again, threw my logo into Photoshop, added my tagline and utilized my card stock.
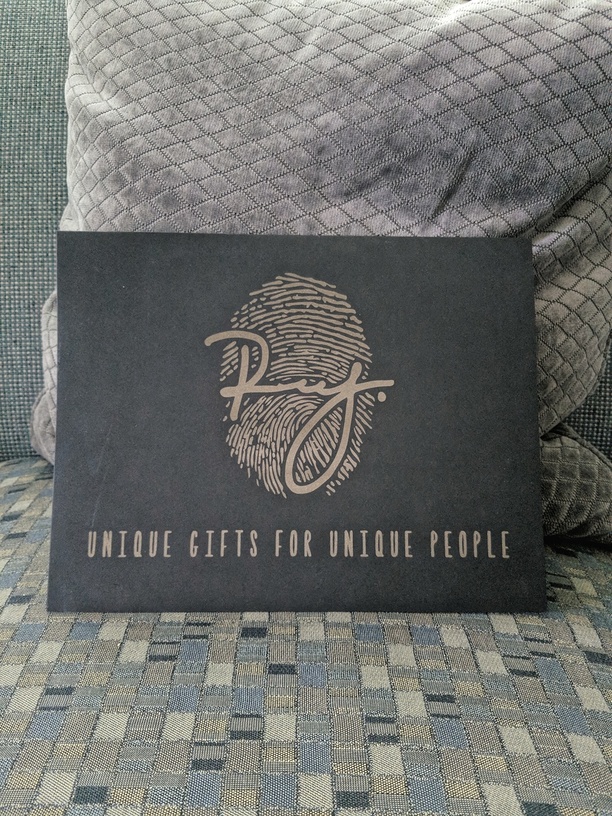
I was just tickled to when I saw this finished. I couldn’t believe how smooth the engrave turned out! If any of you are curious, this does not even begin to go through the first layer of the two layers, but it’s exactly what I wanted. These are with the following manual settings .02" focus speed of 500 and power of 5. I tested all the way up to 15 power and yielded about the same results, but I figured the less power I could use the better. When cutting I use a speed of 1000 and a power of 100. I didn’t play with the cut power because it worked so well the first time.
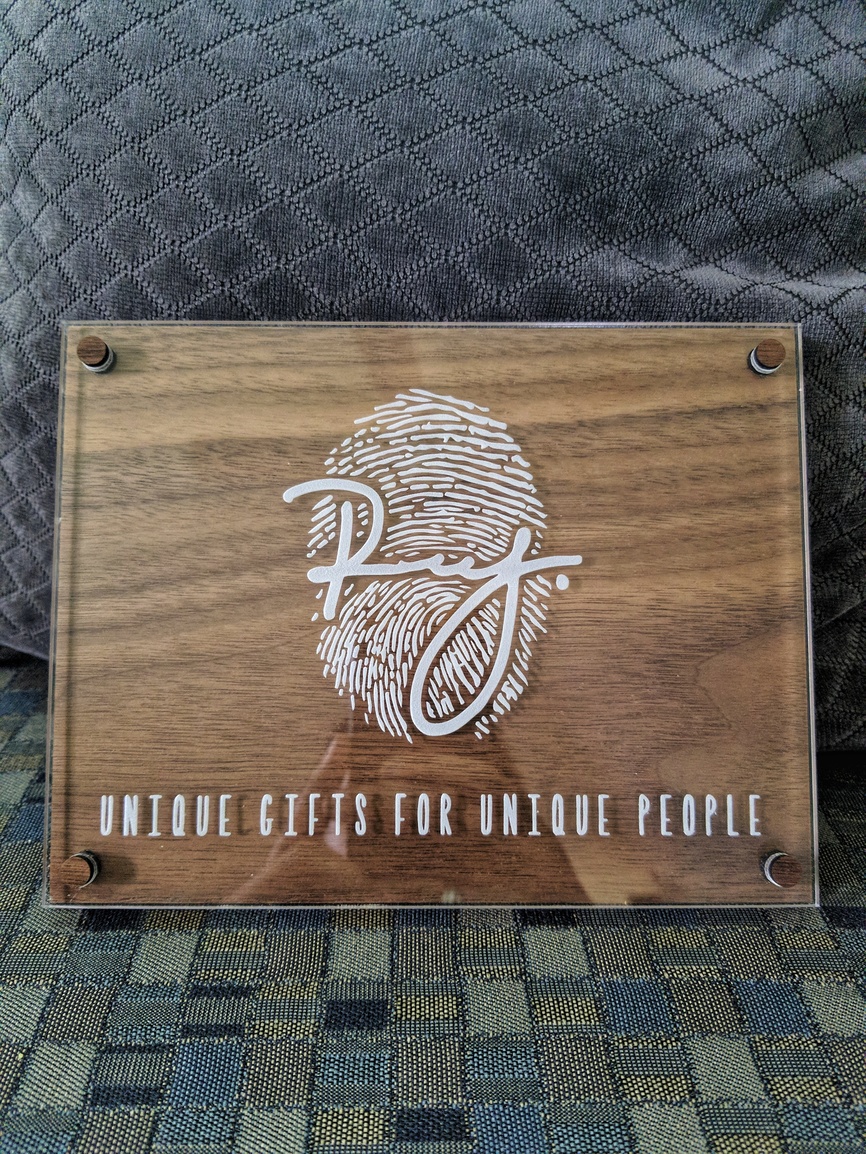
With this done, I once again pictured what my booth might look like and I was pleased with the image until I saw @BigBlueMark’s post Acrylic engrave with walnut back + stand offs
I became obsessed instantly and had to make my own iteration. I cutout 8 pieces - four for underneath and four for above the acrylic, added a regular circular engrave to the underside of the acrylic, with a deep engrave on the top (which was to make the cutouts sit deeper on the top). I lessened the power on the walnut engrave to 40 because it engraves pretty deep as it is and I didn’t want to lose too much of the space between the walnut and acrylic.
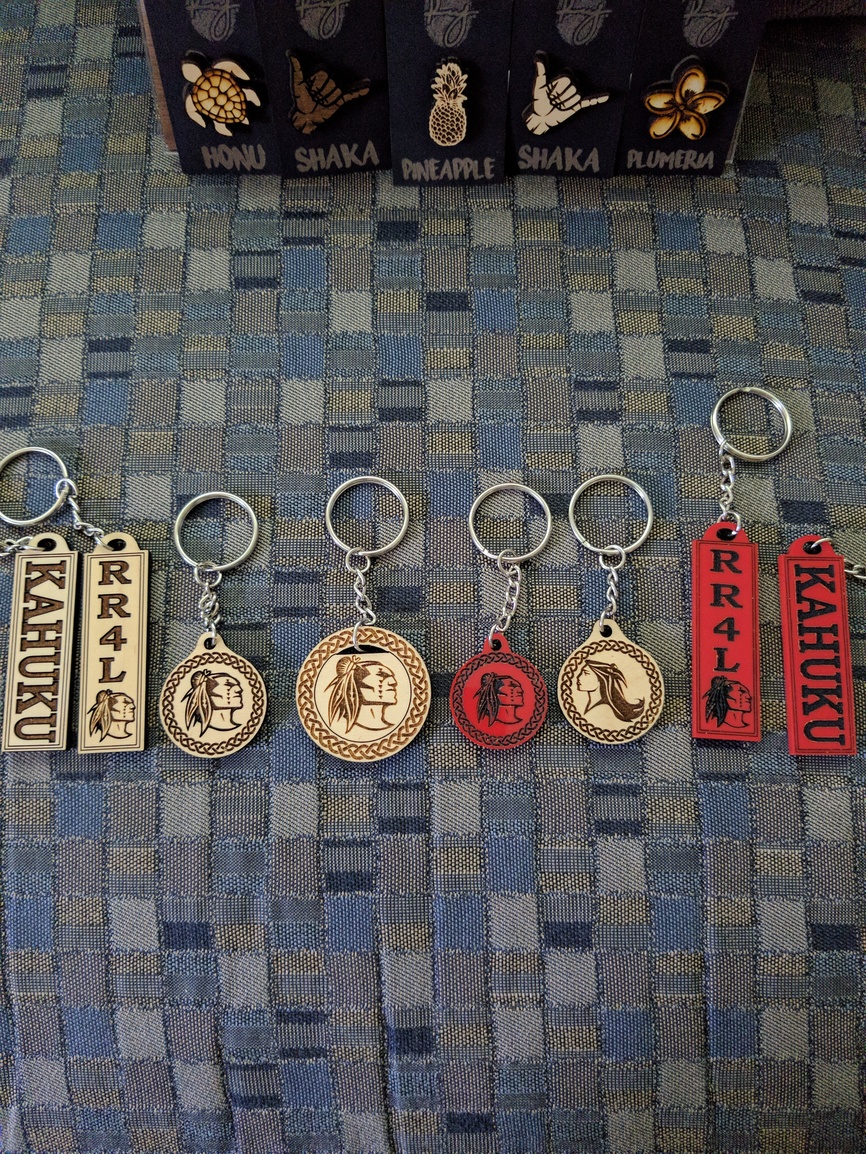
Finally. As I said in the beginning, I felt complete with what I had. I should also mention that one of the small business owners that comes into the bank I work at has solicited me to make custom keychains for him and wants to help promote the other things I make by putting up a stand at his shop. I’ll be hooking up with him sometime next week to discuss the details, but it’s an exciting time for me and my wife! All thanks, of course, to this amazing machine that at one point I almost had to return because it was taking longer than I thought it would to get. I’m a huge fan of what this machine helps me accomplish and very grateful for the team behind it, as well as for what it does do regardless of the things that it can’t do (yet).
Here’s a bonus image of the other keychains that I’ve been selling already that I’ve mentioned before.