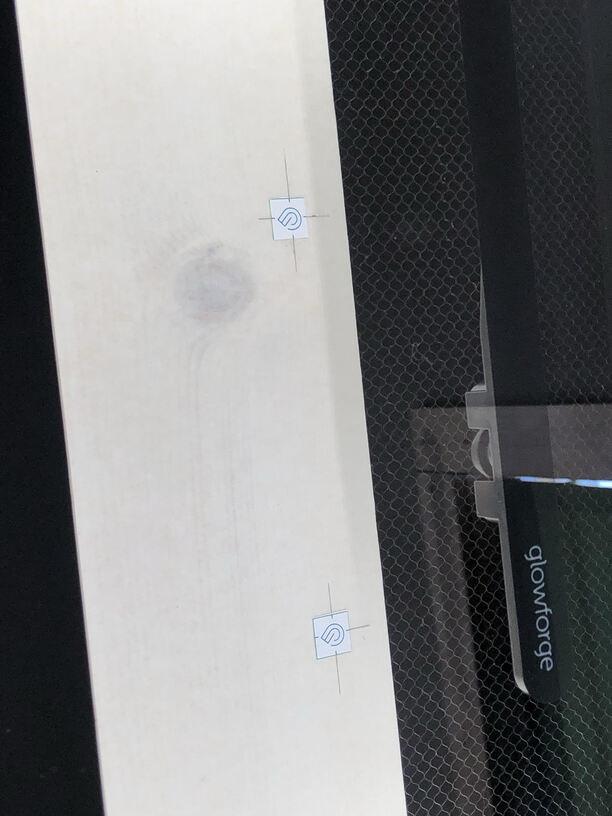
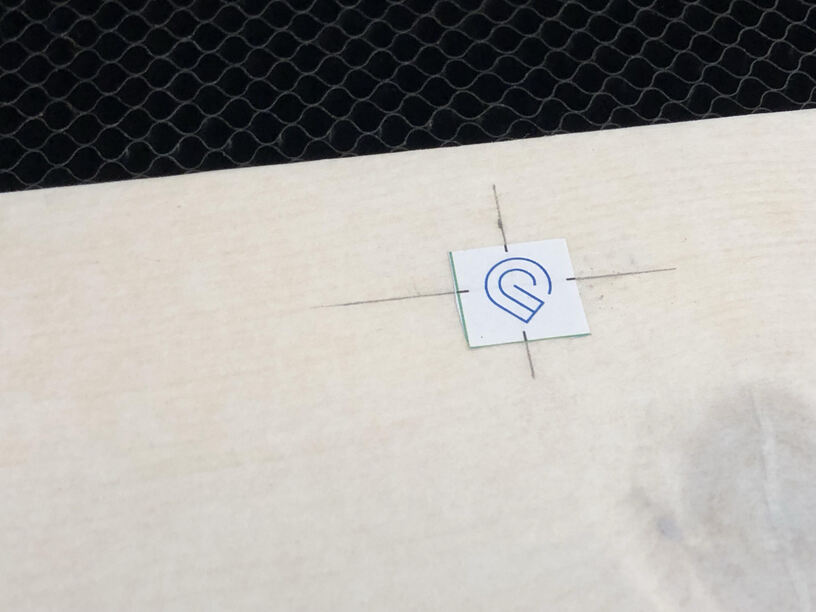
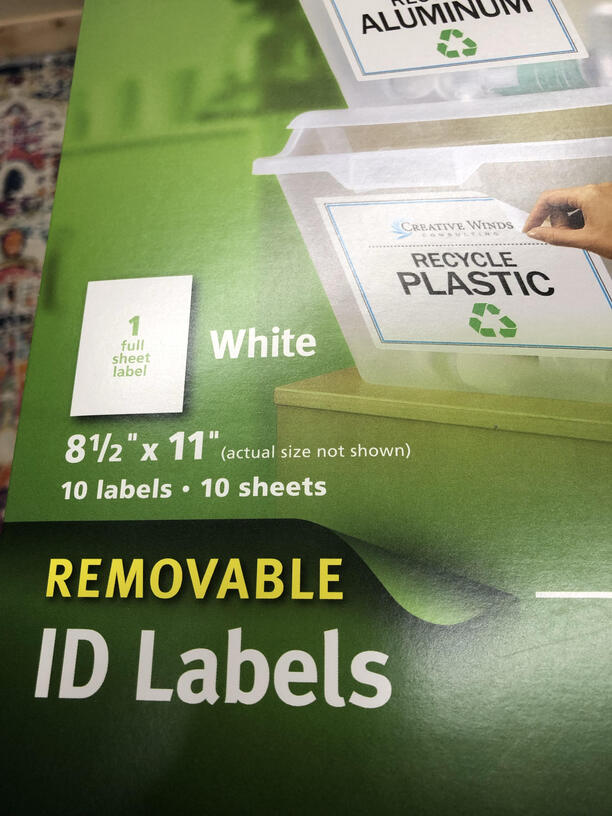
I don’t know if others may have done this, but I found snap mark stickers to be handy for a lot of work where I don’t want a jig or the excellent guide/rule is awkward. I printed these on a 8x11 full sheet peel and stick label and they work really well. Note, registration marks are aligned with the center of the Glowforge badge, not the surrounding square. Just mark registration lines on your material/piece in pencil or other removable method and cut these out and align them.
14 Likes
So how do you ensure the snapmarks you stick on and the snapmarks in your design match?
If it’s obvious and I’m missing it, I blame a head cold.
4 Likes
I’m using InkScape. I am a newbie, so there are probably better ways to do this, but I create a temporary square/rectangle of known dimension, say 1" x 1" in my design file and use snap to XX in InkScape to position it relative to the design. I then import a single SnapMark sticker file (saved separately) and have InkScape snap its center to a corner of the rectangle. The registration marks on the sticker file should match the rectangle edges. I do this twice on the design, then delete the temp rectangle and save the design file. Then on the piece, I mark registration “crosses” where I want them at matching positions to the design file. Then cut two stickers, align and place them on the piece registration marks, and you are set to go. The only problem I had was placing the stickers too far apart. Moving them closer (not at the edges of the GF bed) fixed the issue.
1 Like
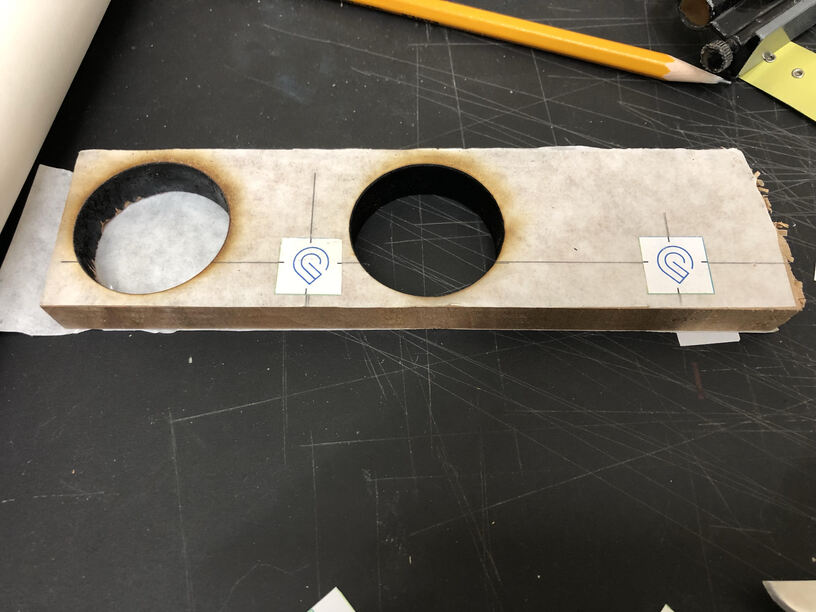
An advantage here is I can put snapmarks wherever I want them as they are not permanent. Even on the piece itself. They don’t have to be on waste material or on an outside guide. In the third image above, for example, I could have placed them in the center of the circles without marring the circles themselves.
3 Likes
Cool!
This might also interest you:
3 Likes
Oh Yes. An invaluable tool. I use that a lot too.
1 Like