That is the exact kind I have lol, I have the black drawer liner from walmart but some reason this transfer contact paper I have is ruining that kind sometimes, do you buy clear transfer paper from walmart too? I got mine on amazon, I think its way to sticky for the transfer.
Cant remember where I picked up the transfer tape…it was a few years ago.
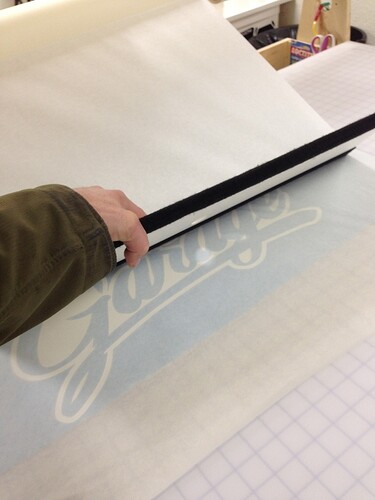
It’s super sticky too…the secret is to pull it back on itself flat…keeps the vinyl from lifting.
Just an FYI - the 3 images with using layered vinyl have been on the back of my car more than a year in AZ heat, monsoon and (well AZ) cold and not fade or peel in the least. even the tiny white zombie fingernails are doing great ! I believe it is the Oracle 851 ( lthough some of the odder colors ( teal, light browns, pinks…) may be from generic pack I bought online - no exterior issues yet from the bumper.
I prefer sign vinyl from Orocal, and vehicle wrap vinyl from 3M, and Avery.
I use hi-perf & premium cast vinyl for most of what I do (as opposed to the less-conform-able and generally thicker calendered vinyl).
Hi-performance cast vinyl, Like Orocal 751, is rated for 6-7 years outdoors. The premium cast vinyl like Orocal 951 is rated for 8-10 years outdoors (depending on color).
It will stay on your vehicle through the car wash, and through hot and cold weather at freeway speeds, and through rocks and dirt at racing speed, but if you hit it with a gas-powered pressure washer at a 45*-angle it may come flying off.
Not all vinyl is created equal, there are huge differences between products even within a single brand. If you want to put a decal on a flat piece of metal, just about any kind will work. If you want to put a decal into a dirtbike, a snowmobile, or a plastic ice chest, you want to make sure you have a vinyl that is made to work on LSE (low surface energy) plastic. If you are going to be going around complex curves you really want cast vinyl.
The are various air-release treatments (on the adhesive side) that help avoid bubbles, which is very nice for laying large sections, as in a color-change wrap.
Most adhesive vinyl films are pressure activated, and some are activated by heat+pressure. Most wrap vinyls you can hit with a torch to stretch and conform to a certain degree (up to 200% stretch with certain products), but others will bubble and melt in seconds when the flame hits it.
Finally, the adhesives degrade over time, so try to avoid buying old stock vinyl (especially if it was not stored in a climate-controlled environment).
I avoid the clear transfer tape. Hate that stuff. It is only used if a client insists.
I use low-tack and medium-tack paper transfer tape from TransferRite.
(abitape.com). I use an industry supplier, but it is available from Amazon, signwarehouse.com, uscutter.com, etc.
Bonus: the paper transfer tape is laser-safe.
-edit-
The clear stuff is vinyl-based and should not be lasered. may not be safe to laser, and you should research any material carefully before putting it in your machine.
Mine does have the paper backing, so that’s good to know. I’ll bet that stuff is sticky enough to do removal of masking papers from the lasered items easily.
Yeah, med-tack beats low-tack, high-tack beats med-tack. Low-tack beats no-tack.
Thanks very informative information. I will be checking out the paper transfer tape you suggest too.
I have been soooooooo tempted to pick up a Cameo. Unfortunately my wife calls it a Cam-e-NO. 
You really should look into it - I bet both you and your wife would find a lot of uses for it. There are often sales on it at the stores or Amazon (getting closer to the $200 price) and (at least in my opinion) it is worth it. Labels, stencils, numerous types of greeting cards, iron ons, decorations, tags ,etc. so much you can do with it either as a cutter or put in a pen and it’s a plotter.
Sure it is! I’ve got the new model on woot for $199. Too much fun, and most important, pretty easy to use.
I have a plan to try out the paper transfer tape for masking non-premasked materials before lasering. Think it will be a lot easier than using multiple strips of painters tape as I have done in the past.
If you are going to do a lot of masking, consider making a dispenser system. You can spend a lot on a fancy one, some of which are made with a CNC and might be able to serve as inspiration for what you could make with a glowforge (and clamps) or you can make a simple one for cheap. I used products from the plumbing aisle at Home Depot for mine.
My initial design had the bars going through the round holes, but I spaced them poorly, and the bars were difficult to remove for swapping rolls. The slots allow me to lift one end out very easily.
At the moment I have 24", 6", and 4" rolls of transfer paper on the upper bar, and the lower bar has a 30" and a 14" roll. There is a 2" roll in the shelf for freehanding little bits.
I am a fan of TheBigSqueegee products. This is the “Dent & Rivet” tool, which works great for initially laying down masking/transfer tape without wrinkles. I go back afterwards pressing firmly with a gold 3m squeegee to fully activate the adhesive.
I replaced the carriage bolt that was part of this test-cap assembly with a longer one, and added the washers. It is the same on the other side.
That would be it for pre-masking materials for the glowforge. If you were masking a decal you would continue…
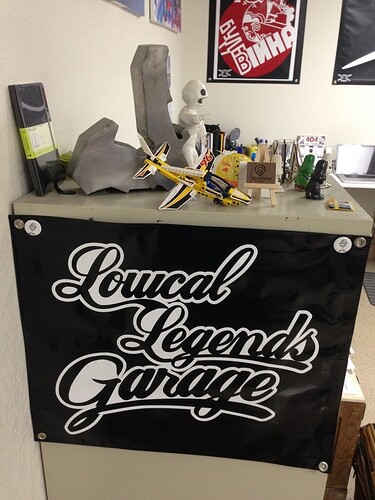
Three pieces of tape and a centerpoint ruler for alignment to the substrate, in this case banner material.
Flip the unsecured side over, peel the backing away from the decals (not the other way around!) and slice it off.
Holding the loose end up, squeegee from the center out, in ‘waves’, to avoid trapping air bubbles. Don’t drop the loose end!
Now you can remove the alignment tape and flip the other side over, and peel the backing away from the decal. If the decal comes away from the transfer sheet and stays on the backing just go back a bit and re-squeegee or burnish from the back.
Peel off your transfer tape, and hang your banner!
Really nice setup and great results. Wonderful tutorial for those new to making any sized vinyl decals.
I always wondered how that was done for really large decals (any I have made have been very small). Thanks for the lesson!
The REALLY big decals (ie wraps) are a different story.
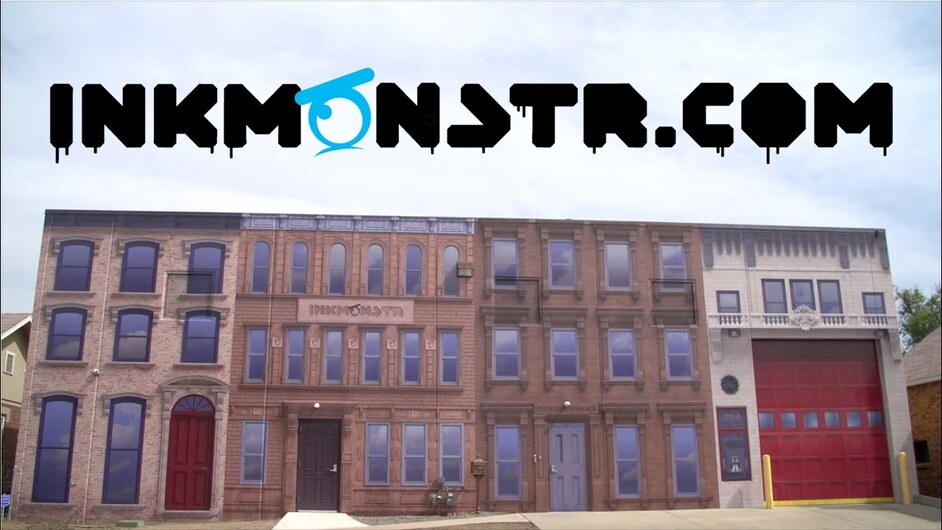
Ink Monstr, out of Denver, is really pushing the bounds of art wrapping. 3M is using photos of this building in their current advertising. The guy designing at the begining of this video is Nick Hughes, an extremely talented artist who I first met when he put me into his currated show at Wazee Union. We don’t exactly speak too often, but I am proud to count him as a friend.
Neat job on that concrete building!
The method for removing the back is how glue-down carpet is laid. Rough cut it in, peel back half and spread the glue. Unfold and repeat with the other side.
Like that ‘clean or Die’ there at the deep sink!
I too was wondering if you could use this transfer tape as a mask for standard materials to prevent burn dust. Wonder how it would work.
Transfer tape is pretty sticky - you might break off delicate parts trying to remove it.
You can buy a low tack paper masking tape here that should do just as well and will be easier to remove.
I bought some masking from laserbits. It works better on finished wood than unfinished. I’ve had better luck with Loctite general spray adhesive and brown painters masking. One extra step to prep the masking but easy enough. Spay on the paper and not on the material and apply without delay. It comes of we’ll if you don’t wait long after the print to remove it and weed.


