Suggestion Box | Alignment / Edge Detection

TLDR; This is not a feature. This is a suggestion on using a physical target to assist the Glowforge UI in auto centering / aligning designs on small one off materials. This is a THEORETICAL idea on how to do it. NOT AN ACTUAL FUNCTION.

This is a continuation to this thread. But this thread is mostly for single, one off ops.

Has the same idea- But used to recover failed ops.

As it sits now you have to manually align things in the UI. If you are doing a large batch- @takitus link has the best approach. Read it.

What this thread is about is single one off ops not really worthy of a jig. The idea is to have physical targets that the UI can see and align to without having to edge detect the actual material itself. QR codes have an alignment/orientation correction built-in. The glowforge already has QR detection capabilities. Classic ‘You put your peanut butter in my chocolate…’ Though this suggestion is a mod of that function. Specifically the orientation function. Once again. This is a theory.

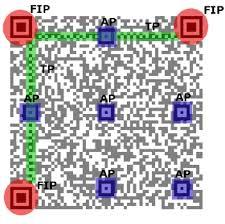
The blue ‘boxes’ in the image above marked ‘AP’ are called the alignment pixels.
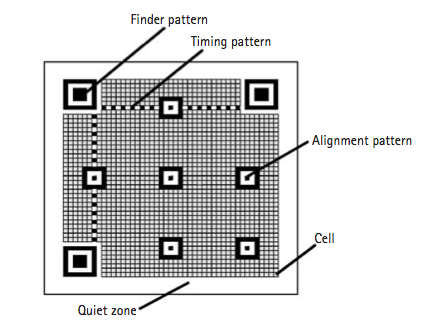
Another example.

.

Example of an actual QR code.

So here is the idea. Use a QR code minus the ‘data’ portion of the code.

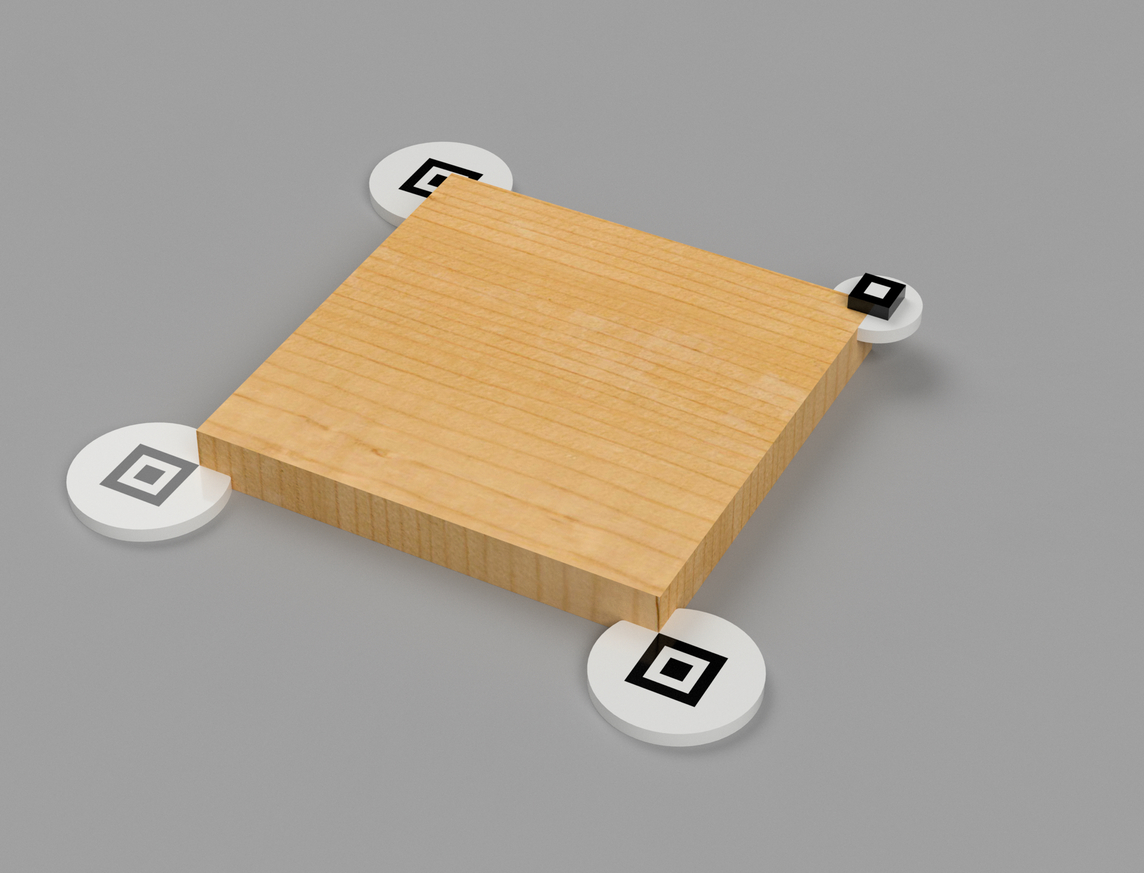
Use case. You drop in a small piece of a material. And import a design.

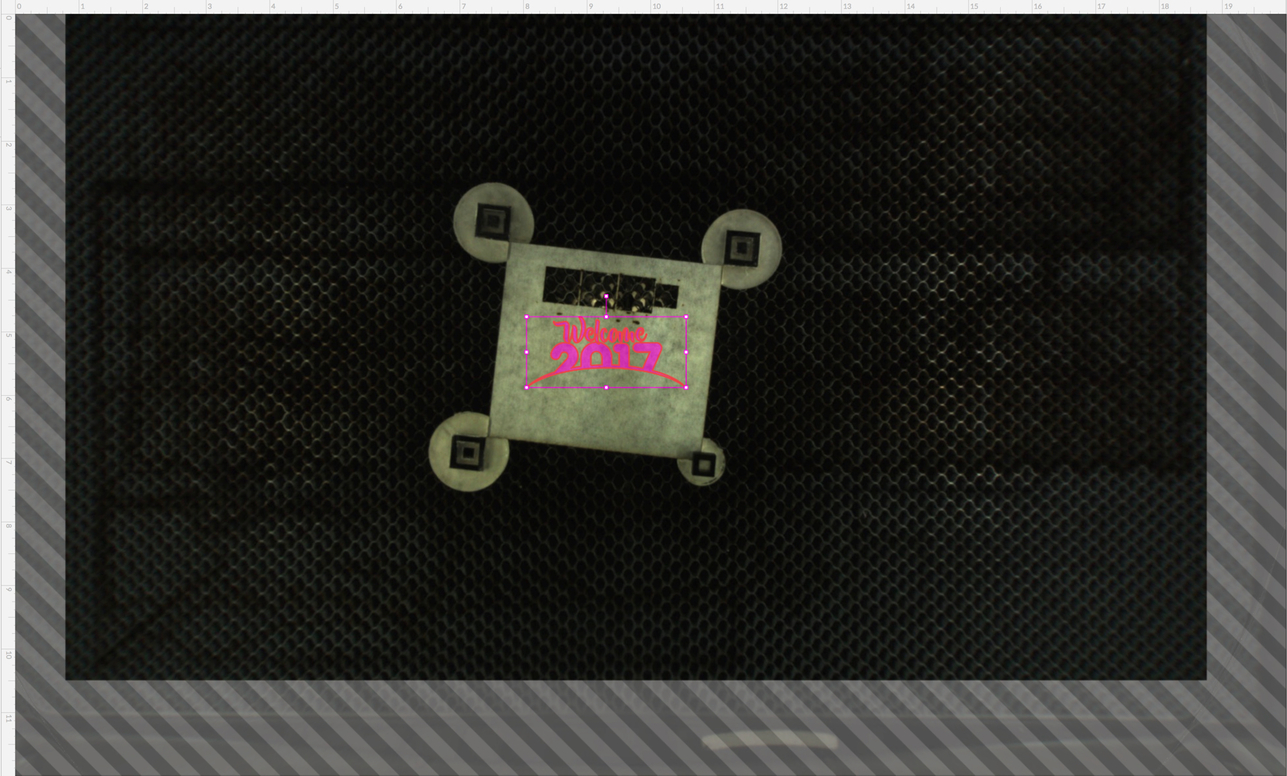
On the backend of the UI it sees the alignment patterns and works it’s magic.

Once the shape is discovered it would take the two sides (X & Y) and divide it in half and make a snappable location in center in the UI for the enduser. The side effect of this now that it knows shape and and the where the center is, it could assign a 0 orign. So you could just make the file about the size of the material it would figure out the orientation and snap to known zero. Theoretically.

What the end user would see. (or more?)

Hopefully this helps Team Glowforge.

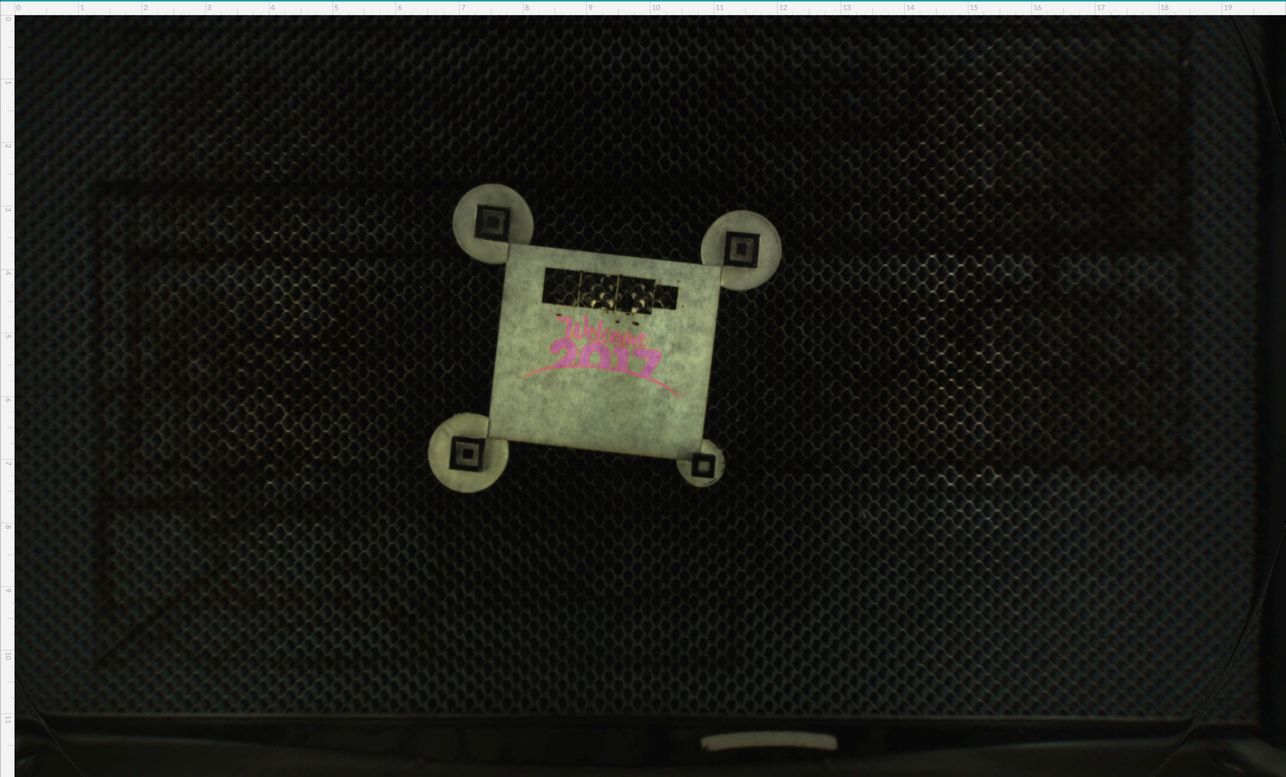
Anywho, Here are the parts getting cut out.

Fun fact. Both proofgrade frost and black were cut out at the same time.

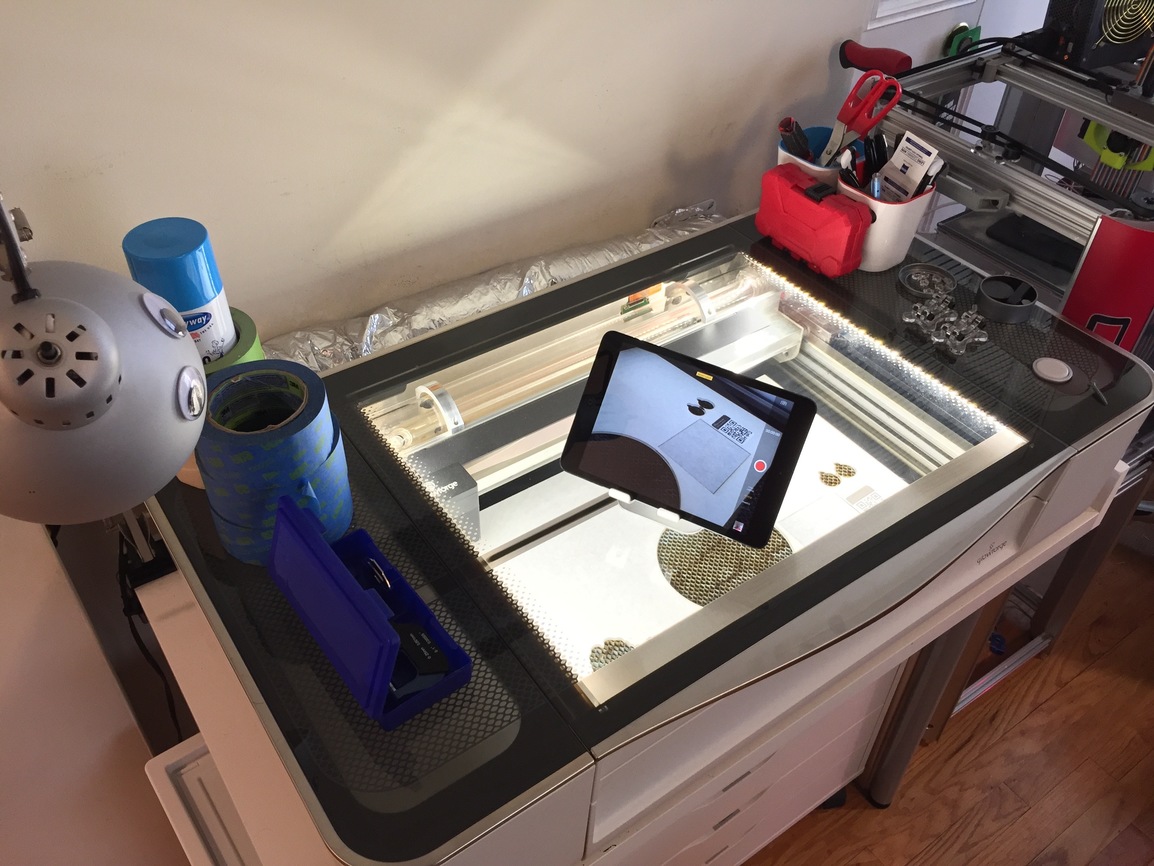
Here’s a picture of the setup I use to take the videos.

60 Likes

shrug Sorry. Just trying to give an actual example.

7 Likes

I love the fact that you guys are not only discovering the issues but coming up with ideas for solutions.

5 Likes

Thanks so much for demonstrating the concept! Looks brilliant! I LOVE it.

I can see this. Hard to say if that’ll be the case.

  • Tom
2 Likes

I mainly enjoyed that I read one of your image annotations as “hugs and kisses, yo”

3 Likes

This is cool. Auto centering and rotation would be so handy to have. I never thought about the centering thing before, but could have used it many times already. I hope they put something like that in down the road.

4 Likes

Great idea!

1 Like

It’s an interesting idea. The main drawback I see is it seems to rely on a square target system. Obviously not all materials are going to be square-edged, or even square, so having individual corner pieces will have alignment problems.

That being said, just print a single marker onto a small sticker, and place it right in the middle of the wood. The laser can burn through it after it’s taken measurements, and a single target sticker would set the orientation. Using standard edge detection spreading out of the marker’s position, you could isolate the material edges in a manner that doesn’t require squareness (if you need edge detection at all).

4 Likes

Very cool idea! Will hopperize.

13 Likes

That is getting to be one big hopper, :grinning:

1 Like

Cool idea. Hopefully the the troll won’t attack it.

What if the troll points out that this is very similar, if not identical, to the 3-point fiducial system that people have been requesting for a long time, nearly since the inception of the crowdfunding campaign?

9 Likes

You guys are bad :stuck_out_tongue_closed_eyes:

@karaelena did you make the stand to hold your iPad too? If so what angle did you use? That’s a brilliant idea using the time-lapse feature too btw.

Nope. That was a xmas gift from a couple years ago.

As for the gifs, I record the video as normal. Then dump that into a video editor and re-render it. The built-in Timelapse is cool for the ‘on the go’ for some things, but for this application It was skipping over things. This way I have more control and it shows more of the process without uploading a full video.

4 Likes