Suggestions for how to approach glass cabochons + jig?

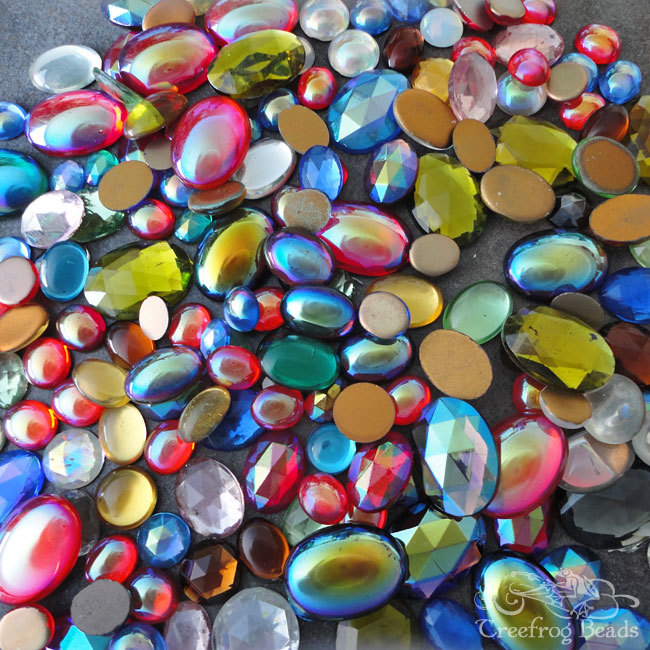
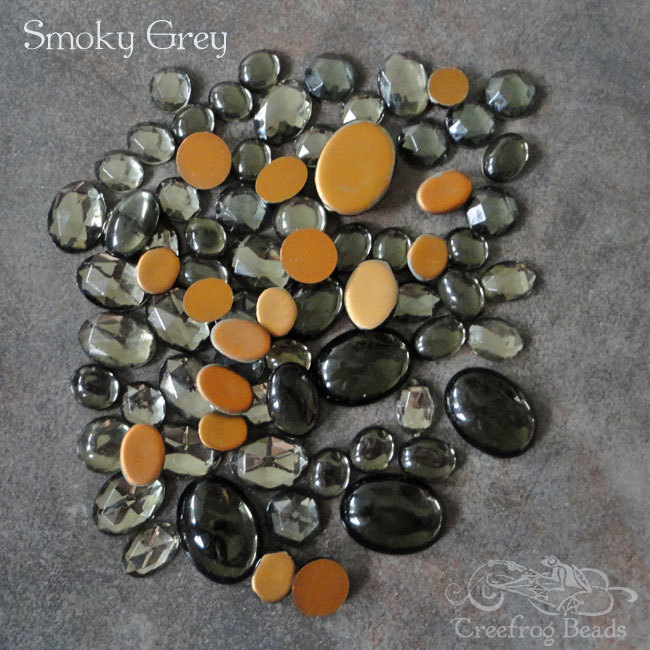
I have an abundance of these 1960’s - 70’s vintage glass cabochons, in a good range of sizes, colors and finishes:

I’d like to experiment with some surface etching as well as engraving from the back, but in both cases there are some challenges that I’m not sure how to approach.

As far as surface etching, I’m just not sure what to use for masking? For the regular transparent colors, I can probably just use the same masking paper/tape that I’ve been using… though I do worry that it won’t conform nicely to the convex shape. My bigger concern is with the colors that have aurora borealis or “AB” coatings, like so:

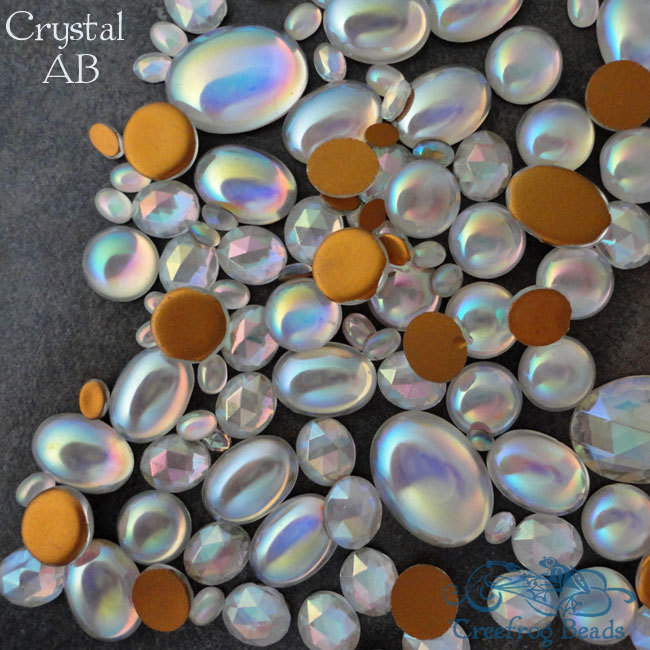
This finish can be somewhat fragile, so I don’t think that tape is a good idea. I read somewhere that a damp paper towel can be a good option for glass, but just wanted to double check that here before trying anything too stupid.

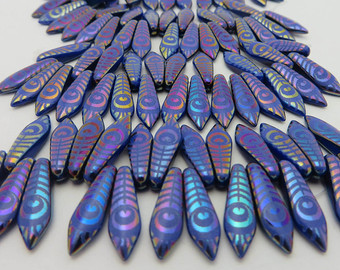
FWIW, here’s an example of some laser etched AB beads that recently hit the market, just to give an idea of the general effect that I’m envisioning:

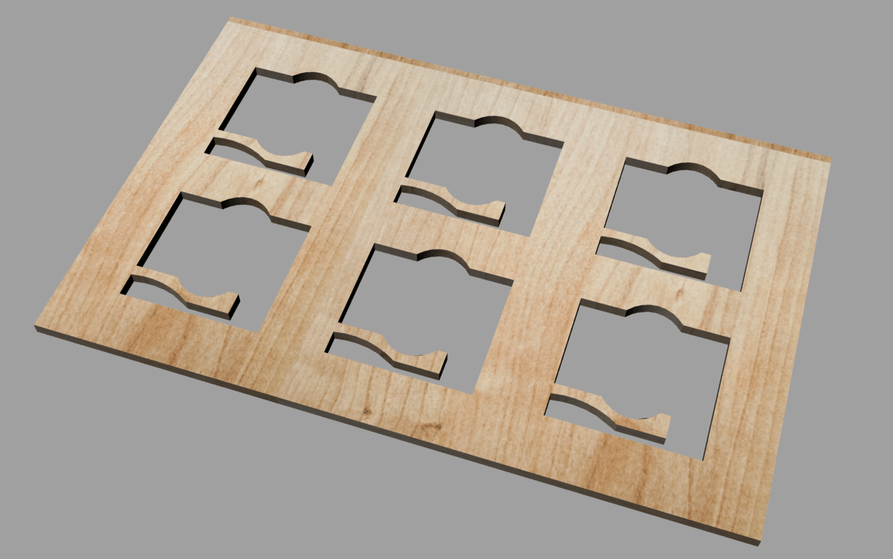
Engraving the back side poses some different challenges. For one thing, I suspect I’ll need to create a jig to hold them steady - and I have no idea how to go about that. My other concern is that the back sides are all coated with a gold foil, which may be somewhat reflective. This finish can be somewhat fragile too (scrapes or scratches to the foil can be seen from the front) so tape might not work so well here either. You can see what I mean about the foil in this image, which has a few flipped over.

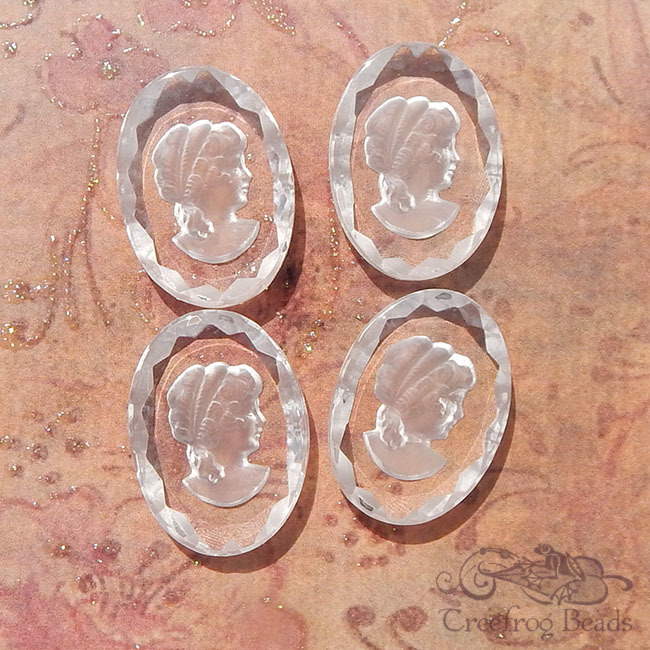
The effect that I’m hoping to achieve with engraving from the back is something like these old intaglio stones:

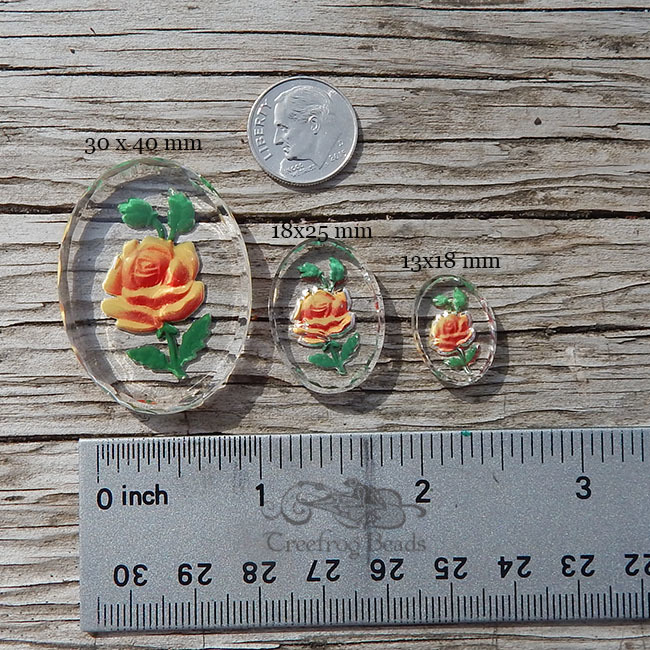
Sometimes you see “reverse painted” intaglios, which is another effect that I hope to play with:

*Edited twice - #1 because I fat fingered, and hit send before finishing my questions, #2 to add the photo that shows the foil backs :wink:

33 Likes

Cool idea! :sunglasses:

3 Likes

I don’t really have a clue if this is doable, or even safe, but I wonder if polymer clay (or any squishy but not liquid stuff) would do the trick?

11 Likes

exactly what I was thinking - roll up a ball of it, then squish in your cab for a “custom” cushion. Then, lift out your cab (with some duct tape), bake the squished ball, and you’ve got a custom jig. I think @Jules actually used raw polymer clay as a jig and accidentally lasered some which “baked” it in situ and seems to have survived, so raw would work ok too (better to try to keep it from getting lasered, though)

5 Likes

Just keep in mind that I’m pretty sure polymer clay has PVC in it, so you should minimize if not eliminate its use in a laser.

1 Like

Easier though would be to run a strip of double sided adhesive on the back of the cabochon. (I was using a Scotch ATG 714 tape gun…zip and you’re done.) You can actually stick it to the grid.

8 Likes

Yes indeed. I used wet paper towel on my glass tiles I reported on last week (Pre-Release).

Similar to the jig that could be created if you were to want to (hypothetically) engrave M&Ms. You’d need a hole slightly smaller than the cabochon so it rests in what is in effect a divot. I’d do that if I had a large supply to do and they had similar or a relatively fixed number of sizes. Jules’ double-sided tape idea is good but then you have to place each engrave individually as you’ll not likely get spacing, etc. the same from one run to the next. A cut-out jig using wood or acrylic (I’d use wood, or even cardboard or chipboard) will allow you to use that template for placing the text or images in the design file and just tell the GFUI to ignore the cut lines. For the hypothetical M&M jig each M&M resting place has 2 circles - one is the smaller inner circle that is cut out (and then ignored in subsequent executions of the file) and the larger outer one is also ignored in setting the laser but is useful in knowing where the outside edges of the M&M is. That lets you place your artwork precisely knowing it will fit. Then in the GFUI you can drop the whole thing onto your cut out jig.

10 Likes

Thanks!

1 Like

oops. my bad… yes polymer clay is PVC.

“cold porcelain” might work, though. Its corn starch and white glue. Would PVA glue be safe? I did a quick google search but didn’t see a definitive answer.

3 Likes

Just bumped 4 magnets around the Pistachio I engraved. It was very convex on the bottom, lighter than the glass and the air assist didn’t move it even though it wasn’t held down, just held in place.

5 Likes

For surface engraving (i.e.- face up) I think they’ll probably stay put without needing any adhesive, since the back sides are perfectly flat. It’s the reverse engraving that I worry about, because the stones are convex and they’ll be balancing on their rounded tops.

FWIW, they’re about 6mm tall at the tallest point… and maybe I’ll just pop a couple in now to see what happens :wink: I tried one last week and crumbled it to bits.

1 Like

Could you use water color paint and then wash it off after?

I don’t know about watercolor paint, but I did read something about using a thin coat of dish soap! My only concern with the latter, is how it might react with the AB coating.

2 Likes

I’ve used dish soap on pub glasses and it worked great, but have no experience with AB coatings…

2 Likes

For the “‘reverse painted’ intaglios,” masking and then engraving in stages by paint color may make it easier. That could also be something that requires accurate repeatability, though. If you want to try that, I’d figure out how to use the 12x20 artboard thing first.

2 Likes

bluetack or whatever color it is now?

For a mold/jig, you can use pretty much anything safe that dries/cures if you put a layer of cling wrap between it and the glass (either non-pvc cling wrap or trim back later). Plaster of paris comes to mind, although spackle would likely do. You won’t get a perfect mold, but it should be good enough to sit in.

Can even put a thin layer of Vaseline on the cabs and bake the polymer clay “jig” with the cab in place – then pop free after cooled…

Another option is silicone rubber paste mold making material – just set the proper sized cabs in it, and pop them free after it sets. This would avoid any possible accidental lasering of the polymer clay and any PVC component…

6 Likes

Most PVA/PVAc products should be fine, as far as I know, but it’s best to always check the MSDS for the particular product in use in case they’ve added some unusual ingredient.

1 Like

Grab a piece of scrap 1/8 inch and laser some different sized holes, then just place a couple of your “stones” and see if that holds them steady enough. If it works you’ll know what size to make the holes for a holder. If it doesn’t work you still got to play with a laser for a few minutes :grinning:

2 Likes

If the bottoms are flat you’ve won half the battle. It looks like they are sized/shaped similarly, but I bet you’ll need a little bit of “give” in your fixture jig. Maybe something like the lil’ mockup I made would hold them tightly enough that they won’t be sliding around, but be flexible enough for slight shape variations.

If this was cut into something thick enough, I imagine it’d also work when the cabochons are sitting on the bed round-side-down.

PS I can’t fix the awesome texturing job I did as I’ve already closed Rhino, but I’m thinking the bendy parts would work better if the grain was running the other direction.

11 Likes