My sister came to visit and one of the things we did while she was here was go to a masquerade ball at the EMP. Nobody in our group had masks, so we went mask shopping. There are a lot of cool masks out there, but my favorites were all very expensive and still not very comfortable, so I decided I would just make my own. On laser thursday I asked @Shell about making a leather mask and then wet forming it (which I had never done), and Shell introduced me to this new material we got in called Taskboard. We were excited to try it out since reading about it on the forum here. It is like a moldable, sandable chipboard. You can wet it and mold it into things and then dry it and it will hold the new shape. Also, it’s lightweight, has some flex to it, takes paint and glue beautifully and (most importantly) it can be lasered.
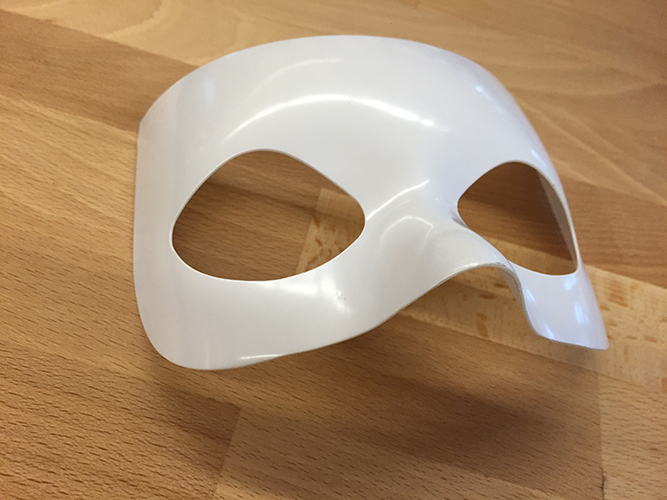
@Shell and I set out to make a mask out of it, using some plastic masks I got at a hobby store as a mold for the shaping.
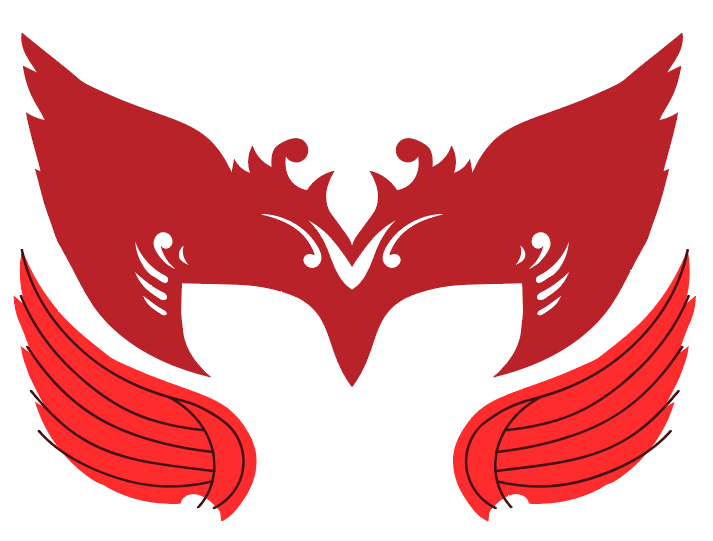
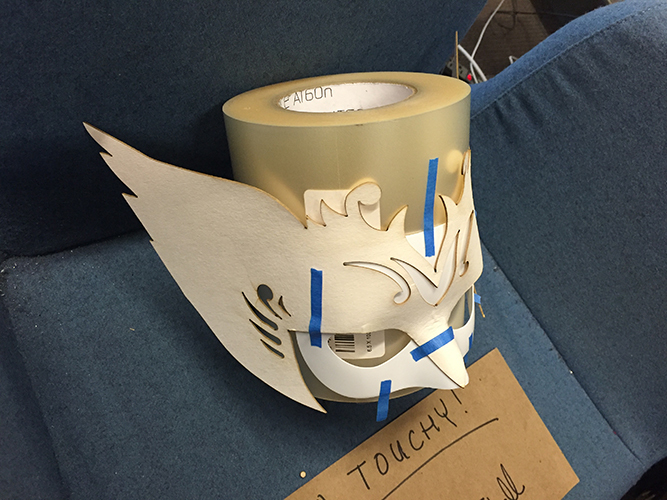
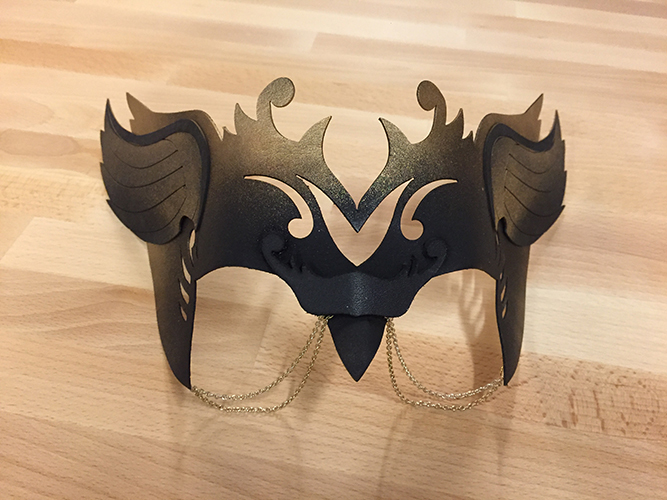
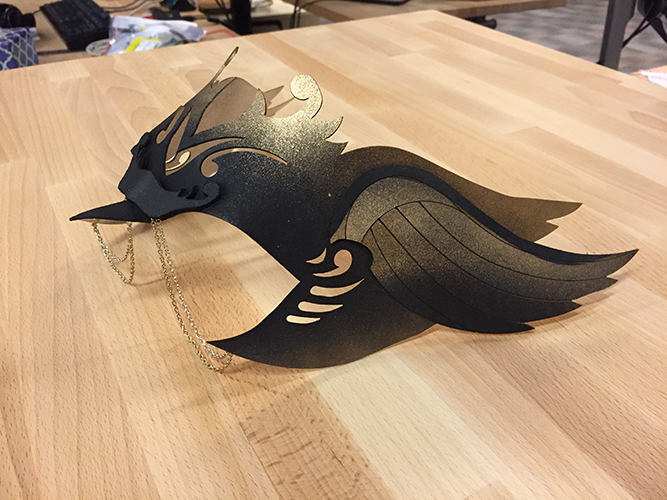
@Shell drew up a mask outline with some feather and mask inspiration I sent her, we cut it on chipboard to test and iterate and ended up with a final design. Shell added extra ‘wings’ to add some dimensionality to the piece.
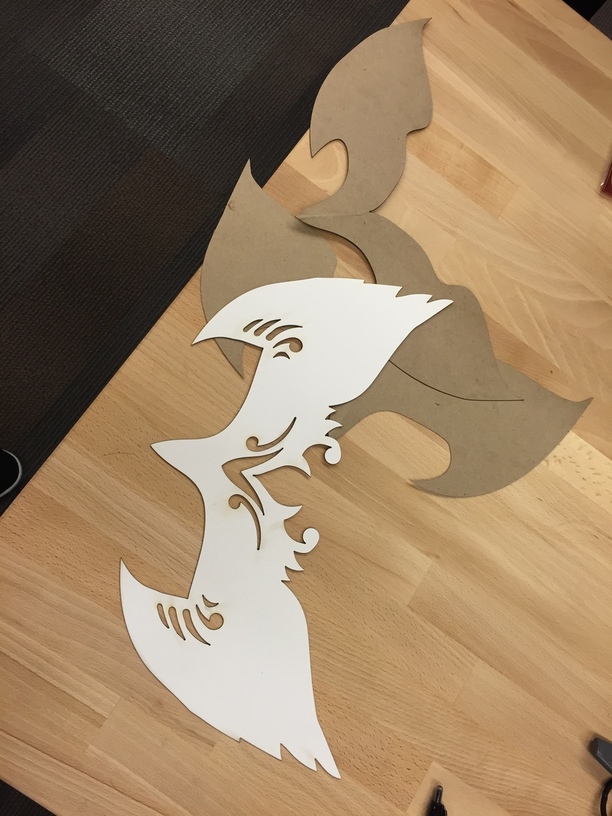
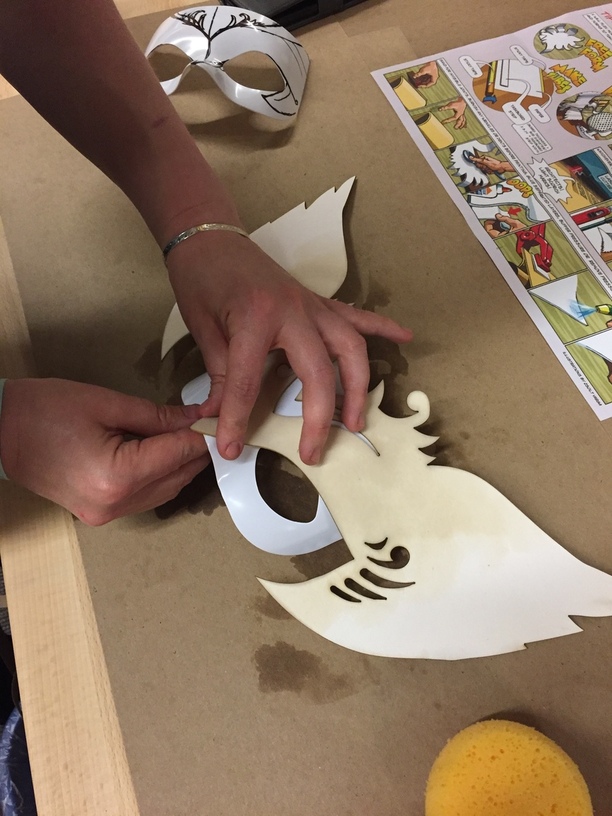
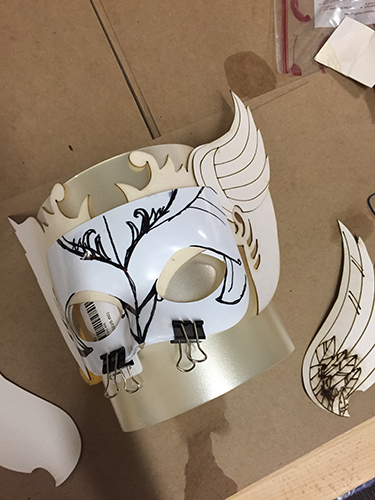
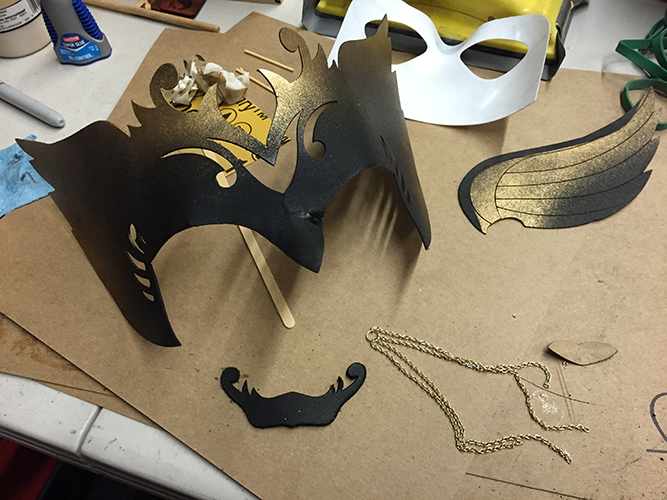
We cut it out of task board and got to molding it onto the mask. The taskboard soaked up the water really quickly and was super pliable. Maybe we used a little too much or not enough water because the double bend of the nose (around the face and outward horizontally for the nose) ripped a little bit, which we fixed up with some wood glue later. (Similar to @cgunderson ‘s experience) We sandwiched the mask in between the two plastic molds and let it dry some overnight, then taped it down to just the bottom mold and had it dry the rest of the way.
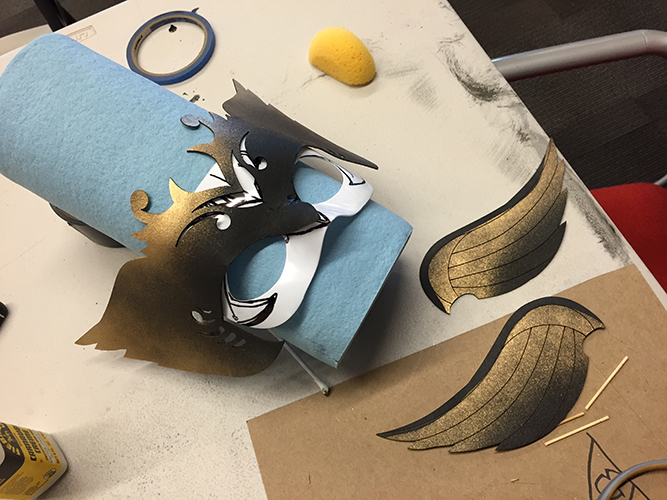
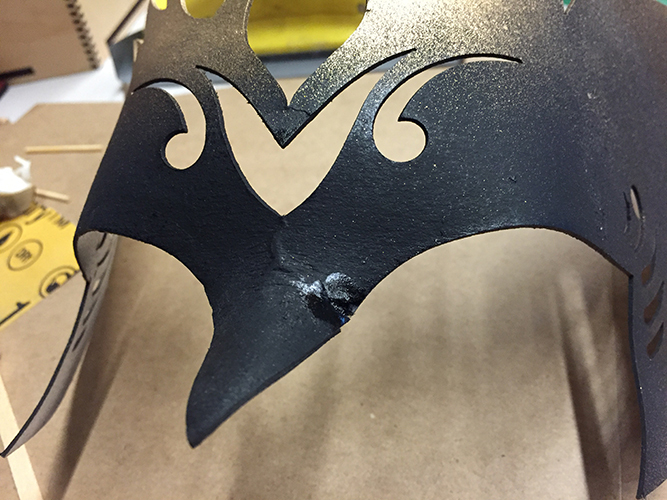
@Shell helped me pick out colors, and we spraypainted the mask down in the basement, adding a little gold to the top and edges of the base, and the inside of the wings. The taskboard soaked up the spray paint really nicely for a beautiful even coat… except where we glued the nose to fix the rip, which ended up being a shiny splotch right in the middle of the mask.
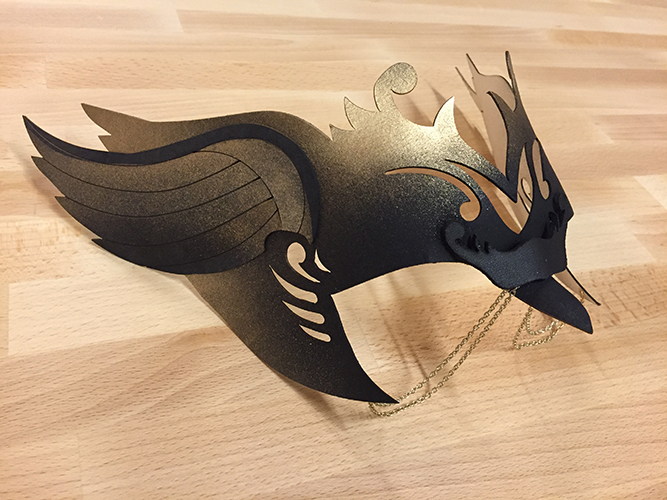
I had tried a mask I really liked with two chains running along the cheek bones, so I decided to add the chains and use a piece of leather to cover both the paint splotch and the chain attachment that I styled using elements of @Shell pattern and kinda modeled after the nose of actual birds. I used superglue to attach the wings, the chains, and the nose cover, and voila, mask!
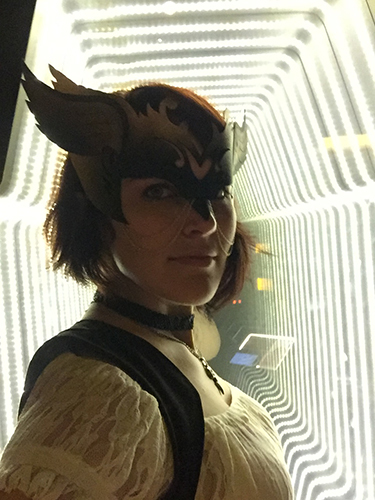
I’ll try to get better pictures of wearing the mask if I can and update this post… here’s a super dark fuzzy one in the sci fi exhibit at the EMP:


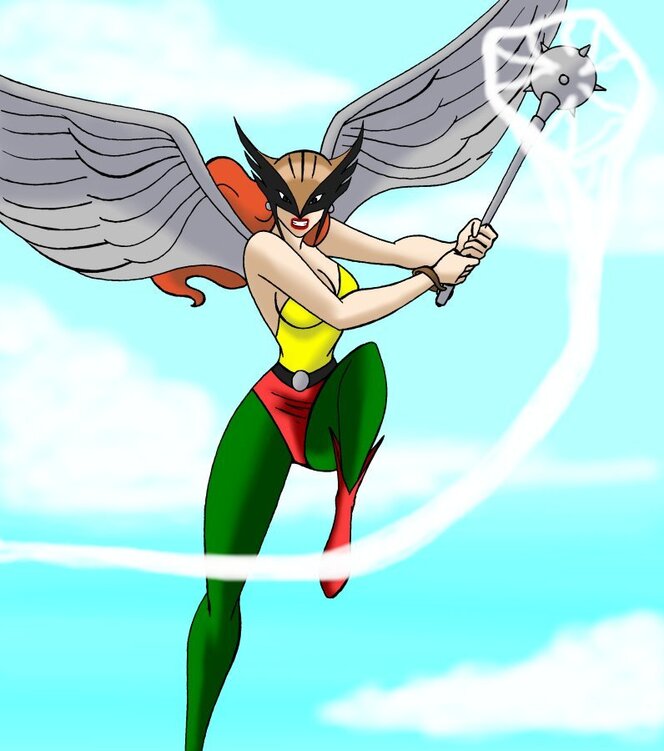
 I thought about making wings to go with it, but I only had one day to do it and I wasn’t sure where to start.
 Wings are a fun rabbit hole.