I have had several requests for a more detailed explanation of what I’m doing when making my textured signs. @cynd11 It’s not a video, but I made another sign so I could take pictures and document my process… so without further ado…
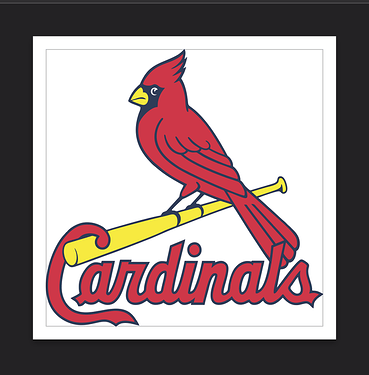
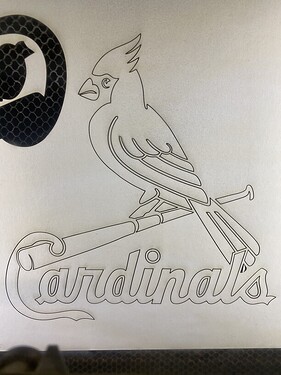
The first step of course is choosing your graphic. I try to pick one that will look good 3 dimensionally, that a sense of depth can be achieved. I chose this for our game room.
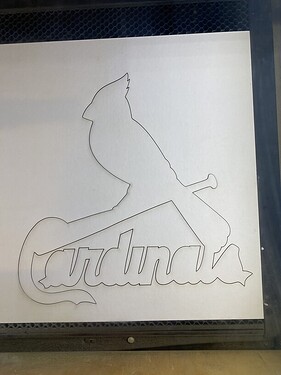
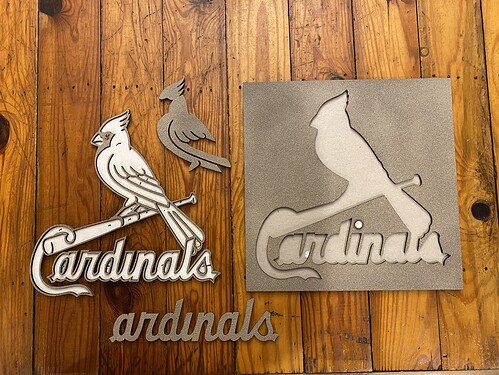
Since there will be plenty of paint to cover any flash marks, I didn’t mask off my material. After importing and sizing the artwork,
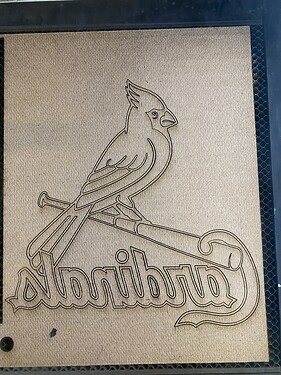
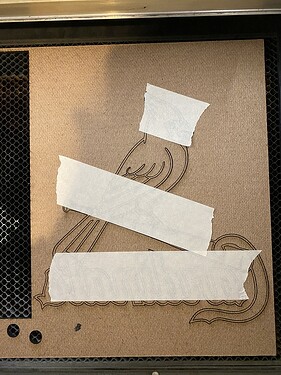
I flipped the image to print on the back side. This allows me to secure all the pieces with tape so that none are lost in removing from the GF. (On some projects I will use the material that I’m cutting from as the board that will be the sign. If so, I spray the entire thing with primer and an initial coating of texture, so the tape on the back keeps everything in place.)
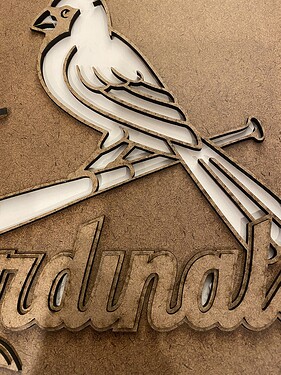
Now I turn my attention to the different heights that I’m aiming for. I use cardstock to give me the raised effect. This one has several different levels so I used a thinner stock but more of them.
I decided to make my backing board out of 2.5mm 10ply cardstock, so I cut a piece the same size as the sign board and glued them together. (not shown)
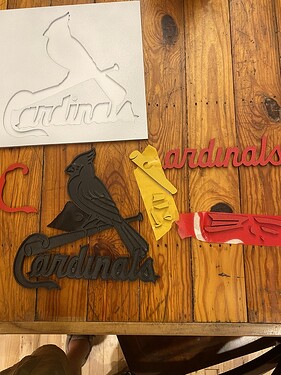
Next, I carefully remove all the pieces that were cut from the mdf and cardstock and set them aside in separate stacks. Now I begin assembly (with out gluing) all of the pieces and cardstock to ensure fit and desire height.
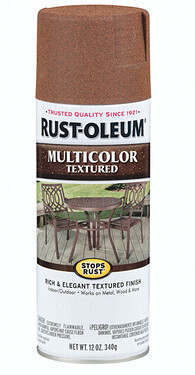
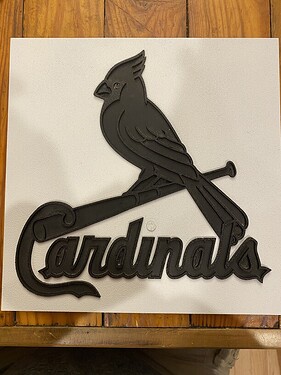
While it is together, I start applying the texture.
This is the product I use, in whatever color is available to me.
I apply it until I get the texture to my liking and the let thoroughly dry. I needs to be really dry, so it sometimes takes a while.
My next step is to carefully disassemble the parts and paint them the colors chosen.
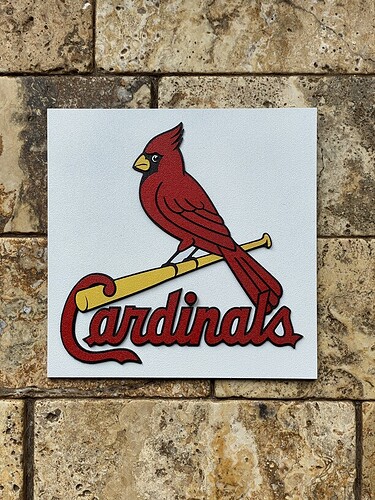
After drying, a begin assembly and glueing.
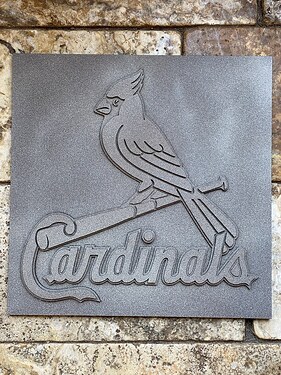
and Viola, finished project.
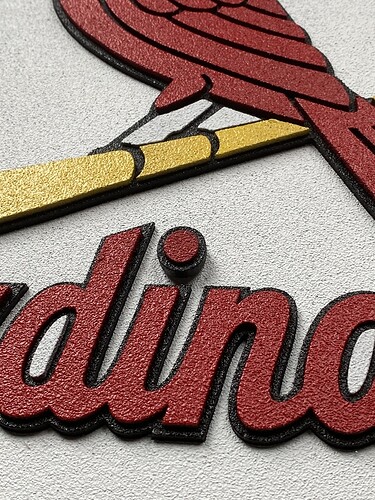


 .
.

 ), love the Blues. I’m planning a Blues sign soon. But I am a huge Chiefs fan.