Greetings-
As I mentioned in Table Lamp 2, I had a follow up idea to building the accessory piece to that lamp. My thought was using the same design, just in a different orientation. I’m just going to show the pics - Here we go -
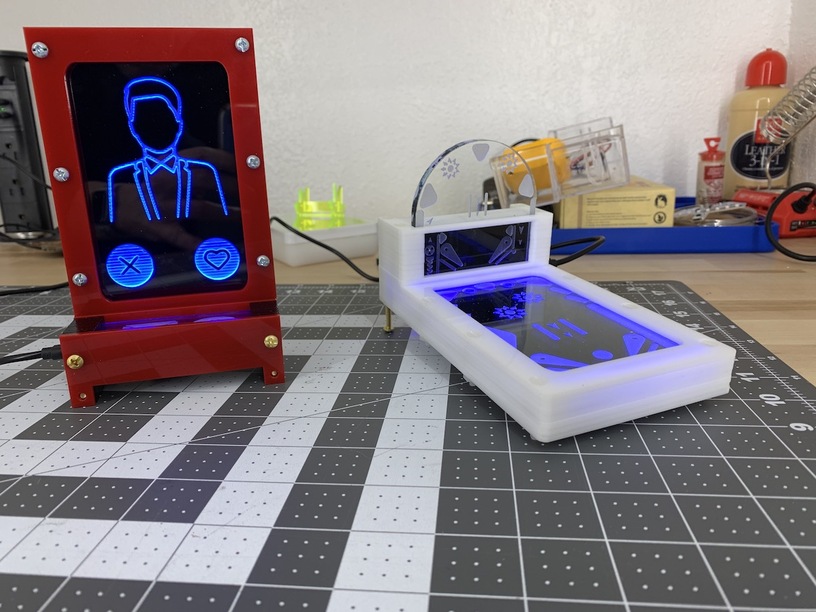
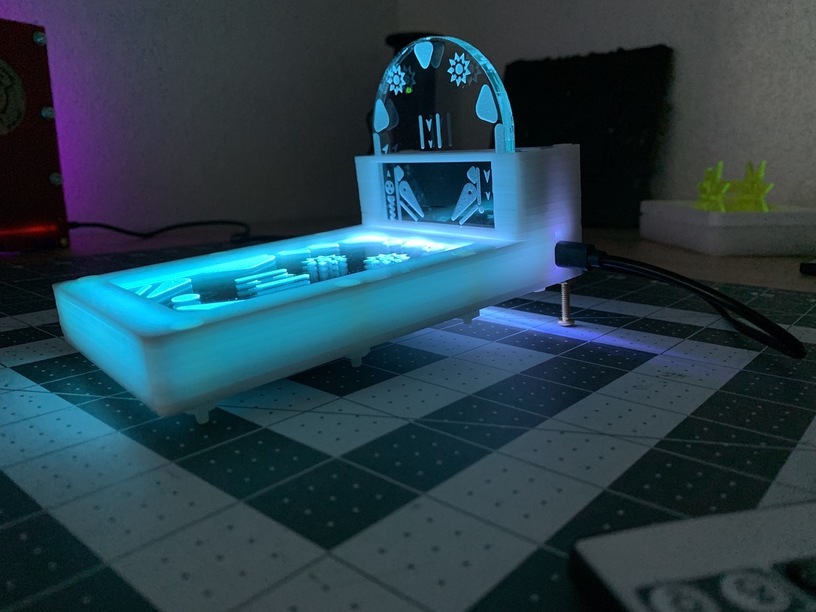
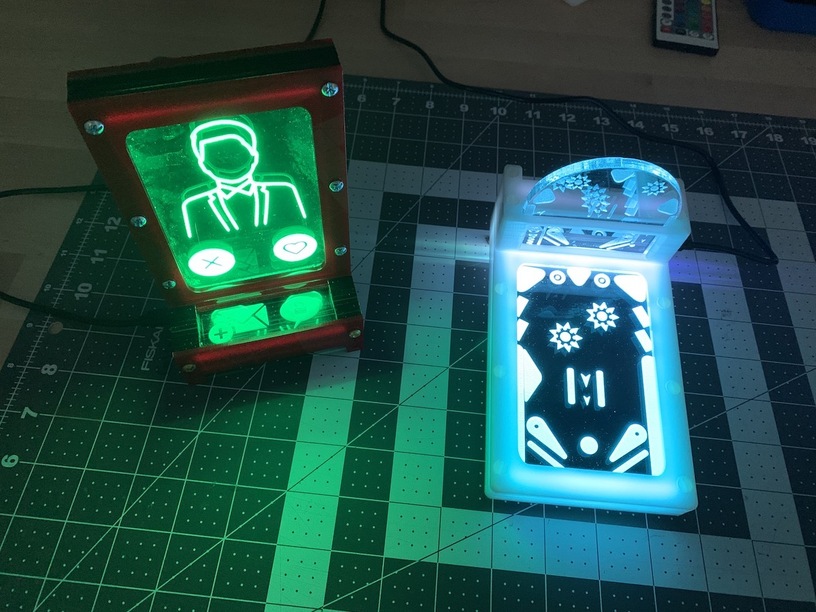
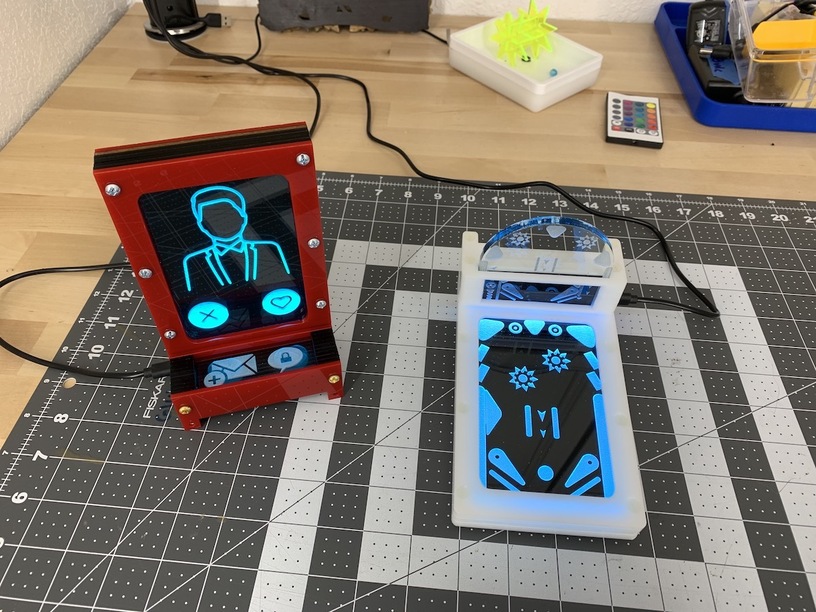
Original Piece on the left, Ghost Pinball on the right.
I did redraw the plan and rounded all the corners off, and made the bolt through holes on all layers symmetric. Don’t ask… ![]()

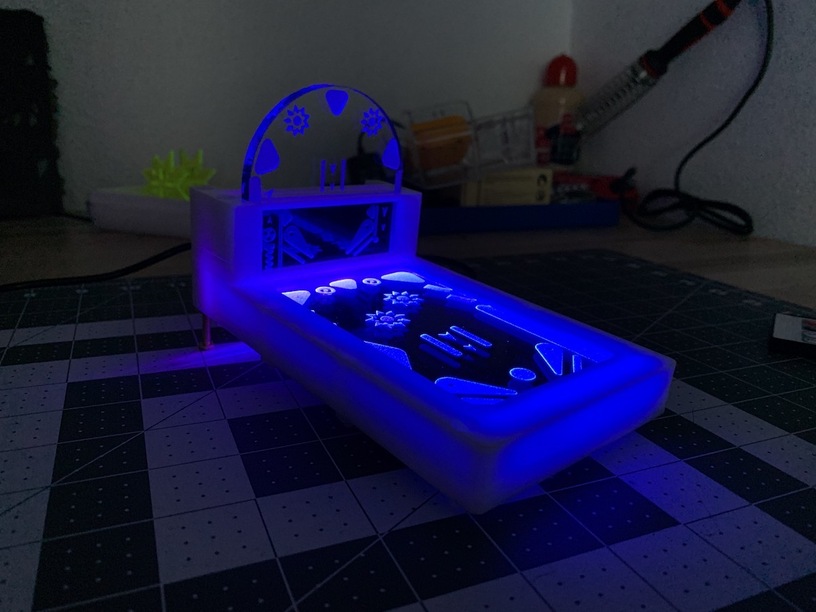
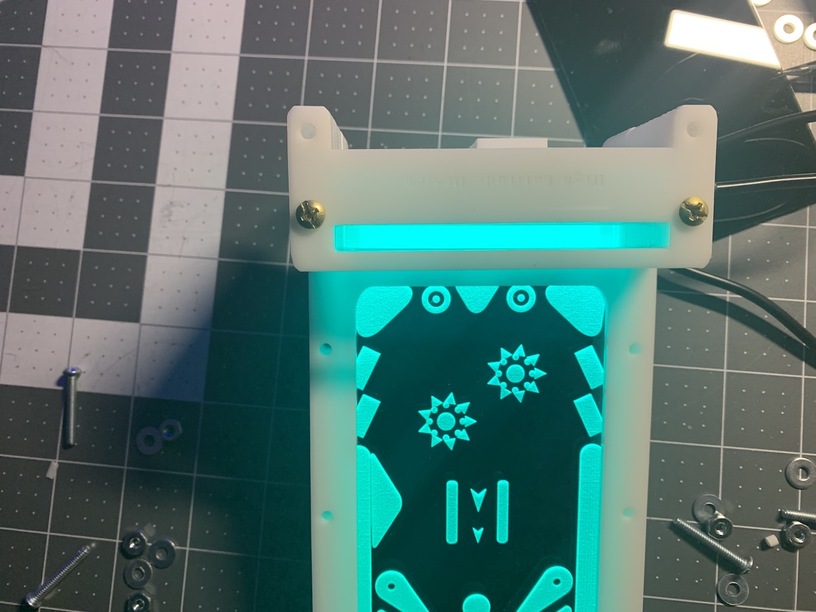
They are not all ‘tight’ together yet as I couldn’t get nylon taper fit machine screws long enough. So I’ll have to oder some #6 fine all thread. But when it’s dark and lit, you don’t notice through all it’s coolness. ![]()
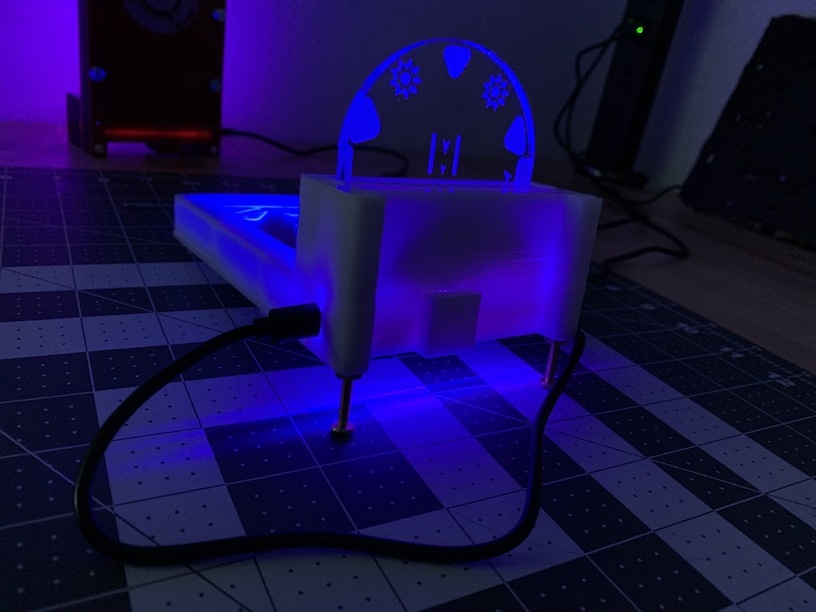
Added my logo to the back, uh, underside. That bright slit is light bleed out the ‘bottom’ as I left a cutout in the bottom layer, on purpose, to spill some light out the rear bottom for effect. I could leave that solid and bounce some more light inside, but it’s also good ventilation for the led board.
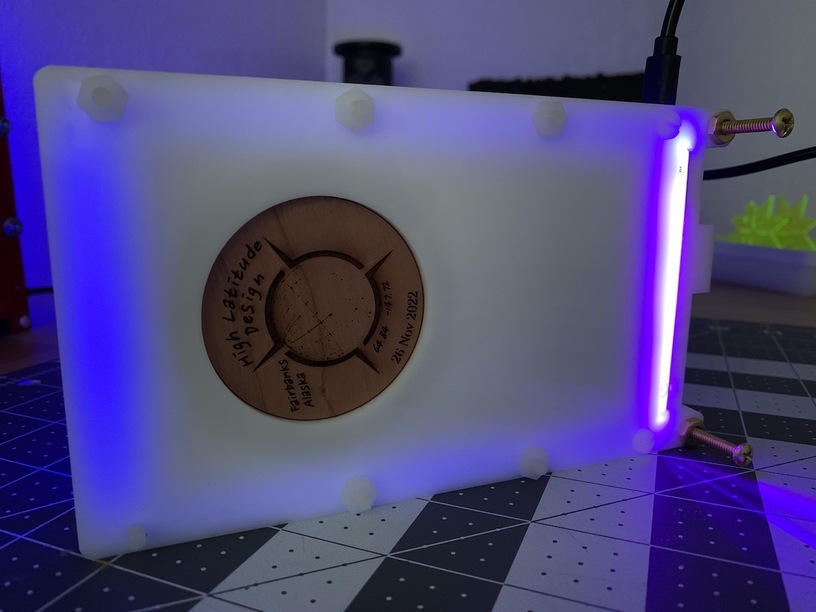
As before, the remote still works, and ice blue is my favorite.
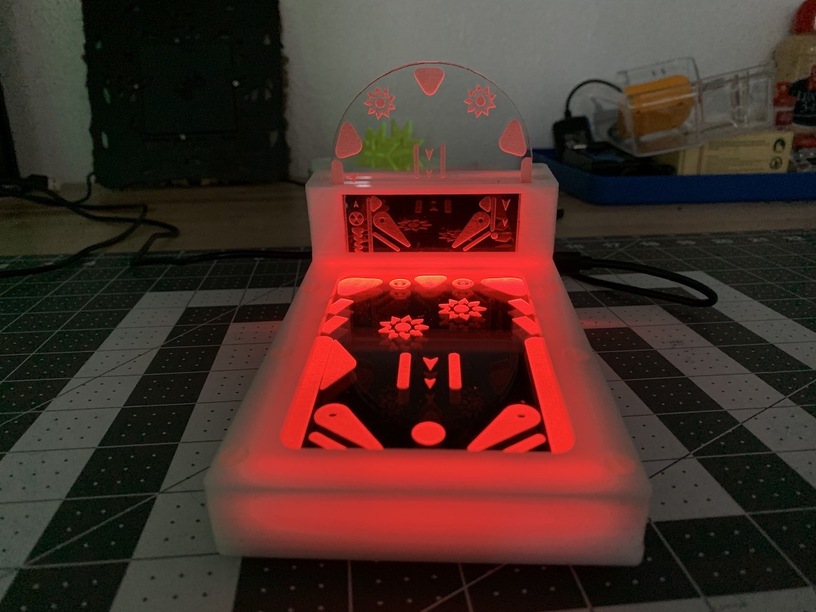
But red has it’s appeal too.
There you go.
HL
Now, the boring part, if you’re interested…
This Ghost Pinball was my first project where I can say, with ease, I could just lay out the sections onto one sheet of white medium plastic, hit print, come back when done with a Thick Green Glass drag and drop those patterns, and print. As I built the file on the desktop in sections, numbered how many I need, and of what materials.
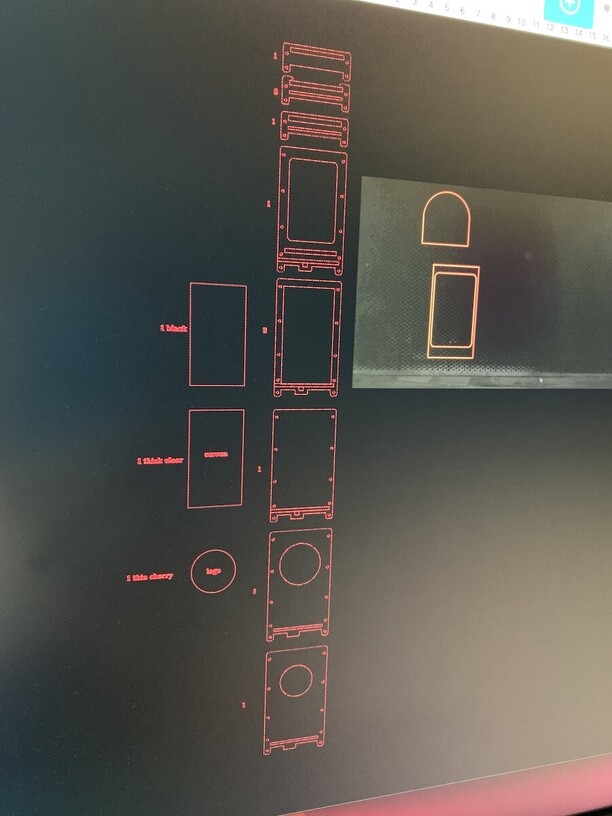
It’s a different way of thinking about completing the task. But it also helps break down the piece into sections. Then of course, there was the whole reorienting my mind. I had just built the ‘upright’ version, so all my design and assembly was based on thinking about the piece in that orientation. So to do the ‘pinball’ version, I had to orient my perspective 90, and 90 degrees. I did that on the original ‘table lamp’ as well. But this time it went smoother and easier, once I got the holes symmetric. Sheesh, way overlooked detail. ![]()
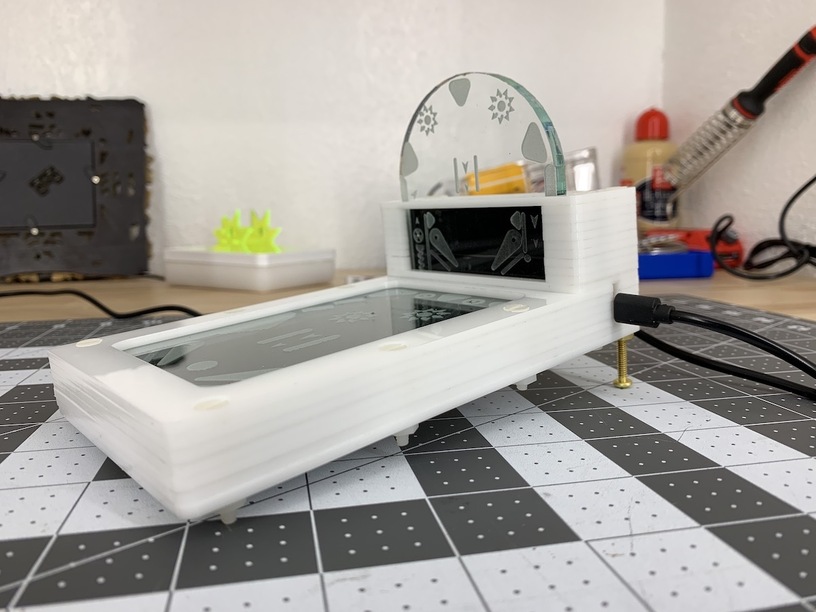
Oh, and I did have to add one layer of the ‘bed’ to get a black background behind the Thick acrylic, otherwise you just see the white behind it and the engraving doesn’t show nearly as much. I tried some reflective tape under the acrylic but it didn’t do anything.
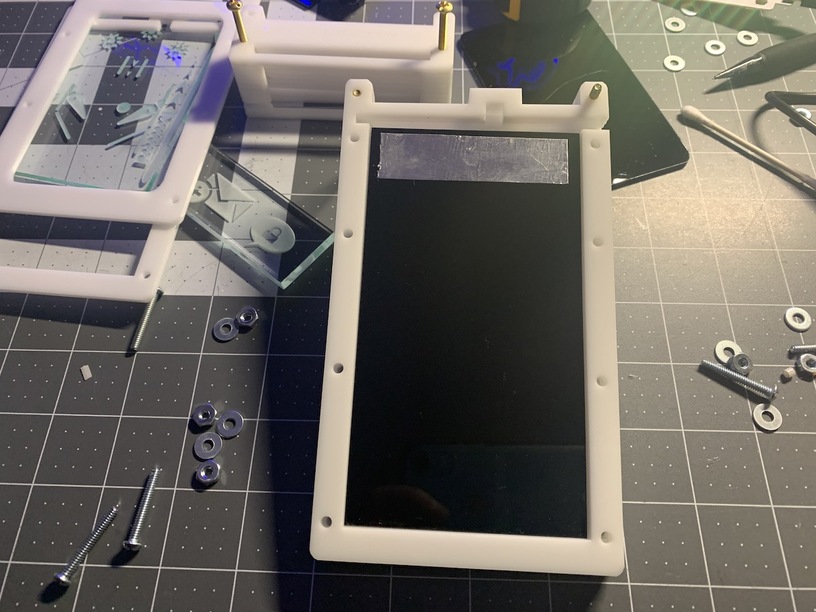
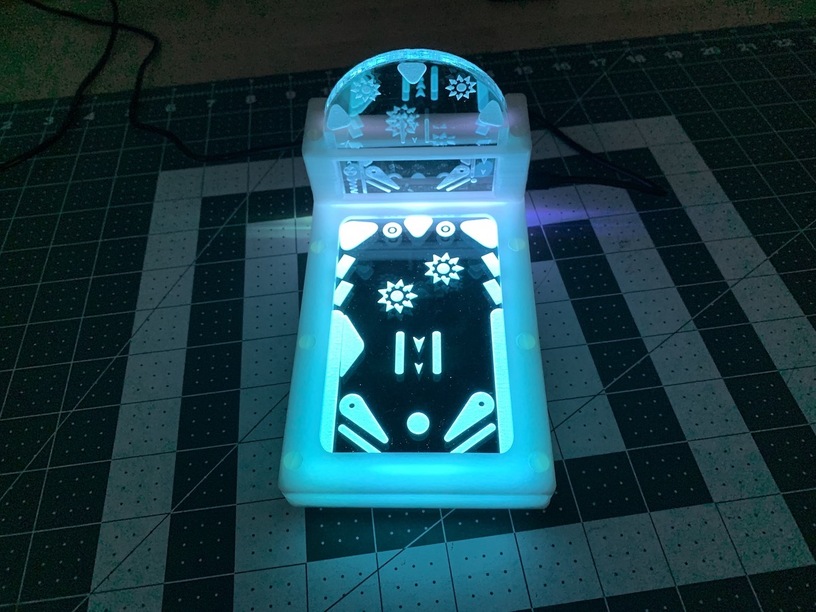
And that’s the trick to getting the arched top piece lit, even though it’s 90 degrees from the LEDs. Engrave the back of the thick acrylic and it will reflect ‘up’ through the slot for the upper piece.
And the upper piece just sits in there, I put some black electrical tape on the back of the lower part, otherwise, again, you would be seeing the white acrylic behind and the engraving would have as much less contrast / brightness.
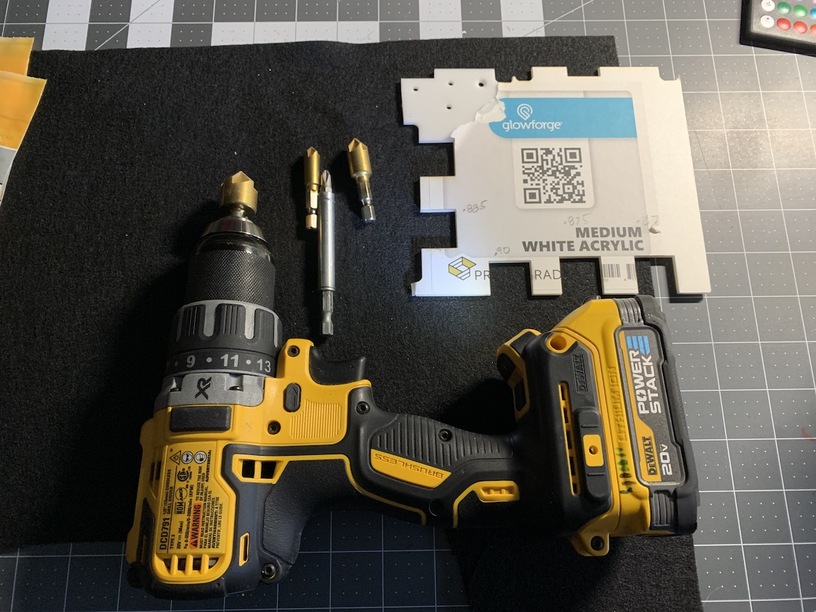
Oh ya, and I chamfered the top layers screw holes so the nylon machine screws would be more or less flush. I don’t have a drill press, so some sit deeper and other a little proud of the surface. But again, not being too precious about it. ![]()
Anyway, there you go. I hope I don’t have to unbolt and bolt one of these together again anytime soon… But totally worth the effort.
HL