Greetings All -
So in a follow up to The Pinball - Ghost Edition, thought I’d make a coffee table, out of corrugated plastic. Here we go -
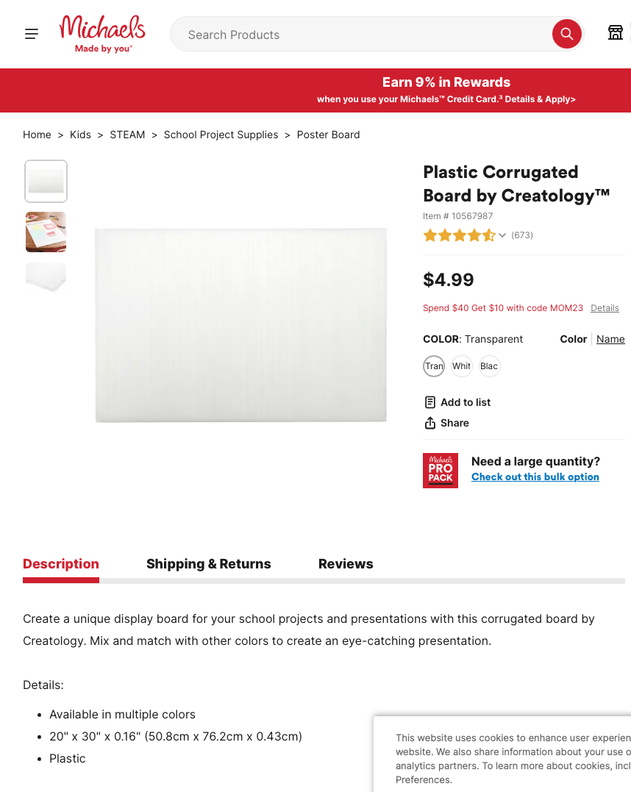
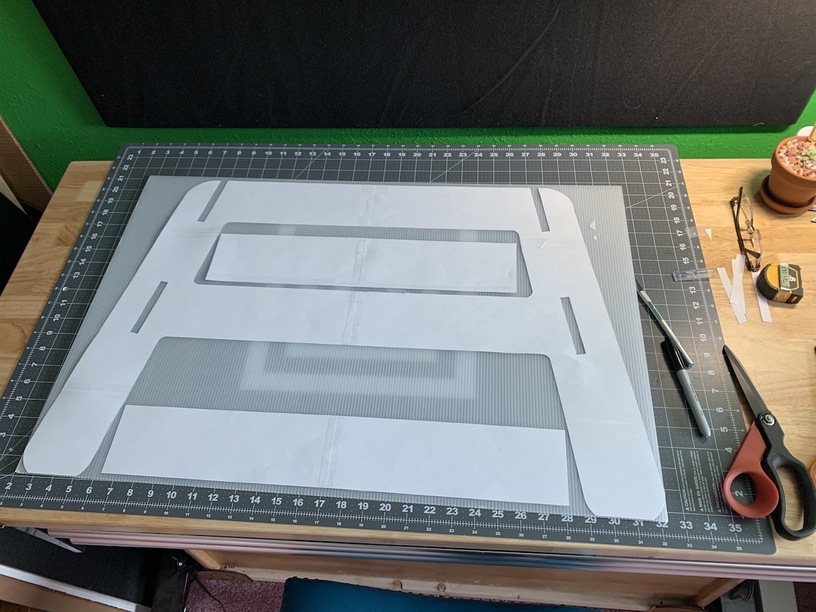
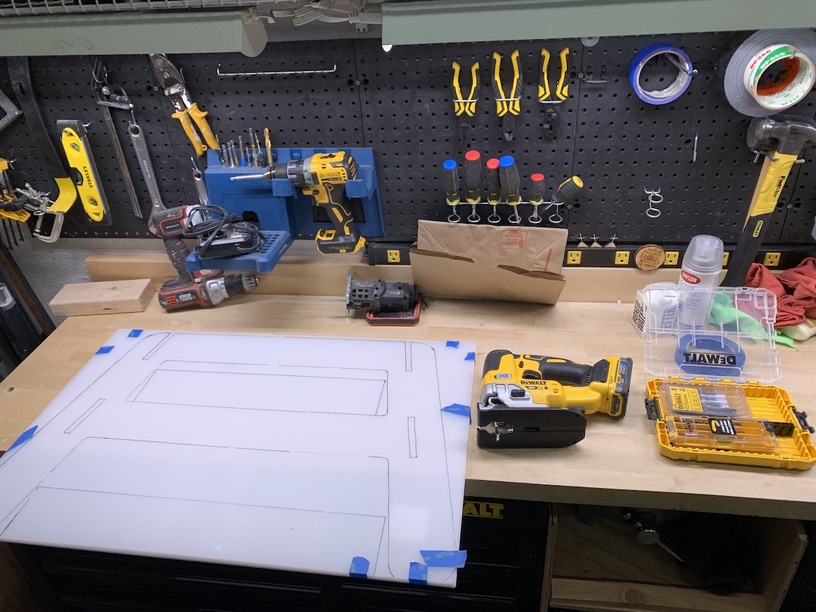
Found this ‘transparent’ sign plastic at Michaels and bought all the pieces they had, note it’s 20"x30" -
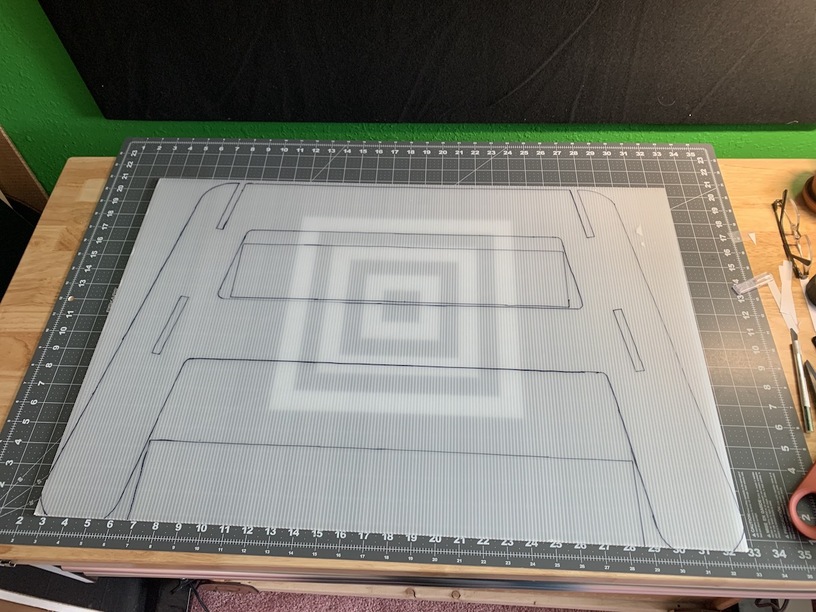
Drafted a table in Lightburn as best I could, to maximize the 20"x30" size of the material -
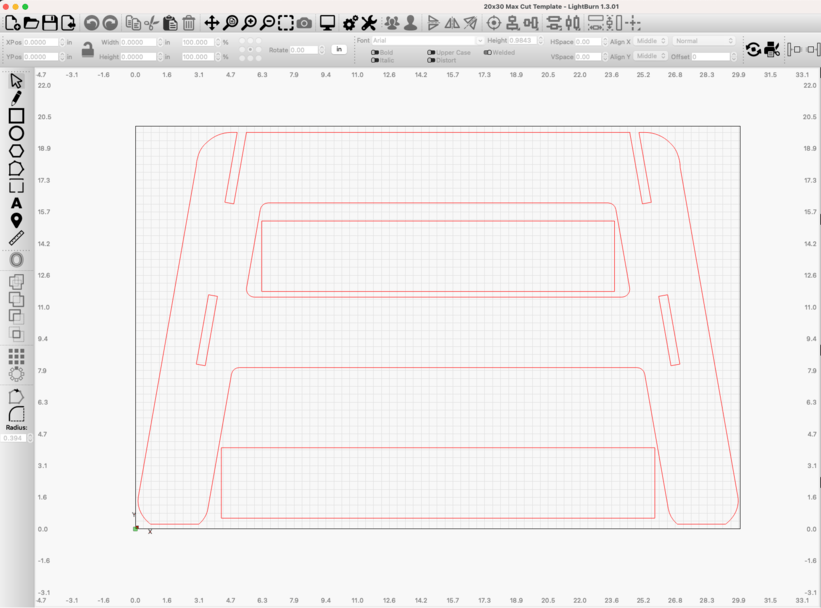
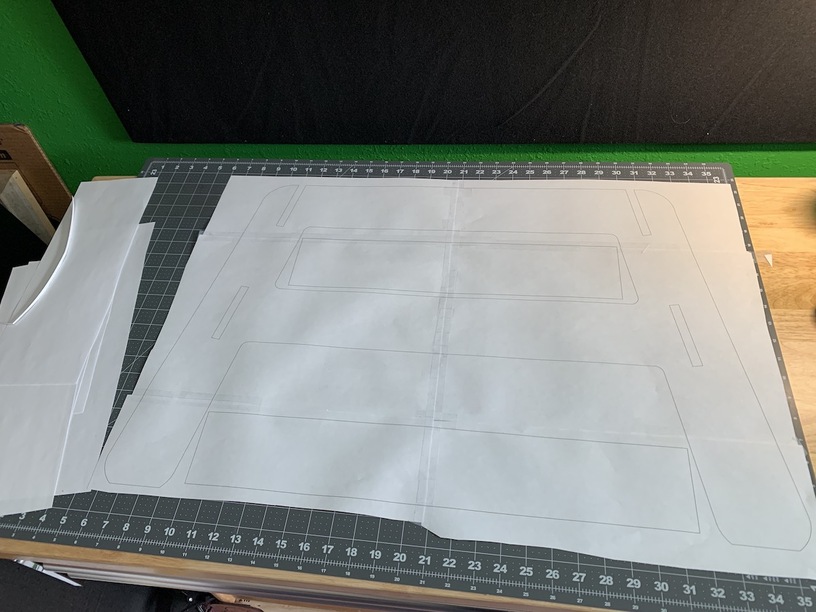
If I had a CNC, you could poop this out direct to cut. But I don’t, so I did the easiest thing. I printed from Lightburn to a PDF. And then use a program called Mindcad Tiler.
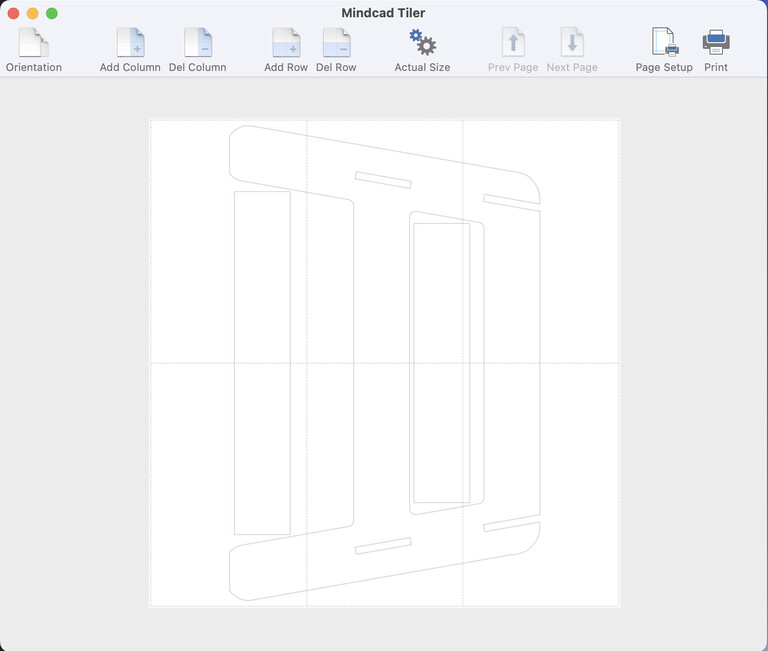
Set the printer and paper to 11x17, since I can print on Tabloid. And it took a couple ‘scale’ tries at printing the six pages, to get the image height right at 20". But all you’re doing is printing six pages, matching up the the horizontals, measuring height, adjust and reprint. Until I got it right, then cut and paste, literally. (or tape) ![]()
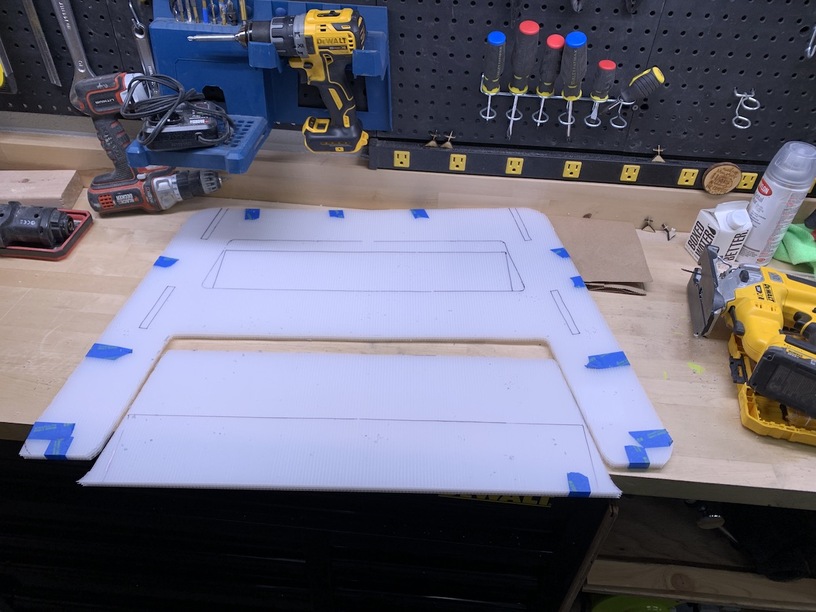
And as a template I was going to make a cardboard cutout, but figured why?
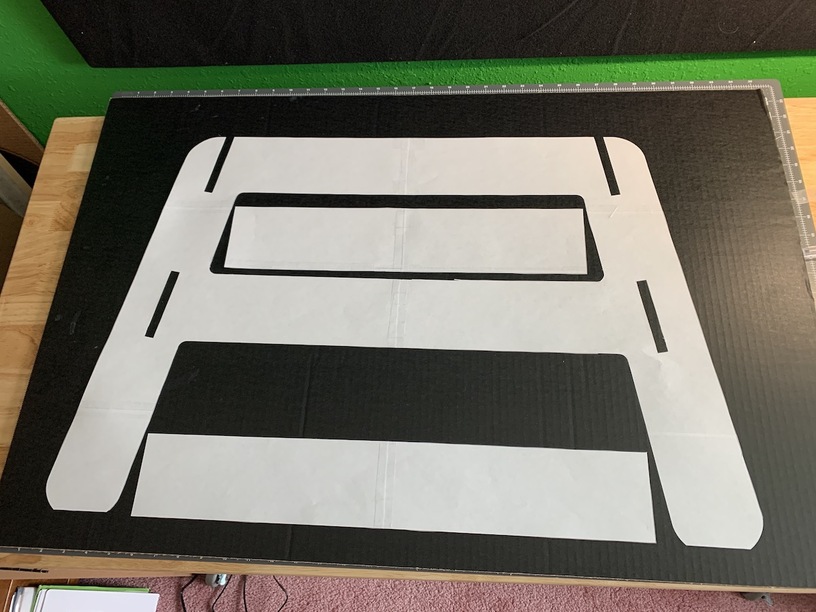
I’m going to just trace the paper onto the plastic with a sharpie. If I was doing a bunch I would make the cardboard one, but the paper alone worked fine.
Bling -
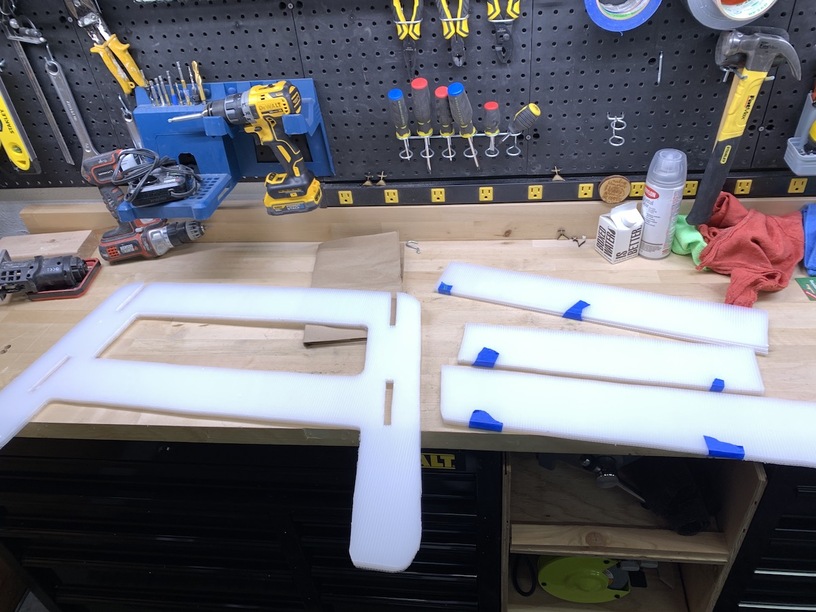
Fun time -
Taping edges made the three layers stay together a lot easier than holding them while cutting, and clamping squashes the corrugations. So tape it is.
I just stuck a box cutter through the face to do the inner field cuts. The jigsaw starts just fine with that, no need to drill a hole or anything.
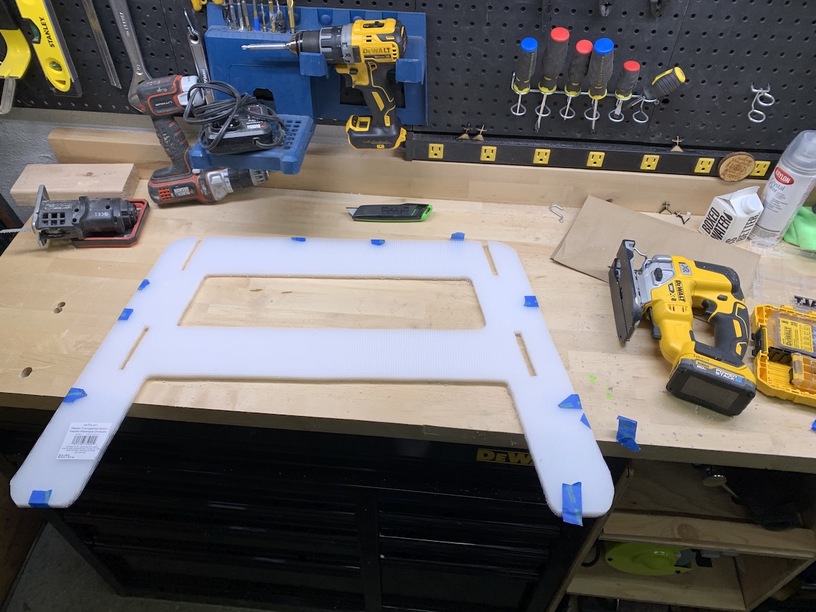
The cut off bits I cut into chucks and they will be used for ‘gussets’ or glue blocks, you’ll see.
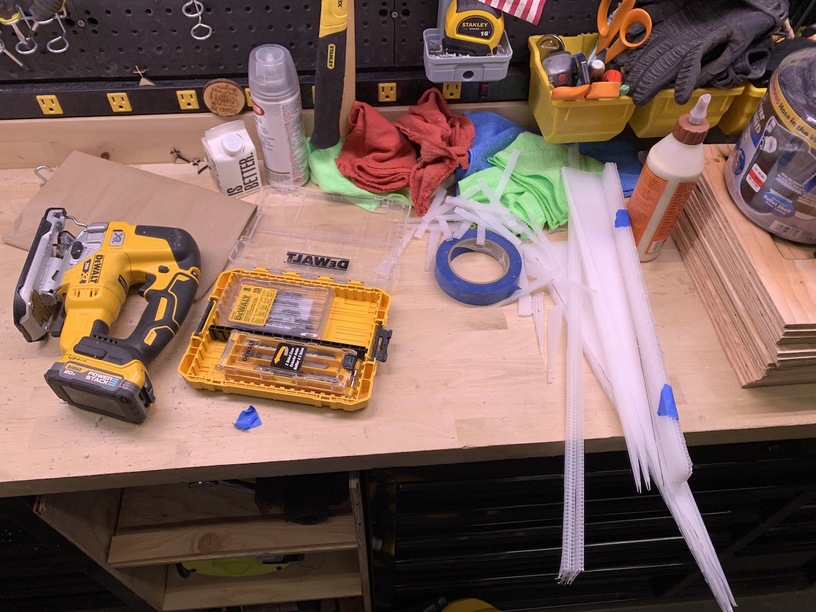
Cool, let’s build this thing.
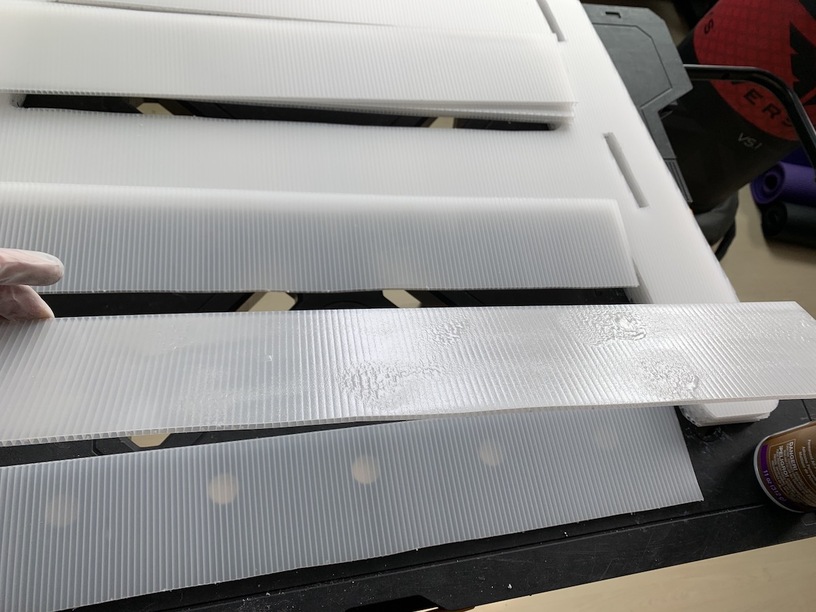
I’m doing the side pieces, which are also the legs, in three layers each side. Same with the cross slats. So to bond them together I’m just using my favorite easy duty spray glue.
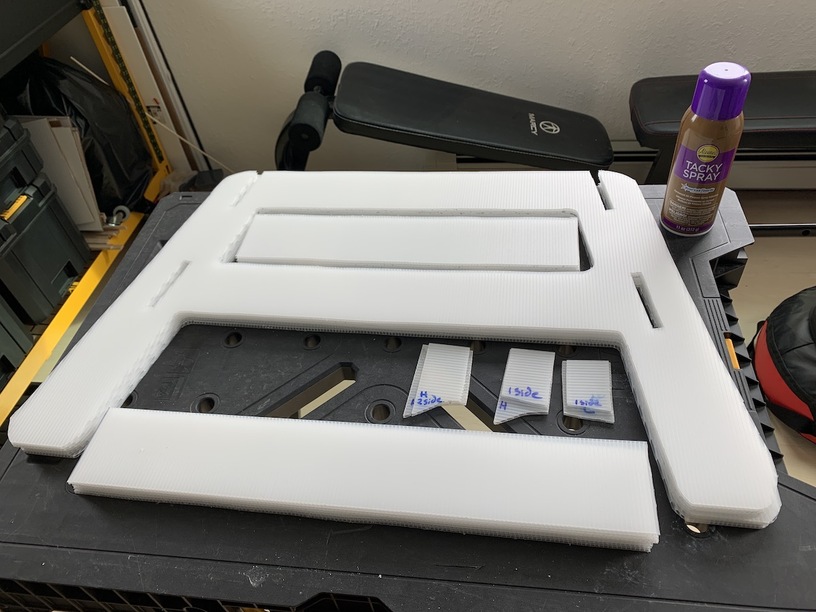
I’m spraying one side only of each face fairly thick, rub together well, and separate until they are tacky. Then stick together, instantly. Ya, try to get it right the first time, or live with it. ![]()
Press together for a while. And don’t judge…

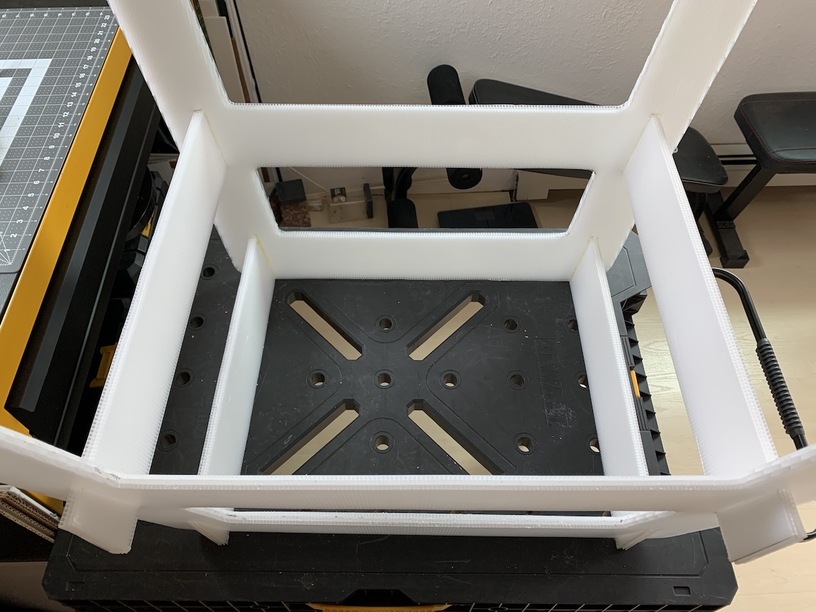
Loose fit the base together, the legs looked great at an angle so let’s go with that.
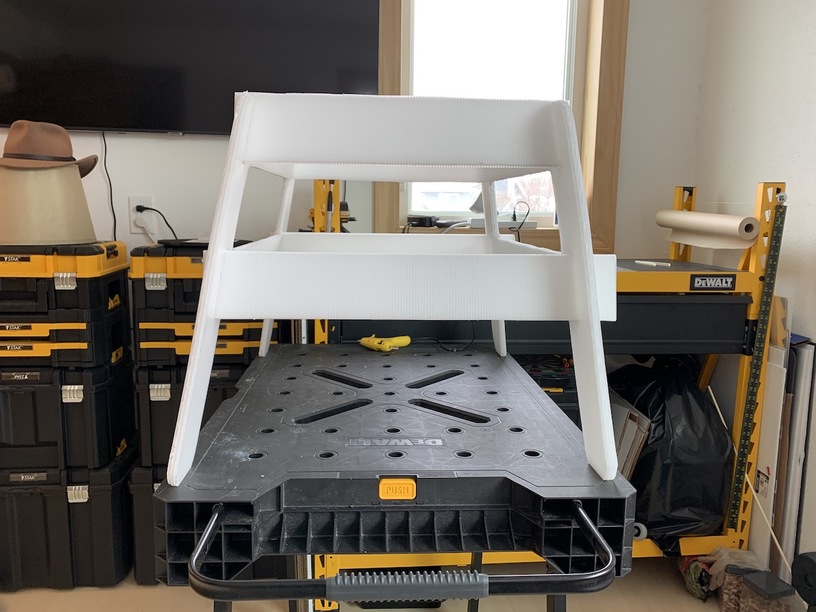
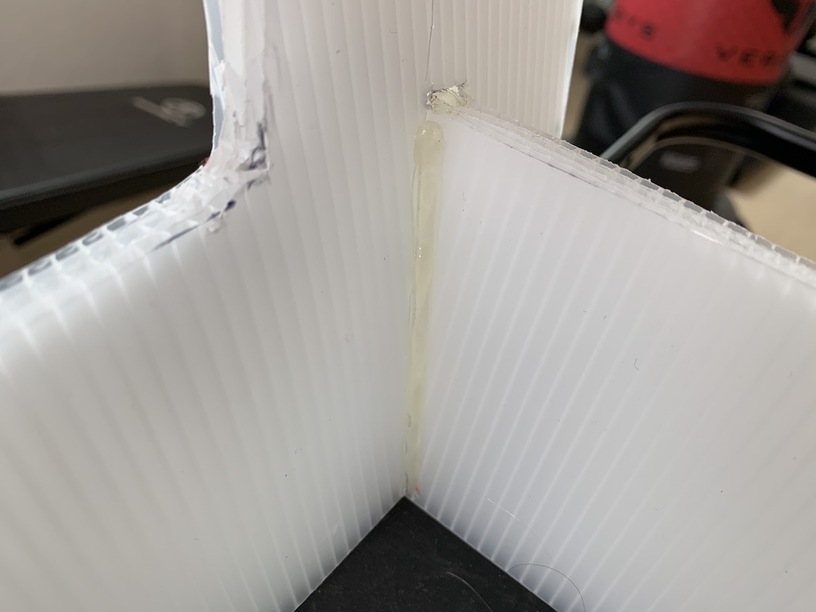
Do a bead of hot glue on all internal joints.
And Base complete - it was easier to do upside down. ![]()
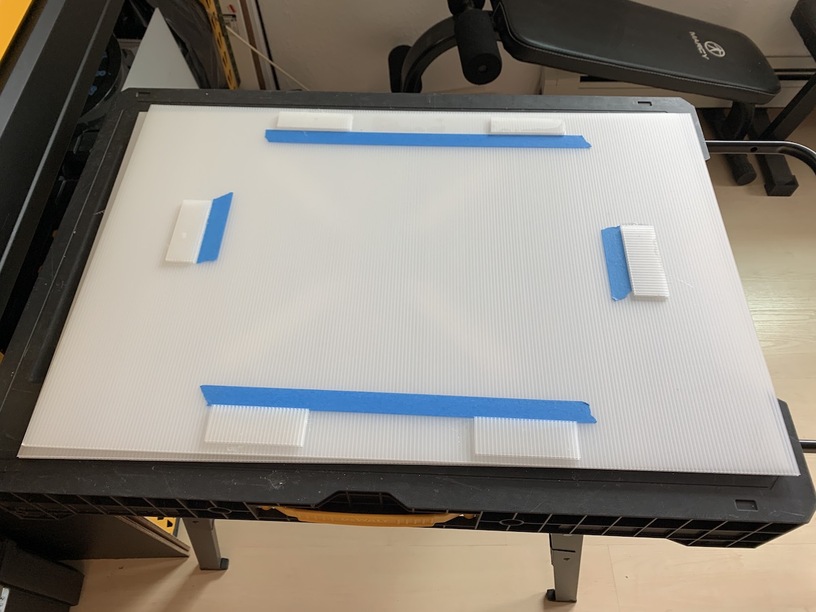
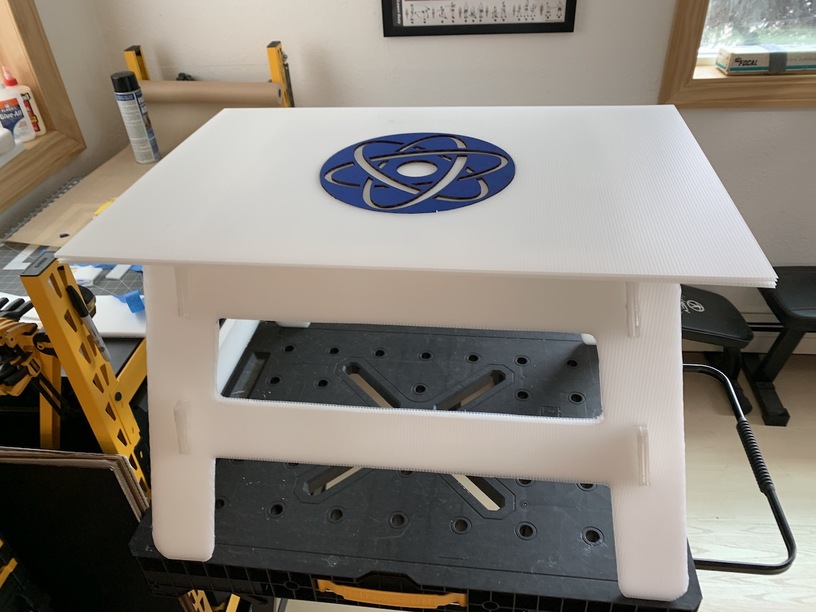
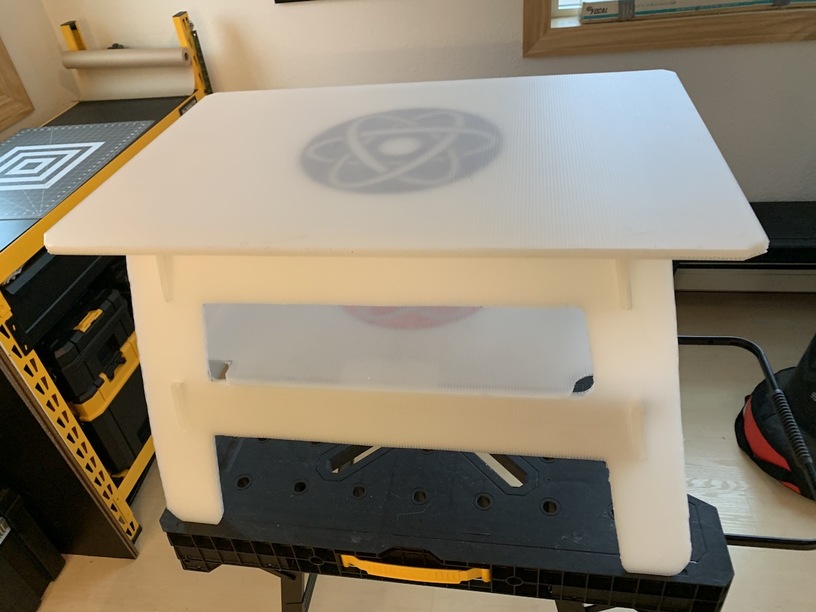
Cut excess length on cross pieces as desired then on to the top. I wanted three layers for stiffness, and measured and spaced the glue blocks into place for attaching to the base.
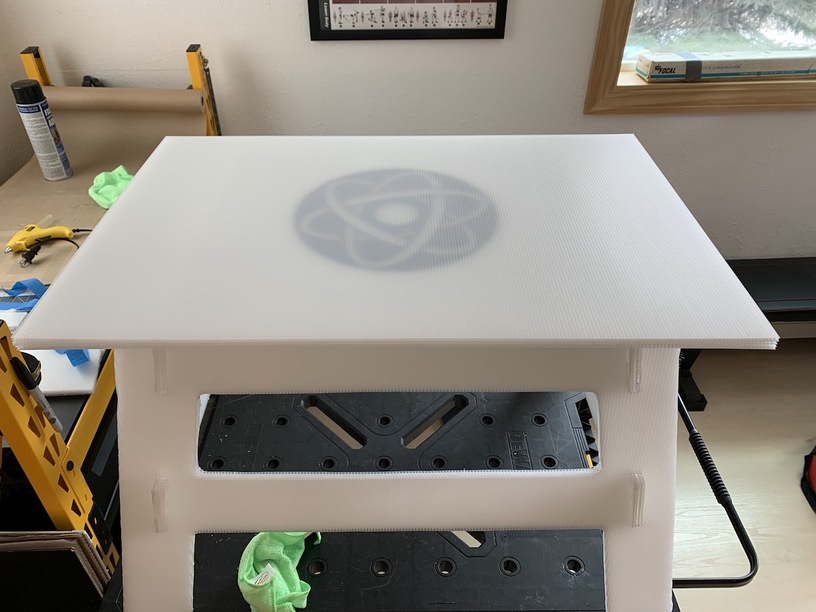
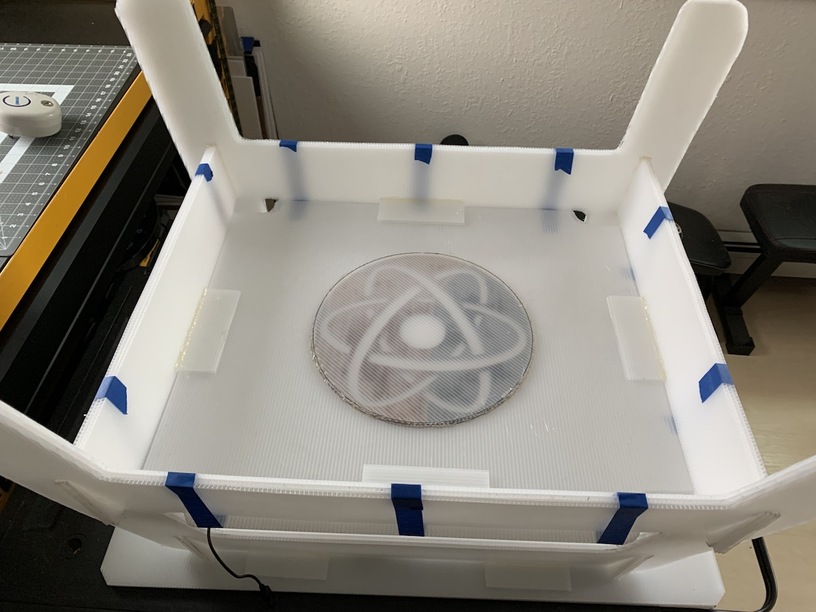
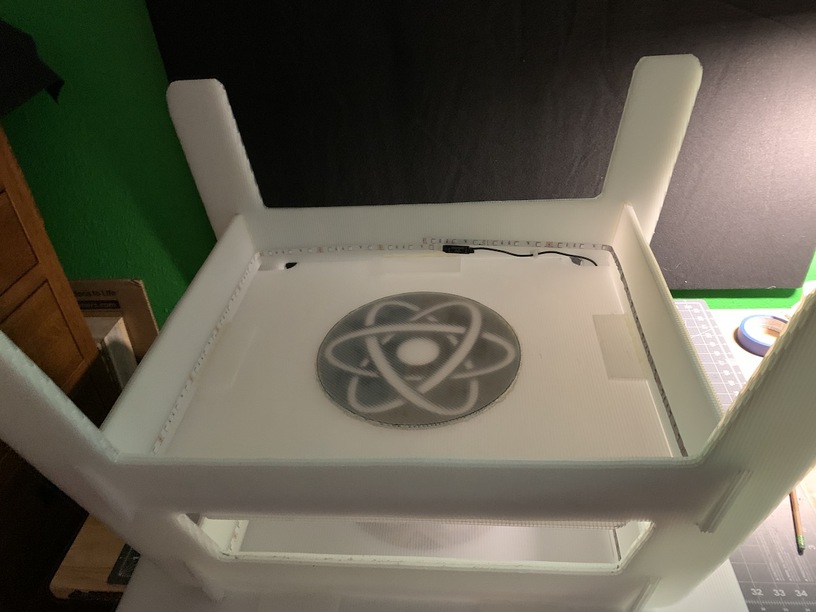
For the ‘middle’ layer of the top, I decided to go with a 10.5" circle cut out to sandwich a design that would have a ghostly appearance. Since the plastic isn’t clear, just translucent.
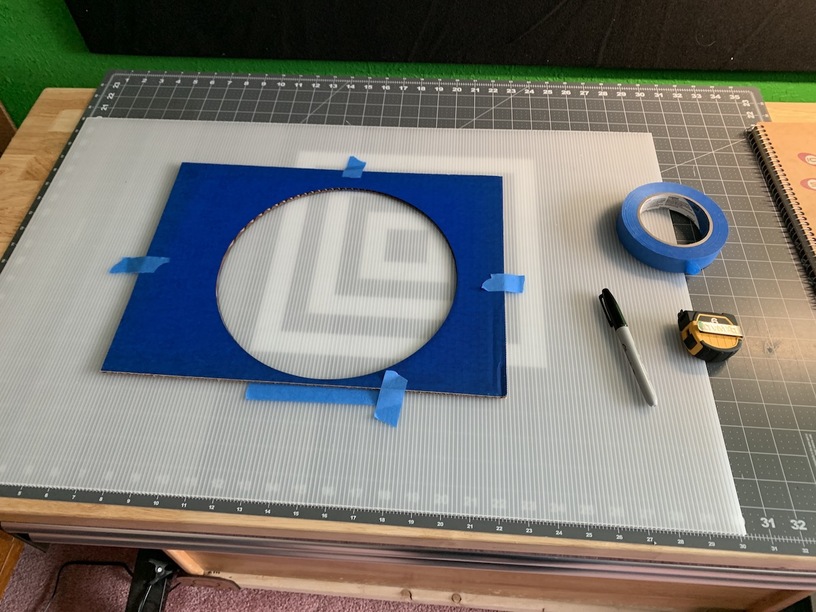
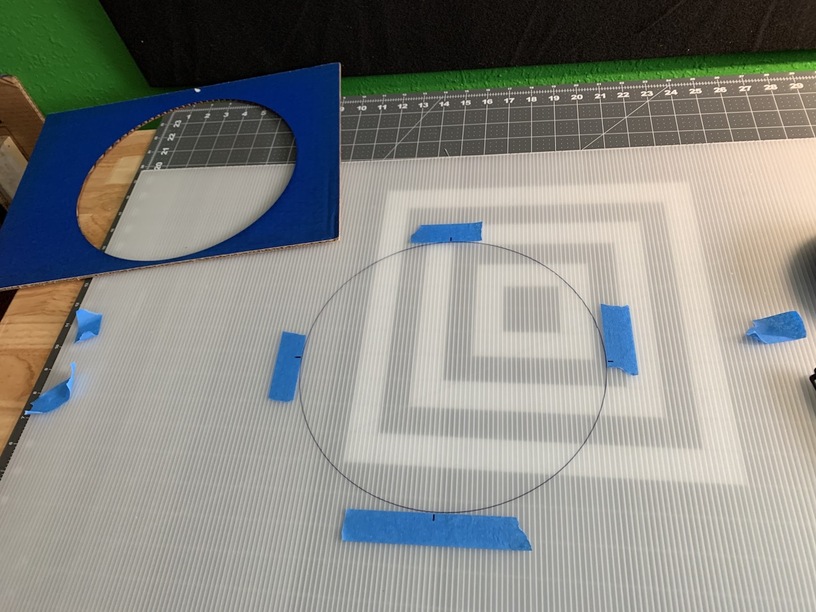
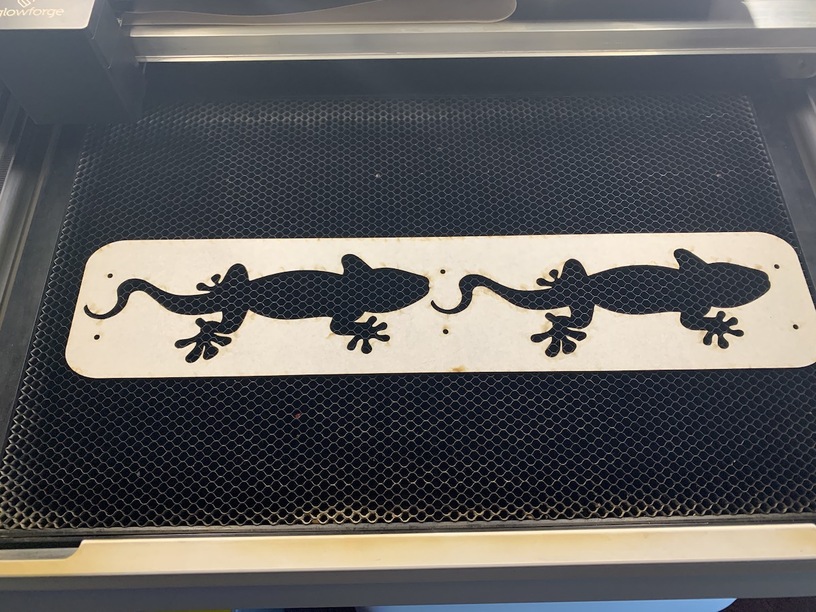
And lasered a design cutout of just blue cardboard, to insert -
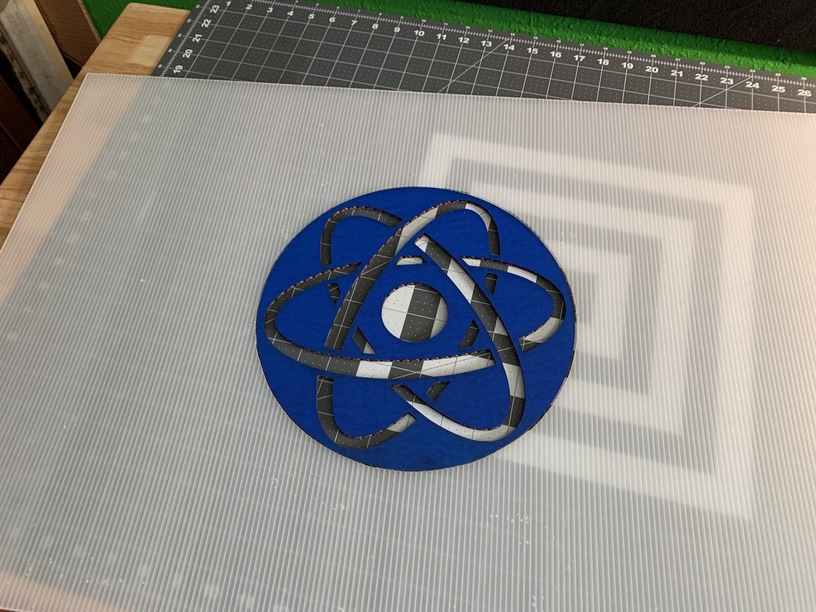
Oh ya,
this is what I was hoping for…
Now then, because if one top isn’t enough, why not put in a second layer, for three times the effort? So I measured a rough cardboard template to make a lower ‘level’ of the table.
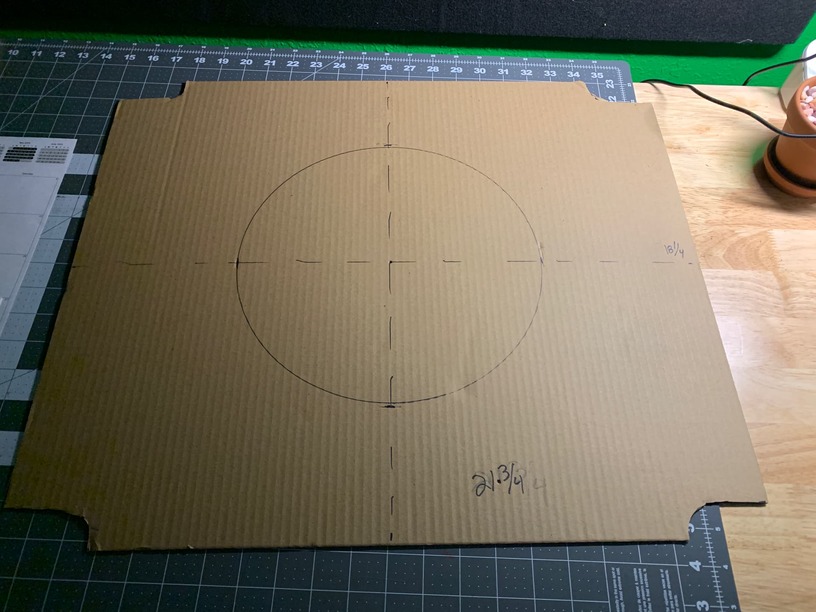
And because I already glued the sides together It was an extra special fun bending and contorting ‘both layers’ into place… And, because If one design top is cool, two is better. I added another cutout to the bottom shelf.
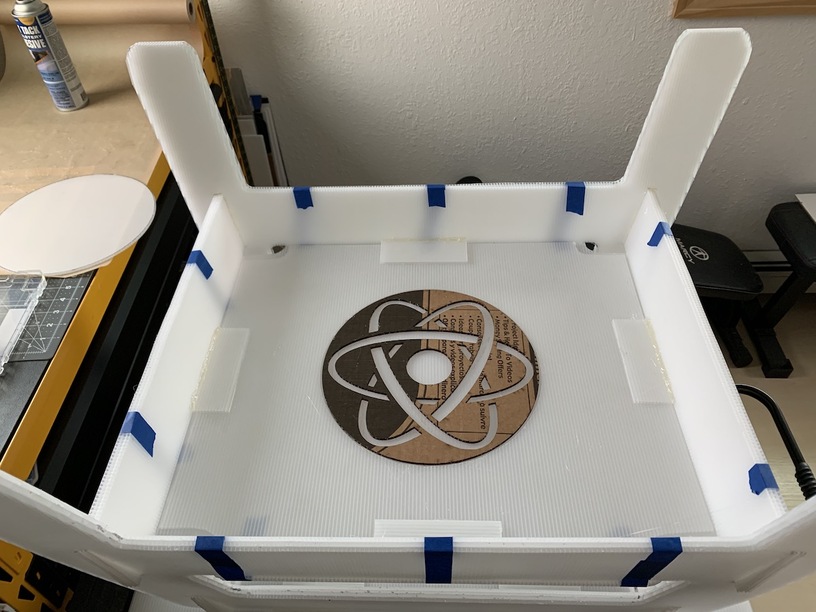
But I only had two sheets left for the lower shelf, and decided to just use the cutout over the design, spray glue all layers together and call it good. Which would have been sufficient for the top probably as well.
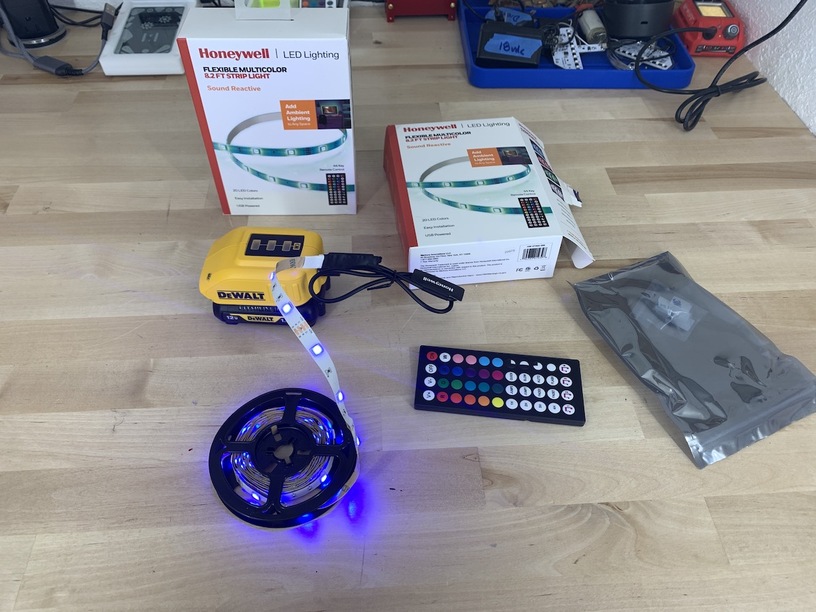
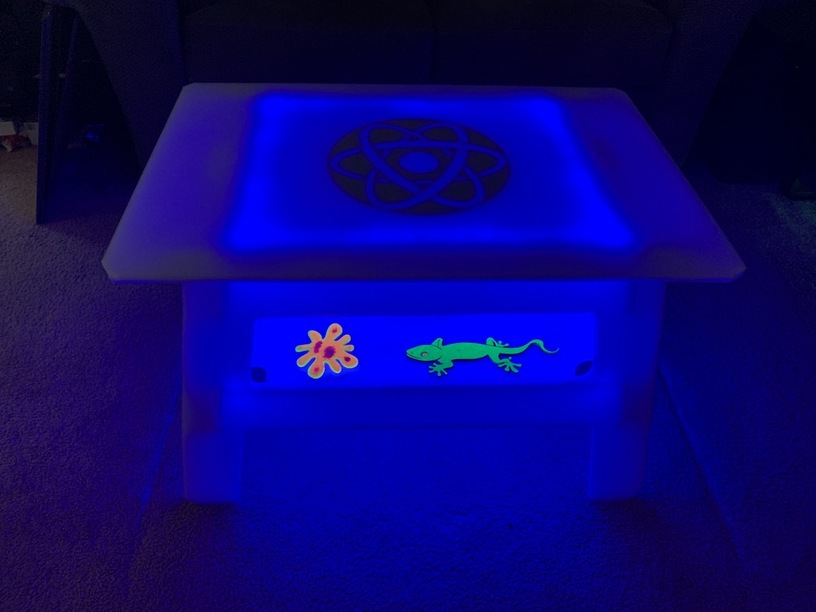
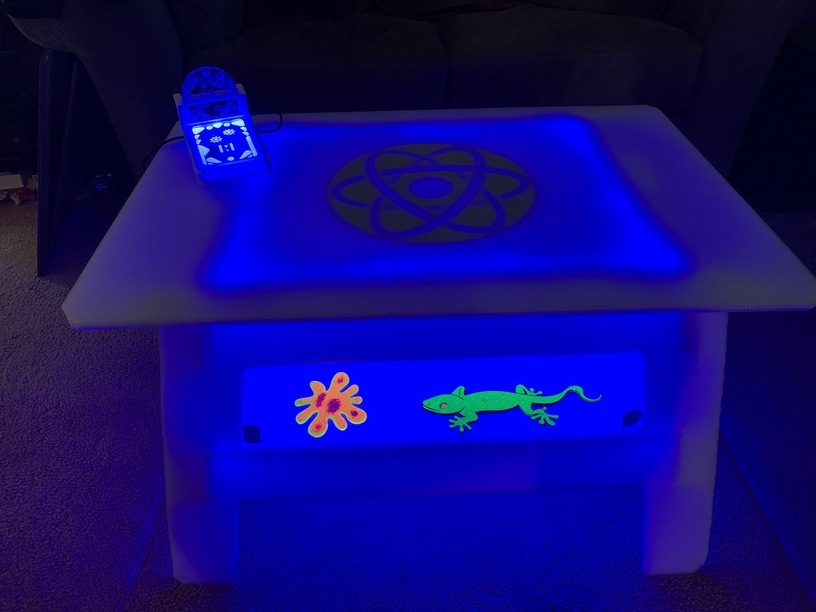
Cool, done right? Nope. I want this baby to glow… Enter, my ‘cheap favorite’ standard led strips. USB powered, oh ya.
Bling
The top sucked, cause I had already mounted the bottom shelf, so ya, plan ahead. The crap adhesive on the LED strip lasted about two days, so I redid them, with a two sided tape first, then crossed over about every eight inches, with another piece of super sticky two sided. and blam -
The legs warped a little after glue up, but whatever.
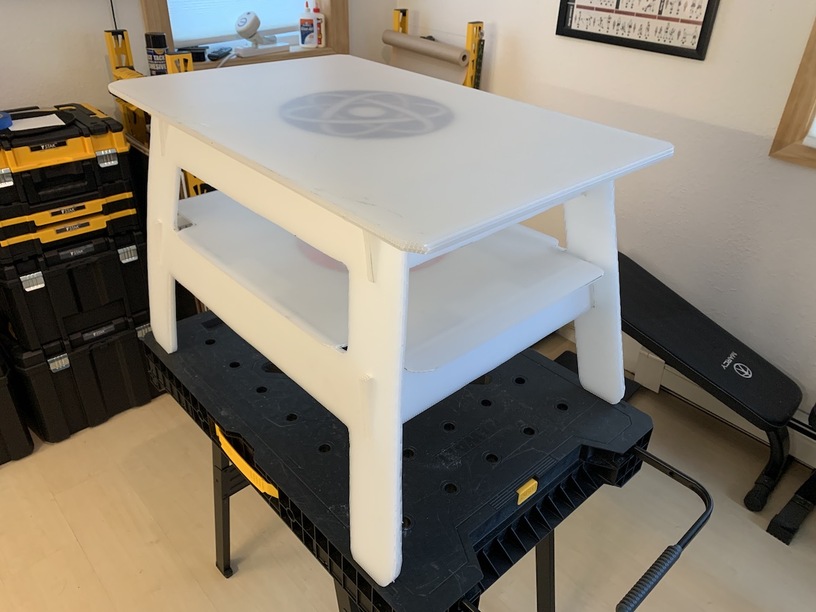
Can’t tell the strips are even there.

Shut up and light this thing up…
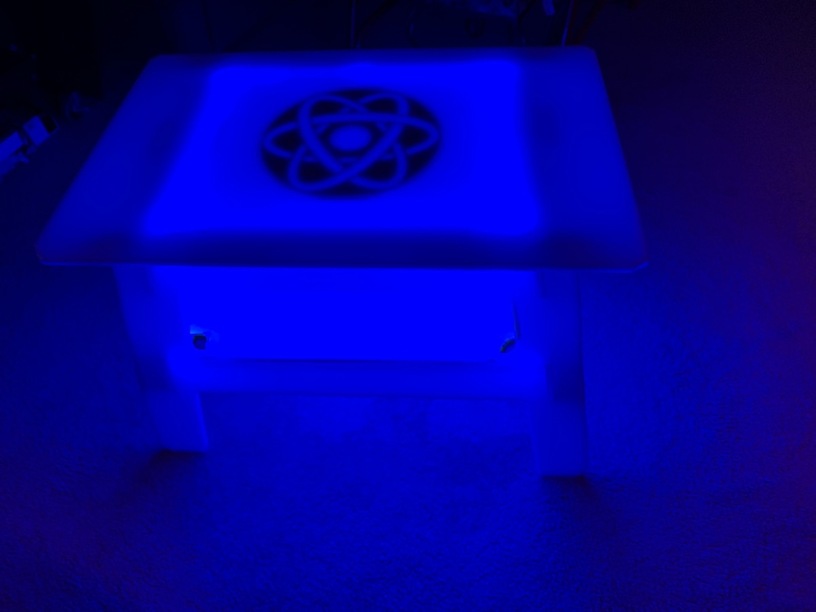
Shut the back door! I power it with a 23000 Mah two port usb charger brick. With both strips on the dimmest setting, it lasts a good 20 hours. Which just rests on the lower shelf.
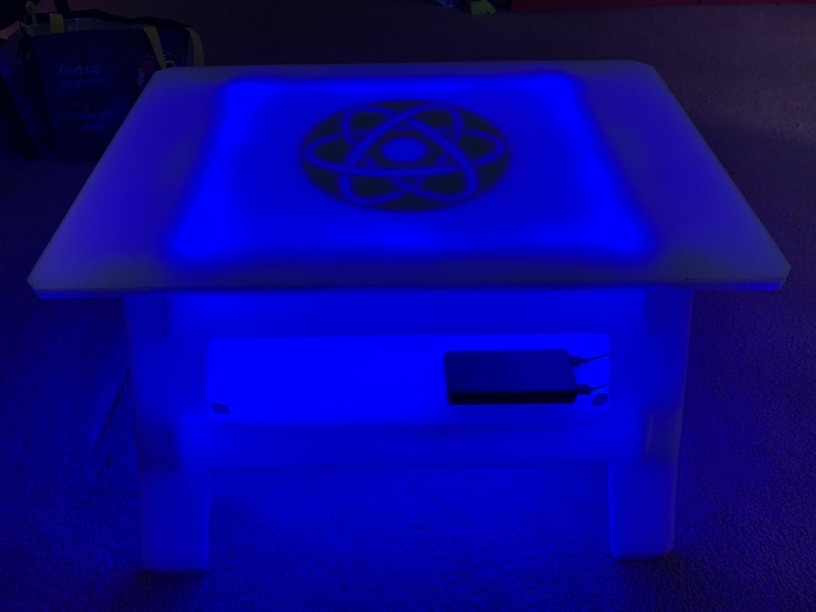
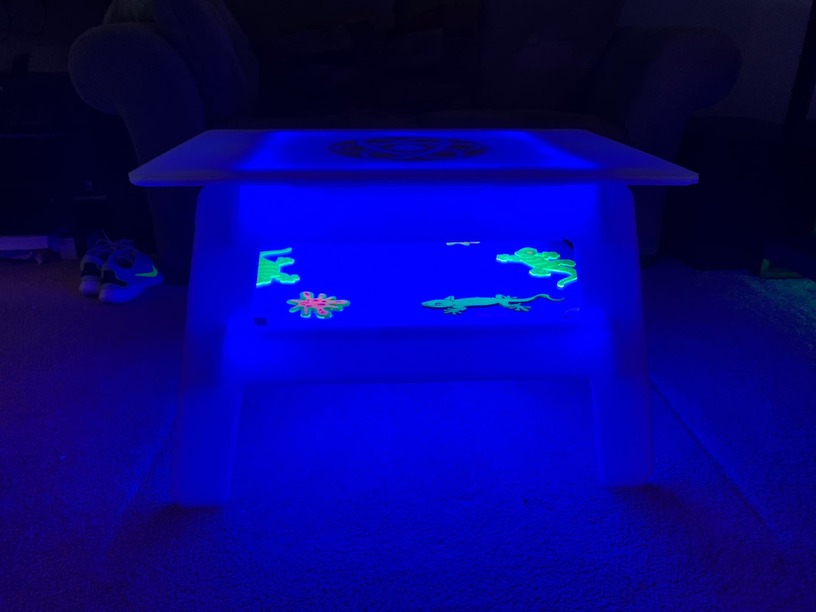
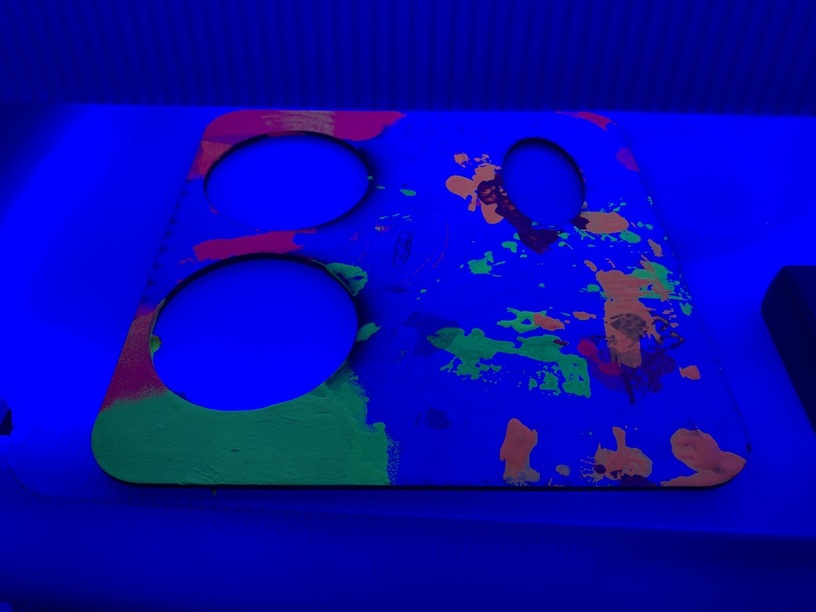
And if I wasn’t happy enough, I decided to see if the blue light setting made the acrylic black light paint glow. Does it ever…
Hold please, I have an idea
Reminder to self, learn to paint. Meantime, use acrylic and a sponge brush.
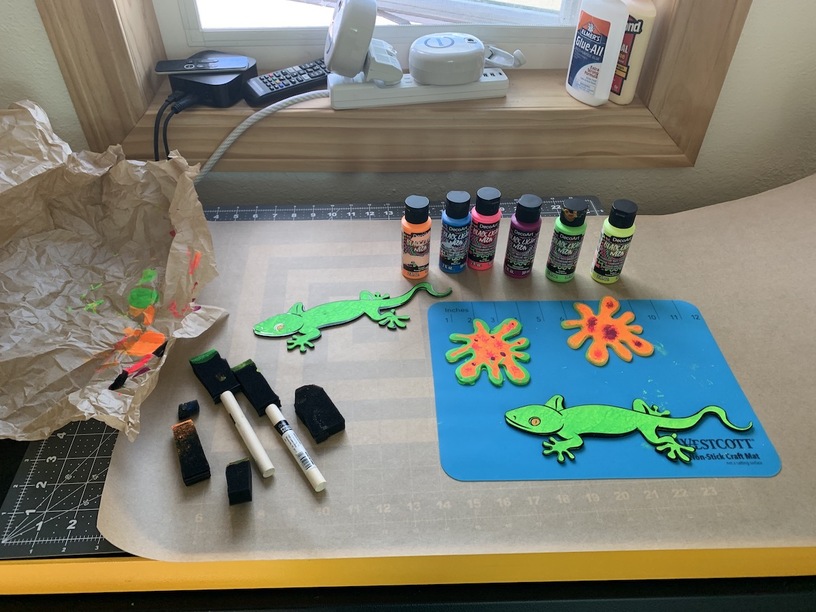
That’s better -
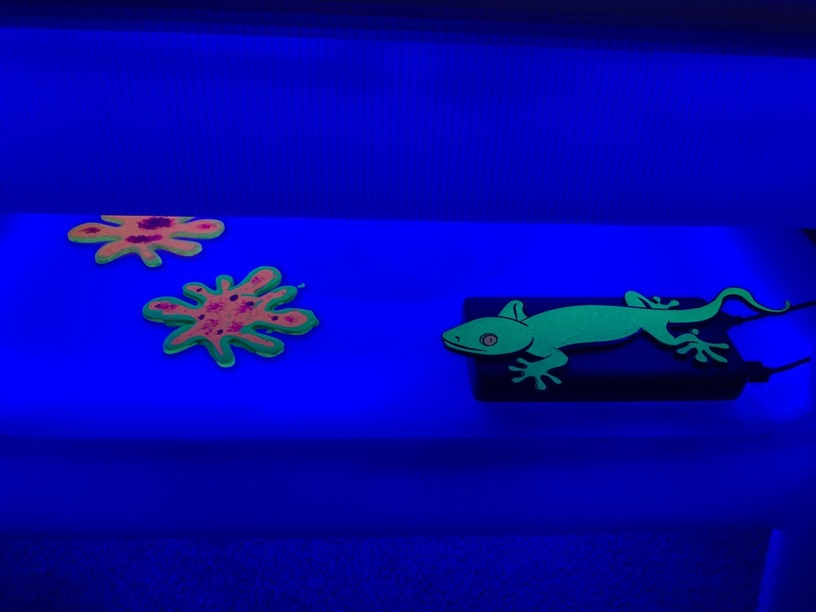
110% satisfied…
Oh ya, and the Pinball is happy too…
HL