Greetings -
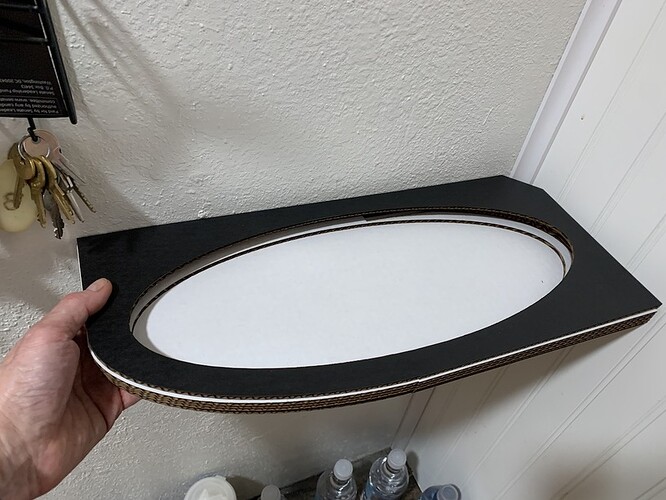
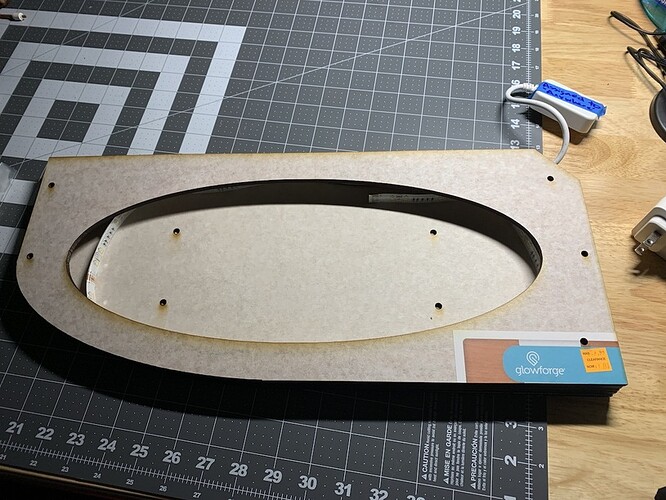
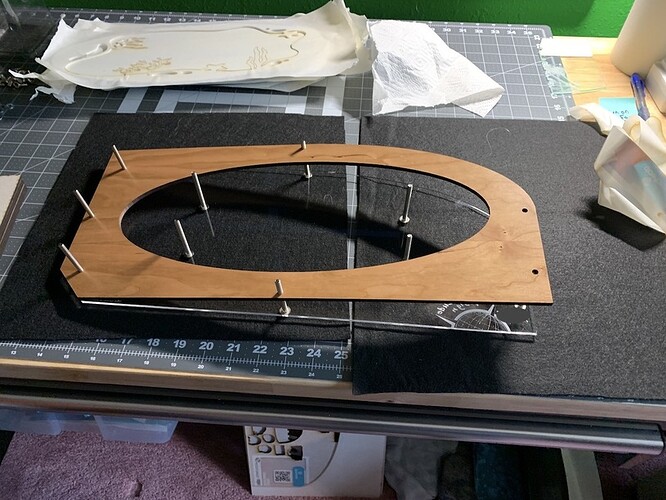
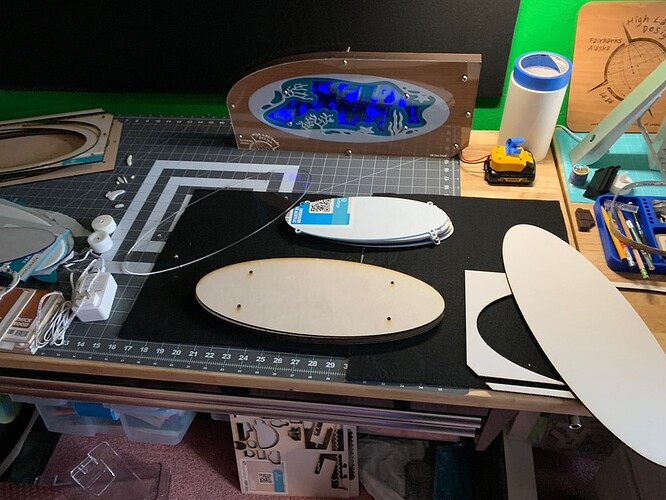
Thought I’d share my latest creation. A table shaped lamp for my entry way. I took measurements and decided to go as wide as I could on a sheet, and size the center circle so two could be cut out of a single 12x20. I did a cardboard mock up to keep it cheap. Test fit looks good.
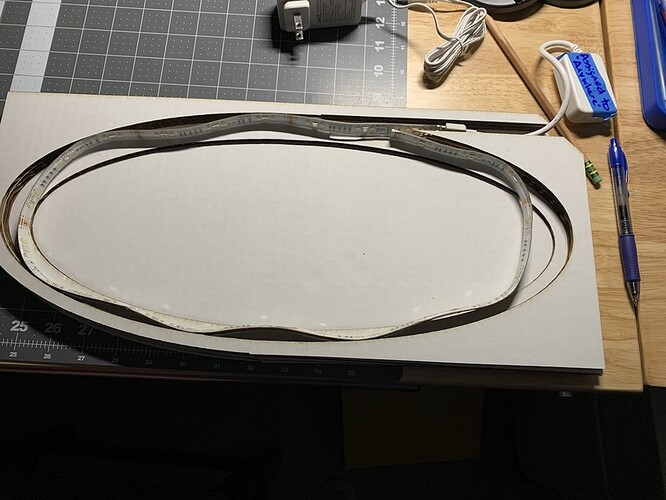
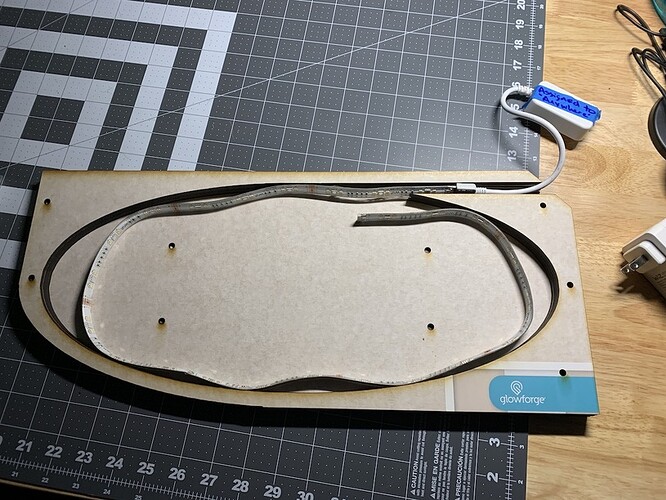
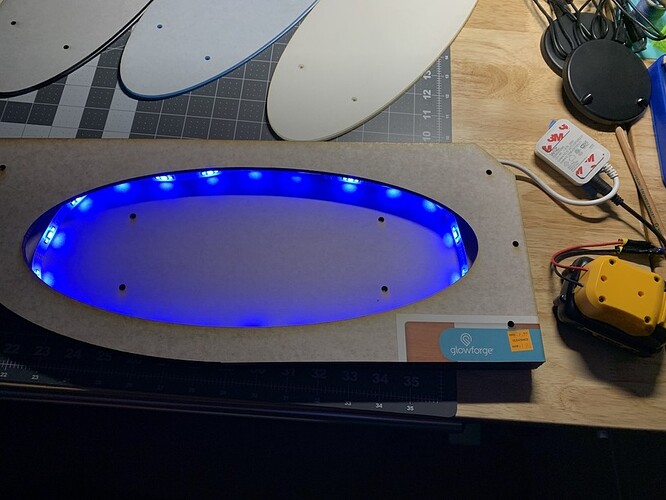
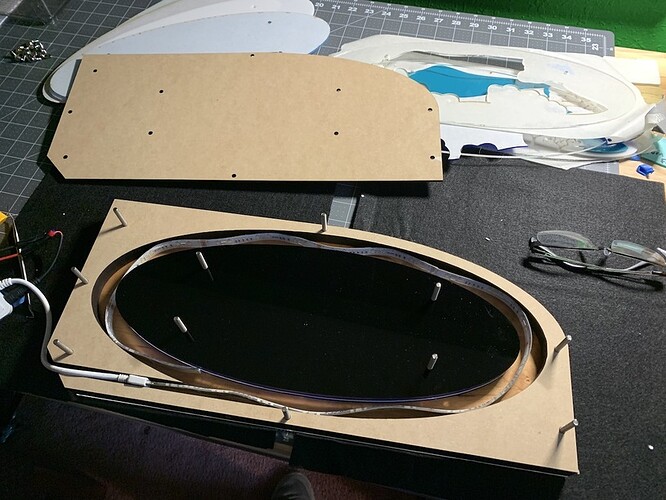
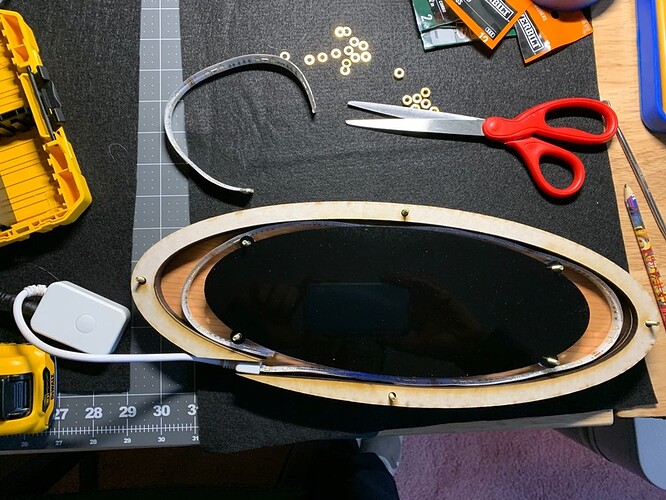
I knew I wanted multiple layers, and thick enough to have an led strip inside, the Wiz 3.3’ to be specific. Couldn’t be a better fit on length.
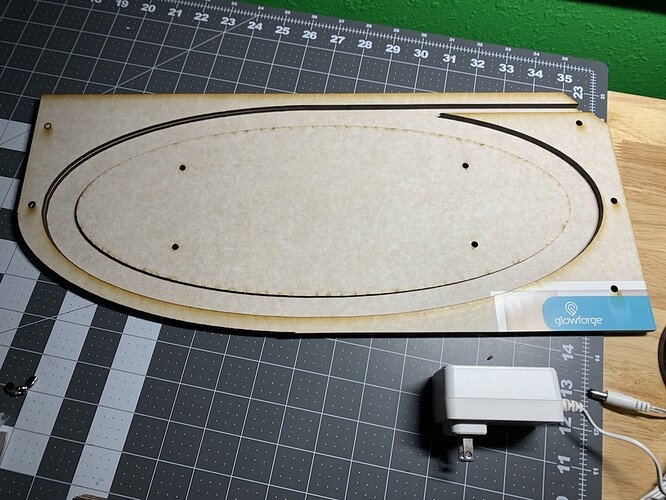
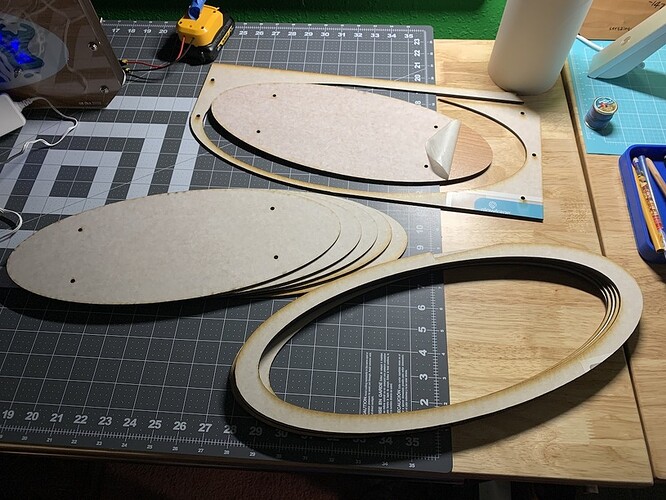
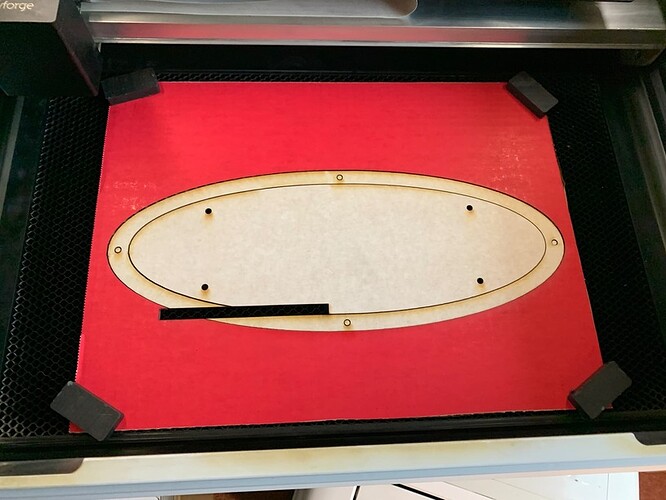
On to cutting Draftboard for the ‘outer’ shell. Along with a ‘top’ and a bottom.
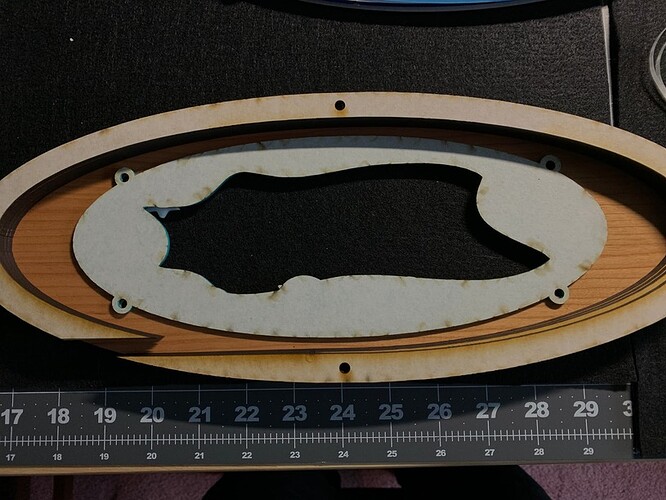
I had to cut enough sections to be thicker than the LED strip connector. Turns out the number is five sheets of draft board.
Then a nice top of Cherry, that I got on close out at Michaels. ![]()
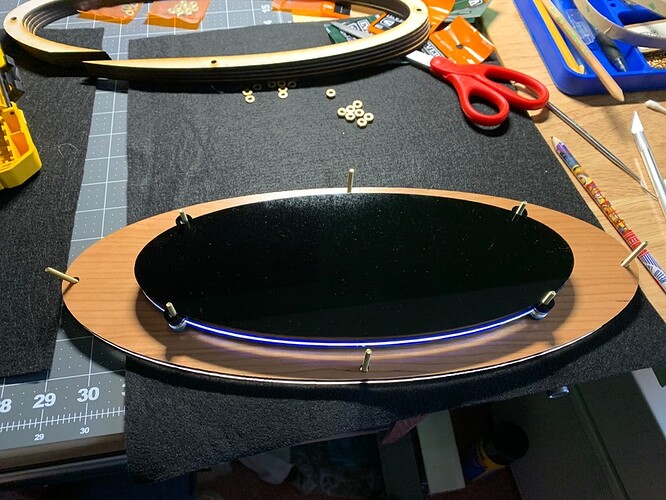
Time to perform a light test. Perfect.
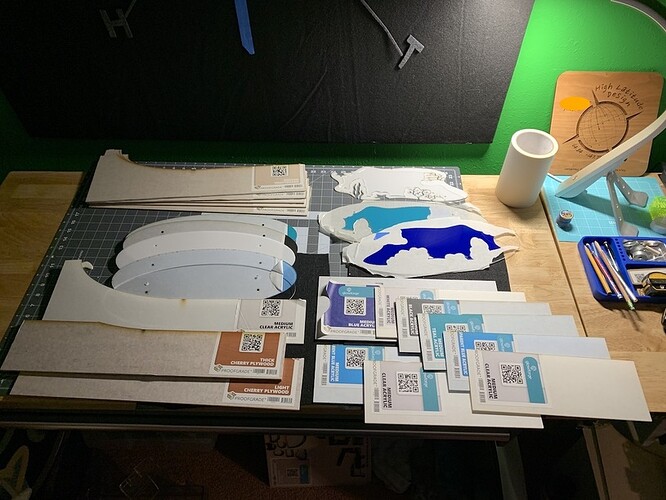
So at this point, the cost is starting to dawn on me as I contemplate how many layers of acrylic are going to be required in the ‘center stack’. Turns out, it’s a lot, of both. And I made the decision to just not care. I had plenty of materials on hand, so I’m just going to make my vision.
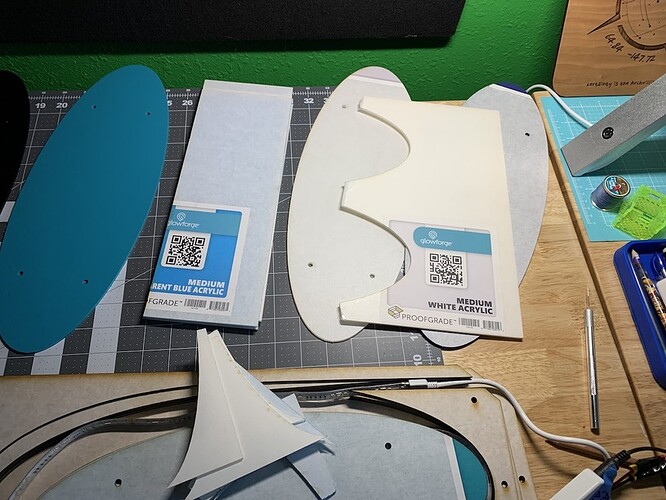
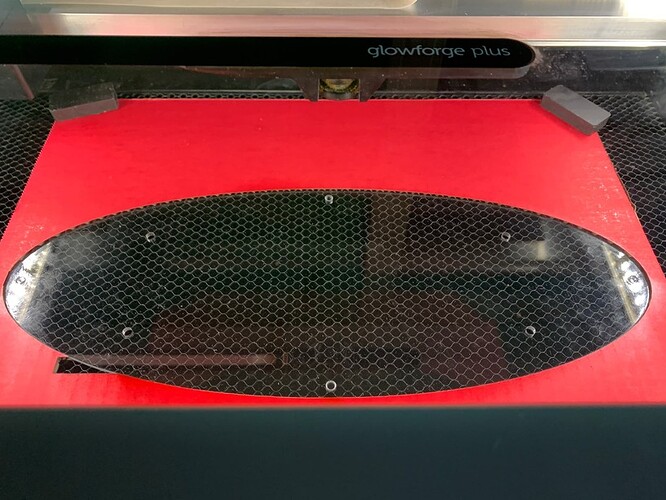
Given the cost, I decided it would be a much cooler ‘desk lamp’, if I turned it over, and flipped it. This took no small amount of mental energy to reposition my thinking around building it in a different orientation, and reversed, from the original concept. But, I was able to overcome and started cutting the inner circle layers
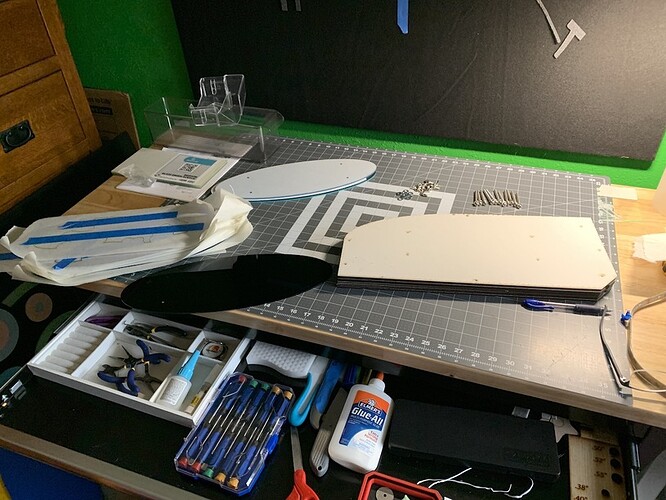
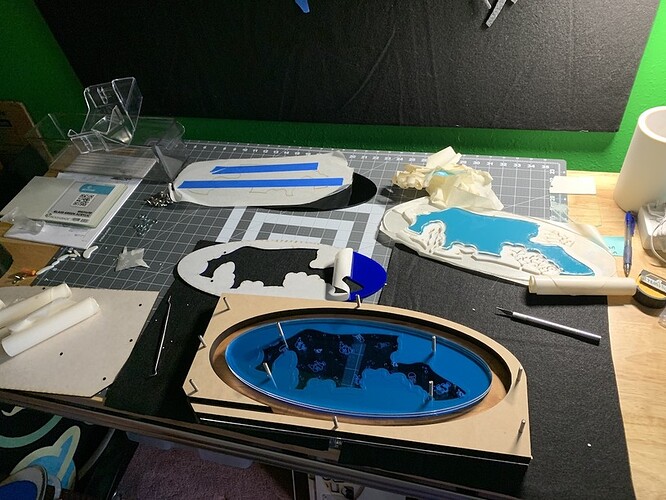
Having all the pieces cut, let’s start assembly. From the top up, as I want the screw heads on the face.
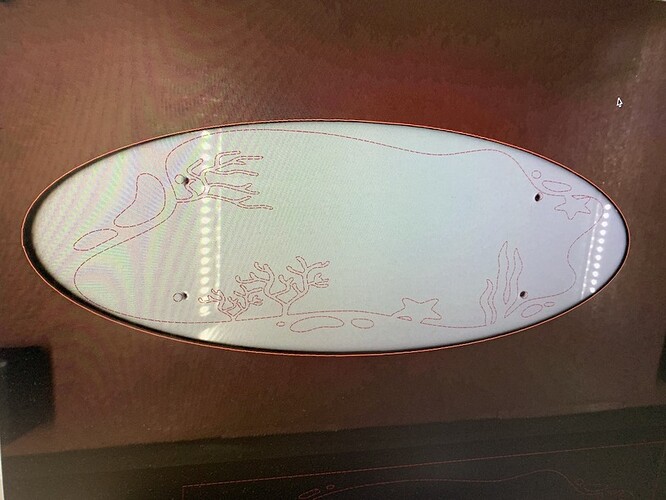
For the ‘top’ inner layer I bought a $5 Etsy svg I was able to stretch and make work for a nice white beachy like design. Yes, I had cut the bolt holes before I got the graphic, so I had to make do the best I could on the layout.
Table Lamps are like Ogres, they have lots of layers…
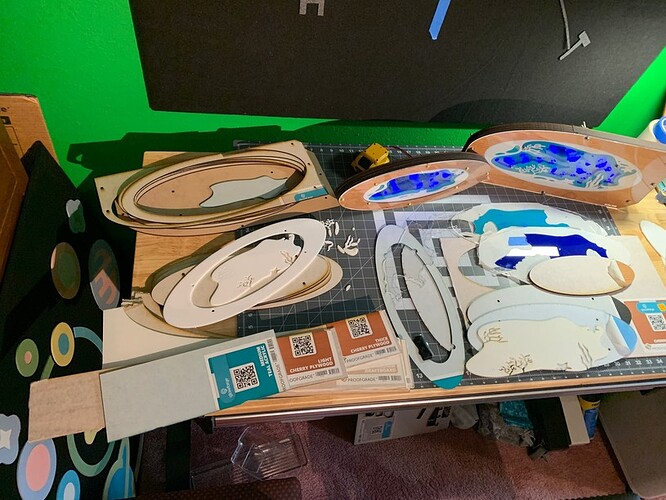
From the back piece, on top, going down to the face - Black, Medium Blue, Translucent Blue, Clear, Translucent Blue, Translucent Blue, Teal, White. On the medium Blue and Teal I also did an opposite in clear, so there wouldn’t be an air pocket. The middle ‘clear’ layer is lined up with the center of the LED’s and really helps spread light through the center of transparent blue layers.
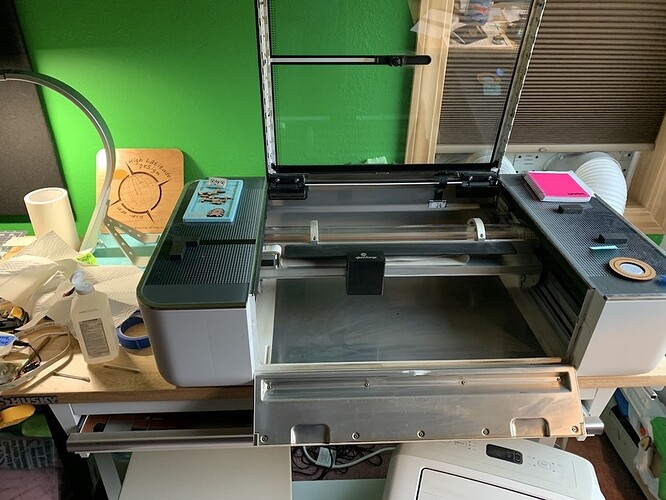
One last thing to do before final assembly. Clean the Glowforge. This is following Adam’s philosophy.
15 min later. Just putting a draftboard back on it for now.
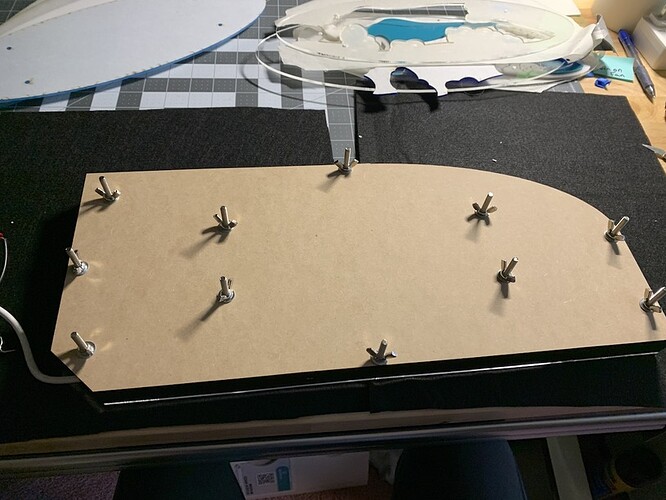
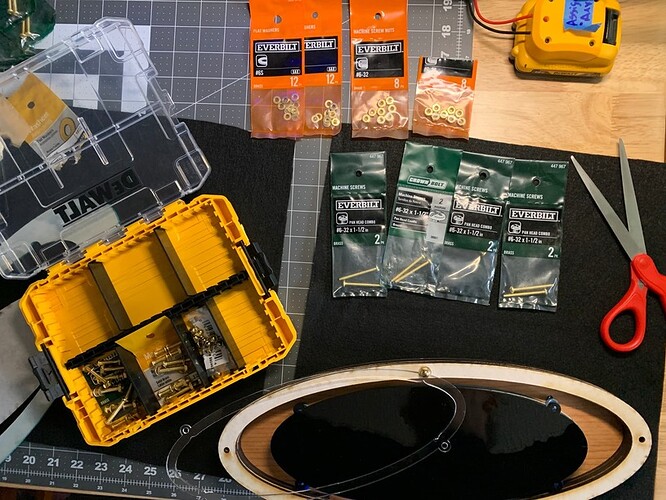
Washers and wing nuts, just snug.
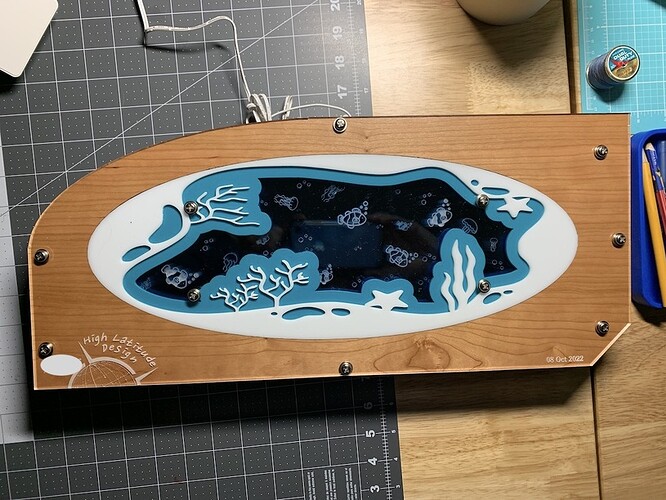
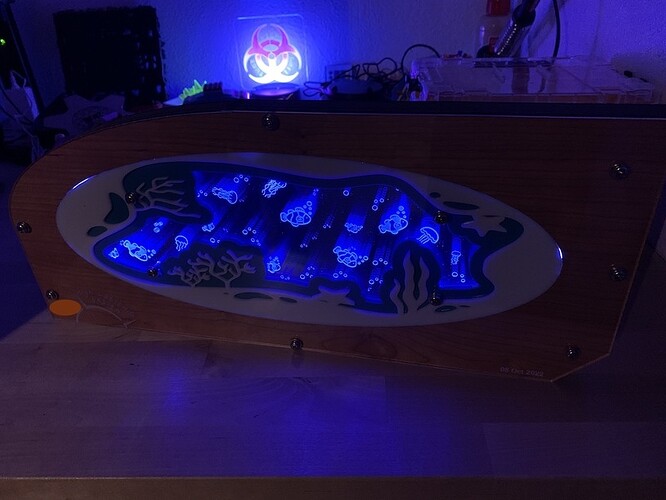
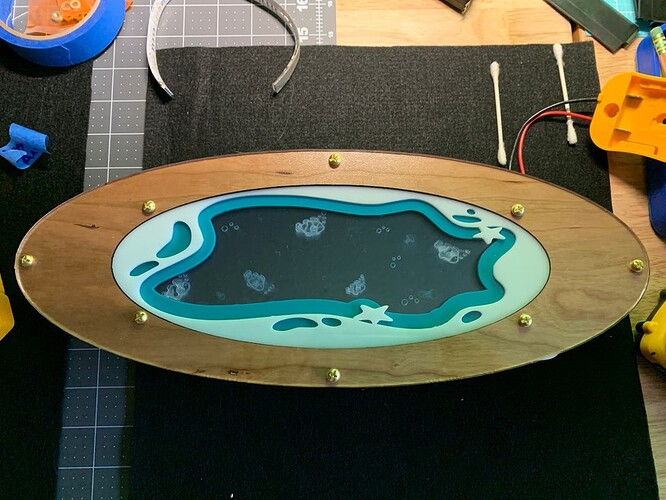
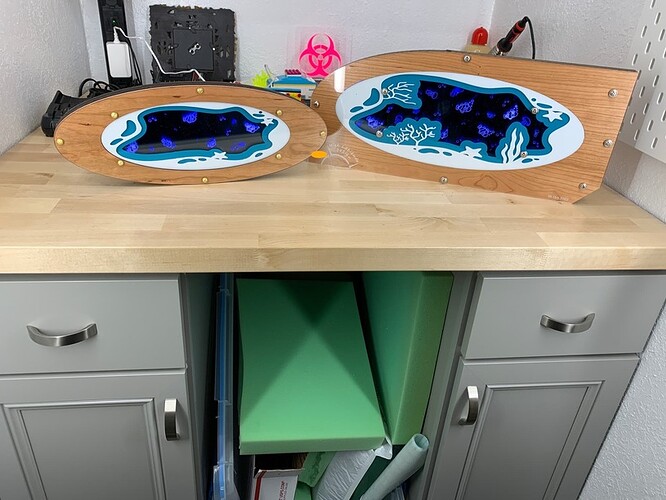
Before the reveal, I’ll tell you the final cost below, but also realize, there is a lot of good materials left over that I’ll do several complementary pieces out of as well. Probably. ![]() Ok, final reveal, without the lights on. Pretty nice.
Ok, final reveal, without the lights on. Pretty nice.
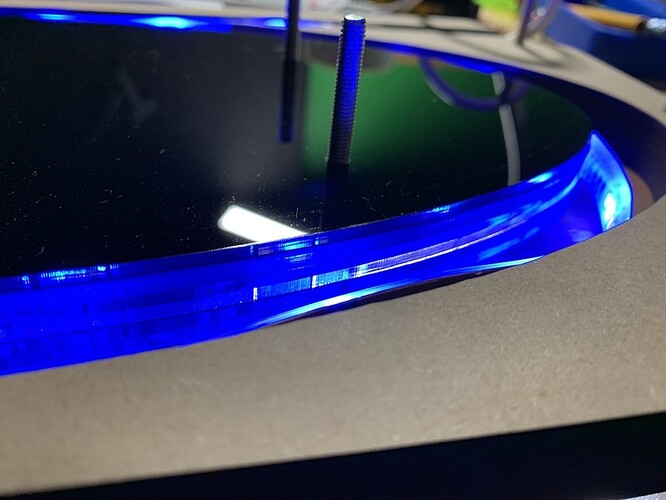
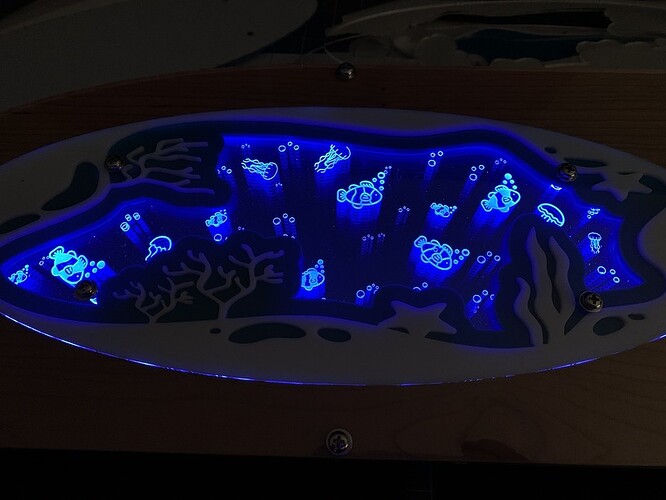
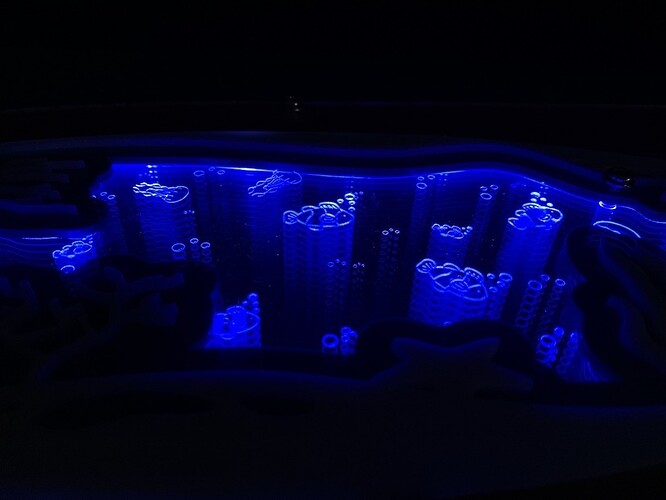
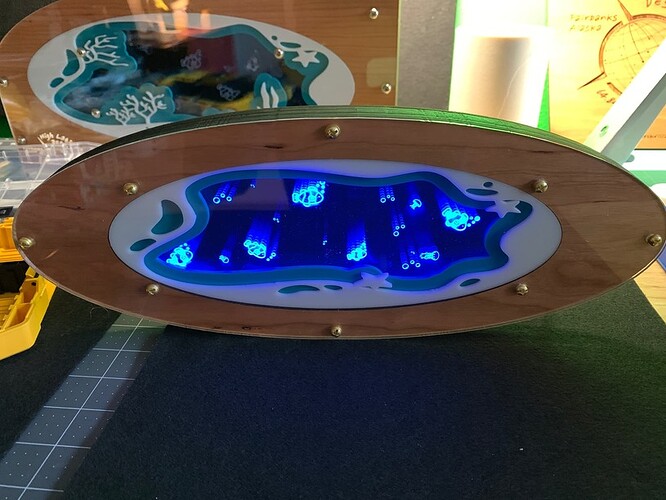
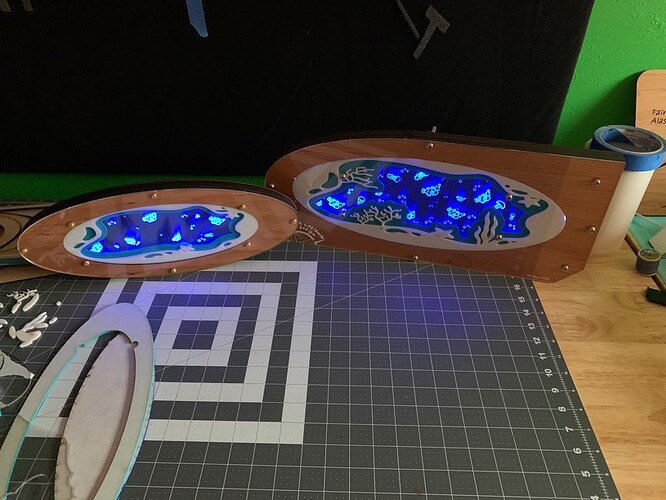
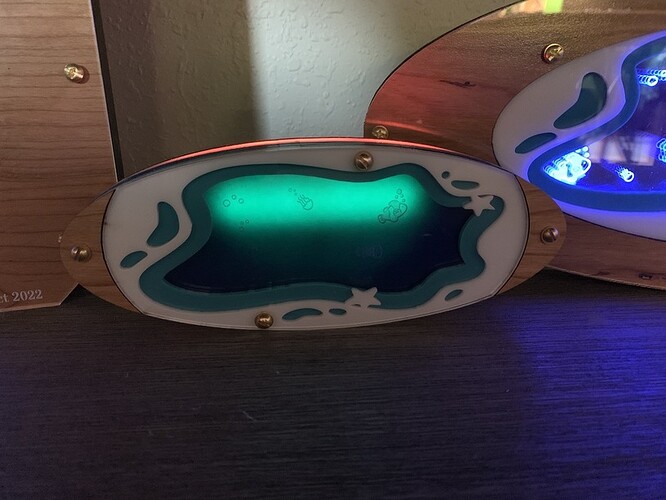
It’s tough to get a good picture of the ocean part with the light on, but here goes…
There’s three layers of translucent blue with the clear in the center. Each layer reflects back and forth through all the pieces. It adds a ton of depth to the center section. And the reflections are also quite sharp, it’s mesmerizing…
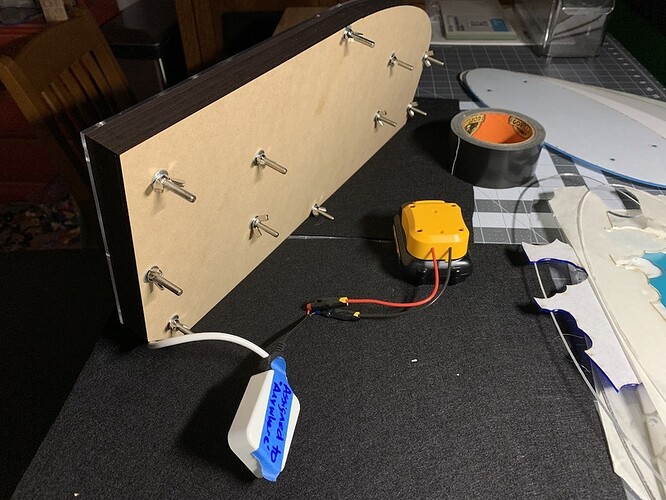
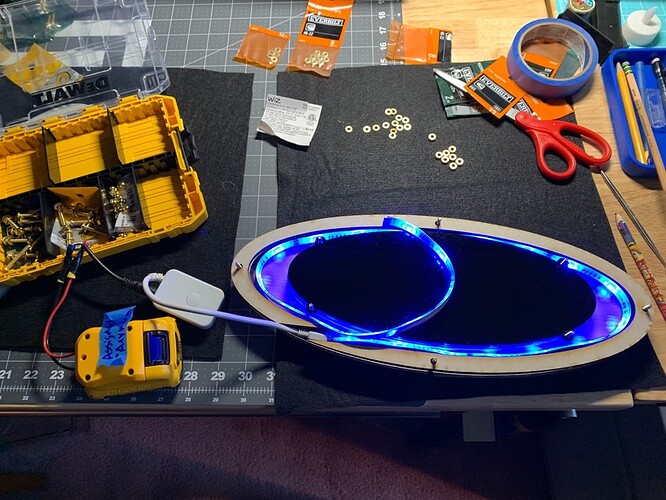
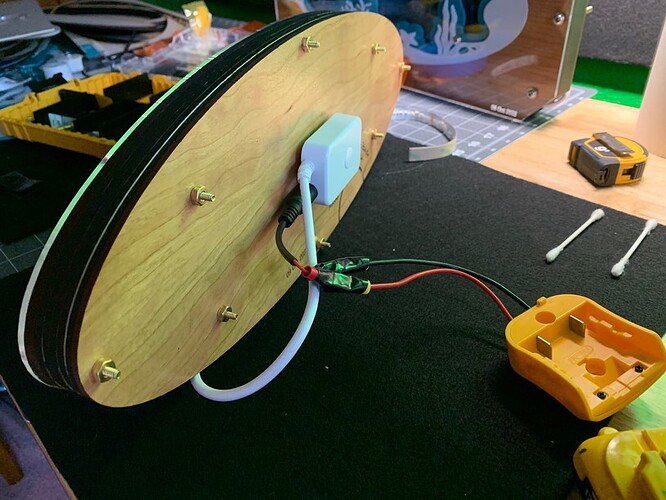
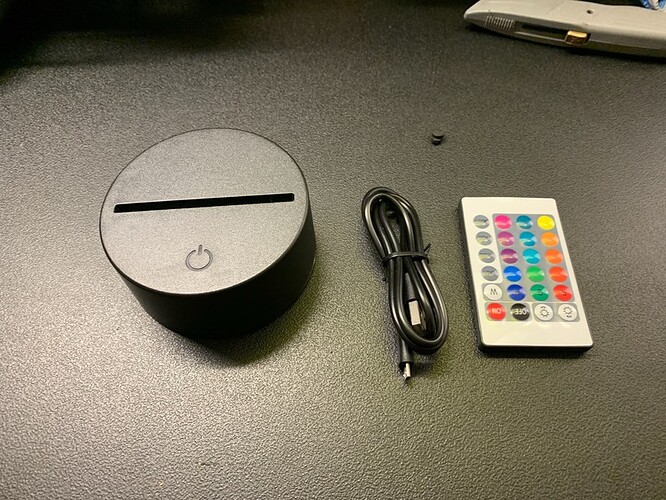
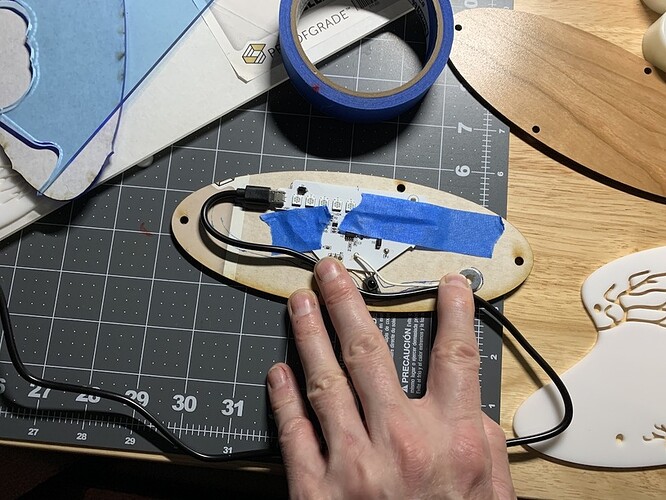
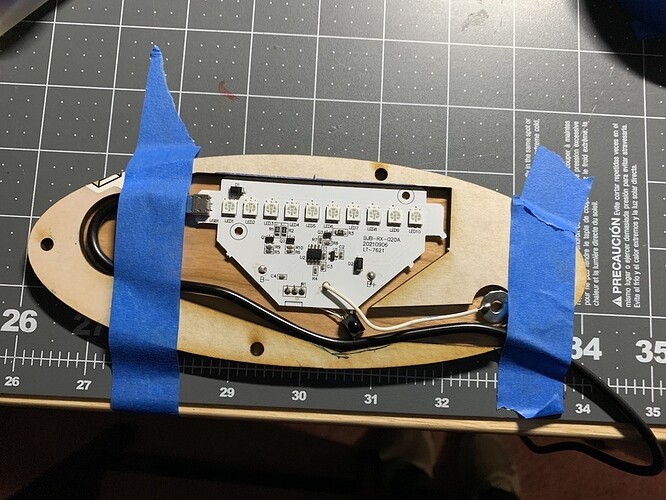
Anyway, time to clean up the back and wiring. Just running off my portable battery pack from the ‘New lighting method for project’ post. ![]()
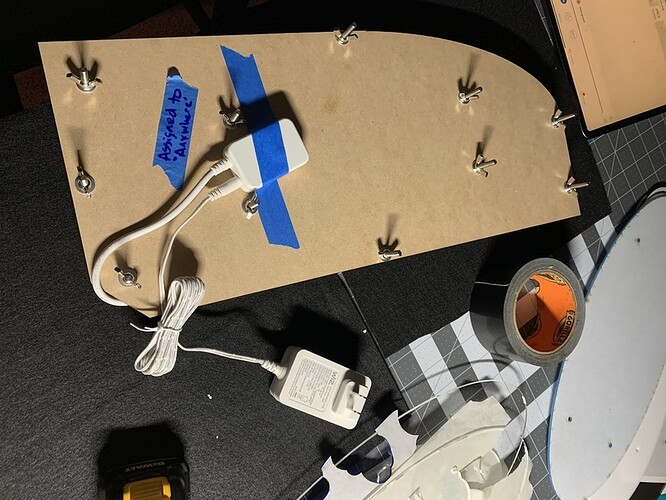
Normally I’d just tape this up, plug in the wall wart and call it good.
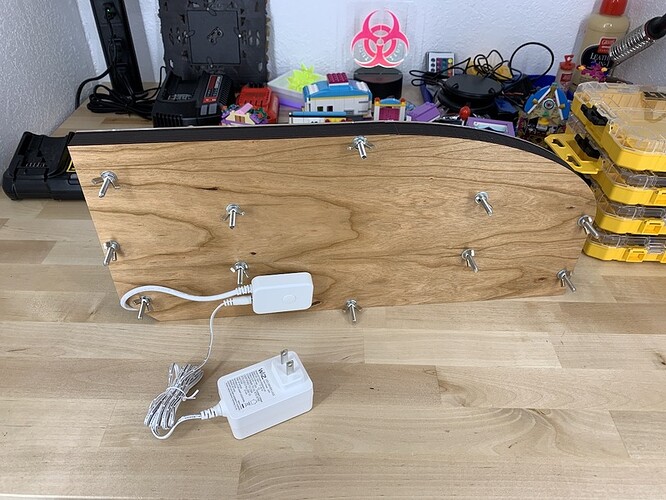
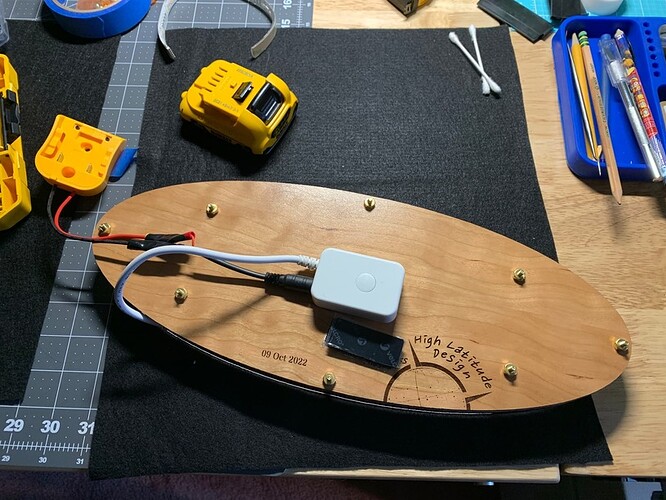
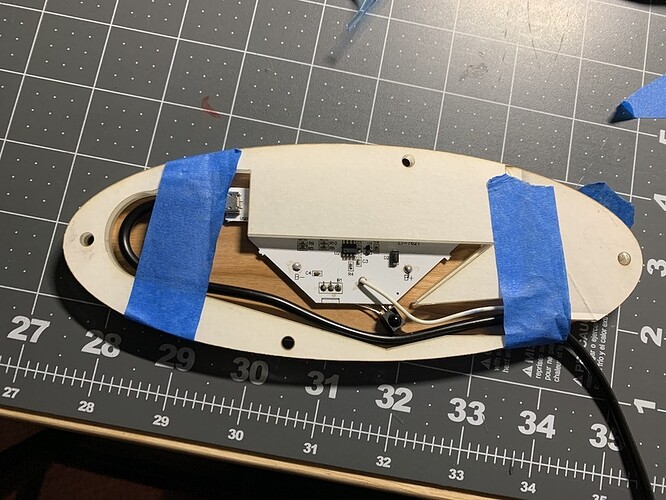
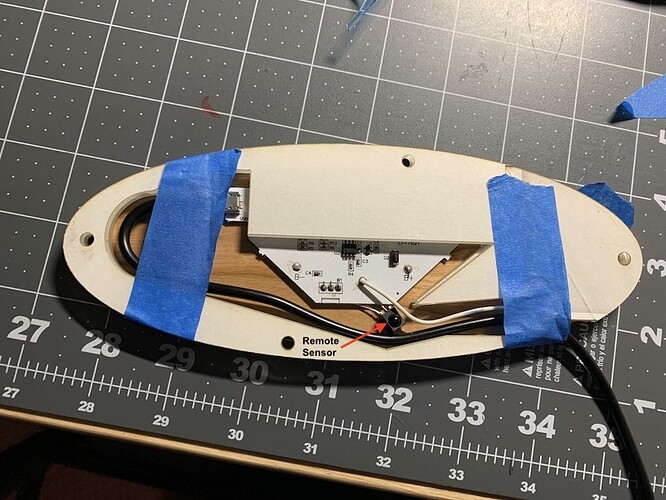
But I’ve already decided that cost is not a factor on this, so might as well finish the back with some cherry, velcro the controller and call it a wrap.
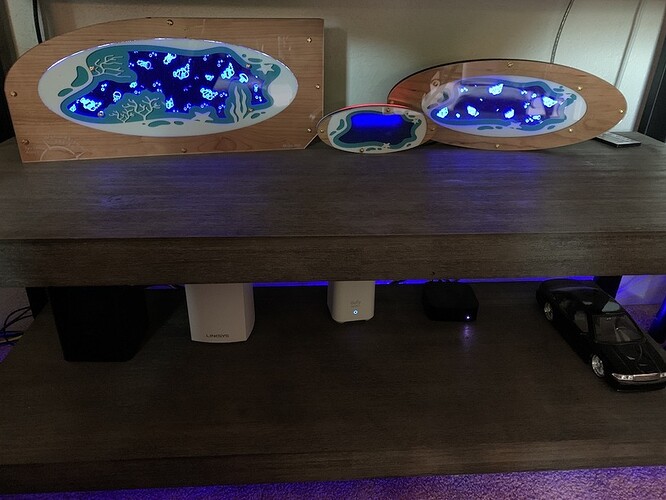
Seriously, this thing is sick…
Just stop reading here if you don’t want to know the terrible truth. The Cost… ![]() Remember, it’s not just the lamp, but there are a ton of good left overs to make smaller, complimentary style & color, items.
Remember, it’s not just the lamp, but there are a ton of good left overs to make smaller, complimentary style & color, items.
And lots of Draftboard as well.
So here you go, and I think this is correct, not positive, but it’s - $221 in PG materials, $42 for the Wiz and maybe $4 in bolts. For a total of $267. Whoa… I would have never built it had I known I was spending that much. But that was the point, and I don’t regret it one bit. This thing is ridiculously cool.
HL
