I was struggling to get this 6"x5" silicone sand bucket to stay flat in the glowforge with using normal clips and so I decided to come up with a new solution.
It is really an open concept and anyone can build off it. I will go over my setup and all information you would need to do the same thing. I will also explain some of my design decisions to keep in mind if you want to make something along the same concept.
o if anyone wants to make this themself, here is the file and materials used to make it:
File (you have to right click on the image and select “save as” to save it as a svg):

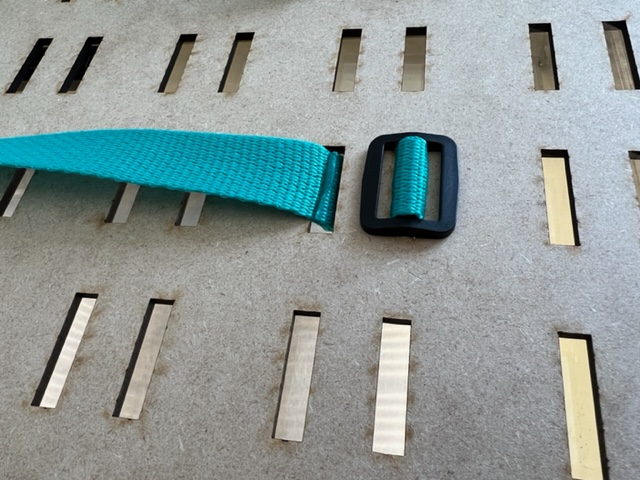
You can make it with different slit spacing. The reason I picked mine was because of how I planned to have the webbing feed through sets of two slits and so I wanted to make sure there is a good size gap between those slits so that the gap does not break off easily.
Materials
- 12x20 medium draft board (you can use thicker if you want it to handle more tension)
- 1" Polypropylene Webbing (you can use nylon but nylon is really silky and I find it can loosen itself with the triglids)
- 1" triglid: Amazon.com
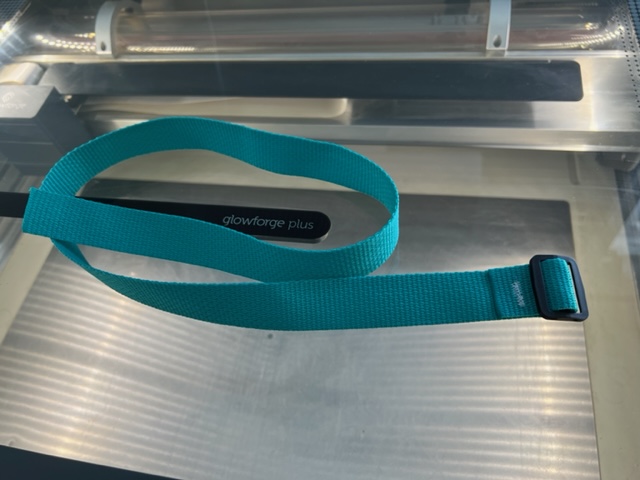
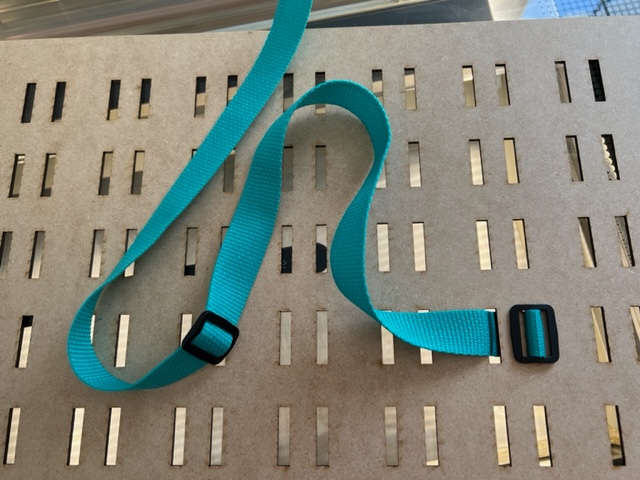
How I made the straps
- Cut the 1" webbing into 30" long pieces
- Use a lighter to burn end of the webbing and prevent it from unraveling (look on YouTube for how to do this if you are not familiar with it)
- Fed one end of the strap around the middle of a triglid and sewed it down (if you do not sew then rivets are a easy alternative)
Here is the result:
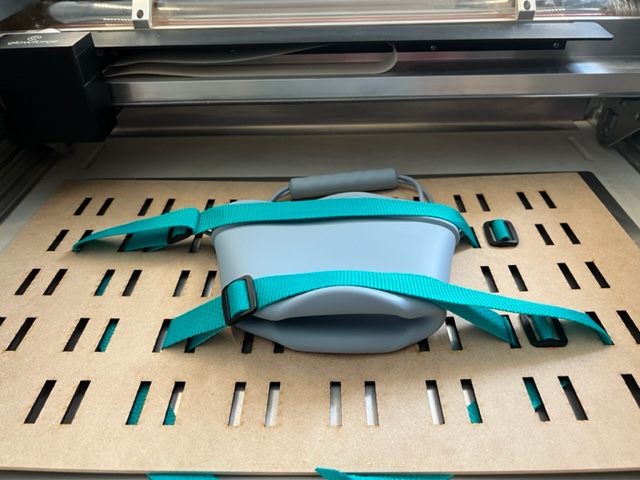
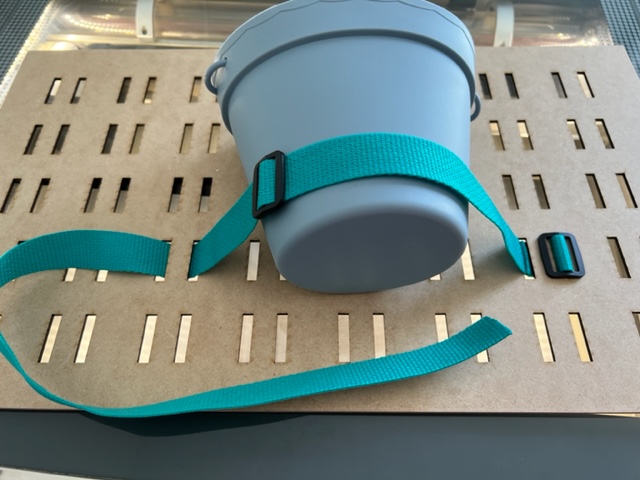
How I strap it down
The explanations might not make sense but the pictures show what I am meaning ![]()
-
Feed the webbing through a set of two slots and pull it through so that the sewed on triglid latches down
-
Slide a second triglid onto the webbing through the center of the triglid
-
Feed the end of the webbing through a set of slots and set your material on the board under the strap
-
Feed the end of the webbing through both triglids
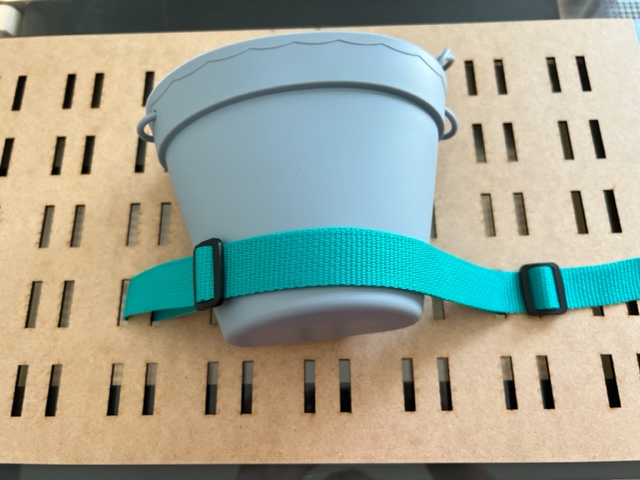
-
Press down on your material and tighten the straps till its at the needed tension to keep the material flat

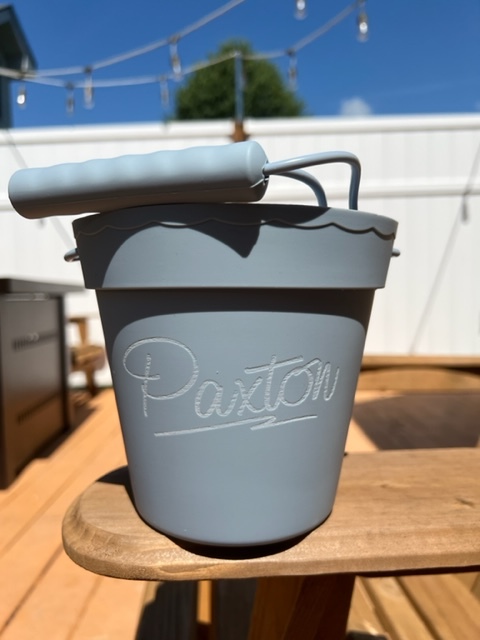
Bucket from tutorial
Here is the bucket I use in this example. I used settings that I found from searching in Beyond the Manual for silicone (non proof grade settings can only be shared there)
https://www.amazon.com/gp/product/B097GD94RR/ref=ppx_yo_dt_b_search_asin_title?ie=UTF8&psc=1