Trotec Coat of Arms - 3D Engrave

There was a discussion on the Laser Engraving Facebook group about the 3D engrave video that Glowforge put out way back when.

I decided to do a 3D engrave to demonstrate what could be done in a single pass. BUT, I didn’t have the file for the Glowforge version. So, I decided to do the Trotec Coat of Arms instead.

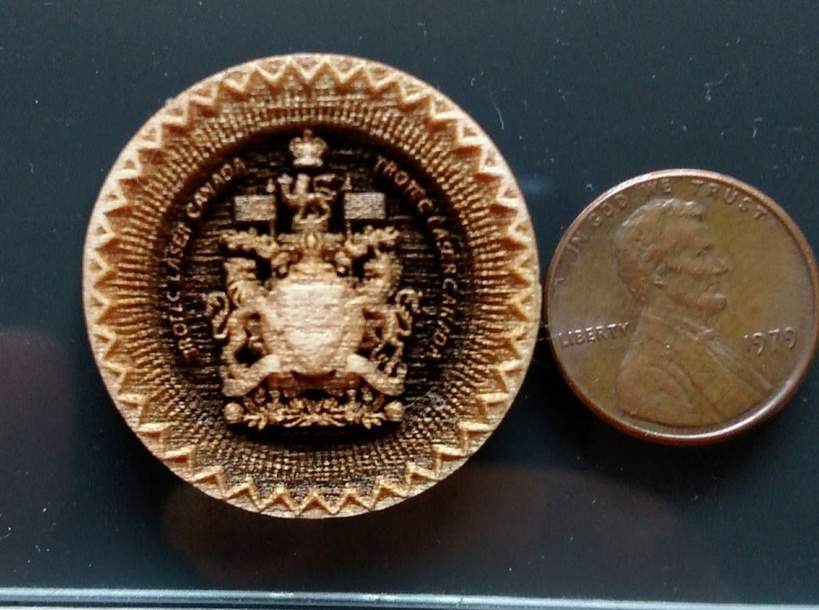
I’m slightly stingy with my Proofgrade, so I made it smaller than normal. So, here it is. I should probably clean it some more.

Proofgrade cherry, map to gray-scale, 1335LPI, 1 pass. Penny for scale.

Edit: I modified the settinging. I went to 50% power instead of FULL POWER, and I did 2 passes. It has more detail. Its the one on the right.

47 Likes

That is so teeny-tiny cute! :grinning:

4 Likes

Slightly? Nice demo though.

9 Likes

Updated original post with a second run, where I did 2 passes instead of 1.

4 Likes

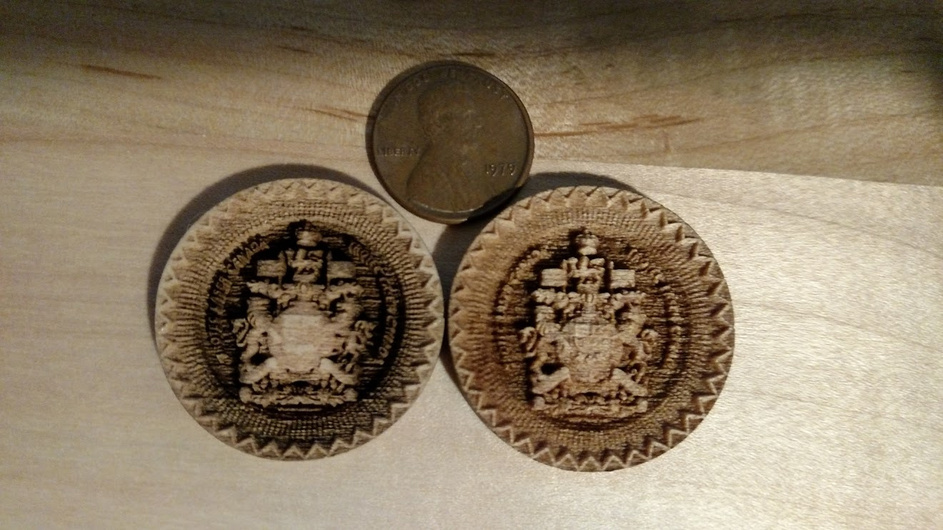
Wow, the second one is even cooler! I’m wondering what a 3D engrave would look like on Proofgrade Basswood, which according to the description in the shop, is really good for engravings.

6 Likes

I picked up some basswood. It’s super light. It probably would be pretty easily ablated

2 Likes

basswood is the wood of choice for architectural building models.

5 Likes

Turns out my pre-release cannot do map grayscale to power. Guess ill be waiting on the pro for 3d engraves too. Cant wait. This looks awesome @joe

3 Likes

It’s pretty awesome. I’m curious as to what the 3d engrave setting will do!

In the meantime, if there’s something you want me to try, let me know. It will have to wait until I’m back from my Midwest adventure, though.

1 Like

Tip: do a fast final pass to zap away char. (maybe even a flat engrave over the whole area)

2 Likes

Seen that recommended a few times. How does lasering char, that was created by lasering, remove it again? Why doesn’t it just char it more?

1 Like

Perhaps it loosens it up a bit so the air assist can blow it away?

1 Like

it just ablates the surface layer
image

8 Likes

I use acetone and a toothbrush. The machine time is better spent running other projects. :slight_smile:

5 Likes

That works in some cases. It depends on how small the details are in your 3d engrave. Some of them might break off if small. Its a lot better now that they have map grayscale to power than dithered engrave which left pits and spires everywhere that would break off even more.

4 Likes

You can get a pretty decent thickness, maybe a piece of cardboard or so. Have to allow for that. (And the deeper cuts produce char because of the longer dwell time.)

I think, from my limited experience, that the light engrave can get char out of narrow low-lying areas that manual methods have a hard time with.

If you go fast and light you don’t lose much at all. Especially if it’s char.

The Saint Michael engraves in Maple I posted in this section had deep carved details at fractions of a millimeter wide and no problems brushing those.

Awesome! You did those on map to grayscale?

One problem I have it’s how Glowforge handles multiple passes. Currently, what it seems like to me is you set the parameters, set the number of passes, and then it does that setting however many times you told it.
For an engraved like this, my thought is it would be nice to be able to decrease the power for each subsequent pass. Does that make sense for a 3d engrave?

1 Like