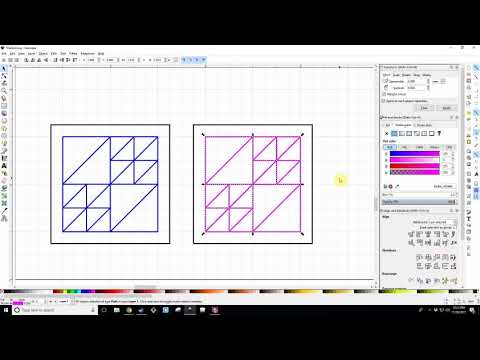
A friend is visiting over the weekend and wanted to learn the basics on how to design stuff for the Glowforge ahead of time so she can get as much printing time in as possible once she gets here so I made her a video covering everything from starting a new Inkscape file to working with it in the GFUI. This is a really basic video so it won’t be anything new for anyone reading the forums probably, but I thought I’d share it anyway because maybe your friends/family who have no idea how Inkscape even works would find this helpful.
Excellent
Thanks for sharing! Bookmarked as it applies to me in pretty much the same way as your friend.
I’m going to link this in the Matrix. 

Great information. Thank You.
Hooray, thanks!
I use Illustrator but several of the tips mentioned in this tutorial will be applicable for vector designs for the GF no matter software used. Thanks!
Will be watching this once I get home from work - I was wrestling with Inkscape just last night and all helpful hints are welcome! Thanks for doing this!!
Btw, I just ran into something frustrating using inkscape. The area of the coordinate system in which I was doing my drawing was (-x, -y), so that when I uploaded the model, it would show up on the left, but not on the right. I suggest you model near the origin in inkscape to avoid this (unless my observation is totally broken).
You’re not. Its best to work in the first quadrant. You can still see the model if you zoom out and pan in the gfui though.
Very nice! Thank you good sir for a proper video, incredibly helpful!
Thanks!
Hey man, thank you very much for this tutorial. It was a big help since I’ve never owned a laser cutter before or even used Inkscape.
Thank you, that’s great =)
Thank you. That was very helpful. Would it be possible to do one on curves?
I’m kind of overwhelmed at work for the next couple months, but yeah I’m planning on doing that at some point. :3
Don’t you hate when real life interferes with your fun 
Hello,
would it be possible if you can show me step by step instructions on how to do a wooden Christmas ornament with a photo engraved that could be used for a tree ornament or gift tag .
as simple as possible… I wanted to make 3 ornaments to add as part of a gift to my bosses…
hopefully this email will reach you soon… thank you thank you thank you
If you want to contact someone directly, put an @ before their name and it will ping them to respond to you.
As far as a simple step-by-step for creating an ornament. I can help point you in the right direction.
- google for royalty free vector ornaments and select one that you would like to use. Or purchase a design.
- Download it and import it into Inkscape
- Select it and Under the option “Path” choose Trace Bitmap. (this will ensure you are working with Vectors and not a jpg or bitmap.
- Search the Forum for instructions on setting up your photo for engraving (something like this)
- Once the image is ready, Import it into Inkscape and size it for your ornament
- Make sure you have a cutline around your ornament and save the whole thing
- Go to your Glowforge, upload the file and cut/engrave your ornament!
Hope that helps. Definitely simplistic set of instructions
Oop; I haven’t been on the forum much recently and missed your post @donnamarie66, sorry about that. Sorry but I won’t be able to do much over the next week because of the rush of getting work out of the way before Christmas; I hope @julybighouse’s instructions were helpful though!
