I’ve been struggling with engraving my photos on different materials.
Fellow owners gave me suggestions and tip and today I finally got a good looking engraving.
I thought I show the steps I did. Most likely some steps can be improved. Feel free to suggest improvements.
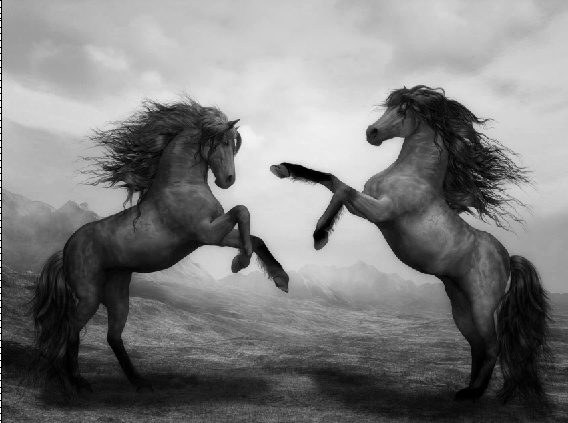
I started with this photo I found online:

Step 1: Desaturate:
Step 2: Adjust the curves:
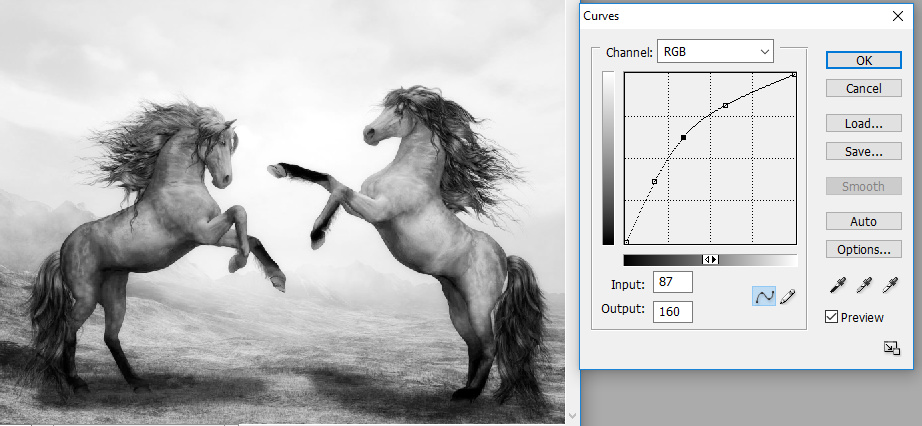
I played with it until the tails are good and the background is as white as possible.
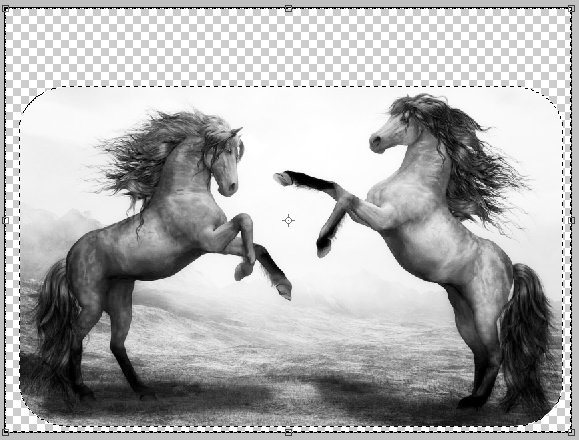
Step 3: Adjust the size:
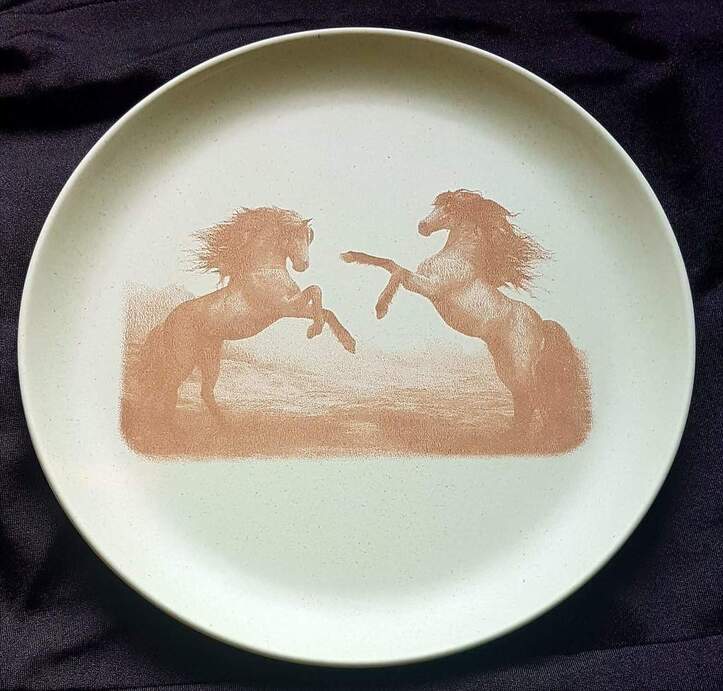
Because I’m engraving on a plate I want to cut out a rounded rectangle.
Create such a rectangle. Select it, optionally add a feather, inverse the selection. Select the correct layer and hit the delete button:
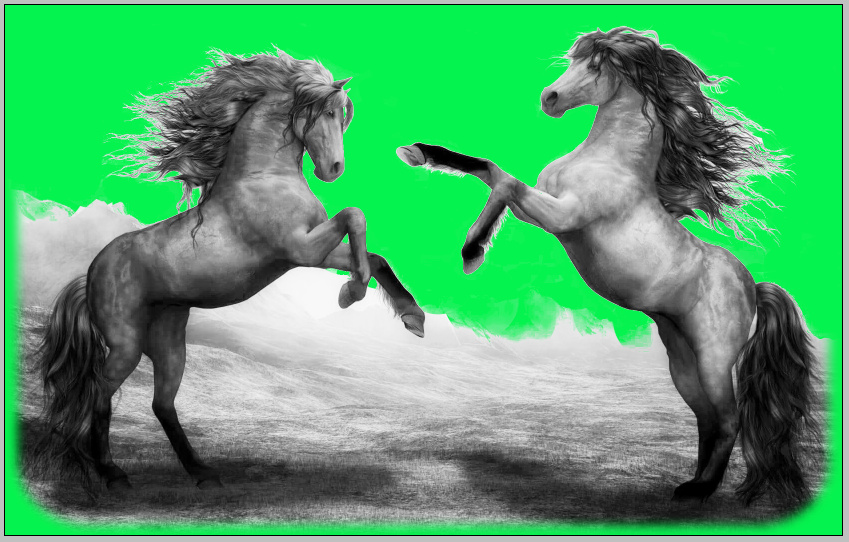
Step 4: Remove background
Trim the image to get rid of the transparent pixels and put a new layer underneath this layer and fill it with green. Select the ‘Background eraser tool (E)’, select a hard brush and set limits to ‘Discontinuous’ and tolerance between 5 and 10%.
Click now on the background to remove it. For this photo I only did the top part. Because of the extra green layer it is easier to see what you need to do:
Step 5: Save
Delete the green layer and save the image as PNG to preserve the transparency.
Optionally you can let https://tinypng.com/ make the file smaller.
Upload it to ![]() and start engraving.
and start engraving.
Later today I will add a photo of the final result. I already made a smaller version on plywood but the photo is terrible ![]()