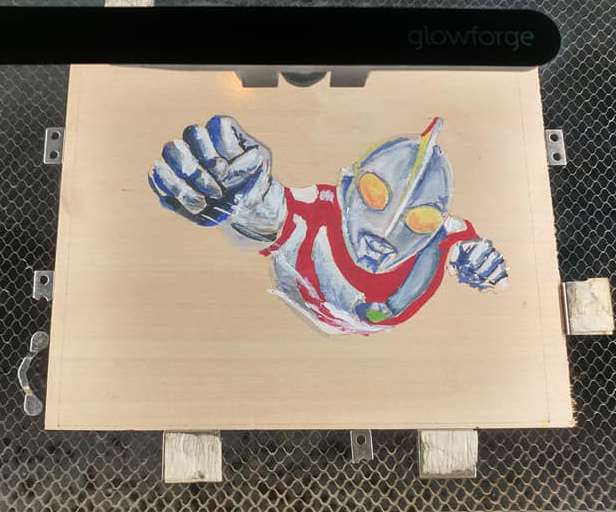
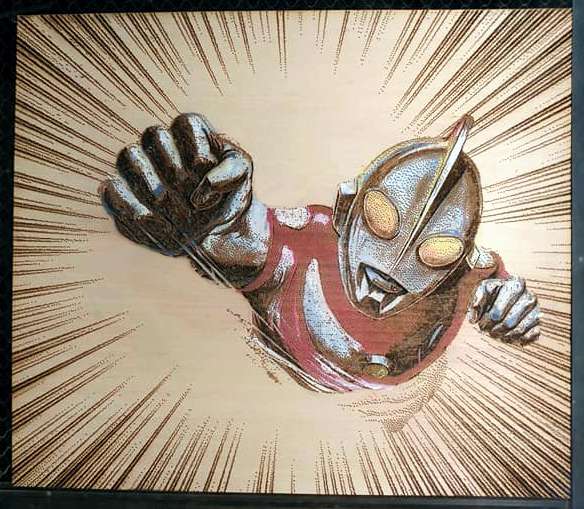
My first attempt at painting and engraving a larger piece. I screwed up when it was finished and used alcohol to clean up some soot. I was on automatic just doing my normal routine and didn’t even think about the paint. Some of it smeared a bit and it’s not as vibrant as it was. Silly me Oh well, it was a test run and I have a few adjustments to make anyway. One of them is to use masking next time and to bring down the dot density in the dark areas. The engraving got to muddy in those areas. The piece does look better in person though.
My steps in case someone wants it…
*Combined a couple images in Corel draw and paint to make single image
*Made single stroke outlines of the main features I was wanted to color (saved as SVG)
*converted image to halftone in Corel photopaint, saved as PNG
*used Basswood (non-PF, but very similar) Surrounded wood w/magnets to act as a jig.
*brought in halftone image and SVG outline in GUI and lined them up
*ignored engrave, set outline to 500/1 and scored wood
*removed wood and used acrylic paint
*put wood back in and engraved with SD graphic setting.
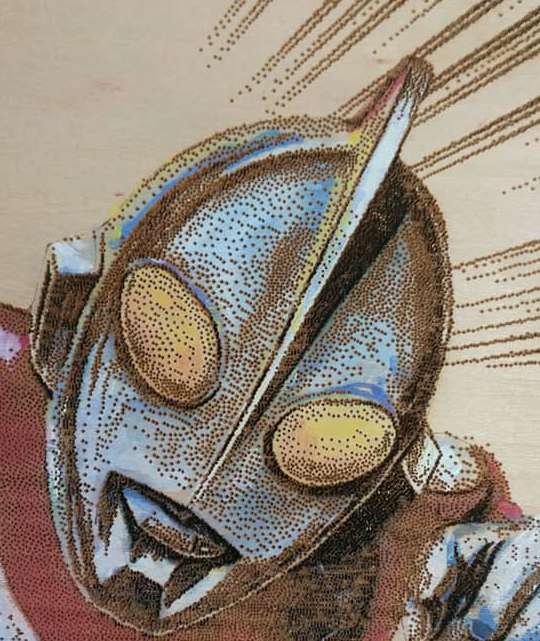
You can see the dark area was to dense and suffered while I was cleaning it. Will mask it next time and adjust the halftone density. Still like Ultraman’s face though :-)
That’s beautiful. This has to be one of my favorites on the forum! One question though, if you mask it after painting are you worried about lifting any paint?
Yeah, that’s why I didn’t mask it to begin with. ( I really don’t mask a lot of stuff though cuz I’m kind of lazy.) So I’m going to have to experiment with some of the low tack tape to see if it’ll work. Or maybe paint and then seal it before engraving will work?
I am a bit of a dodad hoarder. I typically just have stuff spread everywhere and grab whatever is closest. I found a big stack of those square magnets in a dumpster at a store. I do have standards though and snuck back to the store after dark to dumpster dive and pull them out of the garbage LOL I have an image to uphold
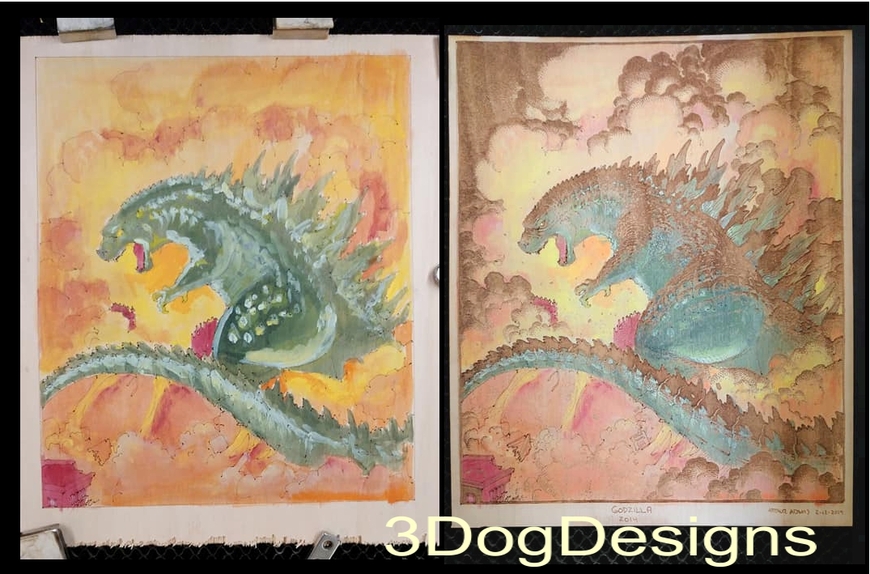
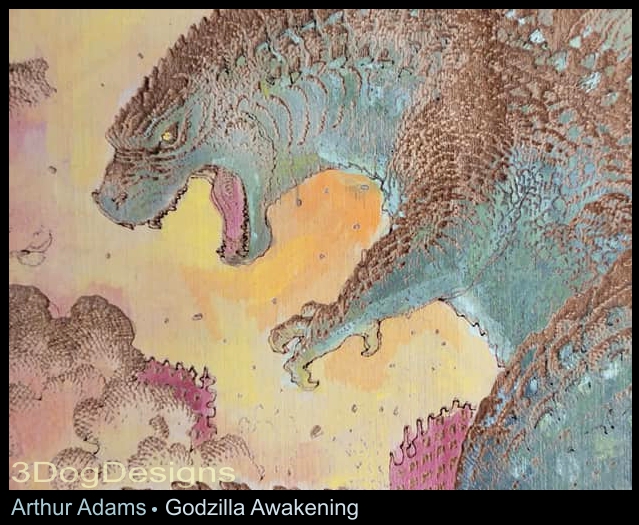
Nice pic, I might have to steal it for refrence! I love Kaiju and other Japanese characters in general. Mainly because they are so wonderfully cheesy. A friend of mine and her husband are pretty famous comic book artists. I spent hours on the internet looking for Ultraman, Godzilla and other work to laser and then I came across drawing my friend’s hubby had done. I’m such an idiot, I had no idea he was famous for his Kaiju work. So now my next project is a bunch of cool Godzilla stuff
I understand the front fist ended up a lot darker than you intended… and you lost a lot of the colors there… but I think it really adds visual weight (punch!) to the frontmost element in the foreshortened perspective.
How did you create your engraving image? You call it a ‘dot screen’ but it is not truly a dot screen, it looks more like manual stippling? Or possibly a stochastic screen?
Thanks robtichy! I agree, I kinda like the visual impact the dark fist gave too. Some of the areas got too charred though and suffered damage when I tried cleaning the piece. I think I need to adjust just a bit and find a nice balance that keeps it dark, but doesn’t burn the heck out of the wood.
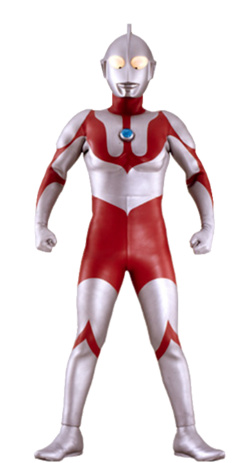
I found an photo of Ultrman online and then made adjustments to the contrast, sharpening and brightness of specific areas of the photo. I added the background, converted the pic to greyscale and made a few gamma tweaks. I then converted the image tho black and white (halftone) using “ordered” dithering. The dithering is what gave the stipling effect. (The GUI can do the dithering for you, but I prefer to have more control over it and choose to do it myself.) Other than the few dark areas, I liked the effect of the rest of the dithering. So what I’ll likely do is open the original image, select only the dark areas and lighten them up a bit and then re-dither the whole image again.
 Oh well, it was a test run and I have a few adjustments to make anyway. One of them is to use masking next time and to bring down the dot density in the dark areas. The engraving got to muddy in those areas. The piece does look better in person though.