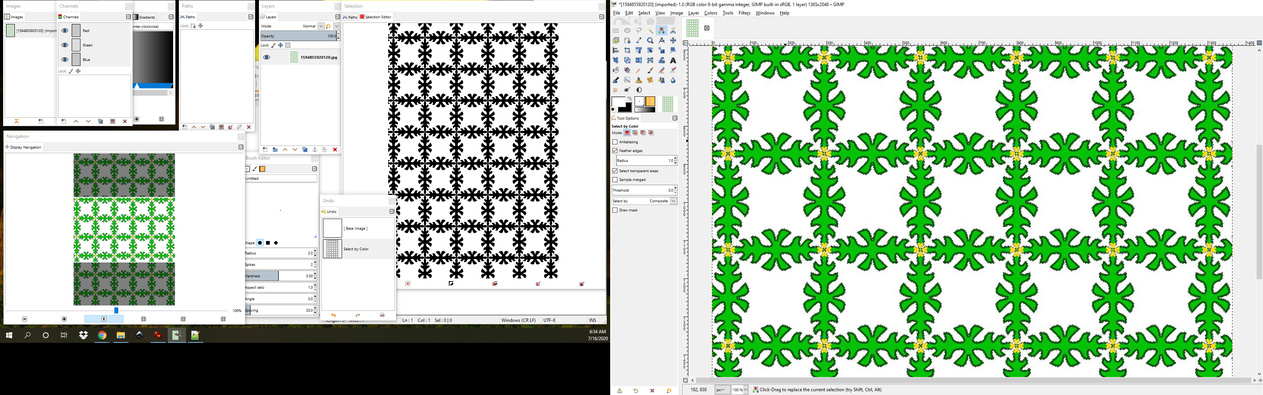
Looking to trace this image in Inkscape there are several colors that could interfere and as it is a JPG even the solid colors are not solid but messed with by the JPG compression, Inkscape trace will try to follow those, but Gimp masking can do a cleaner job. (you will note I am using a dual-screen to keep track of everything, and perhaps it will help justify your getting one too)

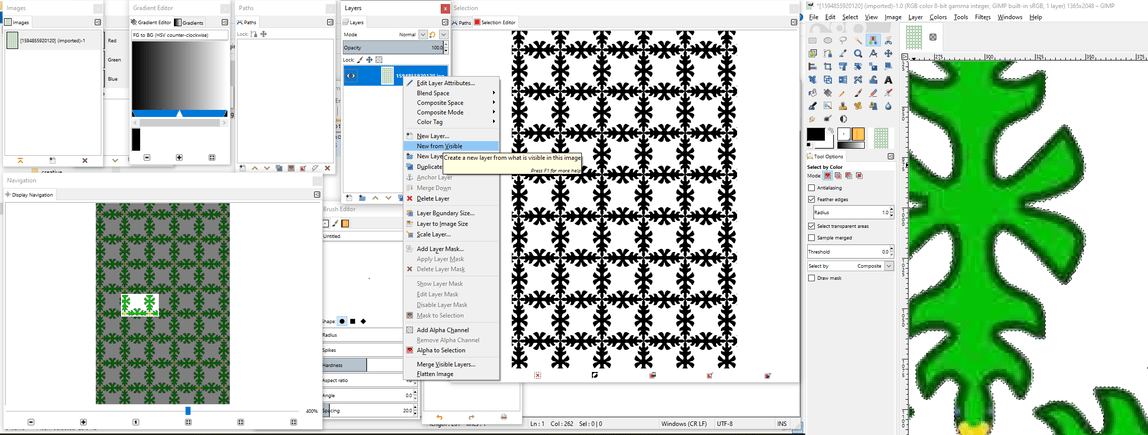
So Starting out we take a copy of the original by visible rather than just copy the layer as by visible will add the alpha layer that was not there before. so the first thing is to make the white area solid white. Then I also save the mask as a path so I can recall it later, and there are more abilities as well. I can as example fix a glitch with the path tool and make that where the mask is, but I don,t expect I will need it here.
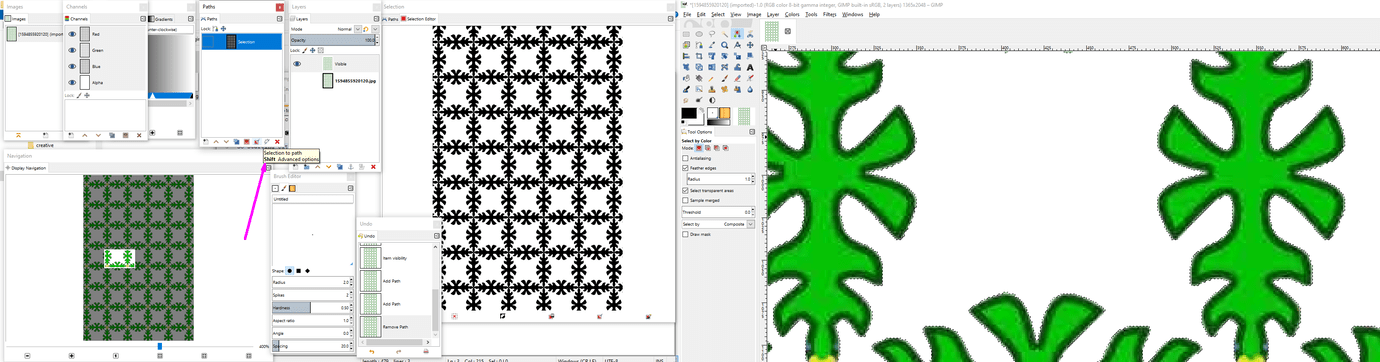
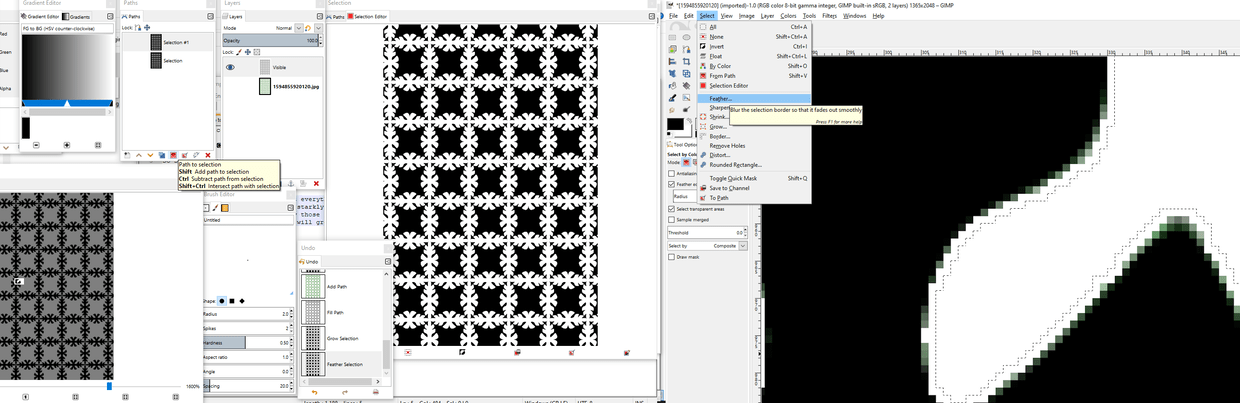
Now I can invert the mask and paint everything not white solid black. Now you could stop there but as you can see the fact that everything is pixels that are starkly jagged the trace function will see them as angles making way too many nodes so we want to blur those jaggies but only those jaggies. So here we must decide if the design could show a hair thinner or thicker. I want to make it a bit thicker so I will grow the black one pixel outwards and feather the mask by one pixel.
Now I can remove only the black and have just the one-pixel offset that is now also feathered so I want to save that as a path as well, so here is where we smooth those jaggies. So now no matter what you do it will only happen inside the open area of the mask. Now you could run a blur tool along all that path but aside from needing a really still hand it would be tedious and boring. Well! paths to the rescue!
By using CTL+picking that piece instead of replacing the mask with a different mask, it booleans the two masks leaving only the one-pixel expansion!
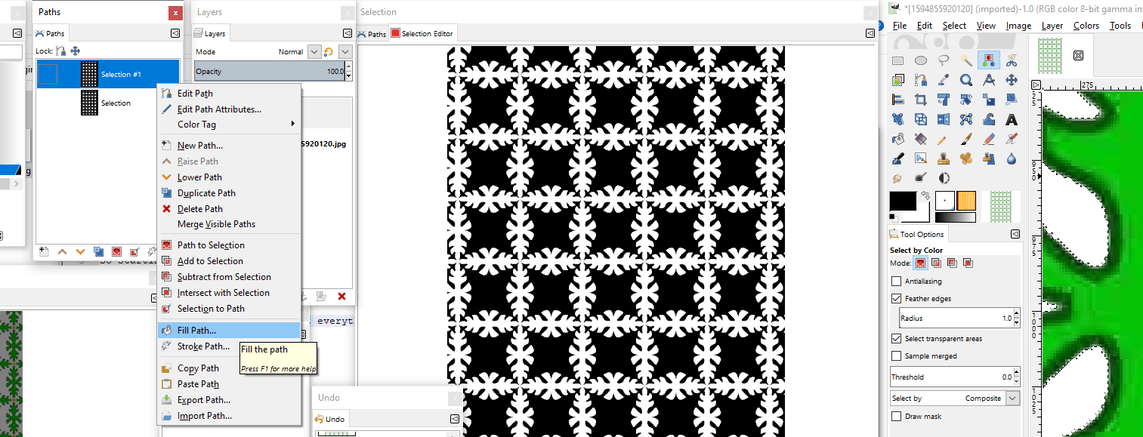
And now the coolest part. You can use that path to draw a line or move any tool along that path no matter how complex the path and totally blur or otherwise modify that one-pixel expansion so Inkscape can run its trace without bumping into all those pixels or JPG blobs.
Obviously, these tools can accomplish much more like rounding sharp edges of a 3d engrave or making a simple font more complex but this will help create the awareness of tools you might not have seen in Gimp