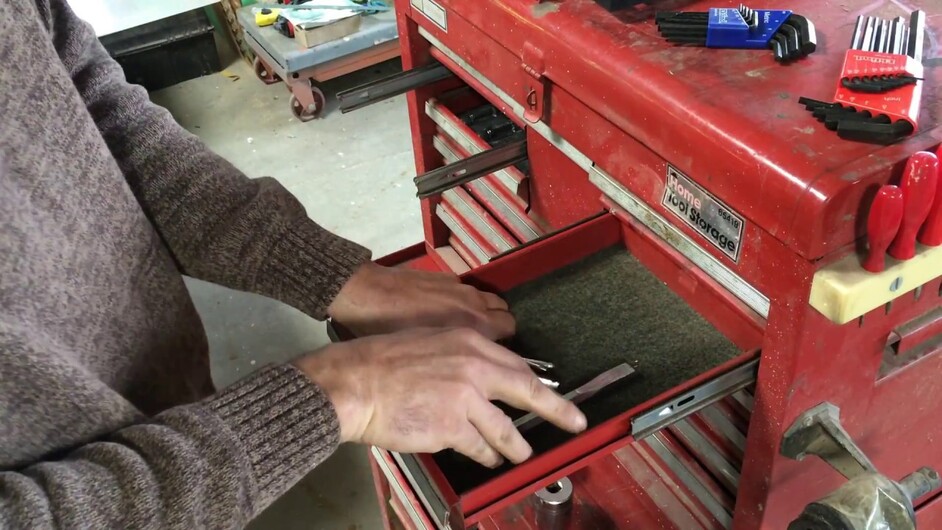
Here is a video I did on making those foam inserts for my toolbox using the the trace bitmap feature in Inkscape.
I may have missed the part where you mentioned it, but what type of foam is that? Eva floor tiles?
Yes I used the foam floor tiles, think I might have forgot to mention it.
I have been inspired to follow suit (even the potential demo fail won’t deter me  ).
).
Really did like the “framing” for the back-light.
This is how I interpreted steps in the video. I did not include ‘Fill and Stroke’
|•|Create jpeg in Photoshop.|
|•|Trace contour|
|•|Clean up spots and edge|
|•|save|
|•|Import jpeg into Inkscape|
|•|Change ‘Document Properties’ (e.g. size) under File|
|•|Arrange image in document box |
|•|Resize and/or rotate to fit|
|•|Click ‘Trace Bitmap’ under ‘Path’|
|•|Drag top layer of image to the side|
|•|Delete bottom jpeg image|
|•|Click ‘Break Apart’ under ‘Path’|
|•|Drag image and delete bottom image|
|•|Save file as *. svg ‘plain’|
Thanks for the video. The backlighting is a good trick. I learned this myself when trying to take a photo of a piece of jewelry that I wanted to replicate in the GF. I actually held it up to my window with snow in the background to get the same effect, and it really helped eliminate the shadows. When I had tried to take some photos of my tools earlier without backlighting, the shadows really threw off the trace bitmap activity.
For those without a backlight, one alternative option is to look for pictures of your tools online. If you can get a good match, you can find a picture online that is professionally done without backlighting, and use that as a starting point.
Another trick for adjusting the scale: I like to include my tape measure in the picture. Then, when the photo is imported, use your software to “measure” the tape measure and scale accordingly. For example, if 10" on the tape measure is 15" in your software, you can scale by 66.7% to get everything right-sized. It doesn’t have to be a tape measure per se, just something you know the actual dimension of. Hint: the bigger the item you are measuring, the easier it is to scale accurately because whatever fixed measurement error you have in the software (some number of pixels) will be a lower percentage of the total measured value. So scale based on the largest dimension that fits in your photo.
One thing I didn’t see in your video that might also be helpful: add in some thumb/forefinger holes around tools like the center punches so it’s easier to grab them out of the foam. You might also want to offset the traced outline of the tool a little so it’s a good fit but not a super tight fit. Trial and error would be the way to go on that.
Overall, excellent tutorial, thanks for putting it together. Definitely will help me going forward, as I immediately bought the EVA foam when the idea of tool storage foam cutouts was first mentioned, but got bogged down by the difficulties of not having backlit photos and having trouble with the shadows.
Thanks and great suggestions, The last couple I did I did end up off setting the trace and It worked Great! I do with some of them had finger holes, I was just too lazy to draw them  But now I am thinking it might work to cut a bunch of half circles from draft board and place them against the tools, Then there would be no extra drawing !!!
