I’m attempting to print on non PG material. A bamboo cutting board to be exact, but I’ve noticed this happening with any materials, including PG. I upload the file, position the artwork and select the engrave settings. Then when I click on Focus, the view of the materials resizes, while the artwork remains the same. When I use PG materials, it does this when I click Print. This concerns me. It usually seems to print as it came up originally, but one time it did actually reposition the artwork. What is going on, and how do I resolve this?
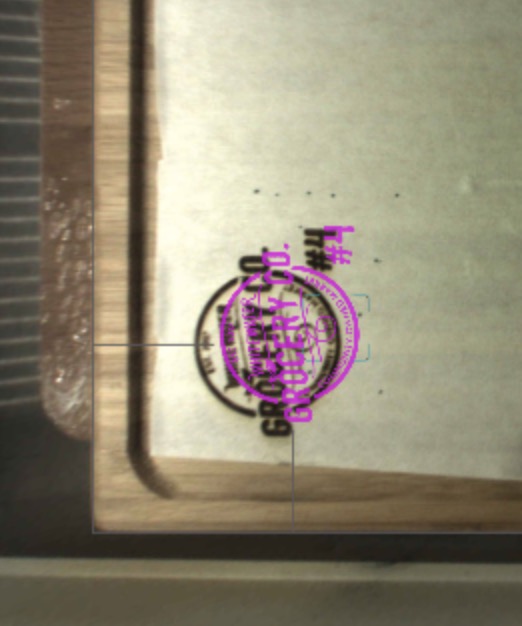
*Update, just went ahead and printed, and it did reposition. Picture attached.
This is normal behavior. You will want to make sure you have set your focus height and have everything positioned correctly before you print.
The camera in the lid is a very wide angle lens that gets corrected by the software. When you set the focus height the correction factor on the camera image gets adjusted and that is why things look like they change size.
This is so confusing. I just “refocused” like I was going to print again, without touching or moving anything inside. And the image was identical to what I show above. So although it’s assumedly “focused” on that material, where it shows the artwork is not where it printed.
Might not be helpful but i measure all my material i put into the machine with some vernier caliper and manually set it in the material selection section. For me anyway my camera image rarely if ever changes once i hit print. Its the first thing i do before setting up my image and selecting engrave/cut/score settings. But i dont use proofgrade materials so this might not apply to you.
Thank you. If you’re using materials without the crumb tray (propped up to be within range), what do you enter for “material thickness” when setting it manually?
That would be the previous height of your crumb tray minus the current height of your work piece. like @ben1 posted there are lots of discussions on the subject that helped me learn a lot. they are worth poking around in.
Hi, as others already noted, likely a mismatch between the actual material height and what you have set. And it there’s any thing under the board to support it on the bed, you have to include that into the material thickness. (Looked like there might have been per the photo–is it on the honeycomb tray or another jig?)
I’ve also moved this from P&S to “everything else” because it’s non-PG material, so GF team will not respond.
Though just realized maybe “beyond the manual” section would have been better? (more experienced minds, please do if necessary…).
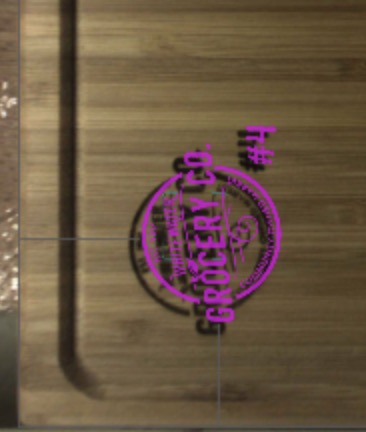
Not feeling the love from my GF. Calibration went through perfectly. I turned the machine off and on just to reset. Removed crumb tray. Calculated my base at .65 and my material at 1.22. That gave me a total of 1.87. Subtracted crumb tray height of 1.4 and entered material height of .47. It still did the view change, and here’s a picture of the finished result, not unlike the original.
If you use set focus and then run the cut the machine loses its “set focus” and will be off. If you run set focus again exactly where you ran it before It is likely to look closer.
Your material has a lip which I assume you are not including in your material height. I think using the set focus tool and making sure that the beam falls entirely on the area you are engraving should help.
Thank you for weighing in. It’s not a lip, but a dip. The edge and the center are the same height. I am having this issue with both setting focus and manual height entry.