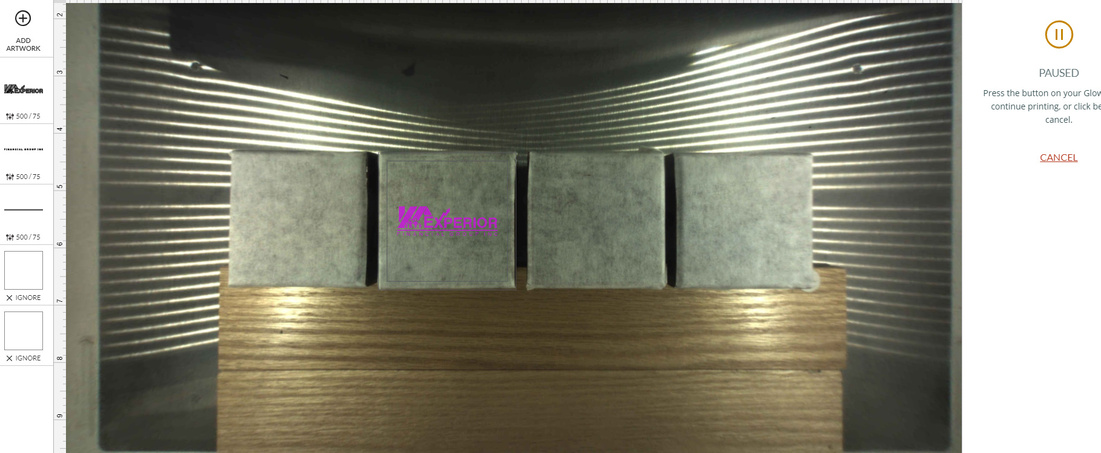
I am trying to engrave on wood that is 1.94 inches tall.
As you can see from the first image, I aligned the engraving perfectly. However, once it started it was very off and printed in the center of both, ruining both sets of wood.
I can see my lens was a bit dirty, however I have had the same issue previously with a cleaner lens. This is a time-sensitive job that I need to be completed by Monday, Jan 6th, I need 25 total.
#1 you have to be sure the focus height is correct or it will be off by quite a bit,
#2 you might want to be sure they are all the same height as a millimeter off won’t bother some folk but could be a huge difference for you.
I would use set focus on each one when you did it. What is correct in the view can be and obviously is that far off depending on differences in height.
Welcome to the forum. Have you performed the lid camera calibration? If not, I urge you to do so. If you absolutely must have precise placement, make and use a jig. Finally, as rbtdanforth states, doing one at a time would probably give better results and use the set focus tool making sure that the beam falls squarely on the material.
It did give me a warning prior to printing saying it had issues focusing on the height. However I get the same issue every time these pieces and the two of the three other times I had done it, it worked.
How do I properly set the focus height for this? it is exactly 1.97 inches tall.
You’re probably doing it right, you just click on Set Focus, then where you want it to focus. I’m afraid that material might just be too tall, especially if you got the warning when using Set Focus. If it fails, it is not going to give you an accurate view of the bed, and placement will not be correct. You could use a jig for placement, and manually set material height to (actual height - bed height) in the settings - which must be less than 0.5".
I haven’t preformed lid camera calibration yet, first-time I’m hearing about it actually.
precise placement is a must on many of the current items I am doing. If you have any resources you would recommend me looking into for Jigs it would be very appreciated.
When you click Set Focus, walk over to the machine (quickly if you are across the room) and watch underneath the head to see where the little red dot lands. It will flash for only a split second. If it lands on the material, you’re fine. If it lands off to the side of those tall blocks, your placement is going to be wrong.
The Set Focus target beam has to land on the center of the material you’re placing on. Otherwise you will need to do the math and enter the correct value into the Unknown Materials slot.
(And yes, you will want to run the Calibration…it really helps with alignment.)
There are dozens of threads on making jigs, use the Search function.
I just checked, without the crumb tray, my machine is limited to 1.93 max material height (the surface of my crumb tray is 1.43" above the base of the machine). If yours is the same, that explains the inability to use the automated focus, but you can still use the material, just set the focus as high as possible (0.5").
Jules provided the link to the camera calibration. Here is a link to how to make a jig. Video Tutorial - How to make a jig
Since your material is so tall, your “jig” is probably going to be an outline you make on the floor of your Glowforge with tape or a sheet of paper that insures that your material placement is precise and repeatable. In your artwork, you make an outline cut of your material and align the artwork perfectly within the outline. You then place your material within the cut outline, ignore the cut process and engrave your artwork.
I would recommend making a jig. They leave you with much higher accuracy and without the need to rely on the lid camera which is generally poor when it comes to repeatable precision
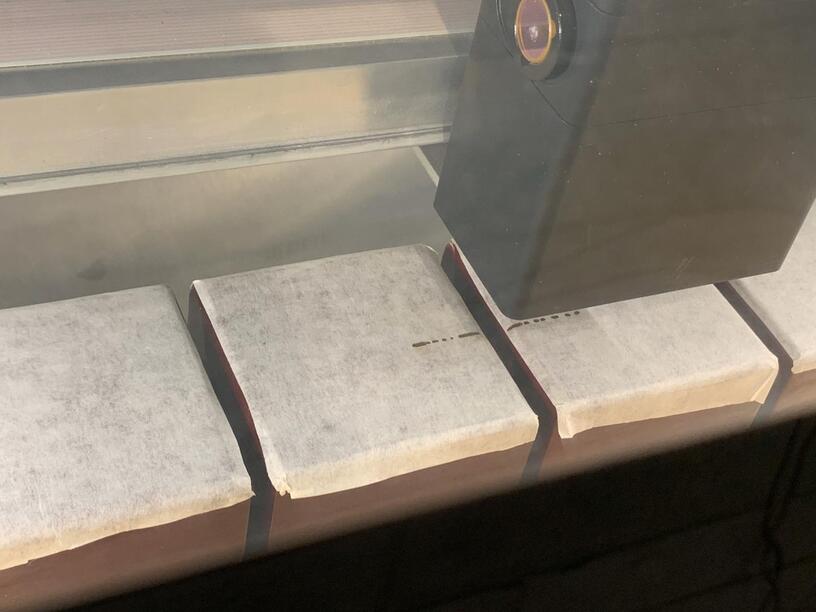
Another tip I used is to set the power to 8 and start the engrave to see where the laser land. Power 8 only score the transfer paper and allow for adjustment in the UI if necessary, once the laser land where I need it to, I will then adjust the appropriate power for the engrave.
1.94 is really pushing the limit. 1.85 or so is the tallest you can go and focus on the surface, the air assist hood starts to hit stuff that’s much taller than that. Sounds like you got away with it though, so take it and run once you get the alignment figured out.
Assuming you mean the focus issue message, it goes back to the material simply being too tall. You’re above what I would expect my machine to work on (1.93" according to my calculations) and even being close could be enough to cause that error. The ones that worked might have simply been a fluke (or perhaps slightly thinner.)
What I did was measure (using a digital caliper) the distance from the bottom of the head mounting plate to the surface of the crumb tray. Then I removed the tray, and measured from the plate to the floor of the machine. The difference was 1.43", and the machine can work with material up to 0.5" above that - hence 1.93".