I’m a bit annoyed. Went to engrave this acrylic sheet for my Sister-In-Law. Putting a nice border around it.
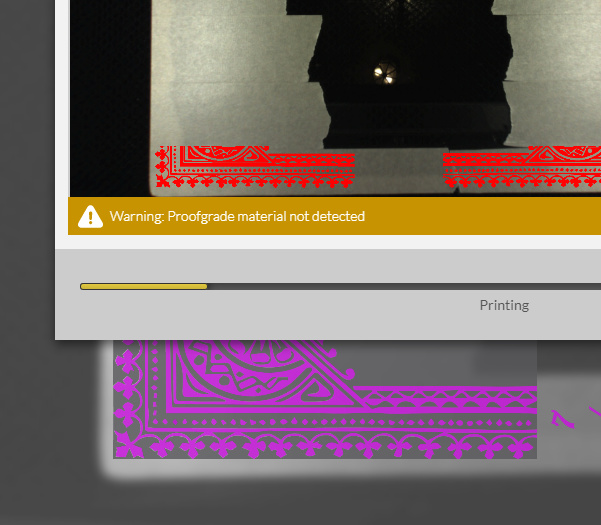
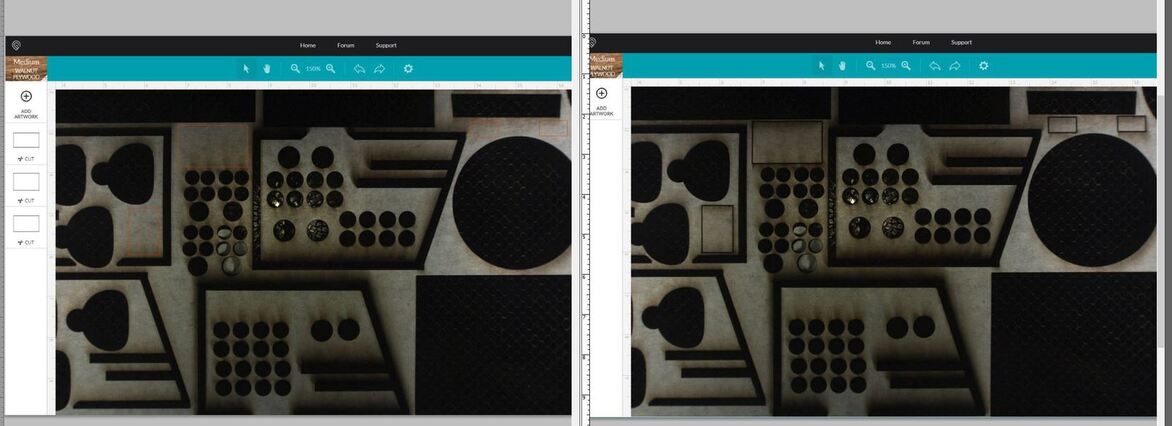
Here’s what I setup and what it says is engraving:
Looks like you have the thickness entered correctly for the lid camera from what I can see in the top picture. If I don’t enter material thickness for non-Proofgrade, then I can be off a bit, but usually this isn’t an issue being off this much.
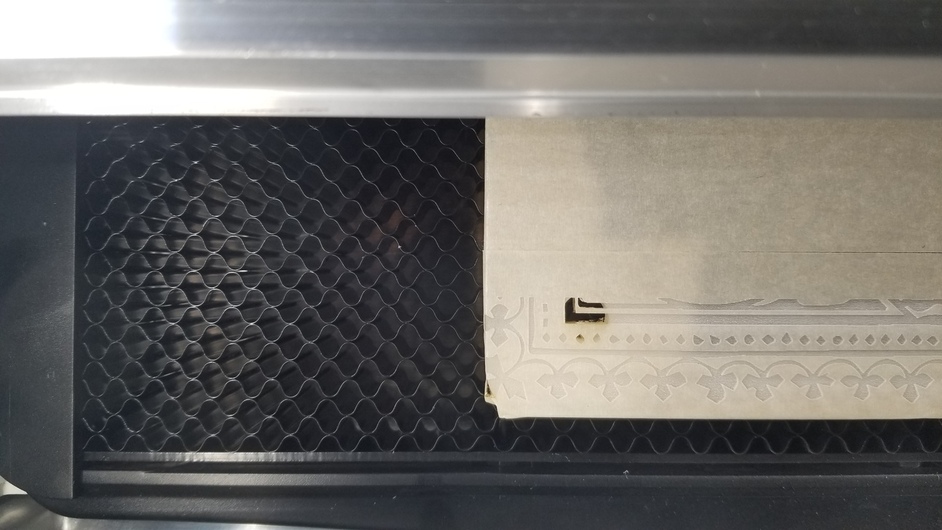
The only other thing I noticed is that the material is placed closer to the front of the machine than I can place mine - might be too close to the edge.
(I usually have 3 grid rows showing.)
There might be something about the accuracy when you get too close to the front limit with the placement. (Don’t know for sure, but that’s all I can think of if you entered the height.)
My preferred method is to tape the bed, then in illustrator, make a box the exact size of the piece you are cutting on, and once you get everything set up in the UI, ignore the engrave layer and run a score on the tape on the bed to get your placement exactly aligned with where the laser thinks its supposed to be. Then put the piece of material in the bed, which should fit exactly in the score you just did on the tape. Then switch the score layer to ignore and the engrave layer on. Run the engrave, and it should be pretty close to perfect.
I still dont trust optical for precision. Only for placement with a few mm for margin of error
I think this is the way to go if you need precise placement and wasting a sheet of material is not preferred.
The optical alignment is one of the things they have stated is under improvement still, and I sure hope so because mine will be off by 2mm dead center under the camera.
I was worried about that, too, but if I’d gone up higher I’d be out of camera range. It was actually as high as I could go while seeing the entire sheet in the camera.
That’s a reasonable solution… to a problem that shouldn’t exist. This is the first time I considered such a thing before I pressed the button. Solely because I was working with the real edge of this thing. I trusted my Glowforge though. I should have trusted my instincts.
This is why Ive been hawking 0,0 and numeric positioning since day 1. Optical is great in certain places. In certain places it isnt. Super accuracy is not one of those places.
They might be able to change this a bit once they start making use of the head cam, but until then, Im taping my bed, and drawing outlines on it before doing work.
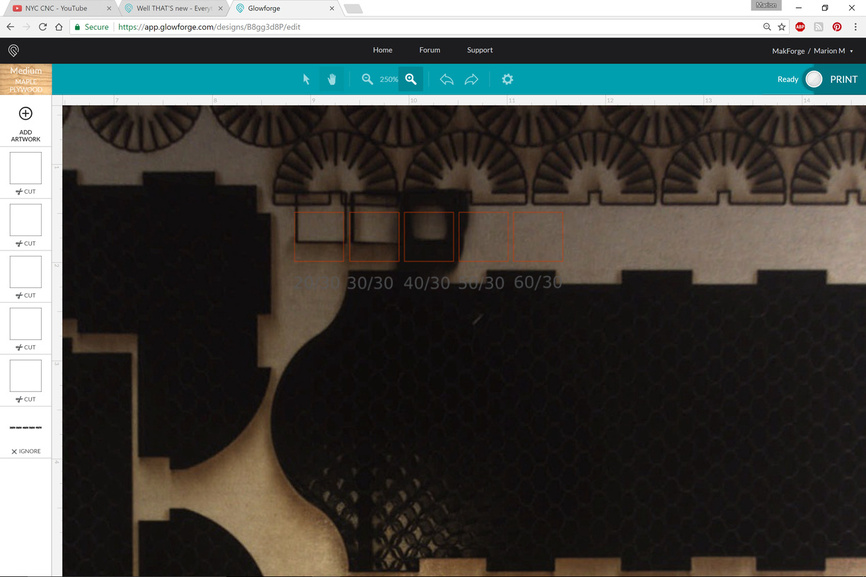
I am used to being able to position a cut like this in a spot like this. It was way off. The squares were cut way high about 1/4". And I was trying to figure out new settings. Burned the third one so I stopped there.
I have as well, from the moment I became an owner.
I never really thought about it much. Until tonight.
So maybe I’m not delusional? It used to be more accurate? Because I gotta say, I never had a positioning issue before. But this is a new unit, so we’re still getting to know each other.
Recalibrating between cuts can make a big difference with accuracy. Sometimes Ive bumped the gantry/head a little when removing material, and it doesnt track that movement, so it offsets the print from the original calibration. Opening/closing the lid might affect camera alignment as well (not sure on this one).
Watch closely when you make a jump from 250% zoom to 300% zoom. The position of the artwork in relation to the bed image of the material will change! It goes back if you zoom out to 250% again, but if you position stuff at 300% it’s gonna be way out from where it needs to be. And it looks like the aspect ratio of the bed/material image gets narrower/squished.
Going to do some engrave placements to see how they work out. (We might need to give GF a heads-up on this if it repeats across several machines.)
(Oh wait…they’re monitoring this category now anyway.)
Back in a minute or two. (system decided to reboot)
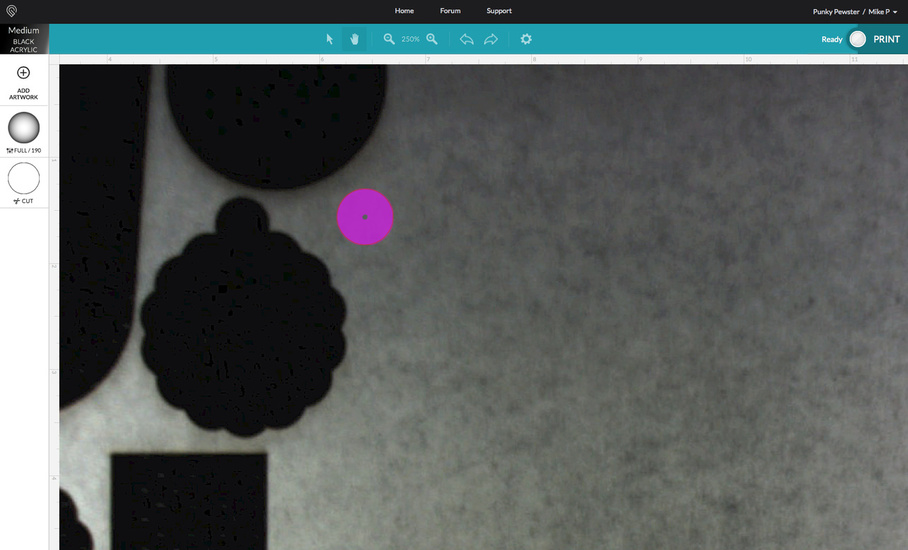
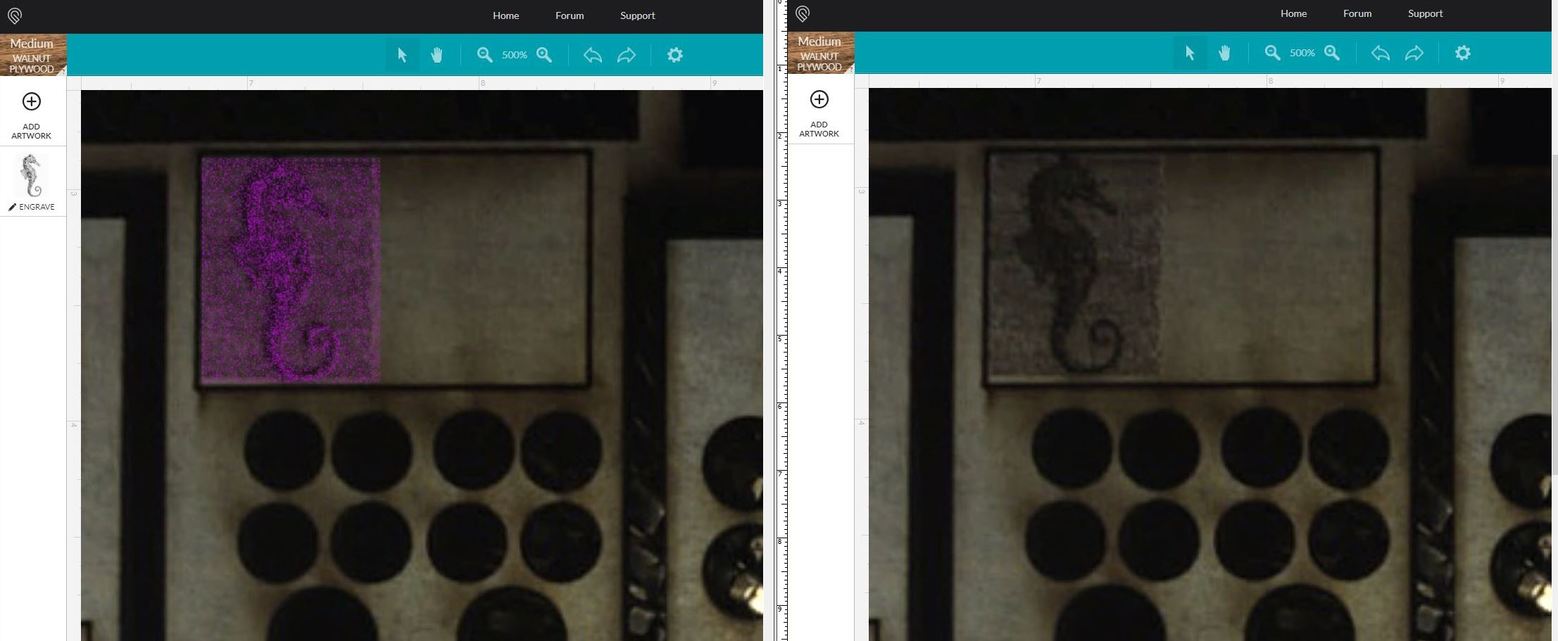
Okay - it’s off by exactly 0.90 mm, and I think that’s because I left a little edge uncovered with the engraving when I placed it…I should have zoomed in farther.
Don’t know what to tell you…this seems pretty close to me. Whatever is going on in the machines it doesn’t appear to be universal. (@marmak3261, I would expect yours and mine to be different from the Production units because we have PRU models…they might not count towards whatever is happening.)
@mpipes and @Tom_A - did you refresh the screen image before trying to line up an added piece of artwork? Or did you do a cut or something, and then Add Artwork to it without refreshing the image?
The afterimage for the cuts tends to be way off from the original camera placement. Refreshing the image and re-entering the height value tends to align things a lot better if you are adding something to a previous cut. (Just something I’ve noticed.)
I have seen this, granted with my condo situation I have only done a few cuts, but I put a coaster 1/4 from bottom of PG maple ply and it cut at the line and I even have a flat spot in the coaster