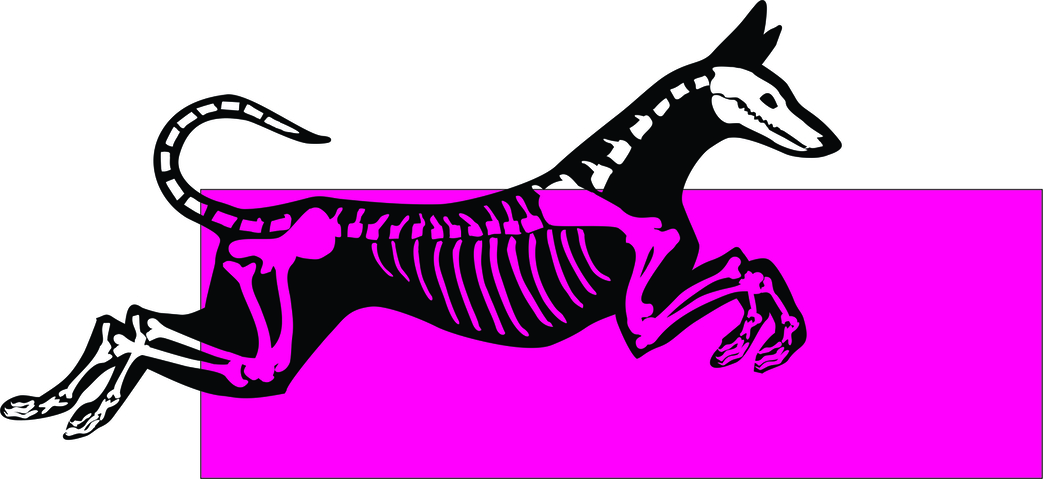
What I do with Inkscape, Illustrator (when I had it; don’t use it these days) and Affinity Designer is I set the document background to a checkboard or odd-color (ie a pale neon blue). In those cases, it would make the white-filled shape much more obvious and help you eliminate this mistake.
yes, contrasting color is a great way to do this. I use it all the time to check transparency issues. we all have our own processes, i just make a color block and put it on a lower layer. that way i can turn that layer on/off to see what i need to see and then get it out of the way when i don’t need it.
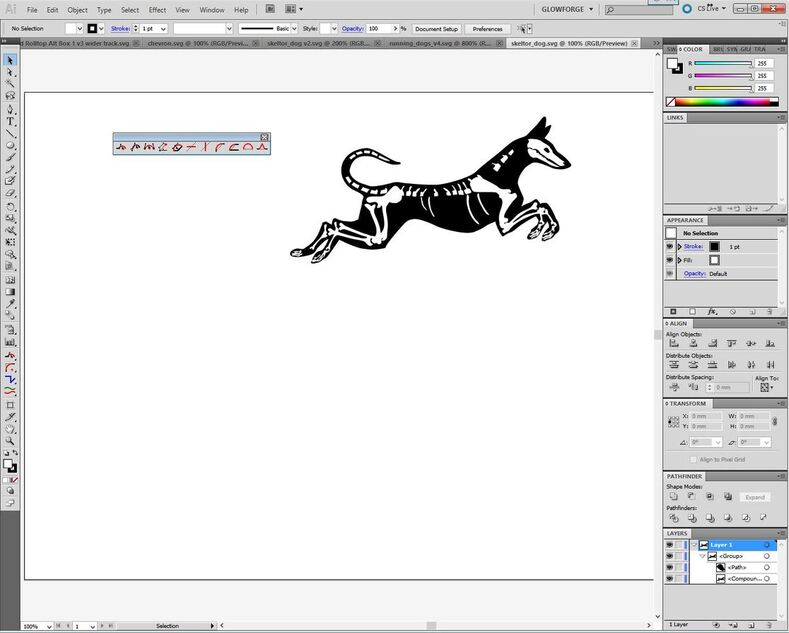
Okay - think I got it fixed. There were a couple of problems with the Compound Path, never could find them…I just released it and re-compounded. There were also some path overlays (which tends to mess things up a bit in the interface.)
Also the exterior outline (for cutting) wasn’t completely closed - parts of the foot intersected into the shape.
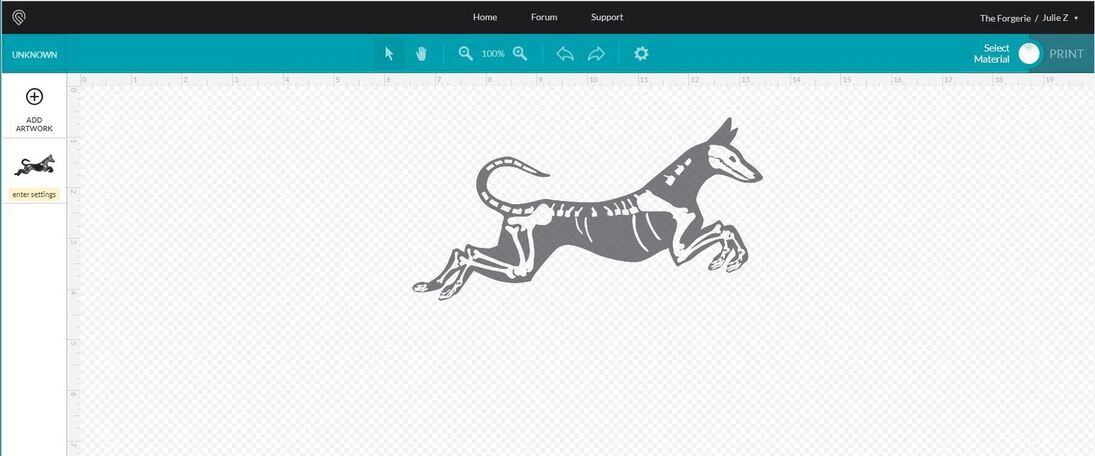
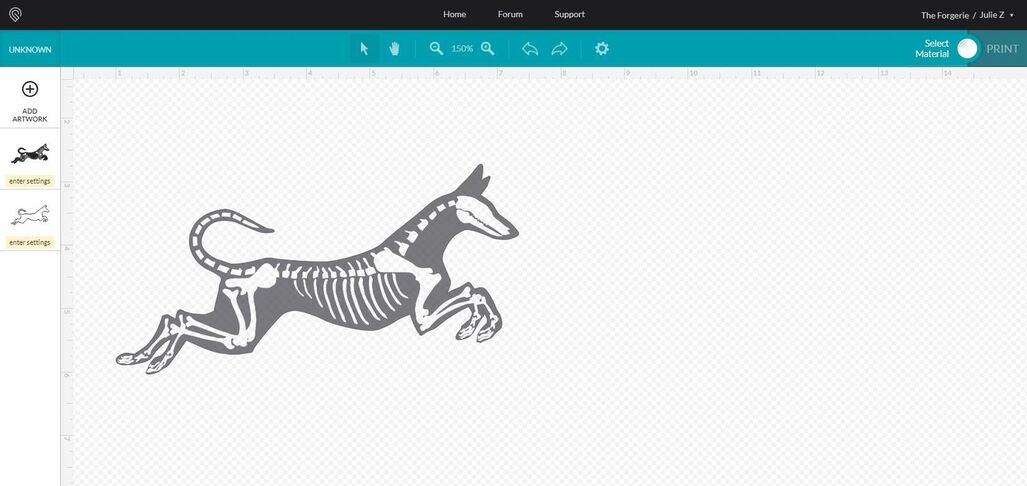
But this works when I load it into the interface. If you want to switch the dog to Score instead of engrave, set the fill to none and the stroke to a color.
I do something similar and place a colored background in a locked layer behind the image so I can see the transparency. It’s easier on my crappy eyes lol. Here’s what the file looks like and you can see the missing pieces aren’t separate filled images. Can’t find what the issue is and I’m going to settle on just recreating each one. The file he Drea kindly re-did works! It just has to be some weird node issue on the original I’m not seeing.
I found the same and was sure that was it! I tried fixing them all and taking out that one errant node you found, and… still the same lol… Thanks for trying though!
Thanks Jules, I appreciate the help! I had broke apart and re joined.combined everything a dozen times and it never worked. For the life of me I can’t see any overlap etc in the different paths that I’m combining, but I give up knowing why and will just redo all files like you did. My husband calls moments like this my, “let it go” moments.
Yeah, this was my “engrave only” version. Out of habit I usually have 2 or three version of the same file. Hence I don’t have a lot of harddrive space lol
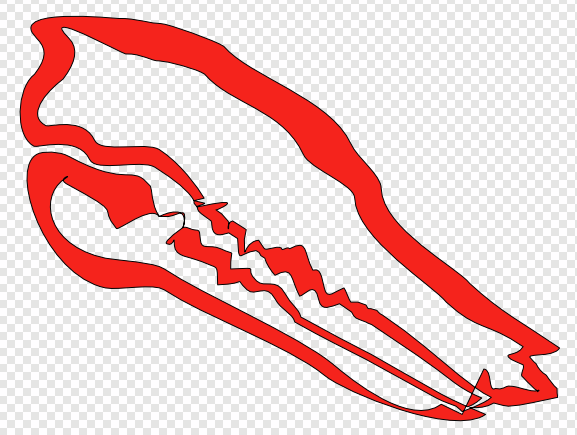
Except that misses exceptions, like the eyes sockets of the skull.
Well I suggested “pale neon blue”, but you can also use “hot pink”, sure.
The problem with using shapes is that you’re still screwing around with layers and it leaves you open to mistakes. It works, sure, but the reason the option is available in the document or preference settings is because it’s always guaranteed to be the lowest layer.
Using colored boxes works, sure. I think it’s additional steps to debug a drawing, but to each their own.
Oops! Yeah, i see I missed that. It will need to be added back on top as an engrave area.
That might have been causing the double compounding problem. I believe @dan said once that you can run into problems trying to compound and subtract groups, and have to ungroup things first.
fair point. sometimes i’m working in very complex documents with 25+ layers, so it’s important to be able to put that color layer where i want it. otherwise i’m turning on and off a bunch of other layers. easier for me to just move one layer where i want it and turn it on/off.
but like you said, there’s more than one way to skin a cat.
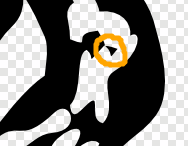
Actually, I think I located the source of the problem. It’s in the jaw of the skull, and how it relates to the skin outline. It has two paths and some strange compounding going on. Pulling it apart, you can see how the jaw isn’t really just a solid body, it’s actually a compound of solid+trace with some messy points in between.
For example, after digging into the shape and moving points around, this is kind of a blown-up mutilated sample:
Okay, where did you get the original SVG? I’m not seeing it in any of the browsers. (Firefox, Chrome, Explorer). Just a large blank white space in @kittski 's post where it would be.
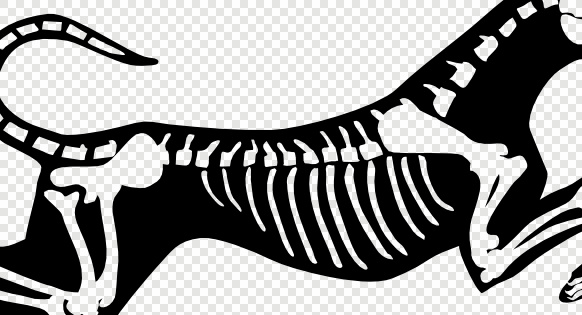
The twisted paths are unfortunately symptomatic of auto-trace. I assume this was auto-traced? Not a big deal when viewing on-screen, or even sending to a desktop printer. But, apparently bad juju with the GF and it’s RIP software?
I can’t. Won’t let me right click the blank space.
That file you just uploaded is different from the one that I picked up (which I think was @jbmanning5 's, which means it was ready to load anyway. Chuckle! I thought that was hers and uncombined a couple of times…for no reason. )
Okay, let me look at this new one…it’s going to take some different things…it now looks like the image @Drea posted. There are some orphan paths overlaying the base, which will cause problems, but other than black fill in some of the overlays, instead of white, I haven’t had a chance to dissect it yet.
I agree… from what I was seeing with her original is that it had lots of strange path artifacts and weirdness that you probably wouldn’t normally see if you did it all by hand.
Zoom way in while in Outline mode and remove the orphan paths. They were overlaying the other path and there were three of them…the only way I know to spot them is to zoom in and look for thicker lines.
Release the compound path. Some parts of it were filled with black.
Ungroup everything.
Put white fill into all of the parts…then…
Put black fill into the outer path. (The one on the bottom.)
Lock the eye. (It needs to be on top of the other group and treated as a separate engrave.)
Select everything else, the white parts on top of the black background shape, and do a subtraction.
Then unlock the eye and give it a black fill.
Group everything.
It took longer to type it up than it did to do it, so it shouldn’t take long to fix the other one. Just release the compound paths and ungroup everything before doing the subtractions - I think that might have been the issue.
Honestly, I’m not seeing much of any difference between your version and the one I posted. If anything, something you did with the various releasing of the compound paths and regrouping managed to add more separate pieces that I don’t see as necessary.
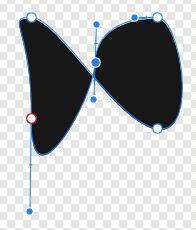
ie.- Like the front paw, there’s now an extra separate piece:
Whereas this is a perfectly fine construct of a similar shape:
The jaw was not causing the problem with the ribs, which were caused by trying to subtract while grouped.
Between all of us, we managed to get the problem licked, which was caused by multiple issues. @jbmanning5 and @mpipes found the orphan nodes and path intersections, you fixed the jaw, and I’m going to credit @dan for the group problem with the subtraction.
For three significant art programs to show it more or less the same, and the GUI to still wonk it up and be completely different – that kind of tells me that they still have a lot of work to do with the rendering engine.
It’s not irritating at all, it’s just the way that Illustrator works. You have to subtract out any areas that you don’t want engraved, and those were not subtracted out. If you open the file in Illustrator it shows those areas as having black fill. So the GFUI was showing exactly what it saw.
Well that’s still kind of strange, because subtracting the white of the ribs and tailbones is exactly what I did on my version. But you’re saying that my version also shows those bones filled with black, from the screenshot you included.
So if you imported my version directly into the GFUI, then it still leads me to believe it’s something odd with the GFUI and/or Affinity Designer. But both Inkscape and Affinity seem to be okay with it.


 )
)