Is that SVG that you uploaded the one you had worked on? Or was that @kittski 's original?
That was the one I had corrected, not her original.
I can’t understand it…it showed no fill in those areas in Inkscape?
Sorry for jumping in and interjecting here. This was something beyond just “fills” per se.
To me, it looks like only part of the areas inside were included in the subtract operation. Those are the ones that show up as white - they have zero fill. Several of the components, like the rear hip, don’t appear to have been subtracted out of the body of the animal but were included in the compound path. Since they are paths that have fills, they are treated as such by the Glowforge. FWIW, as soon as I release the compound path, they all turn to black fills - but that doesn’t matter to me because when I subtract them, the fill is irrelevant.
But why in the world did the original SVG that was posted by Kittski show up correctly in the forum but all cattywhompus in AI? That’s just weird.
Also, this was not an issue of orphan nodes or open paths. Maybe something with the paths twisting over each other, but I really don’t believe so. For those that don’t know, you can do a few things to check for orphans and open paths.
For orphans in Illustrator CC. Go to MENU > SELECT > OBJECT > STRAY POINTS (this will select all of the stray points and you can just hit Delete key)
For open paths in Illustrator CC: A great plugin used to work for this but it quit working in CS5, I believe. While it won’t show you the paths that are open, you can go to MENU > WINDOW > DOCUMENT INFO.
Click the dropdown menu and select objects. That will display the pathing information for the file. For example, the SVG posted by @kittski has 49 paths (0 open, 49 closed, and 862 points. This info window will delve into compound paths as well and include all of the path data, etc.
2 Likes
It also shows up perfectly in Inkscape and Affinity Designer.
1 Like
All I can think of is the group thing - if you hover over one of the “hidden ribs” in AI you’ll see that they all highlight so they were probably grouped before compounding.
So that’s why those got ignored by the subtraction I guess…when I open that thing in Inkscape it looks okay, with the parts subtracted the way they are supposed to be. But the actual Inkscape output is the same as the Illustrator file, which means that for some reason Inkscape is not showing what is really going on. At least Illustrator shows what is actually happening in the file, even if it wasn’t what was wanted.
That does become a problem. It’s not showing the same thing. (Or what is actually there.) There will be some serious ka-ka coming if people try to modify files in Inkscape that started out in Illustrator and were incorrectly created. They will think it’s fine, but it won’t be.
And I don’t understand why Inkscape (and perhaps Affinity Designer) is showing something different from what is there in the file. I wonder if a surrounded area is automatically subtracted when it interprets the file?
Can somebody who downloaded the original file from @kittski please zip it and re-upload it so I can take a closer look at it? Or if you could reload it @kittski , zipped, then I can capture it. For some reason Discourse is not displaying the original and I still can’t see it. If it’s zipped, i can get it.
Thanks a bunch guys…we really do need to look into this.
3 Likes
Attached as a zip.
Kittski_Hounds.svg.zip (8.7 KB)
1 Like
Okay thanks! 
Okay…figured out how to fix it in Inkscape. (And it took ten tries to do it.)
First off - if you want to see what it really looks like - select the object and do a Path>Combine. You’ll see what it really looks like while in Inkscape. The black filled areas will combine - they weren’t actually subtracted. (Nailed it @jbmanning5 .)
CTRL+Z back to the beginning.
To fix it - Select the object then do a Path > Break Apart, followed by a Path > Exclusion. When you save the file it will have actually subtracted the hidden parts.
(And @kittski , you might want to use Inkscape to repair the files - it’s a couple of clicks quick. You can just use it for those that don’t display the way you expect in the interface. It might be easier than using Illustrator to do it.)
5 Likes
I have totally been a lurker in this wonderful forum for quite a few months now. I am way behind on reading posts and I read what I can. I really appreciating very much what people are creating and sharing!! I think lurking is the way I’m dealing with the last delay.
Anyway, I thought I might have some other Illustrator compound path tips and tricks that I hadn’t seen mentioned yet.
So here are my tips for wonky compound paths:
If part of a compound path goes bad or isn’t “hollow”. Select the not hollow path within the compound path (no need to release the compound) with the white arrow tool. Go to the Attributes pallet
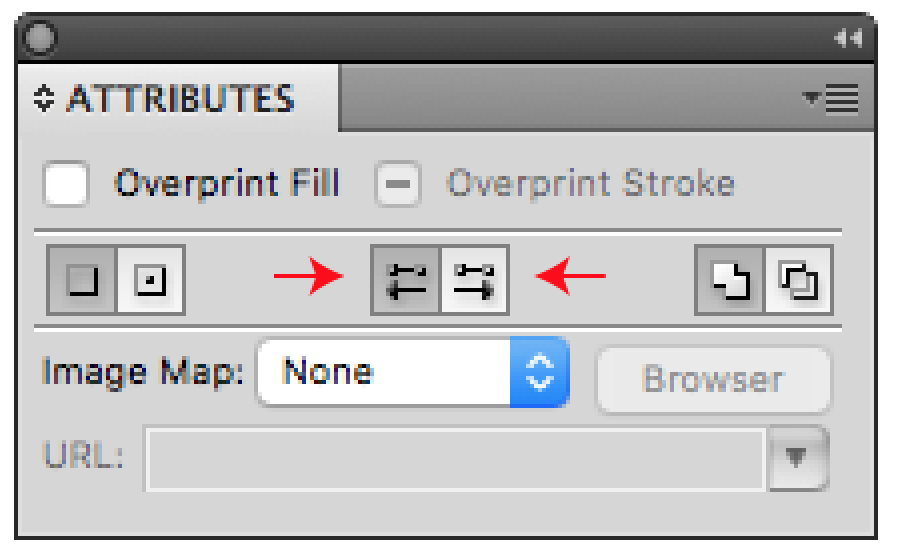
If there are multiple paths that are bad or not hollow in a compound path like this particular file. Select the whole compound path. Go to the Attributes pallet
and choose the opposite of what is selected here. Either “Use Even-Odd Fill Rule” or “Use Non-Zero Winding Fill Rule” and this just might fix the whole finicky compound path.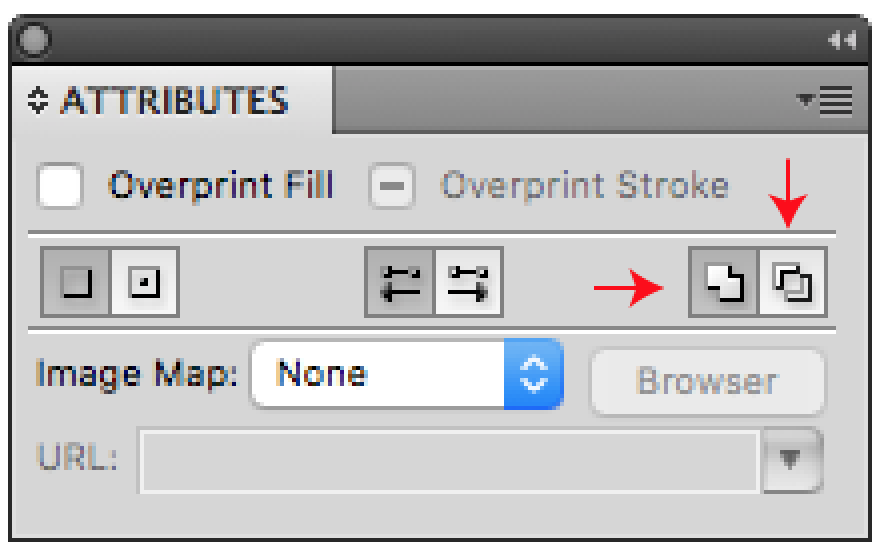
Well, I hope this give just another option to all the great options given already.

11 Likes
I think this discussion belongs to the idea of a torus: why is a doughnut like a coffee cup?
The file intention in itself is not complex from one point of view. It has only closed vector paths that make shapes. There are filled closed vector paths and on the other side of the path is not filled.
When the Glowforge processes a filled shape that is not completely bound by a closed vector path, it will try to do something with it and sometimes it might work, but sometimes the resulting shape is not what you want. What it looks like in the design program can be deceiving.
Remember that the intention of the design is to have the laser interpret it as a vector cut/score or a filled object that is engraved. Think in terms of operations in the Glowforge.
So TLDR is: there were filled shapes that were not completely closed off on a paths joined node to node… Perhaps some of the shapes were even twisted on top of each other even if closed. Those filled figure 8s that can be reformed into a circle can cause problems too.
Then there is the whole thing of doing boolean subtractions or unions This workflow is one of the most important challenges facing folks designing for the Glowforge coming from the normal graphic and print world.
Seems like you all solved it.
3 Likes
I am trying to follow this. If I load the file from @jbmanning5’s zip into InkScape it looks fine. If I select it and do Path / Combine I see no visual difference. It already seems to be one single object. What am I missing?
If I load the SVG into OpenSCAD the only issues I can see are self intersections. I can fix those by using a small offset.
offset(0.1)
import("Kittski_Hounds.svg");
This passes it through the 2D clipper library that is very good at fixing broken polygons. If I export a new SVG from OpenSCAD this is what I get (changed the fill from light grey to black):

Does this work in the GFUI?
2 Likes
Not without further work.
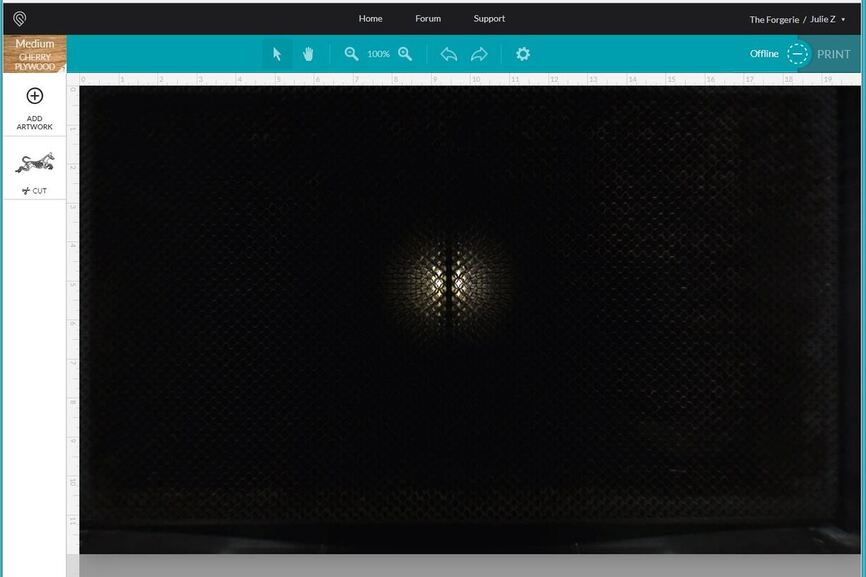
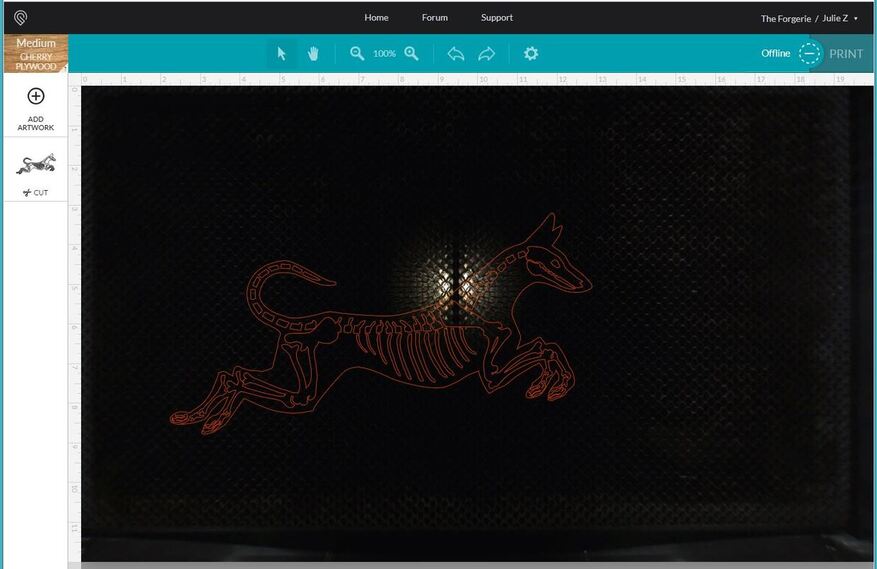
Opening it directly results in this:
That strange result is due to the file size. It’s off the board. When you open it in AI it looks like this:
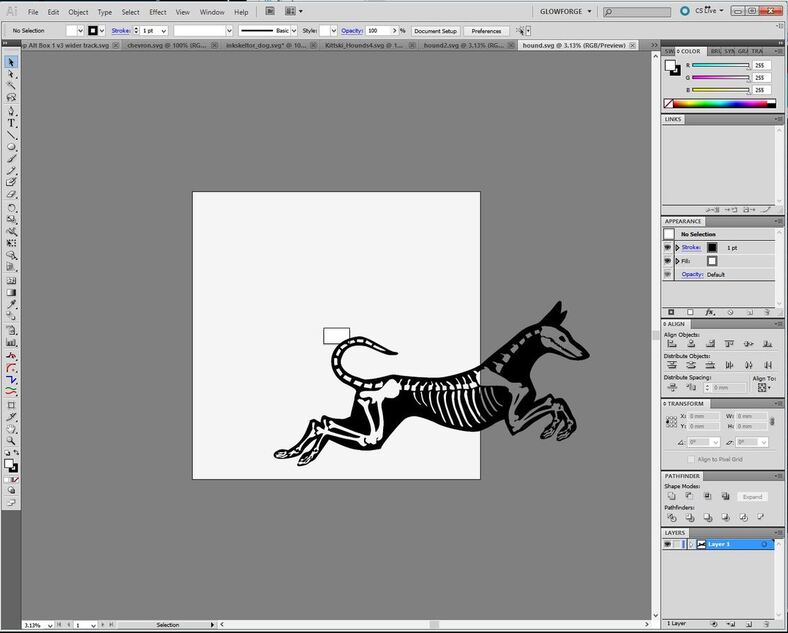
That little rectangle in the background is the 12 x 20 artboard. There is no way to capture something that far off the artboard in the GFUI.
So if you shrink it in AI (or adjust it in OpenSCAD) so that it fits on the board, save that as an SVG and open it in the GFUI, you get this:
Which is a cutting file, not an engrave file.
Interestingly enough, when that one is converted to an Engrave using the GFUI it seems to process correctly. It’s not doing the same for the Inkscape results.

So those would be the steps that the OpenSCAD users would probably need to follow. ![]()
3 Likes
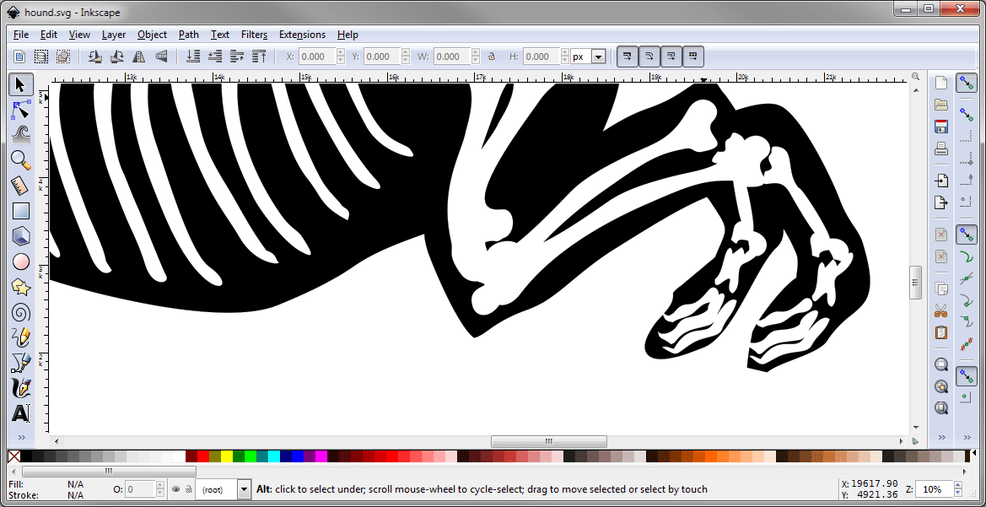
A couple issues. It comes in as just a white screen. Something is not right.
So I took it into Inkscape and the whole dog is black. I broke it apart and then we have a filled dog shape and all the bones are filled too. What we want is a filled dog shape with all the bones being knockouts in the dog. There will be only one object ideally when you get done.
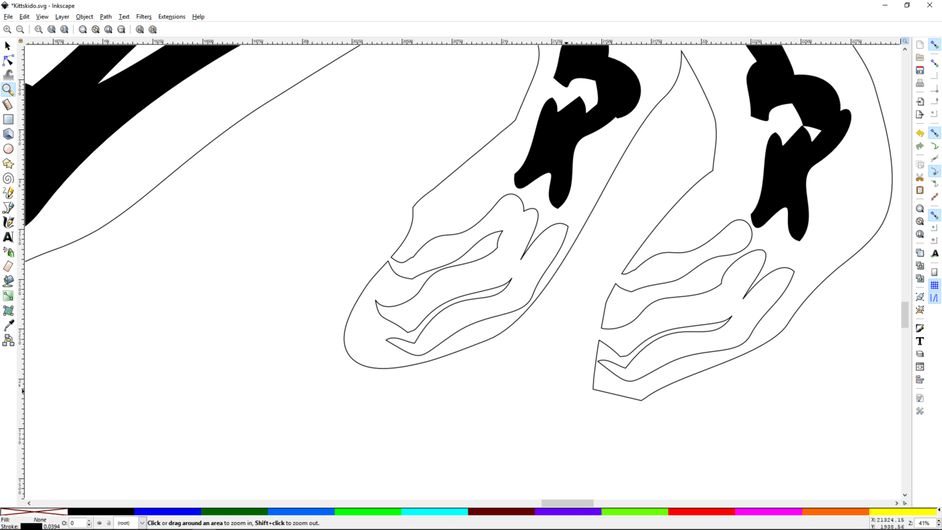
Then the bones in the feet are not separated from the outline of the dog so that has to be fixed so that the outline of the dog is one single closed path totally separated from the bone knockouts.
Finally there are nodes about every millimeter. The Glowforge can process this, but sometimes objects with so many nodes can be more problematic.
Here is what I am refering to about the foot bones.
You can keep then connected to the outline but then the other bones should be no fill and be a part of the object which is the whole dog outline which then is a compound path with the knockouts.
@Jules’s file comes in looking good should do what is wanted.
2 Likes
Thanks. The reason it comes out massive is because the original file is in 1/1000" units but OpenSCAD assumes mm. Scaling by 25.4/1000 seems to give the right size.
The file has both a stroke and a fill. I thought a filled vector defaulted to engrave, so I am surprised it defaulted to cut. Should I just remove the stroke ?
1 Like
Yes, if it has both a stroke and a fill the UI will interpret it as a cut. (Usually. Haven’t run that many test cases on it - I just leave the strokes off for engraving.) 
3 Likes
I don’t understand why you get different results in InkScape to me. If I open the file I posted the dog is black and the bones are holes in the dog so they show as white.
Basically in OpenSCAD the dog is a 2D shape with holes in it. Some of the bones do poke thorough the skin but that was in the original. All I have done is remove the self intersections.
Just a quick comment since I’m on mobile…
I’m betting that part of the confusion regarding Inkscape is that not everyone is using the 0.92.1 version. Maybe?
Sorry for just getting back to this, I’m at work and have to catch up on all the post about the file. For what it’s worth, I don’t think this is an issue about strain nodes or even twisted paths as parts of the file that has these same issues are engraving correctly.
I’ll upload my original files of both the three dogs and the first file showing the man and the dog… The very first file was one that cut just fine when the engrave and score lines were reversed. I But when I try to reverse the engraving score on the very same file, parts went missing on the dog. The confusing part for me to was why it showes correctly in some programs and not others.
I don’t get home till after 9 p.m. though so can’t upload the files till late 