I have a problem with my GF not cutting all the way through wood and sometimes acrylic. It started with proofgrade settings and then with my own settings. I started just lowering the speed on anything i would cut but it happens more often now, on materials it used to cut just fine.
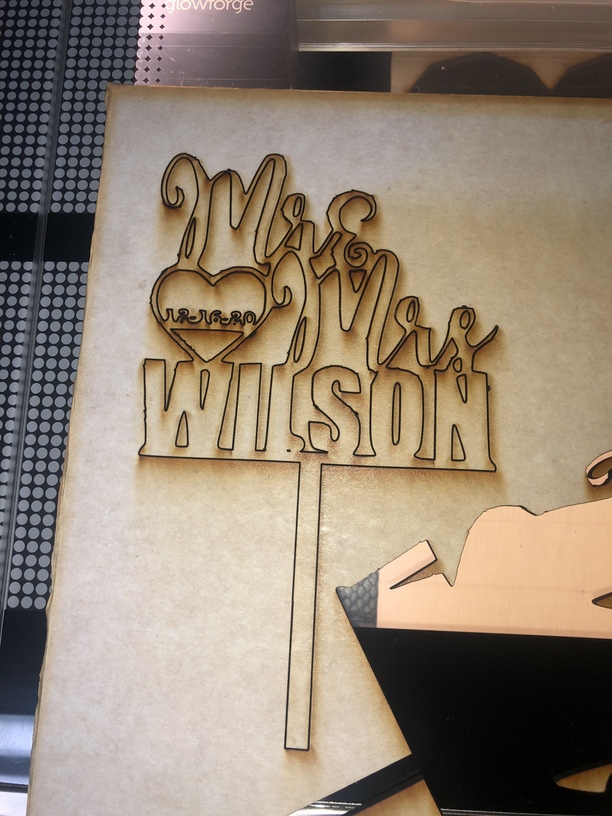
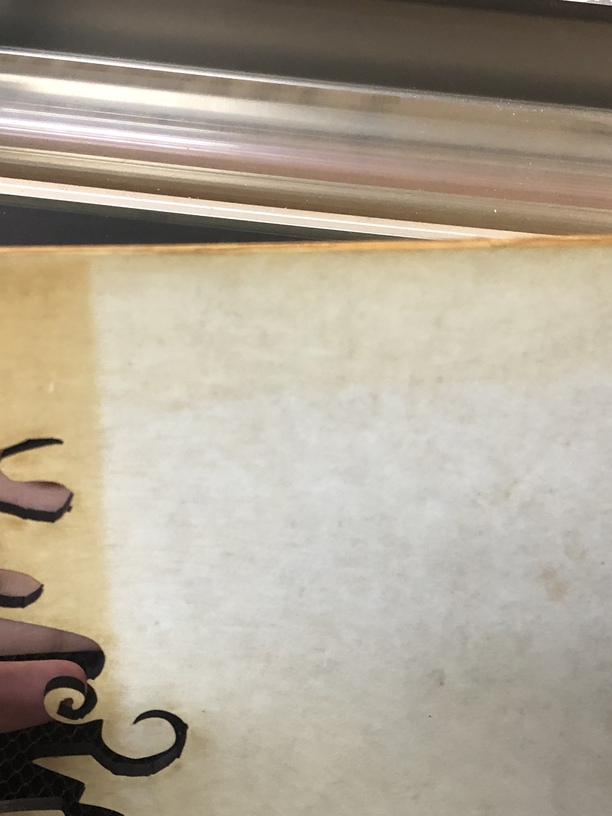
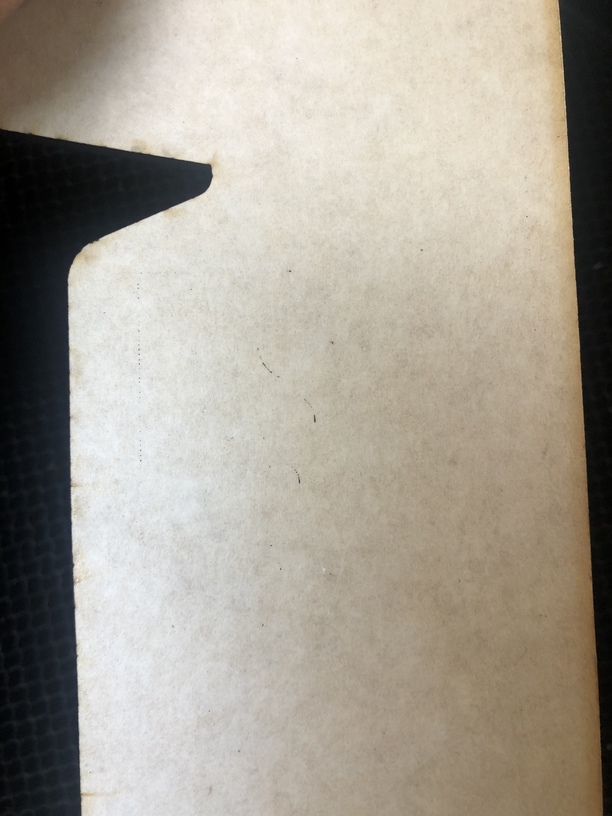
This one is from a 3/16” thick plywood from Lowe’s which usually cuts at 130 speed and full power, however that didnt work this time so i used 115 speed and full power and this is what i got, does anyone know what my problem might be?
Make sure your optics are clean, the material is flat, and the focus is correct.
When cutting I got in the habit of checking before removing the material by holding it down and trying to lift the cut with a piece of tape. If it didn’t cut through, you can run the cut again.
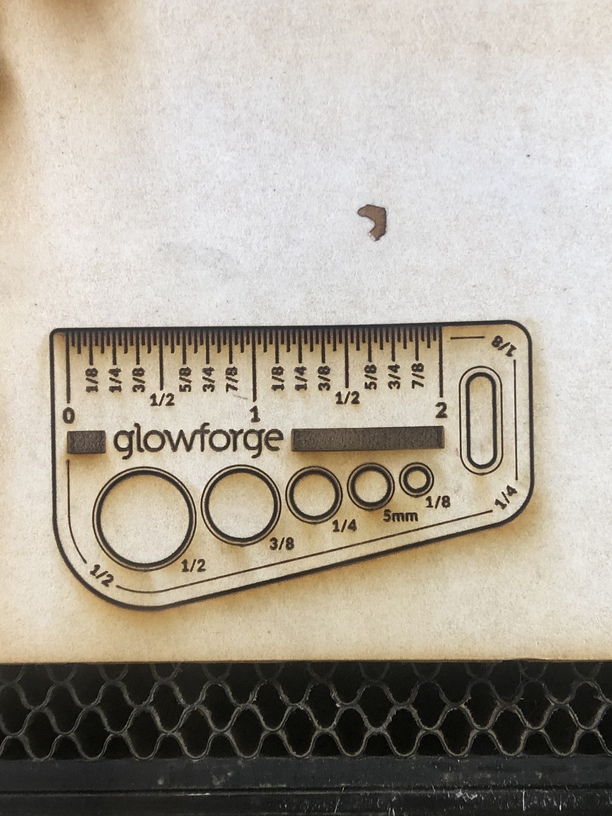
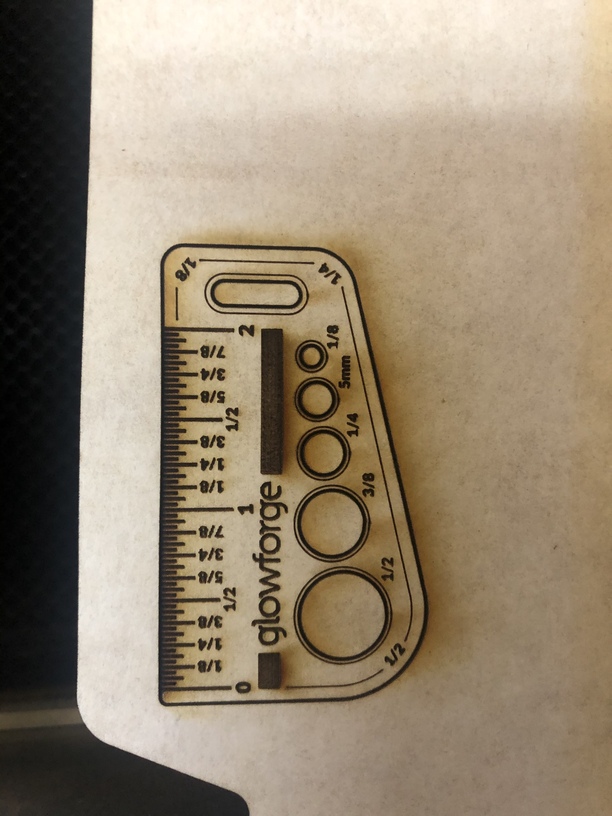
Support will want you to print the Gift of “Good Measure” and give them pictures of the result. That’s a known file that has all of the machines operations in it - engrave, cut and score, so they can judge the machine’s operation.
If you do that and post it here it will save you that back and forth.
The point of printing the Gift of Good Measure now is to see if there is a current problem with your Glowforge. The file is designed to help Glowforge support personnel evaluate various aspects of the machine’s performance.
I’m sorry that you’ve run into trouble while using your Glowforge. In addition to running the Gift of Good Measure as @PrintToLaser suggested, will you please also share photos of your unit’s optics? This will help us to check for anything unusual.
Here are the photos we’ll need:
Both windows
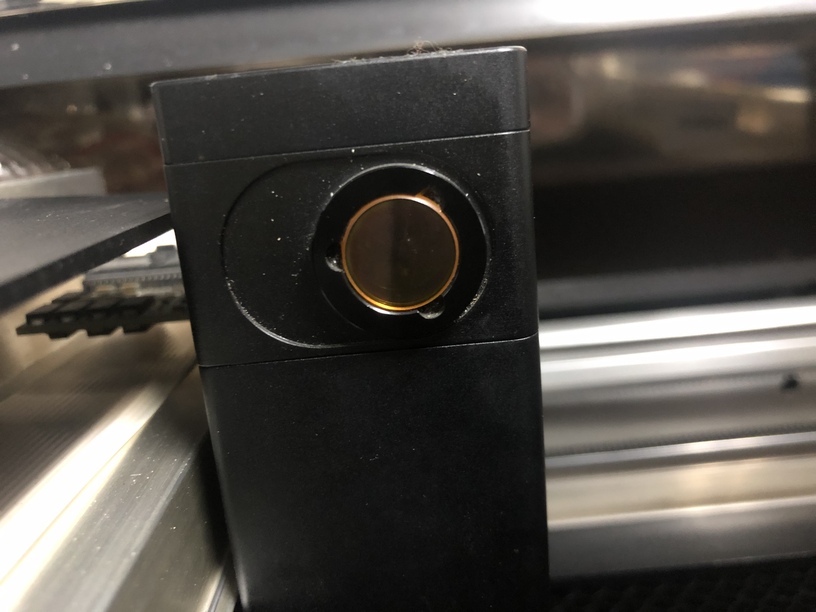
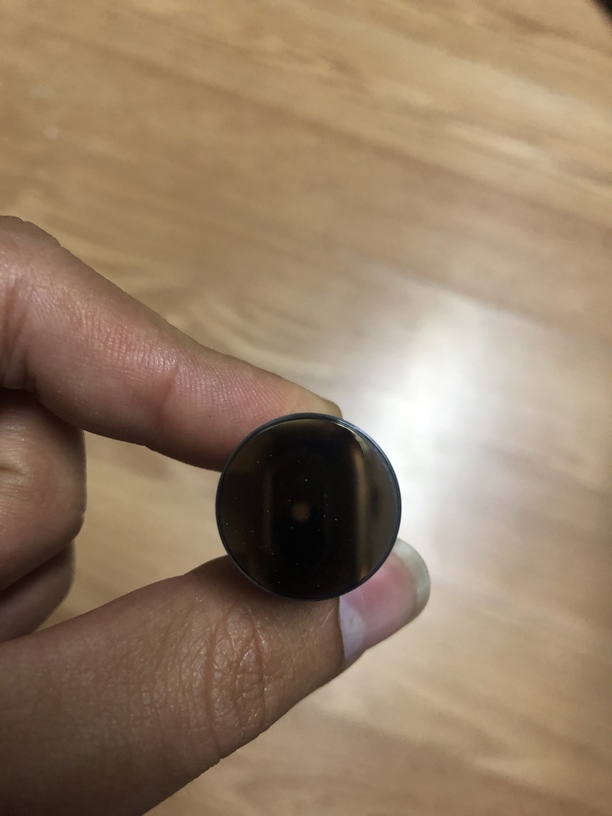
The printer head window, on the left hand side of the printer head
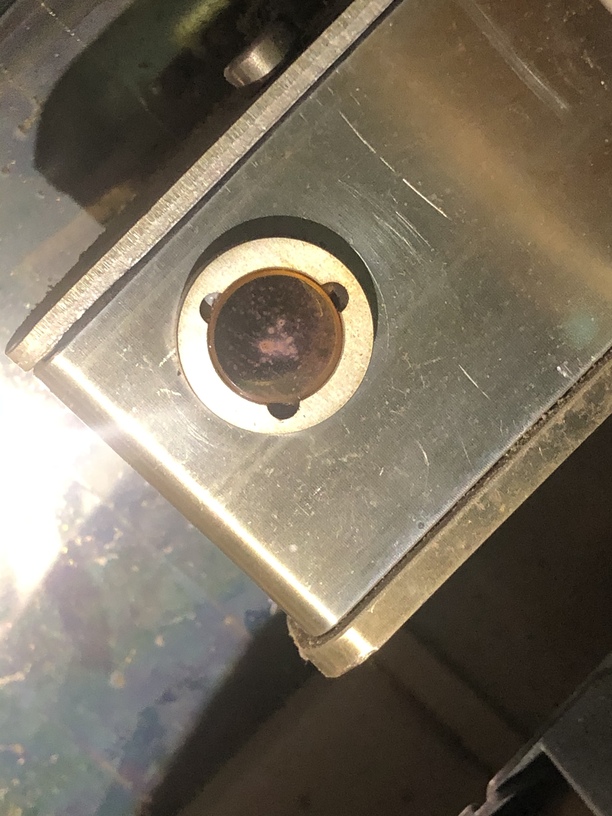
The laser window on the inside left of the Glowforge
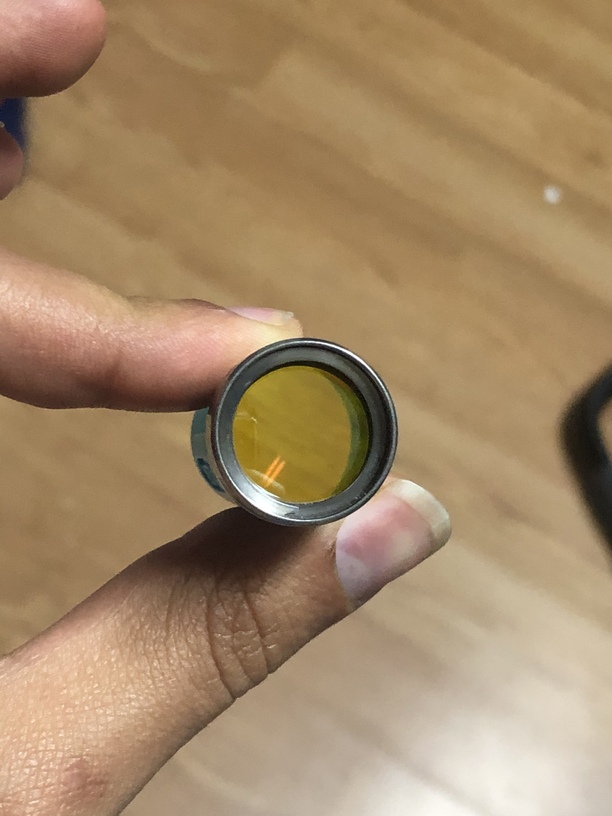
The printer head lens
Both sides of the lens, top and bottom
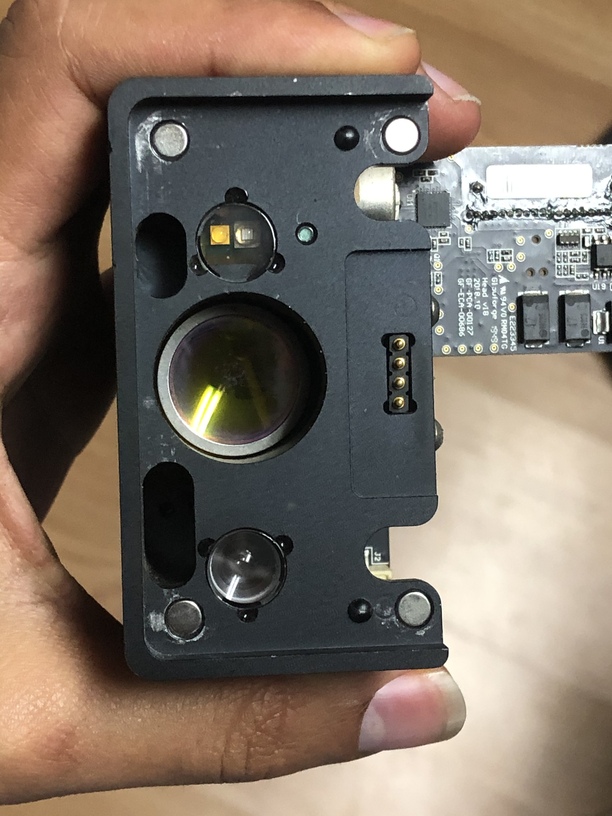
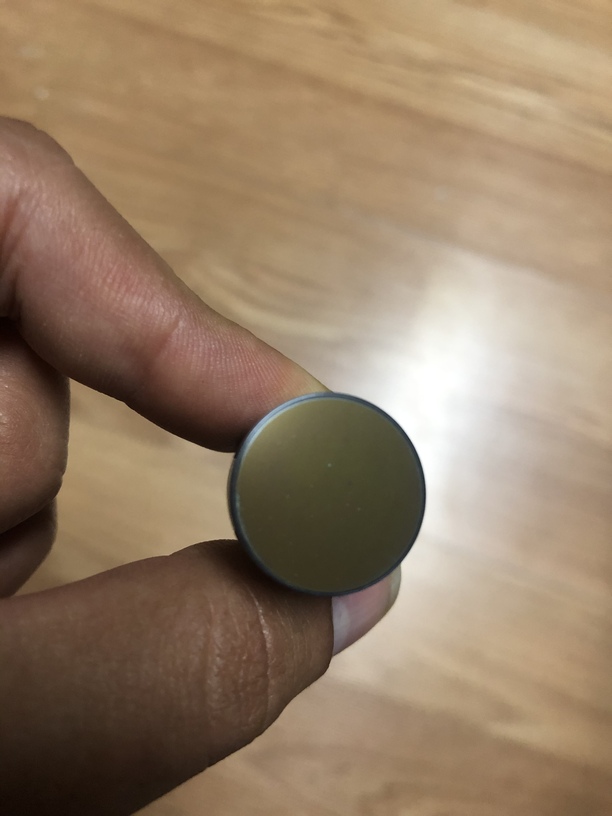
The mirror inside the printer head
The bottom of the printer head with your lens installed
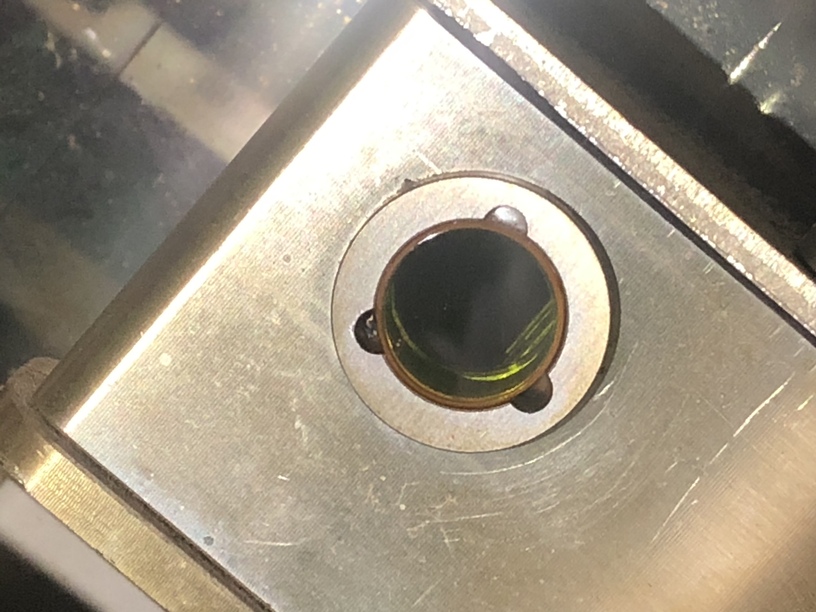
Thank you so much for working through the instructions my colleague @ivan1 provided. I see that the silver mirror box window was quite dirty. It looks like @crkjelstrom outlined some good next steps forward. After cleaning this mirror, did you happen to perform a test print and see if the same behavior occurred?
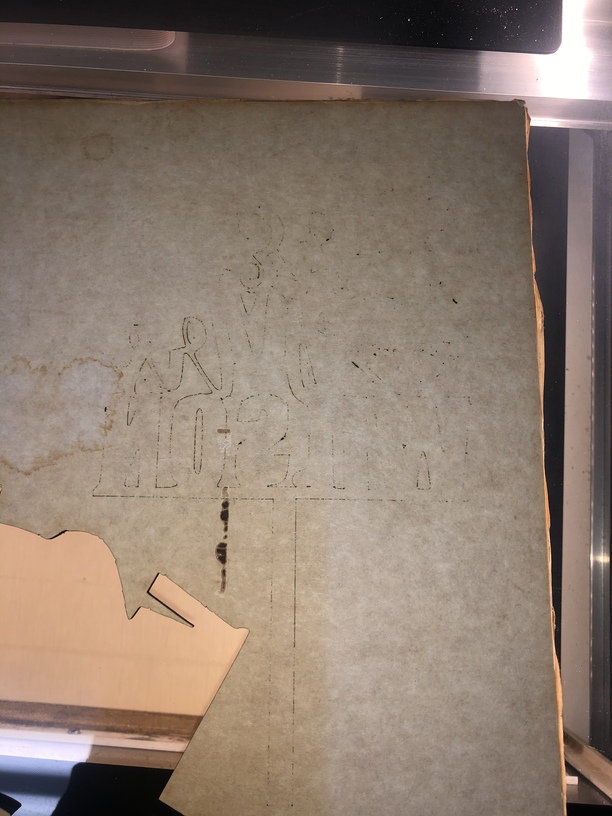
You can see just the slightest marks on the back where the laser very lightly went through but not near enough to cut. It did make it a little better. After cleaning the window it still seems like there are some markings on it, anything i can do to clean it better?
Mostly isn’t enough. It’s got to be crystal clear. Try a cotton swab dipped in rubbing alcohol and swabbed on pretty wet. Come back after a minute with another swab in alcohol. Then try a final wipe with a lens wipe. The alcohol should dissolve any really caked on crud.
Do that for both windows (the one on the left & the one on the print head).
Your mirror looked okay but your lens looked a little shadowed - might be the picture but it’s worth a wet alcohol cleaning too. Also the little lenses under the head that the focusing laser uses. Might as well do the camera lens while you’re in there doing it all again too
The cut through looks so much better! I think we can probably improve it even more for you, so that it cuts through cleanly the first time.
We have a new tool that remotely adjusts the factory tuning of your unit. This change may affect your Glowforge unit’s custom print settings. Because of this, I wanted to check in with you before I made this change.
Here’s how it would work:
I’ll make a change to your configuration to test a new setting, and let you know when it’s been applied.
You’ll print a Gift of Good Measure to test, along with anything else you’d like to test
You’ll send me photos of the front and back of the prints.
We’ll determine our next steps from there.
We can try a couple of different settings to see if we can improve your Glowforge unit’s performance.
Please let me know if you’d like me to apply the change and if you have any questions. Thank you!
Hi @Laserustic. Thank you for letting us know you would like to proceed with Morgan’s mention of the remote tuning. I’ve gone ahead made a small change to your Glowforge unit’s configuration.
What changed
Your printer is moving too fast to cut through correctly. I adjusted it to fix that.
What About Settings
Your Proofgrade settings should now work. If not, we can make an additional adjustment.
Please Note: You should be cautious with any custom settings - this might have fixed them, or you might now need to speed them up a little. In either case, be sure to test any custom settings carefully the first time you use them.
Next steps
Your Glowforge is ready for the next print.
The best way for us to tell if your Glowforge needs another adjustment is to print the Gift of Good measure with the default Proofgrade settings on the same piece of material. This will help us to compare the results to the previous test print.
Please send me photos of the front and back of the print. They’ll determine our next steps. Thank you!