I’ve done this a thousand times without any issue.
I calibrated a few months ago and haven’t moved the machine since.
I turn it on, let it align, place my material, upload my image, set the settings I’ve been using, measure the material thickness and enter in the settings, set focus for good measure, click print and push the blue button of happiness. Except it hasn’t been very happy lately.
The image engraves a little to the left of where it was placed.
I was going to re calibrate but I was told I shouldn’t need to but wasn’t given any alternatives.
I had this issue in the very beginning and figured out the calibration and the joy of set focus.
Now it’s back acting up again, although not as bad as before, but still enough to be annoying.
The only thing that has changed is I got a new laptop and the screen is bigger then this started. I mention it just in case it might be something, but I feel like it must be a coincidence.
Any help would be appreciated.
You should always SET FOCUS before you place your artwork. The placement of your artwork depends on the height of your material, and that measurement changes when you use SET FOCUS.
Thank you for the reply.
I set focus then move the artwork if my original measurement was off.
I think you’re right but would only save a step, not solve this issue as long as i correct the placement after I focus.
I been doing it this way for months and never had any issues.
How far off is your engrave? 1/4" is the allowable variance according to Glowforge, but most users experience far better precision than this as you have over the past months.
If your optics are clean, if you are properly using the set focus tool, if you are watching to see that the focus beam falls on your material at the point you will be placing your artwork and you are experiencing more than 1/4" variance, then you have a problem.
Can you share a screenshot showing the variance?
I’m going to clean the lenses when I get a chance and see how it works.
Luckily I don’t actually have any GF orders right now and I haven’t committed too much of my shop to it yet.
I’m not super comfortable it’s really that reliable yet. At least not for me.
I appreciate the response, thank you.
If you are placing your image before you focus then the image will be off after the machine calculates the material thickness. The thicker the material the farther off your image will be and this increases with distance from the lid camera as well. Always always always set focus, watch to see the red dot actually hit on your material where you want it and then align the artwork. You should see perfect results if you do things this way.
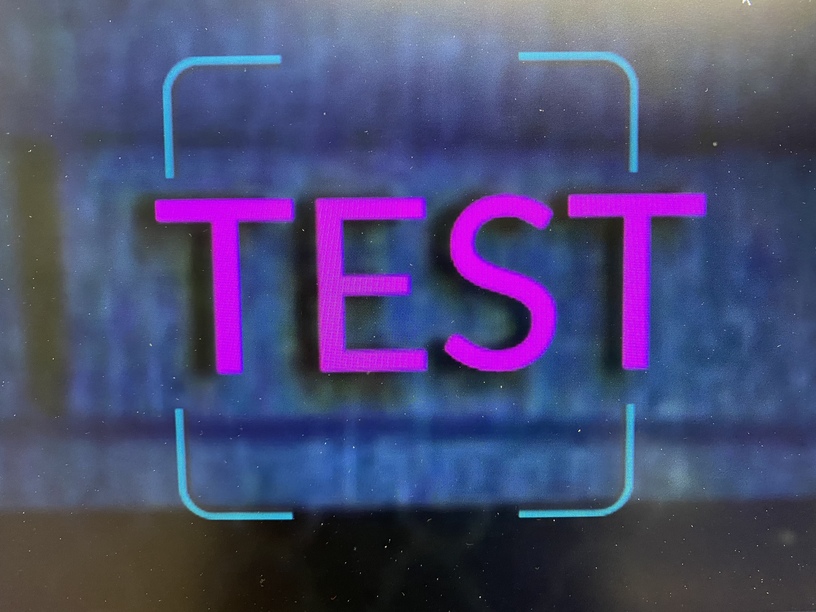
This is what it looks like. It looks like a shadow. It’s never done this before the new laptop. But I don’t see how it can be that. It’s the only thing that has changed since this started though.
It’s hard to tell, but is the material narrow with tape on it? I ask because you can see that the target square looks larger than the material and it’s possible set focus dot hit the tape on the tray and not where you wanted it. I agree with beerface and it’d be worth trying again and watching where the red dot hits on the material.
And suddenly I can’t do anything.
Last print I tried said I was offline.
So I shut everything down and restarted.
Now I can’t even upload a design. I get stuck at “Rendering Your Design”.
I did watch and the red dot hit the material squarely.
The material width was never an issue and I always set focus squarely.
No idea what happened but it’s working again. Still getting the offset engraving though.
The variance isn’t huge, but I hate to think I have to live with it.
I do precise engraves on small targets and if this gets worse it may render this thing useless to me.
I may try re calibrating.
If ultra precision is required, just use a jig. That will guarantee perfect placement every time.
How would a jig eliminate the artwork jump?
Your artwork isn’t really jumping, it just isn’t printing where you think it will. If you use a jig, it will print in that spot every time. Say you were making a circle keychain with a word in it. In your design, you just make the circle a separate color from the word. When you get to the GFUI, you put your jig material down (I usually use posterboard card stock, or draftboard). You set it to ignore the word and cut the circle. Once it cuts, you remove the cutout portion. (Make sure the sheet itself does not move. It should be pinned down). Then you put your circle keychain in the hole left in the sheet. Set the circle to ignore and engrave the word. It will be perfectly as designed every time. I usually do an entire sheet of the design, and then make dozens of perfect designs at a time.
But if my artwork is moving when I engrave won’t it move when I try to hit that circle? It’s printing about an eight to the right of where it should be so it doesn’t matter if the board is stationary or not. When I try to set my keychain in the hole it’s still going to print to the right or off center. Maybe I’m not understanding how you’re doing this, sorry.
What you are missing is that it isn’t shifting. Once you make a circle, if you don’t move it, it will print that circle exactly in the same place every time. If you have artwork inside the circle, then it will print that artwork in the same place every time. Whether that is where you think it is going to print or not. If your keychain is the size of the circle, and you put the keychain in the hole that the machine cut on the first run, then it will cut the artwork on that keychain relative to where the circle cuts, not where your camera shows. You are getting hung up on whether or not it is cutting where it is supposed to. Don’t worry about where it is supposed to, if you use a jig, it cuts where it cuts, and it cuts there every time.
Look at this post. It describes what is going on with a jig. If they can hit a pencil every time, you can hit a circle every time.
1/8" is clearly within the specifications that Glowforge supports for its visual alignment. If you cannot live with 1/8" variance, you must make a jig. The outline of the jig and your artwork are in the same file. Your artwork is aligned to the jig outline. When you open your file in the Glowforge interface you first cut the jig outline while setting your other artwork to ignore. Next step is to remove the material from that cut and place your keychain in the void. Ignore the cut line, set your keychain settings and hit the button. Don’t move your material and don’t move the artwork.
Ah ok I get it. The only problem is I never print the same thing more than once. Names and phone numbers. That’s it 
This has to be that same image over and over right?
You would place the keychain in the same cutout and then input the next name and phone to replace the previous name and phone.