I have found your tutorials and other video content incredibly useful, so thanks to the community for that. I am designing a small project while I wait for the machine, just to get used to whats required. I have my illustrator template all set up, have swatches loaded and have made my company logo into a suitable file for cutting. I was intending on making this logo into a simple keychain, but for obvious reasons not sure it would work.
Essentially, there’s no way to cut the logo out in one piece unless I add connecting lines somewhere, which would disturb the look of the logo. I suppose I can also cut out the lettering and attach it to a piece of PG hardwood, etc. Alternatively, I could also cut out the lettering from one piece of wood, and inlay it into another piece of hardwood?
I think you’ve got all the right ideas about how to pull this off. Nice looking logo…you’re hitting the ground running. I don’t use AI, so can’t give you any tips on this…but from what I do know, you’re right on track. There’s also the option to engrave this.
So if I was to go this route I would essentially have to cut these letters out and then cut letters out of another piece of wood of the same thickness and then insert. Do you have pics of what you made in this way?
How thick is the PG hardwood as I wanted something relatively thin…and I’m thinking that the PG stuff would be too thick?
Didn’t you get a starter pack with your glowforge? The PG hardwood I use is right at 1/8".
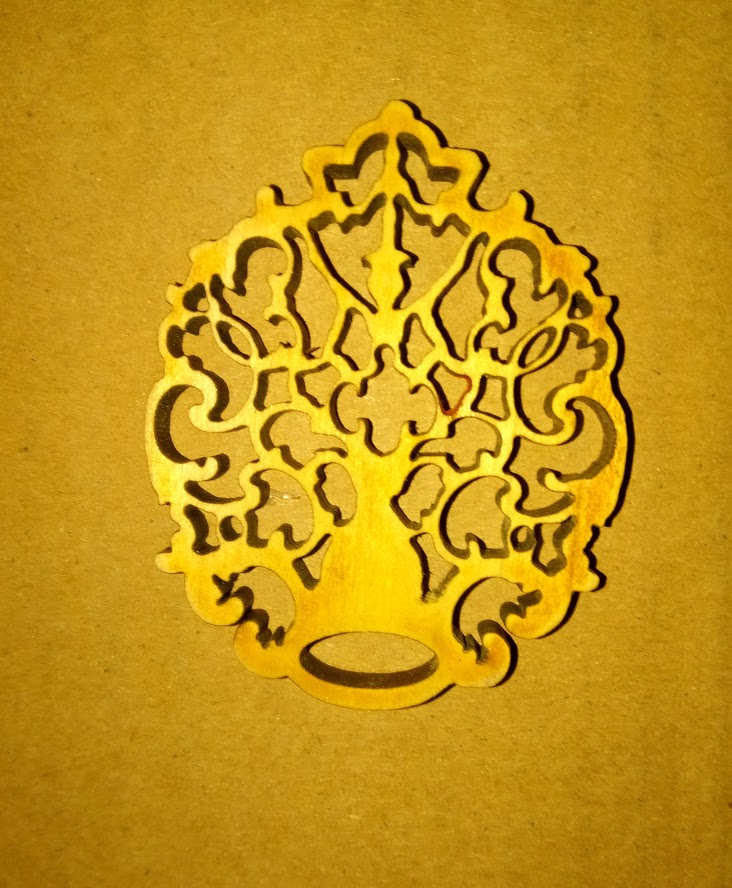
Here is an example that has both types of inlay, complete cut outs and veneer inlay (the cool style of floating the maple veneer on top shamelessly adopted from another user here). I think floating the “watch co.” On top of the name like this would look great! It gives a nice perception of depth.
Raising the text by placing the text on top of a background would look cool too, just a matter of which pleases you more.
All proofgrade. The walnut is cut out and inlayed into cherry, both medium ply, backed with 1/8" draft board. The maple veneer is inlayed into an engrave.
Thanks for the answer, @evansd2, that’s right. I am going to move this topic to Everything Else so the discussion can continue. Once you get your Glowforge, if you run into any trouble, feel free to make a new thread in Problems and Support, or email support@glowforge.com
Well, ok, my bad. Using Inkscape… @mpipes explained;
"Easiest way to do it is to not think about it. Draw your design.
Set the design so it has no fill color, and set the stroke width to match the full width of the laser kerf - I tend to use .007" or .008".
Expand (Or Convert Stroke to Path) then break the design apart. This gives you “kerf-adjusted” paths for the laser. The “inside” or “smaller” paths would be used to cut the hole out of the main material. The “outside” or “larger” paths are used to cut the “plug” or “inlay” from the other piece of material.
Theoretically this makes a 0.000" fit tolerance between the two pieces but natural materials like wood or other compressible items might need a little overlap to press fit tightly while two pieces of acrylic ain’t gonna go together this tightly (maybe allow an extra 0.001")
So in Inkscape I duplicate the design, (Control D on a Windows box). Proceed to prepare each as described above.
On the first copy delete the inner path, the remaining outer path is the cut for the inlay piece.
On the second copy delete the outer path, the inner one is to cut the hole the inlay goes in.
Regardless of how wide you set the stroke, the laser sees its path right down the middle - unless you do “Path to stroke”.
Then inkscape places a stroke on each side of the path. Its those two paths that you delete one of depending on which of the hole or the inlay you are working on.
In Inkscape going to “View>outline” is a handy way to check a design to see if it is as you expected.
Continue to explore the subject along with any other holes in your understanding with the tutorials here and the search function.
Happy reading - and exploring!