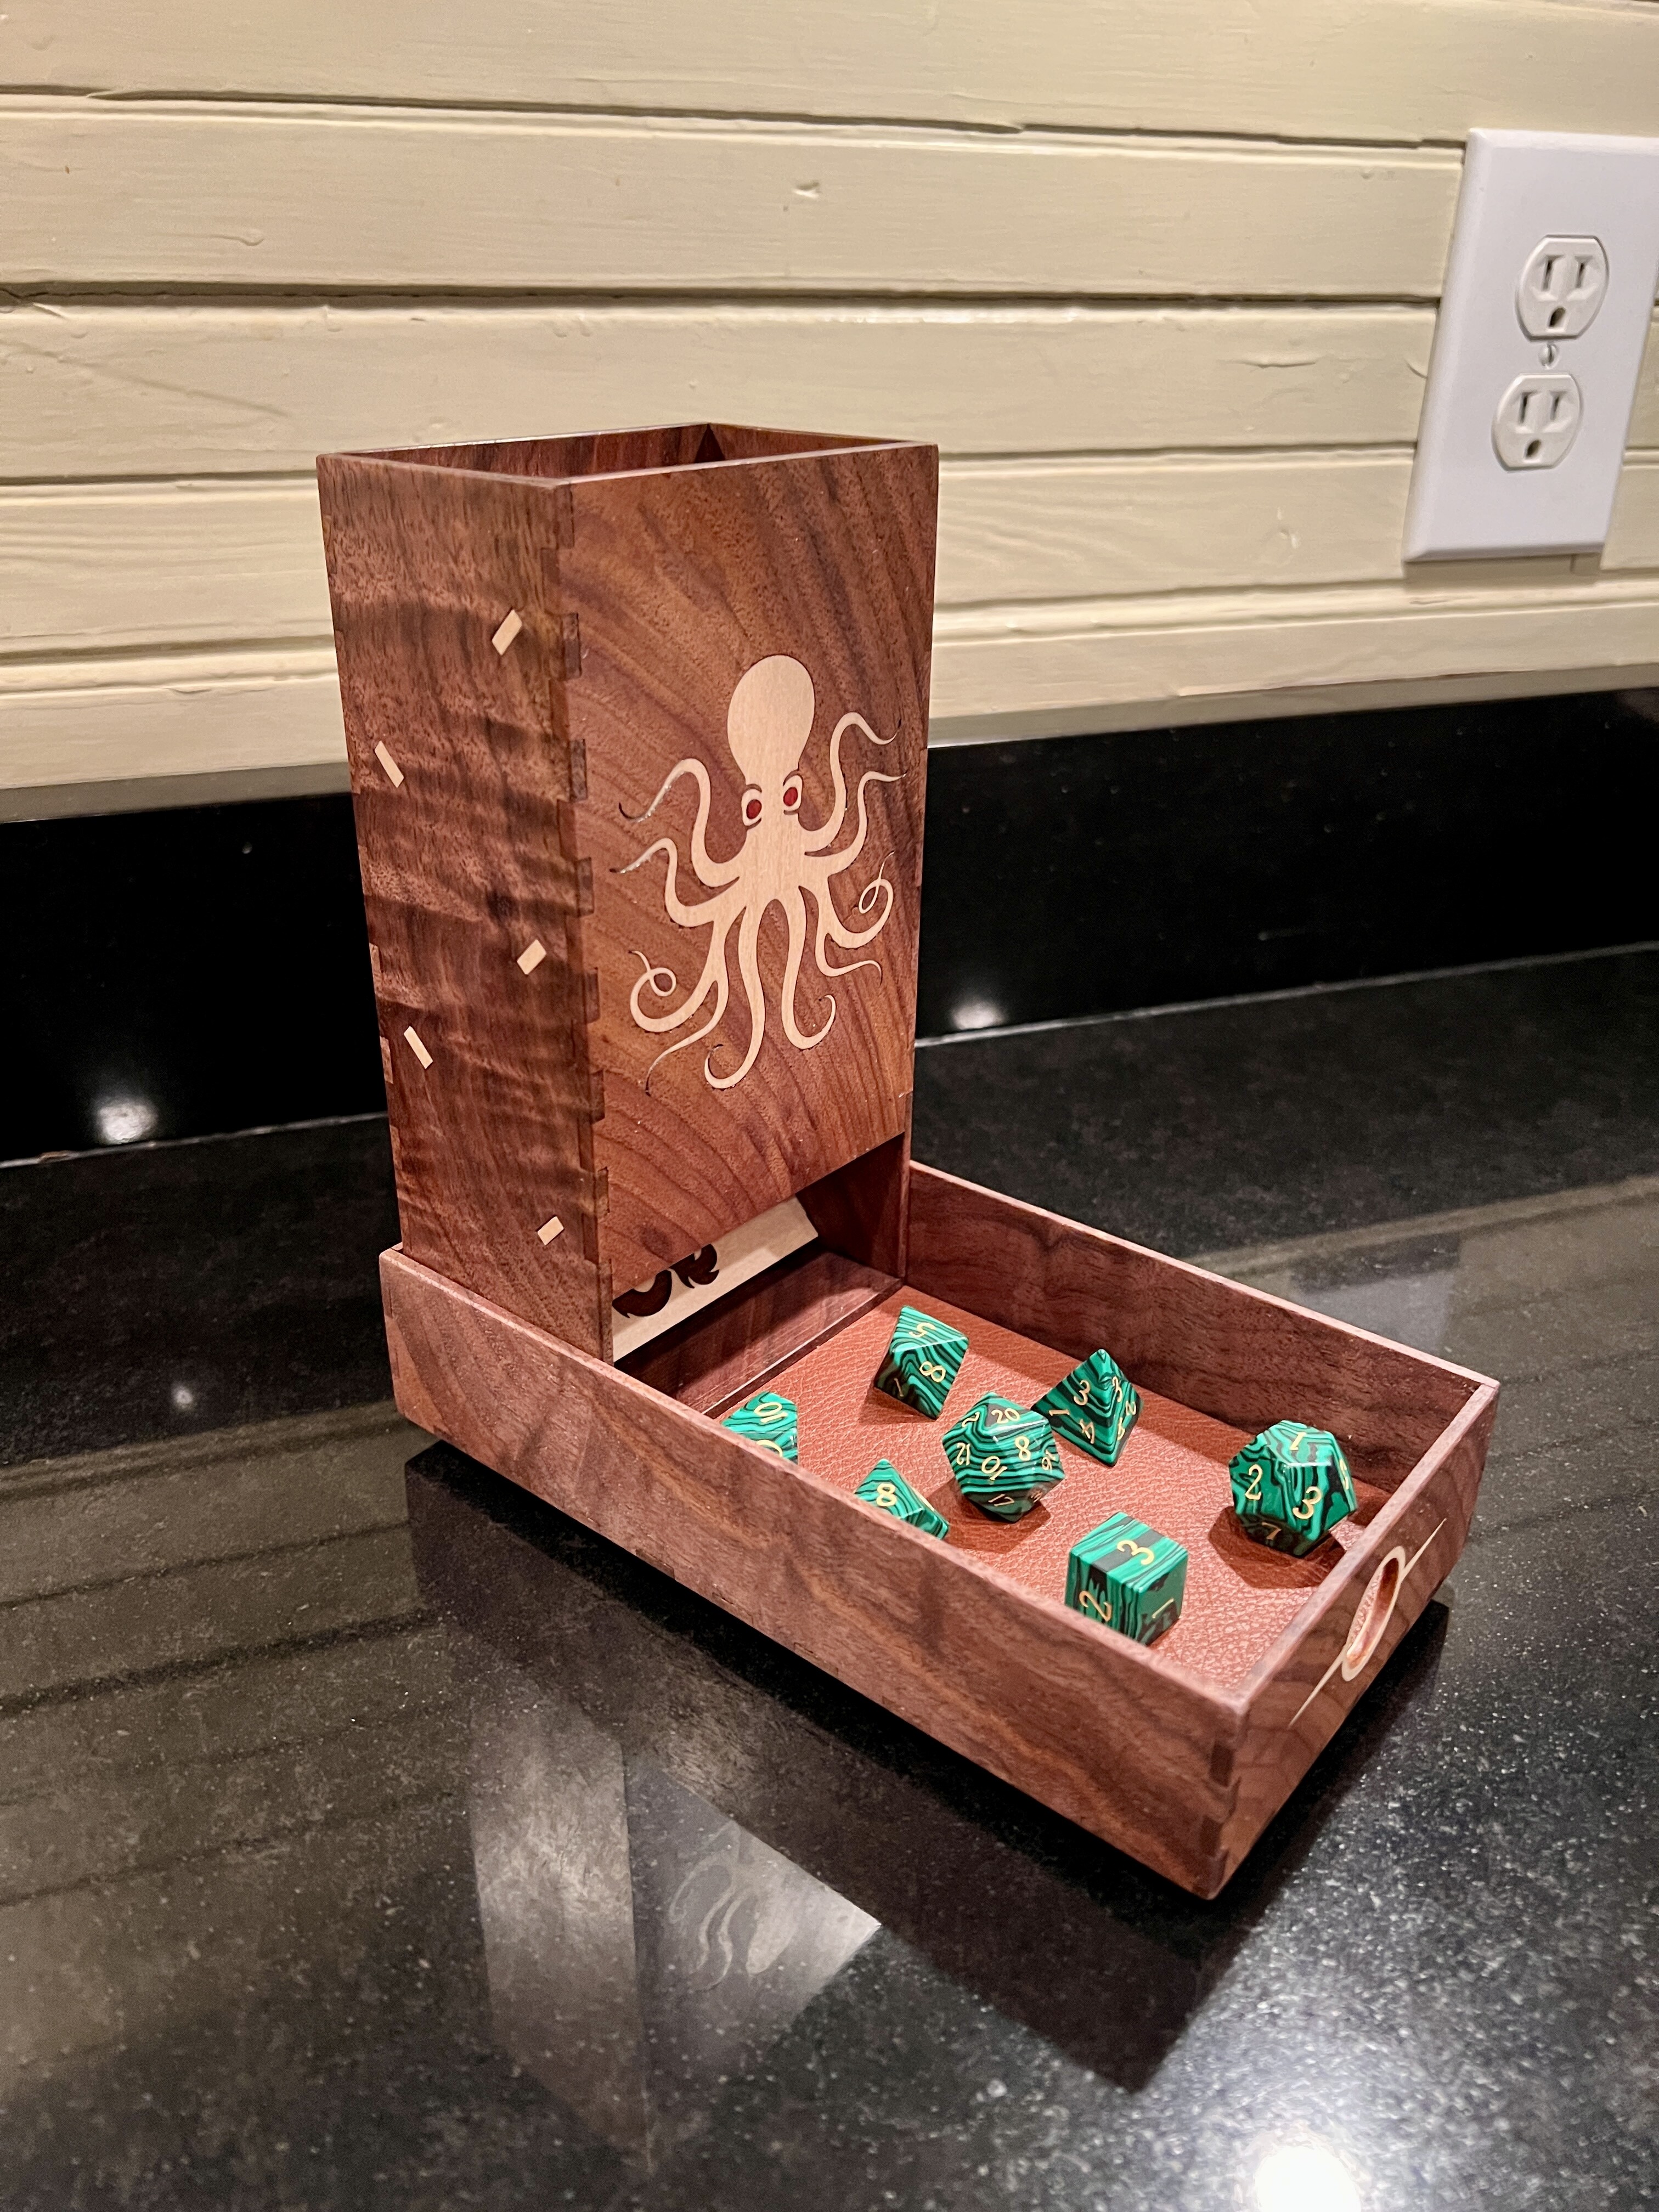
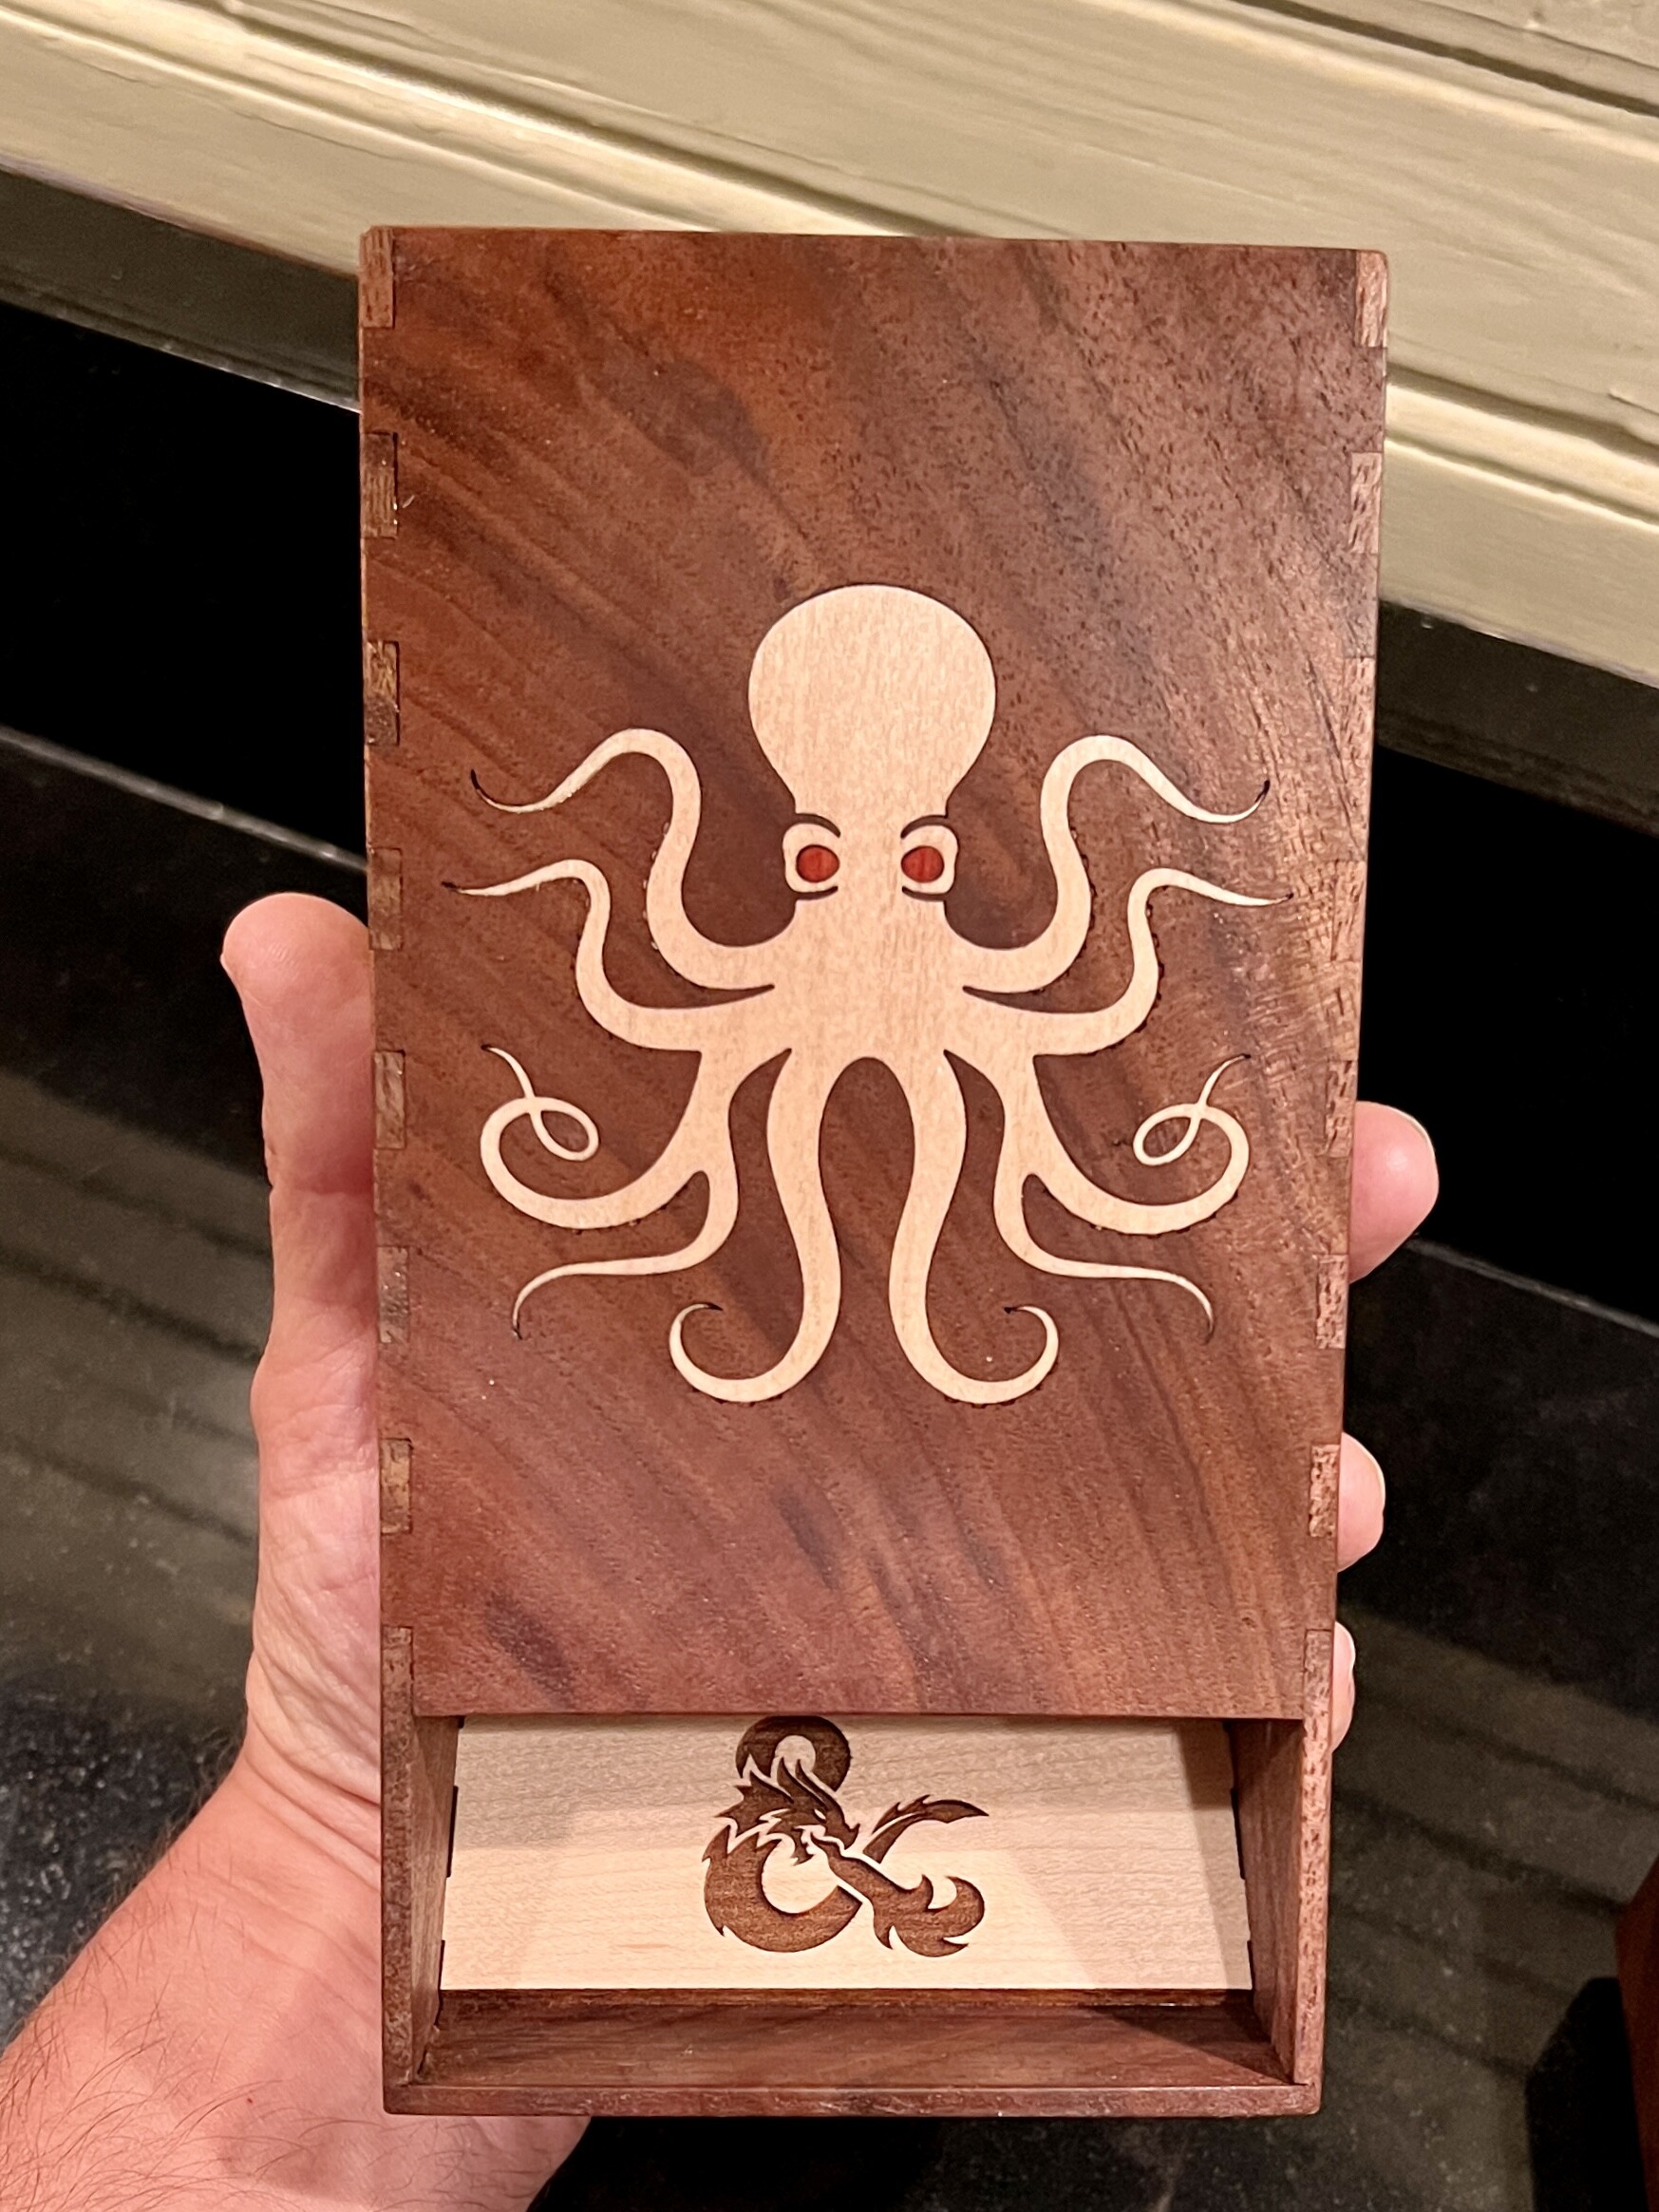
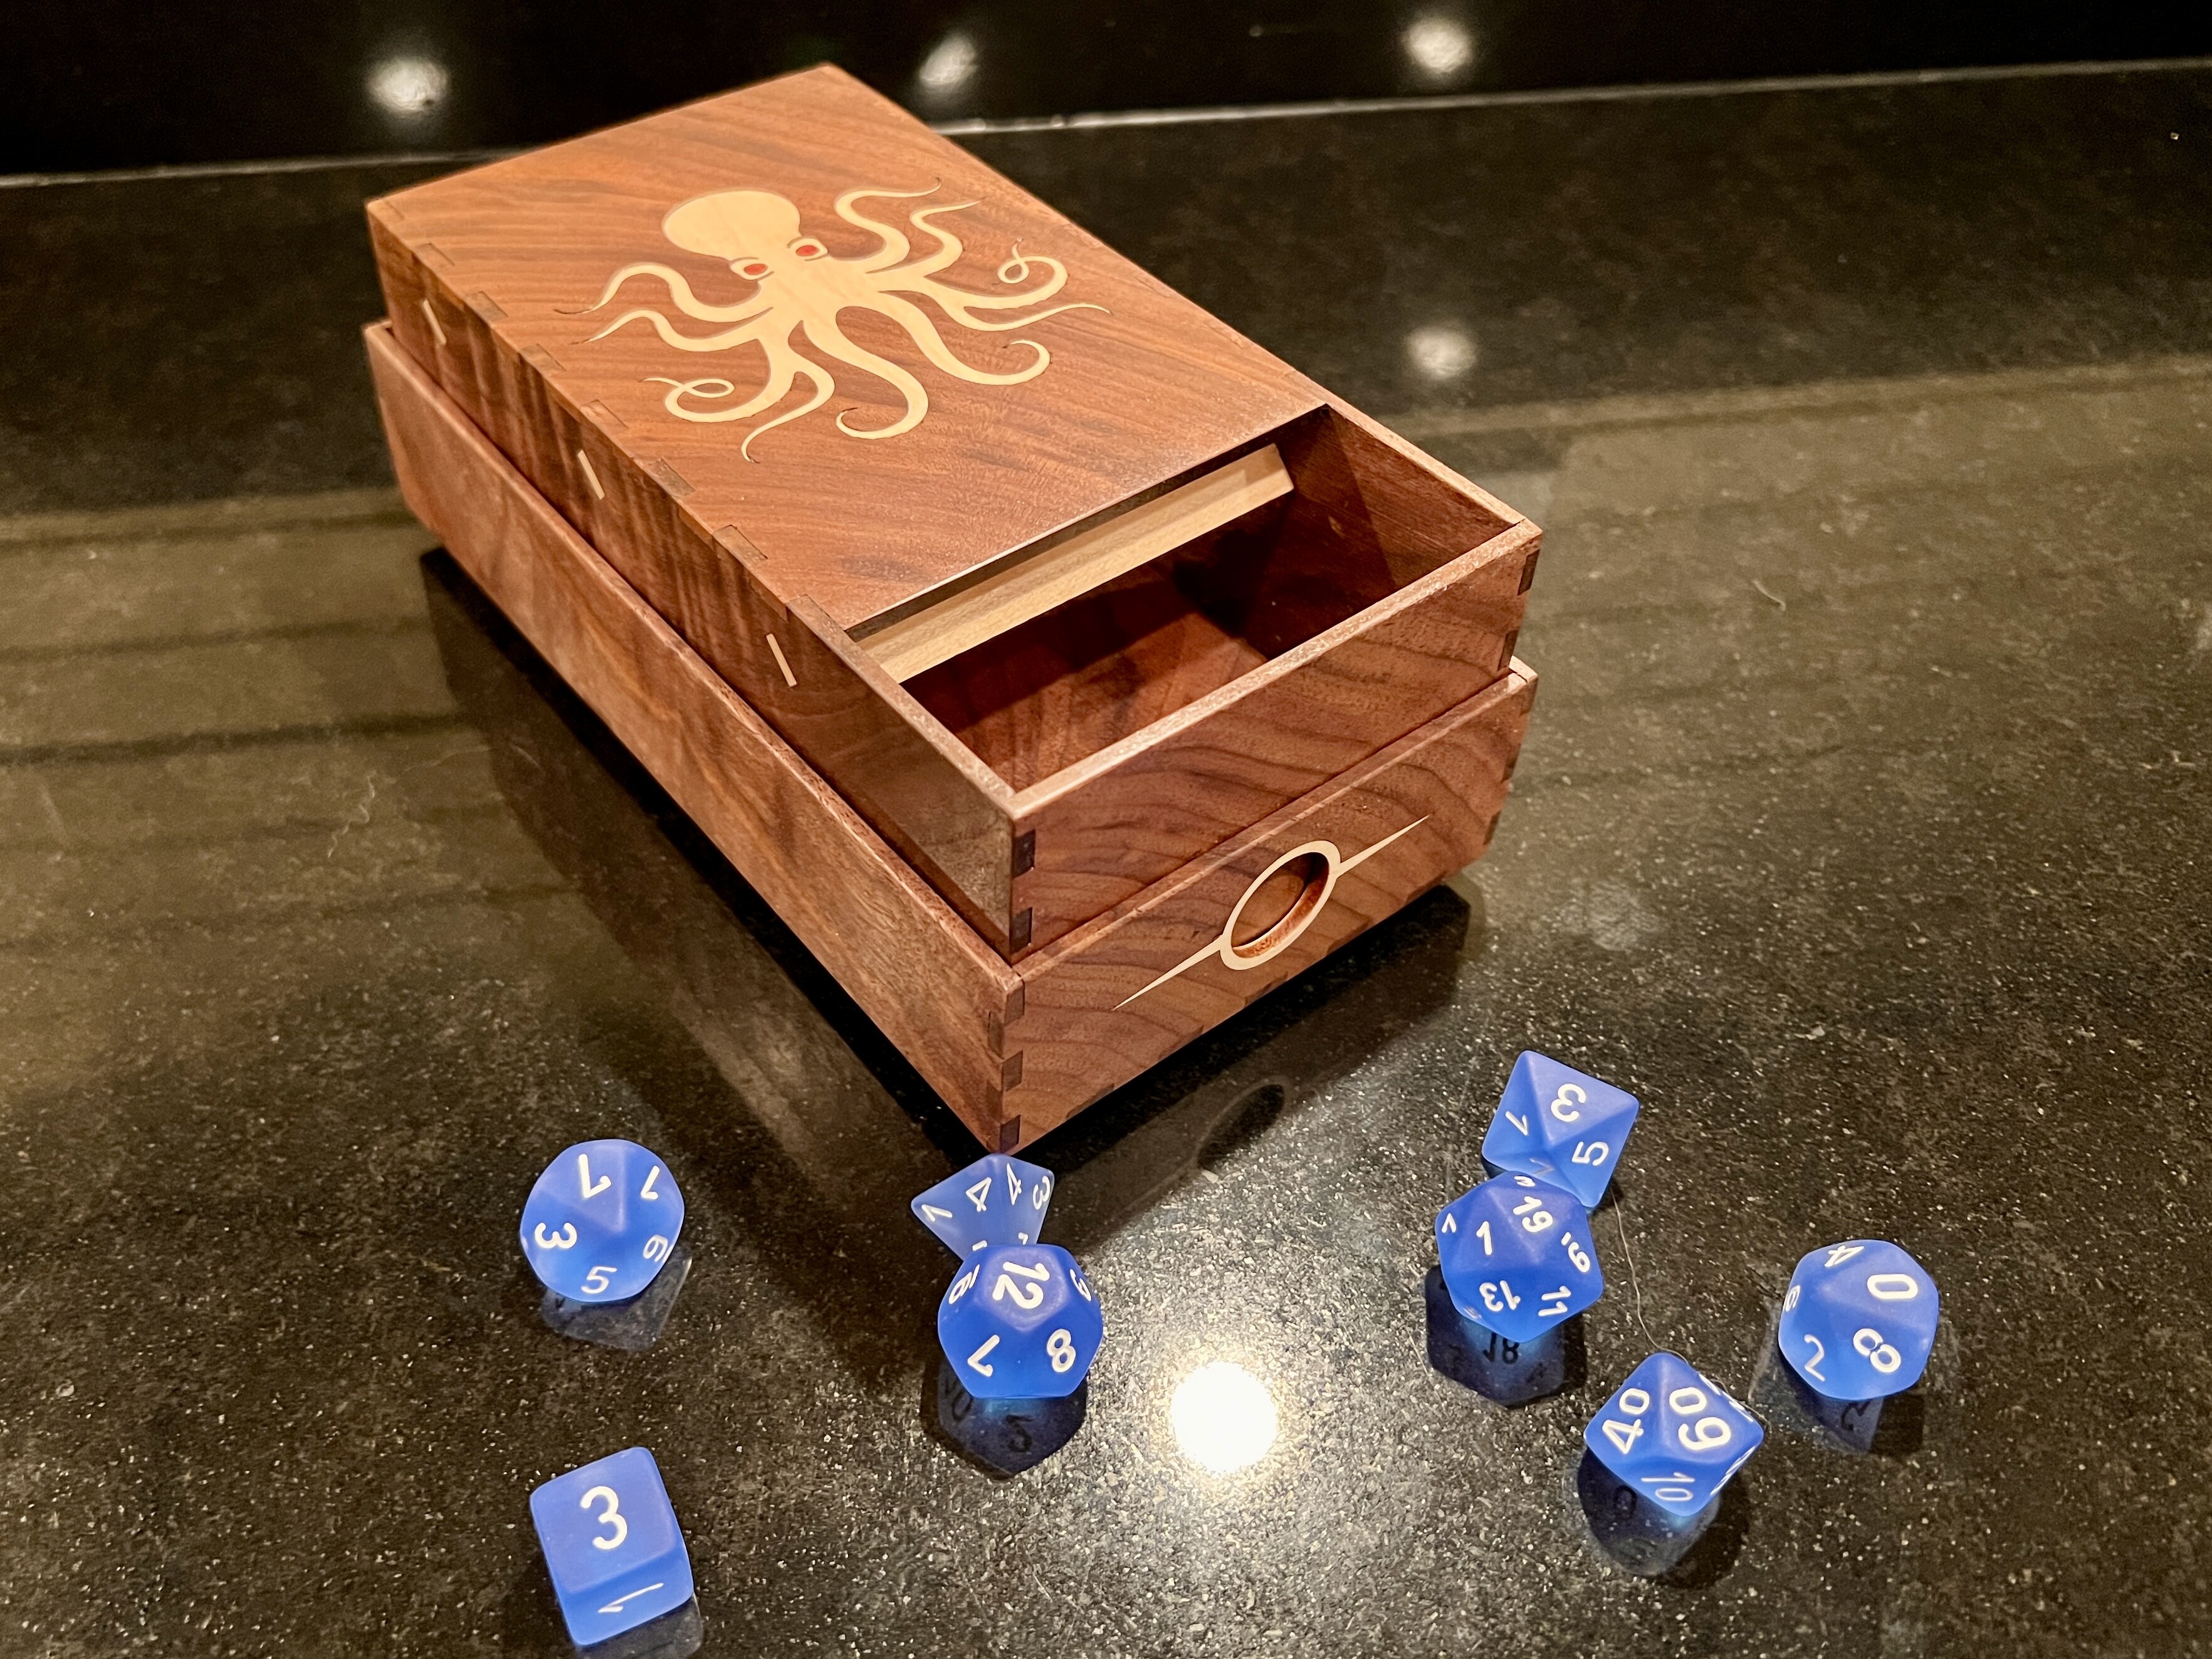
My nephew came to town for a few days and wanted to laser something. We spent a little time designing and thinking of ideas, and he landed on a nautical-themed dice tower. I should point out that while I may have provided some guidance, he did all the work here. Design choices, material choices, physical build, and finishing were all his work.
We found the octopus on vecteezy and then spent a fair amount of time optimizing it for inlay. He chose maple for the contrast to the walnut and then added redheart for a pop of color in the eyes. We added the Dungeons and Dragons logo as an engrave on the bottom “kicker” ramp as a fun detail. Fun fact: Redheart wood glows under a blacklight, one of the few woods I know that will do that.
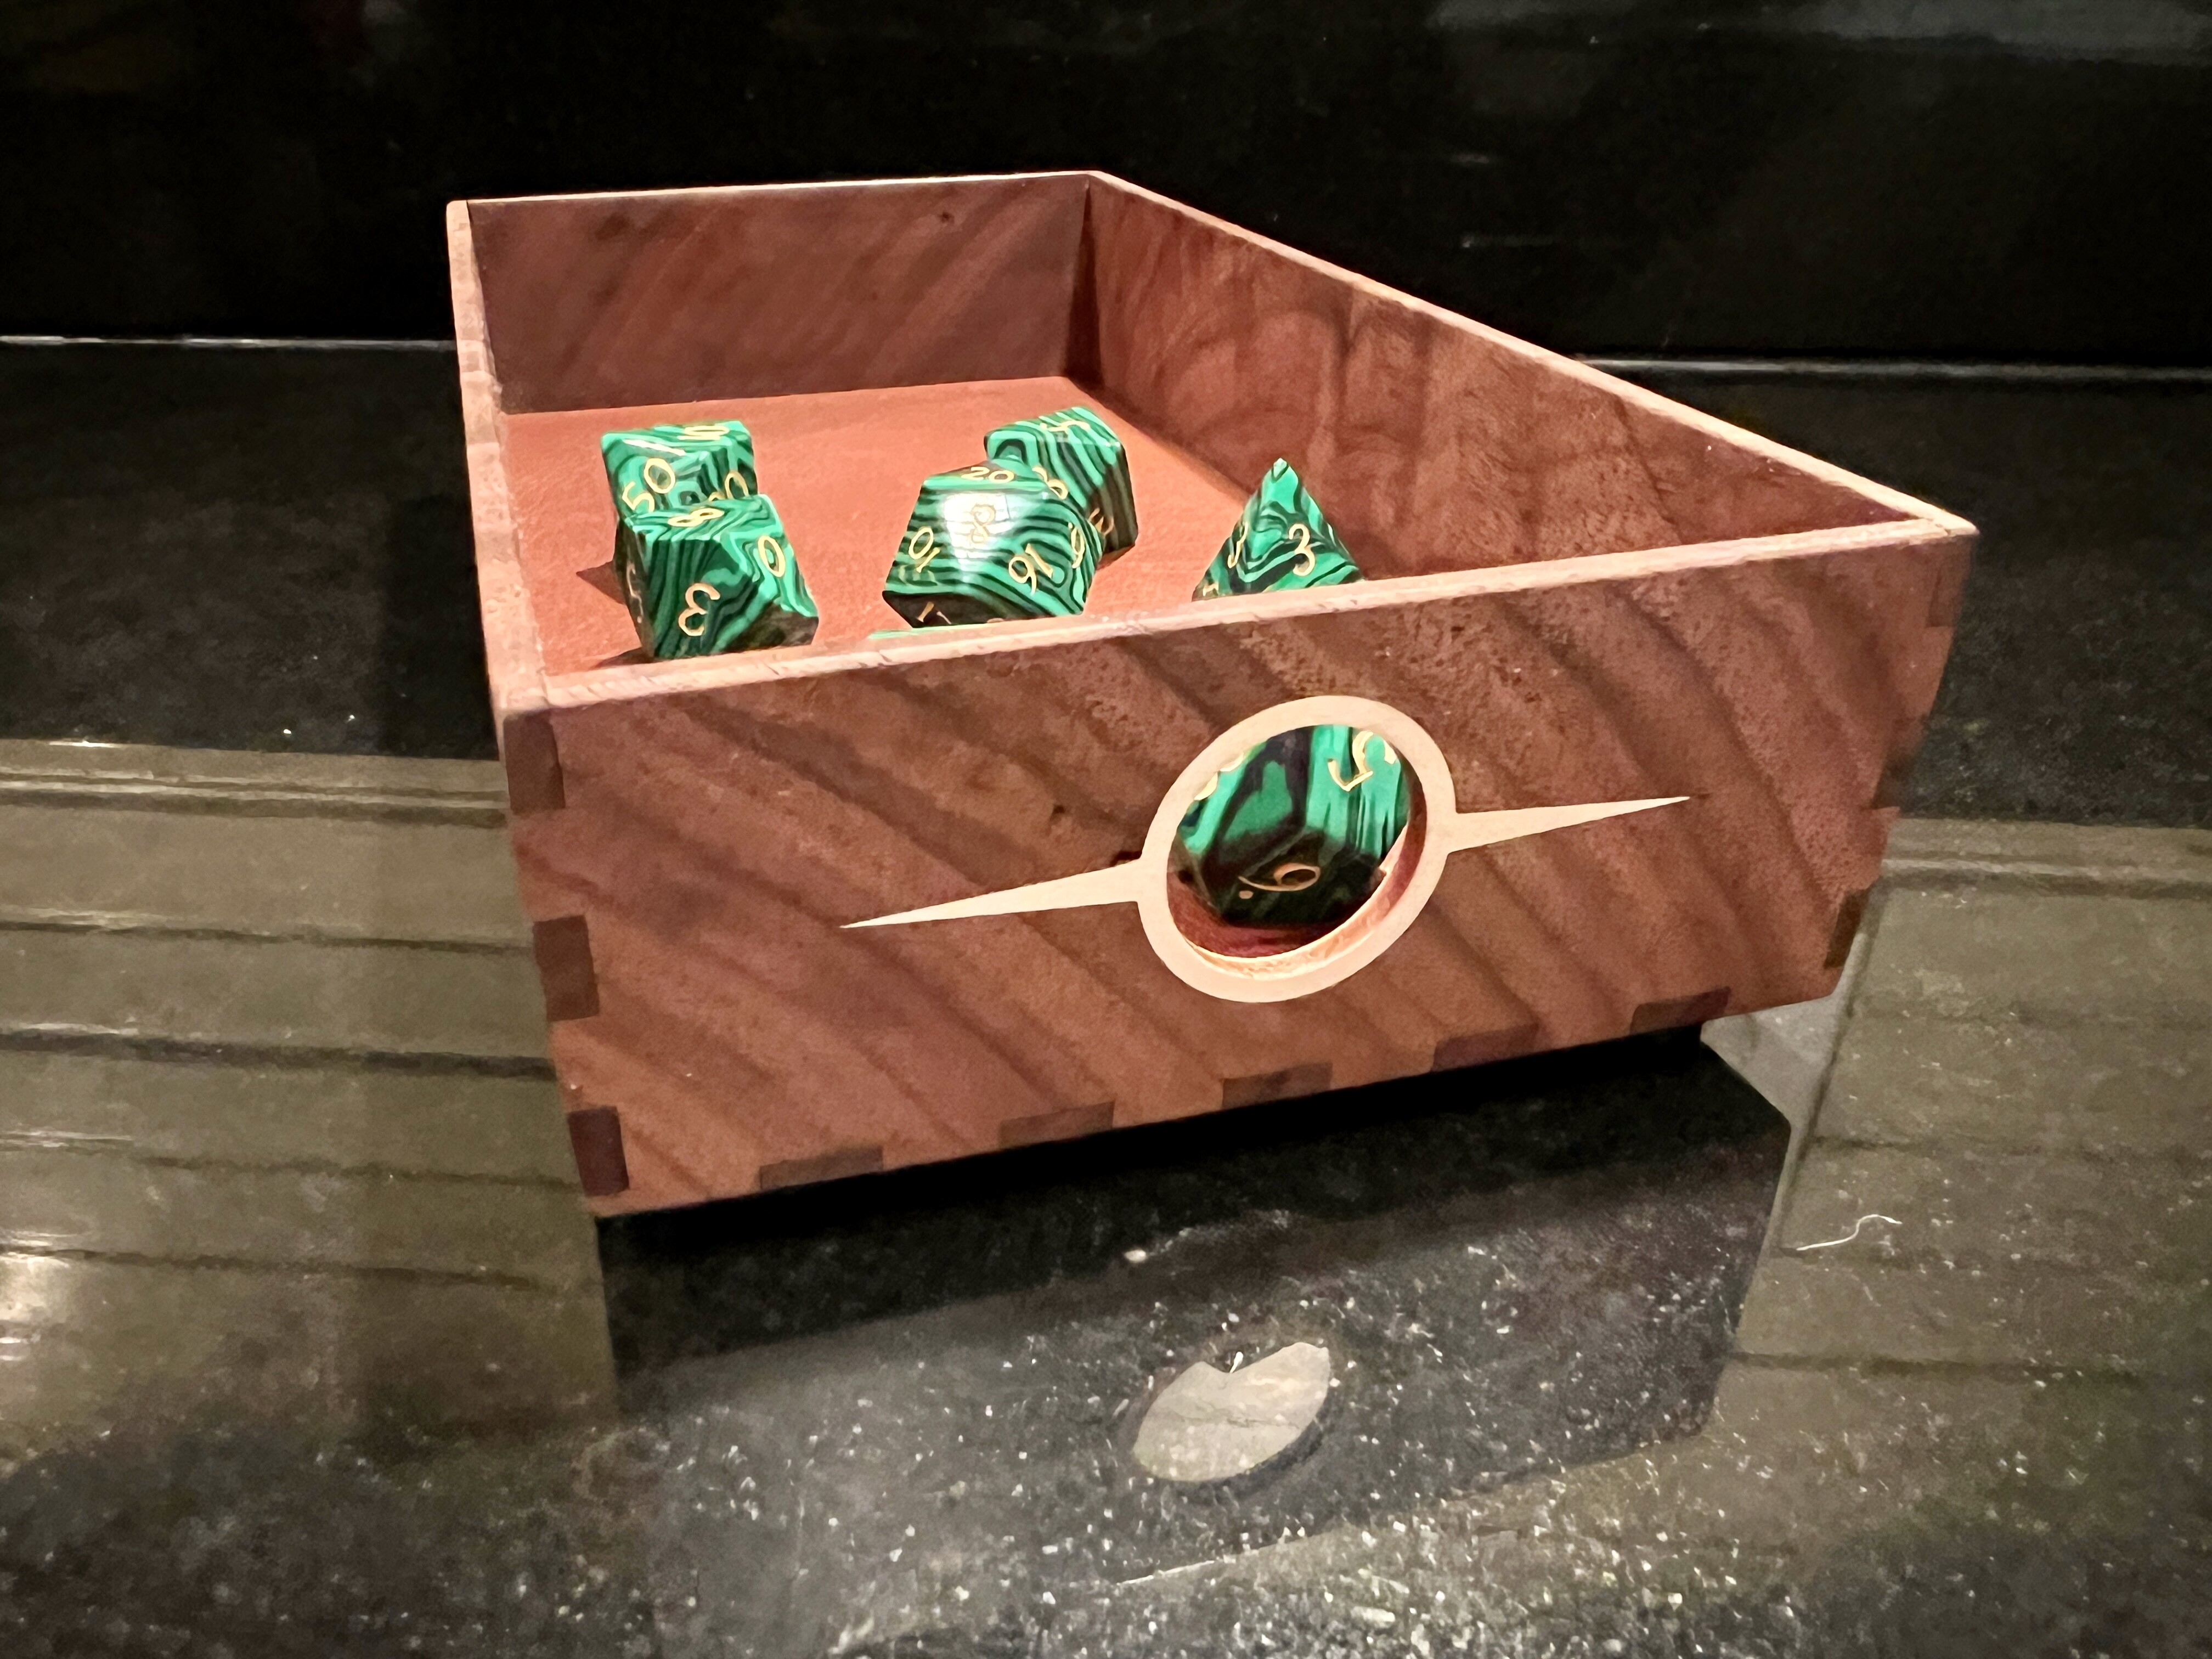
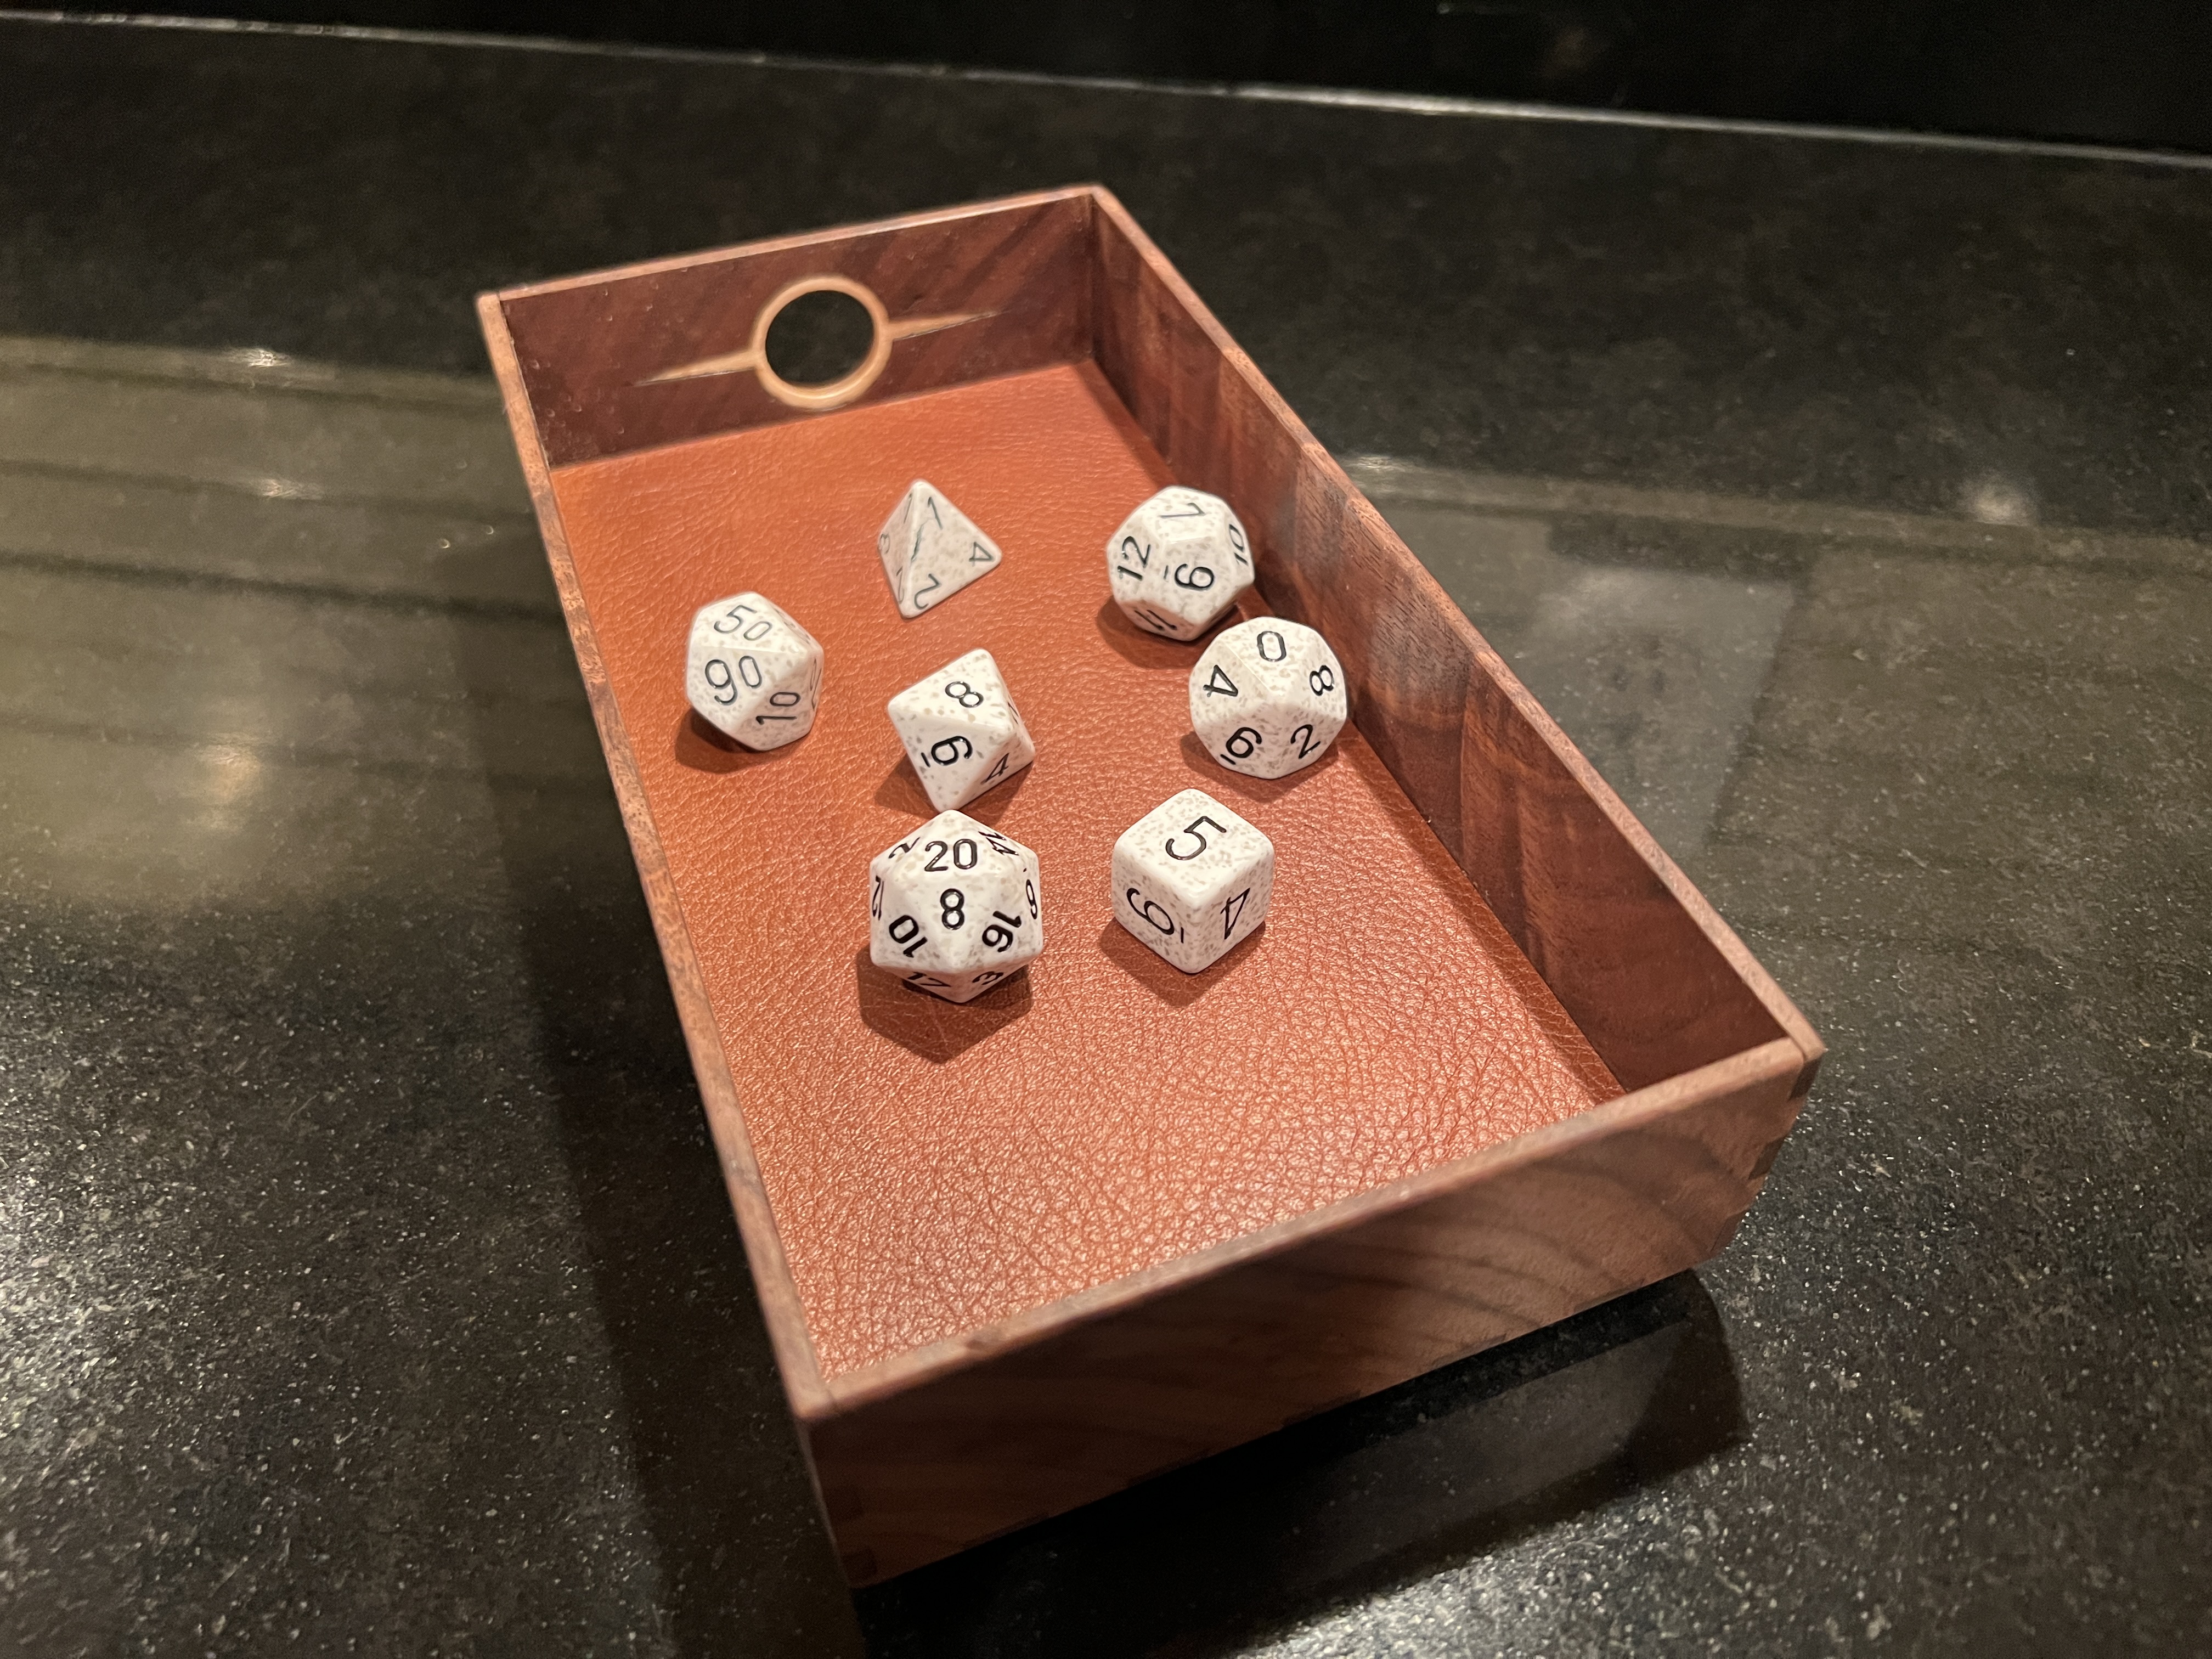
He’s a fan of an artist who has created a body of work called The Angelarium, so we landed on the symbol of the seraphim as an inlay/window in the front surface of the dice tray. I think this may be my favorite detail of the whole design.
The seraphim symbol is a through-hole inlay, so you can see it from the inside as well. You can also get a good look at the leather he chose to line the tray.
My nephew is very pleased with the end result. He really did a great job, I’d be proud to claim this as my own work. Also, pretty sure he wants a laser now.
Nothing too surprising if you’re familiar with through-hole inlay, and I know you are.
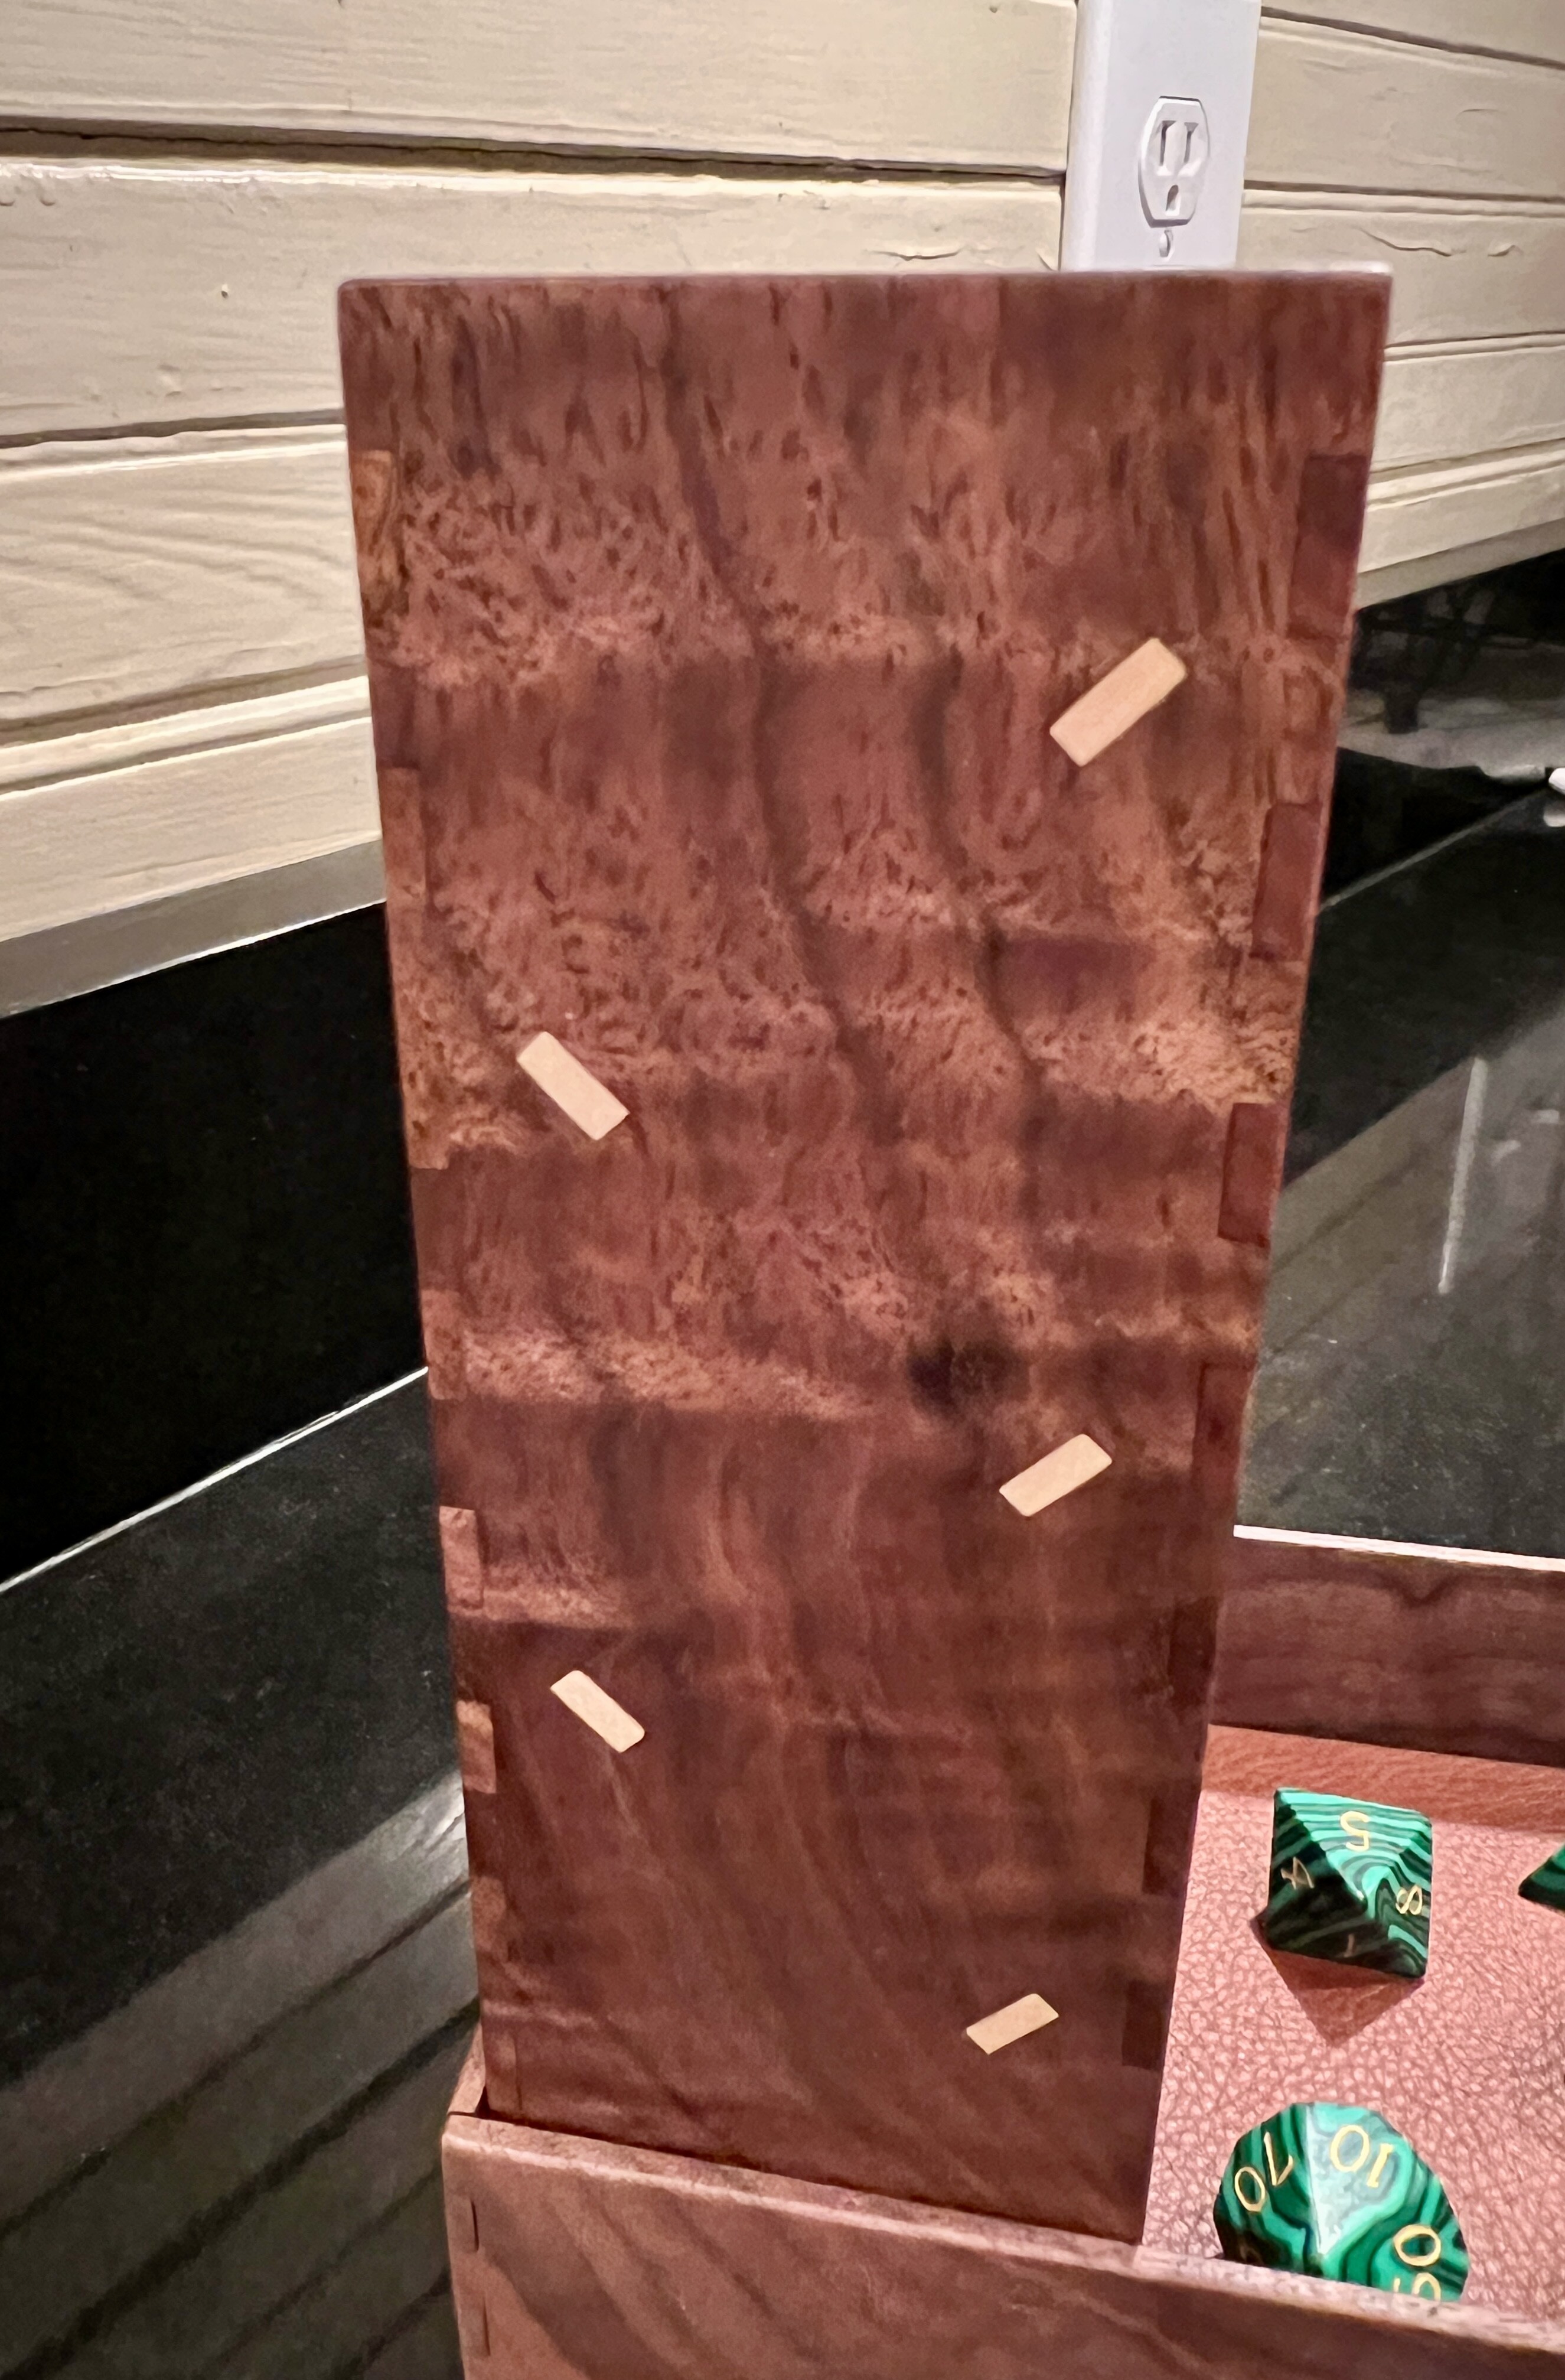
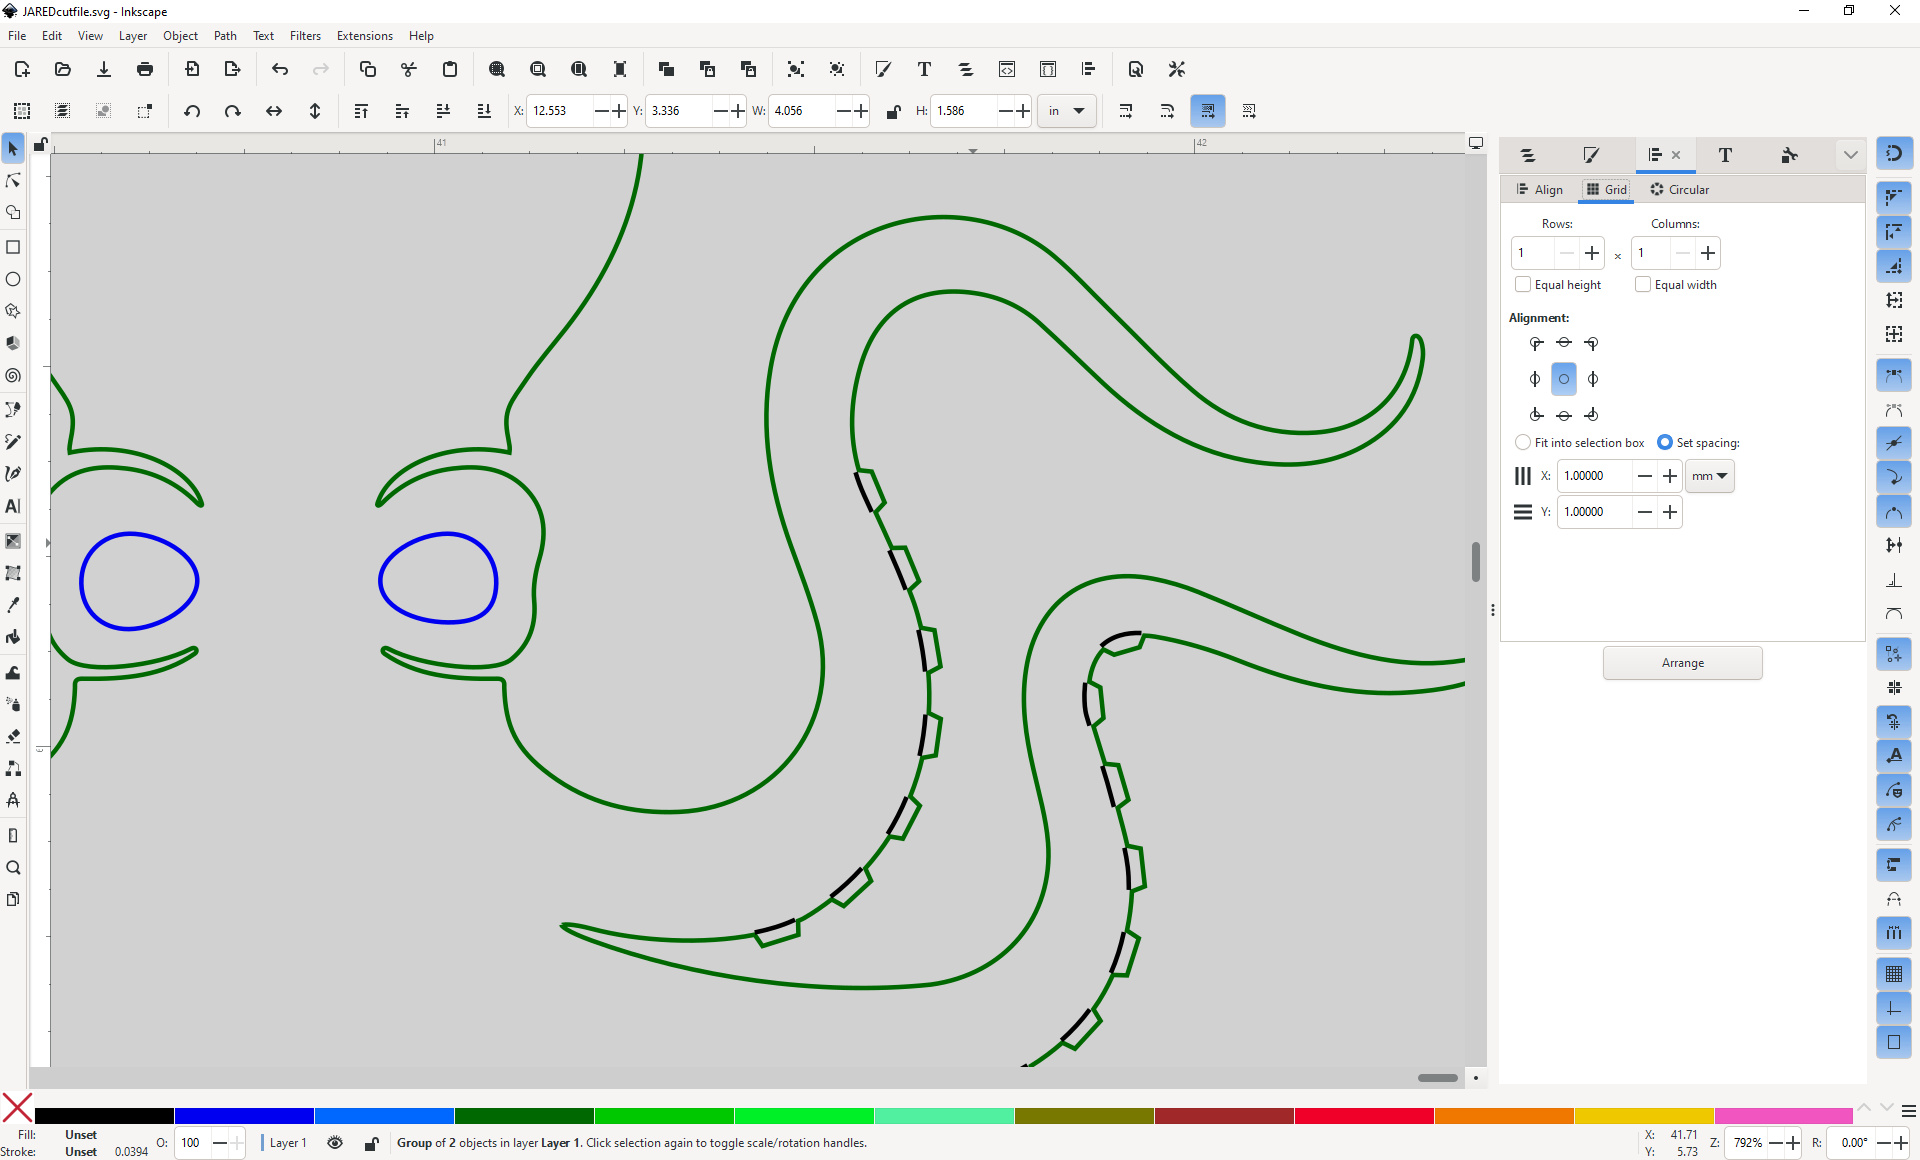
The original had some details that were too fine. The tips of the tentacles were really sharp and narrow, we gave them a slight radius. They’re still sharp, but they would have been overburned badly if we didn’t clean up the tips. We also used my overlapping paths extension to get some details for the suckers, check the black score lines:
Over the years here I’ve seen several very nice dice boxes but I do believe is is a new best. Lots of detail without being too busy. Congratulations to you and your nephew on this.
This is something that we went back-and-forth on. We kept falling back on my old design advice which was doing a couple of details really well and keeping it simple would end up being really effective.
So we would explore ideas, the project would grow and get more and more complicated, and then we’d roll it back. We went through about three design concepts in total, ultimately choosing his one. We liked that it features the natural beauty of the wood while still taking care to show off some detail.
By the way, I picked up a new trick: if you really want to keep your (slightly charred) super-fine points, dip the bottom of them in a drop of medium or low viscosity CA glue before any other handling.
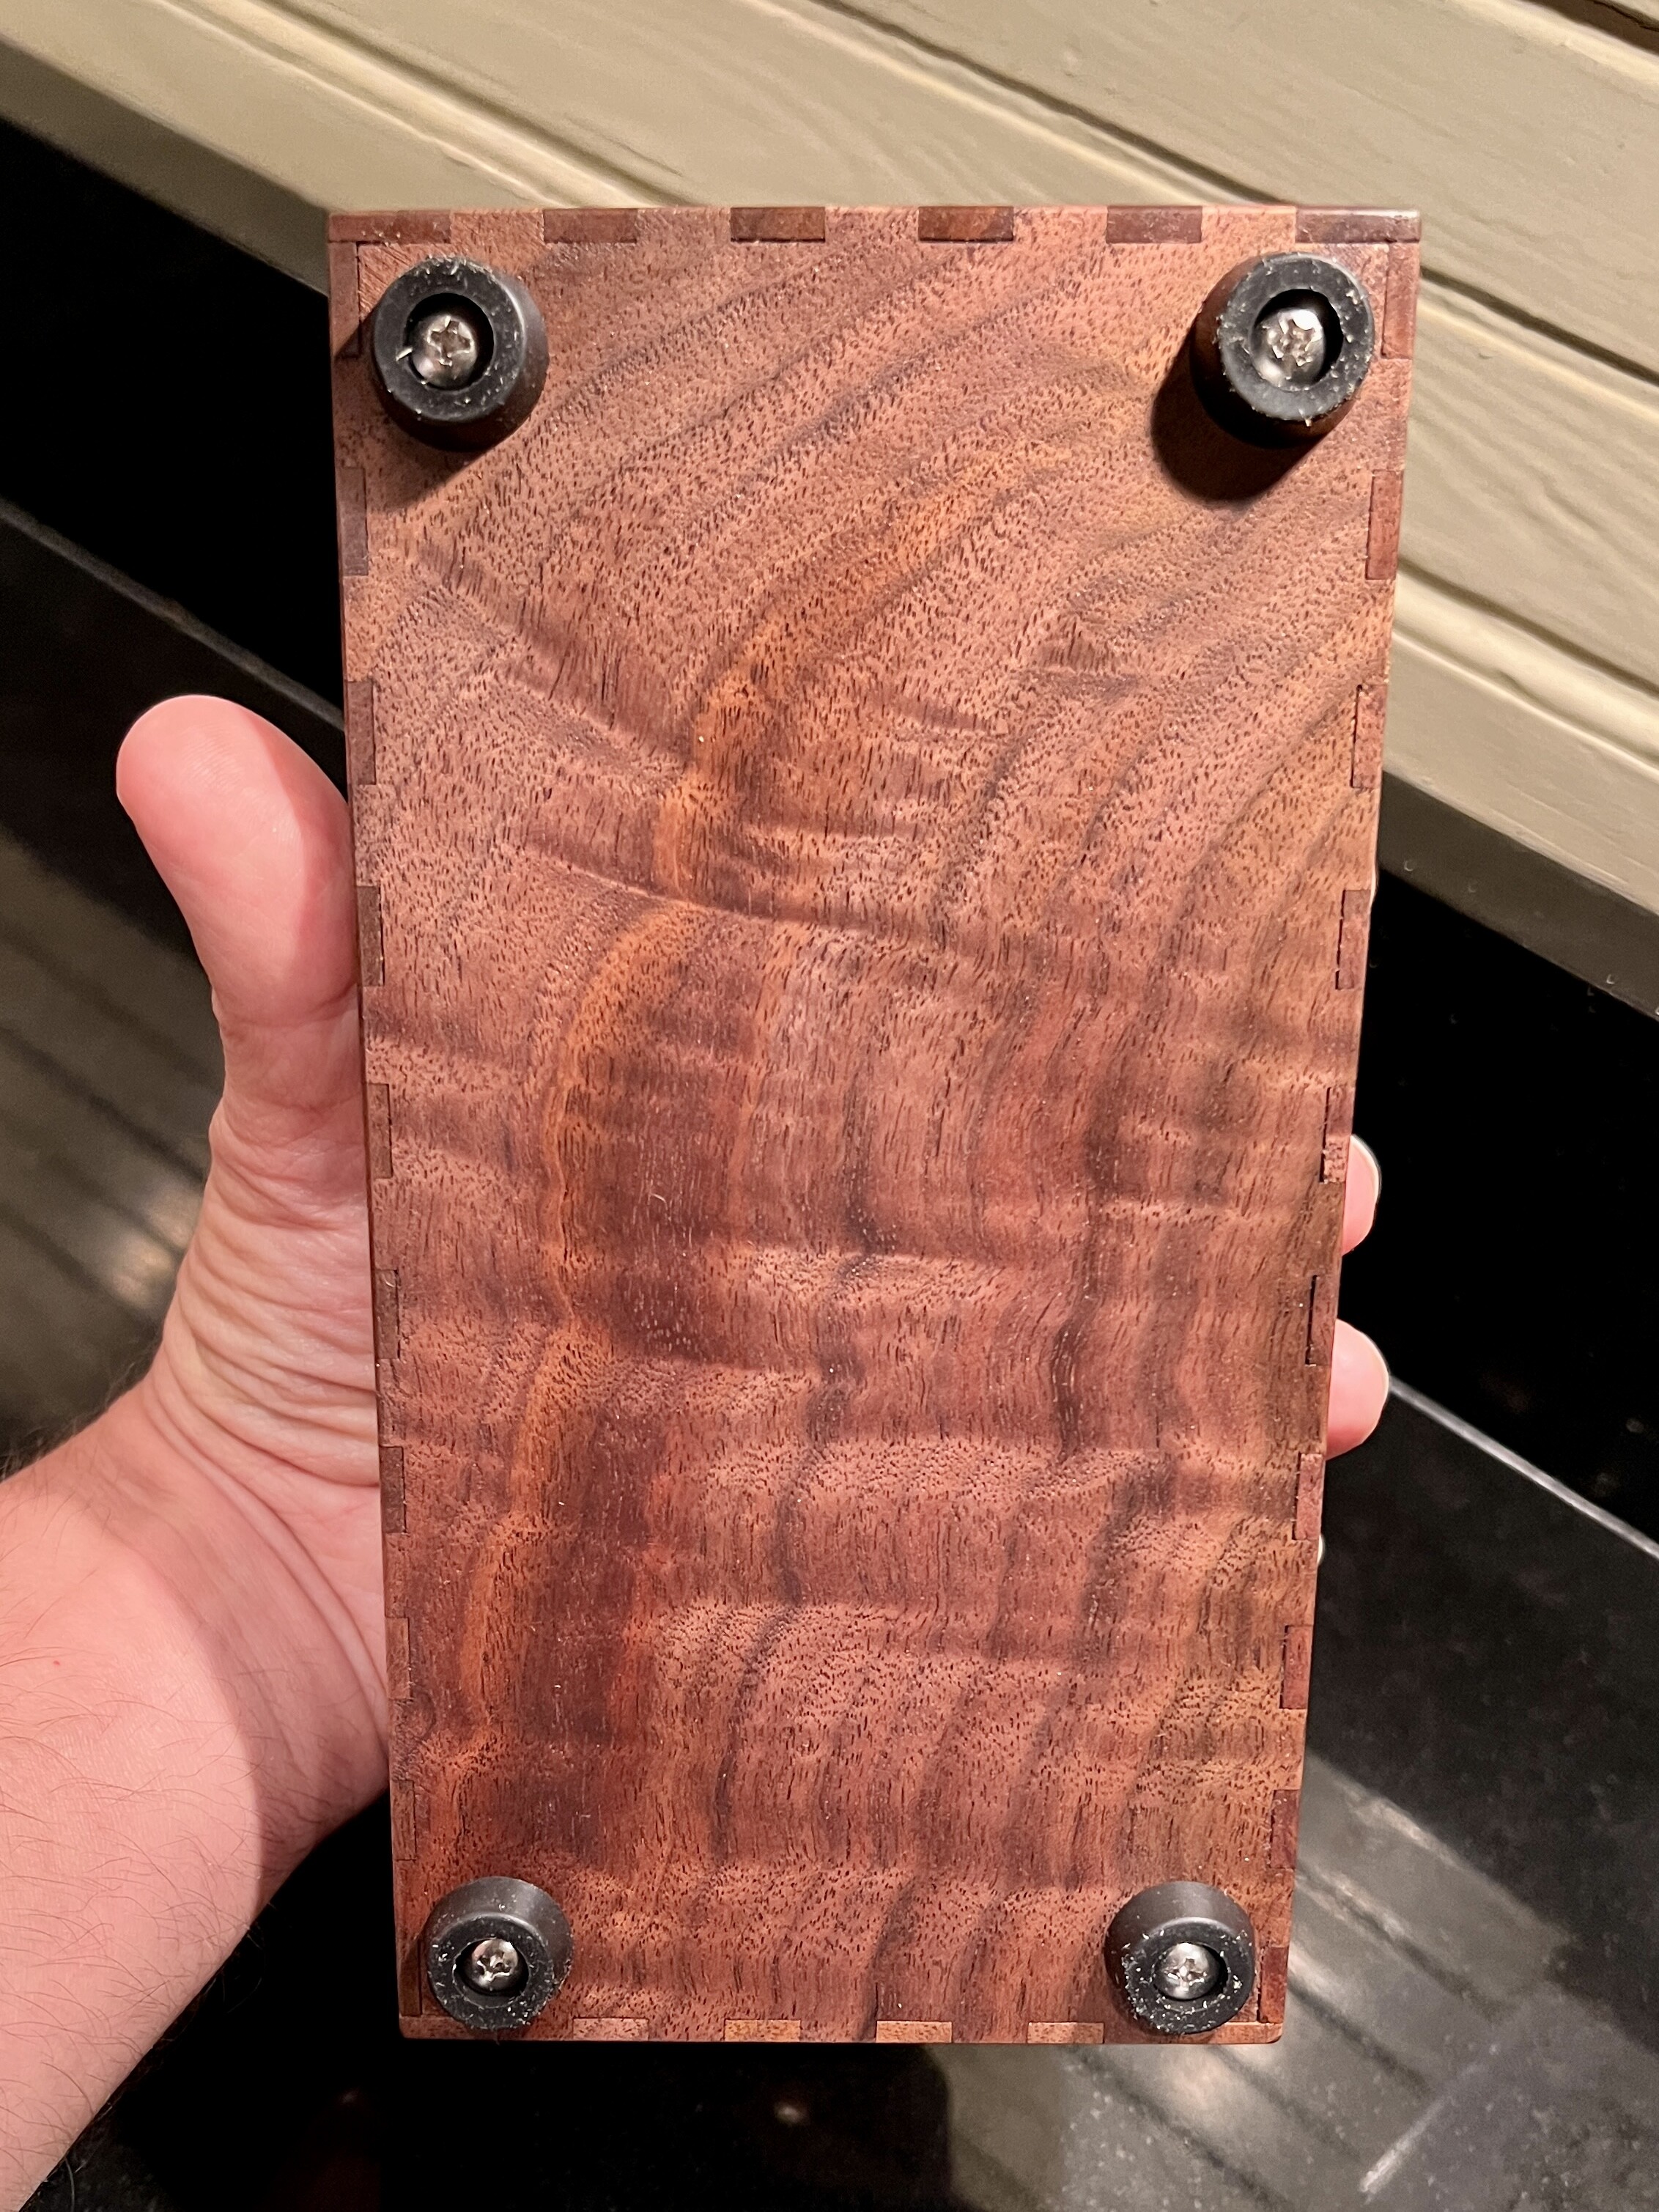
I notice it looks like you used solid hardwood, not plywood. What was your analysis with regard to wood movement for this size of box? Accept the risk? Rely on topcoat and controlled climate?
Of course the worst that can happen is that you’re forced to make a V2!
Good questions. I don’t even think about it. I’ve never had a single issue and I work almost exclusively in hardwoods when I make boxes and trays and such.
I live in Atlanta where this seasonal temperature and humidity swings are pretty severe. Never had any problems.