Time for a new experiment!
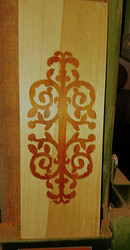
My father is an accomplished wood worker. He can make all kinds of fancy designs by making hand-crafted wood inlays from scratch. But me? I have ZERO skills for hand-crafting anything… so thank goodness for lasers and computers, since it allows me to “fake it”!
Today, I decided to see if I could make my own “fancy” plywood so I could simulate wood inlays. And yes, I know that this is not truly “wood inlay” but I didn’t know what else to call it. ![]()
Here’s what I did:
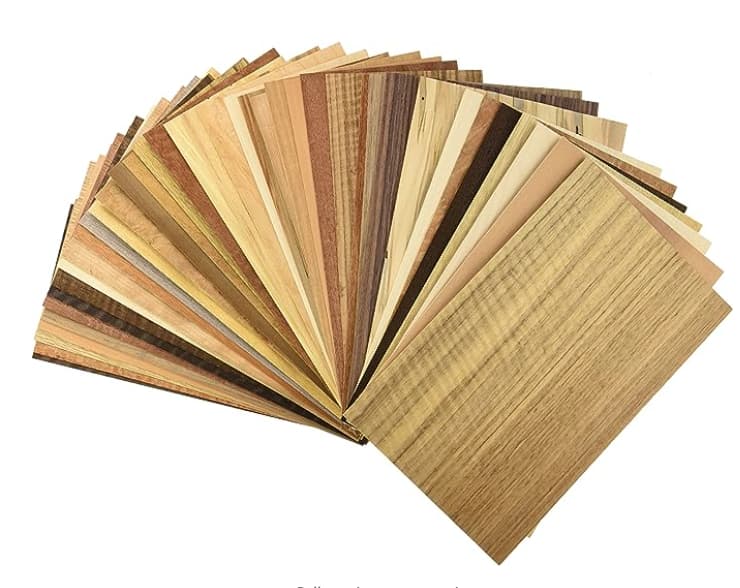
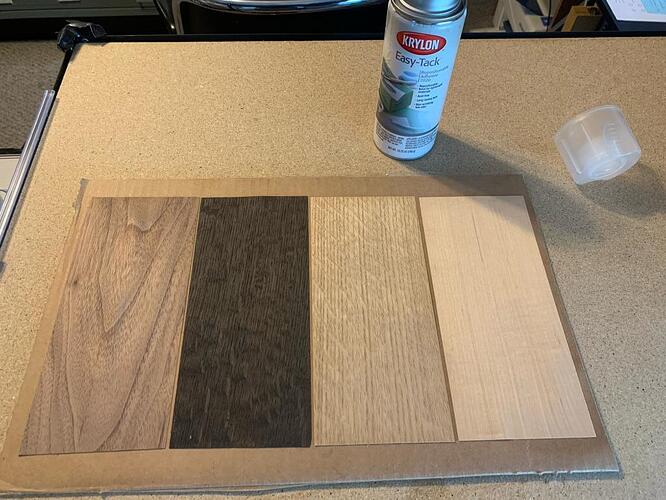
Got a wood veneer variety pack. These can be found at Amazon and probably your local hardware store. (I already already had one from a previous project and was trying to figure out what the heck to do with it. Hence this posting today). Note: This stuff is super thin (.5mm)!
I wanted to cut the different colors of veneer into thin strips of varying widths. The strips must have very clean straight edges for a later step. I first tried cutting strips with a utility knife with no success… but then I remembered that I have a LASER. Duh! ![]() Cutting these with the laser is a breeze. I personally stacked 3 or 4 of these and cut them at the same time, but beware that these strips are light and might move during cutting. I personally was lucky, but use whatever technique works for you.
Cutting these with the laser is a breeze. I personally stacked 3 or 4 of these and cut them at the same time, but beware that these strips are light and might move during cutting. I personally was lucky, but use whatever technique works for you.
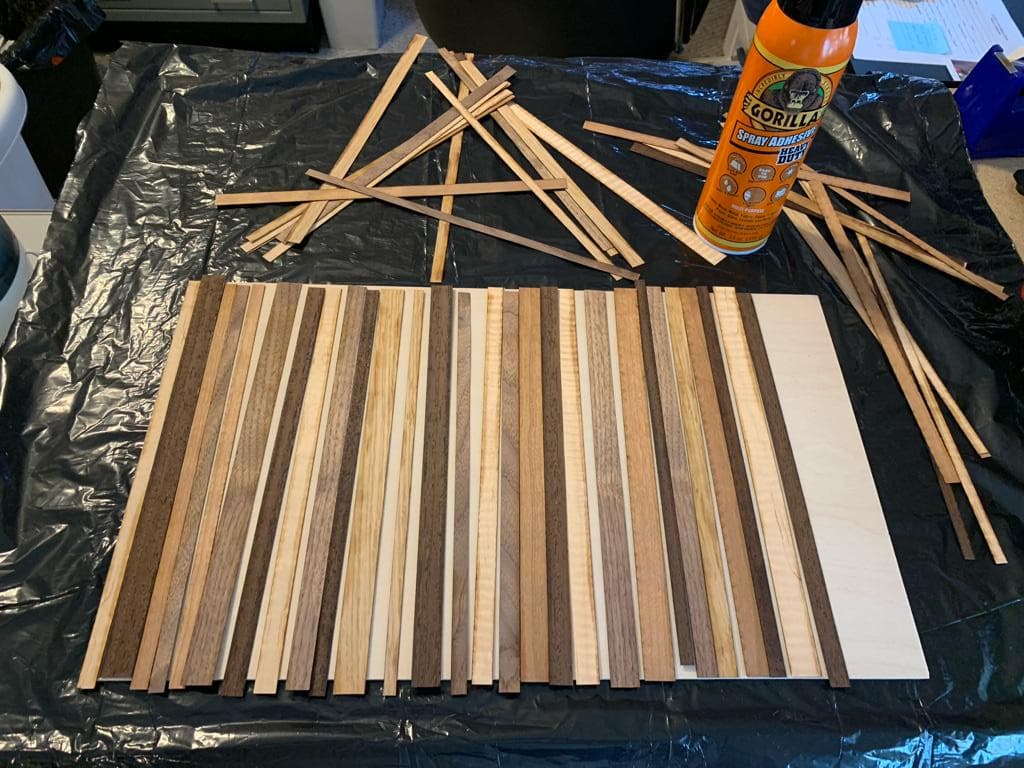
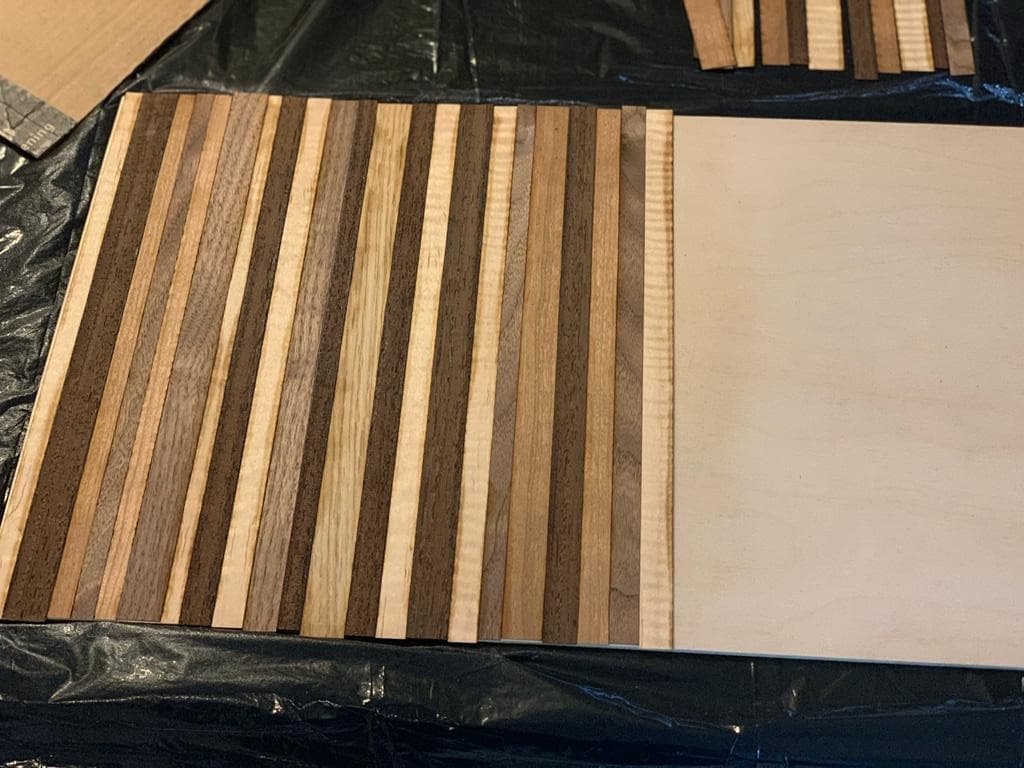
Now, I took a piece of my existing plywood (you could also use chipboard, or other rigid laserable material) to use as a base. I arranged the different color strips to my liking. I then started gluing the strips down to the base. You can use whatever glue you like as long as it’s laser-safe. I personally chose to use Gorilla Glue Spray, as I had some on-hand and am familiar with it’s use (dry time, etc.)
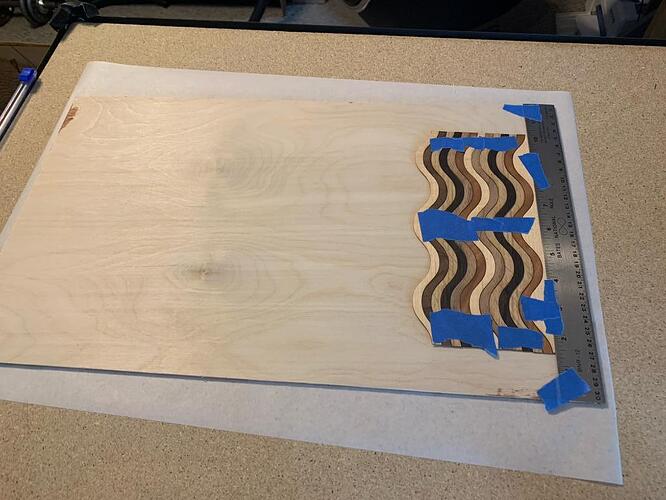
Arranging the strips before gluing:
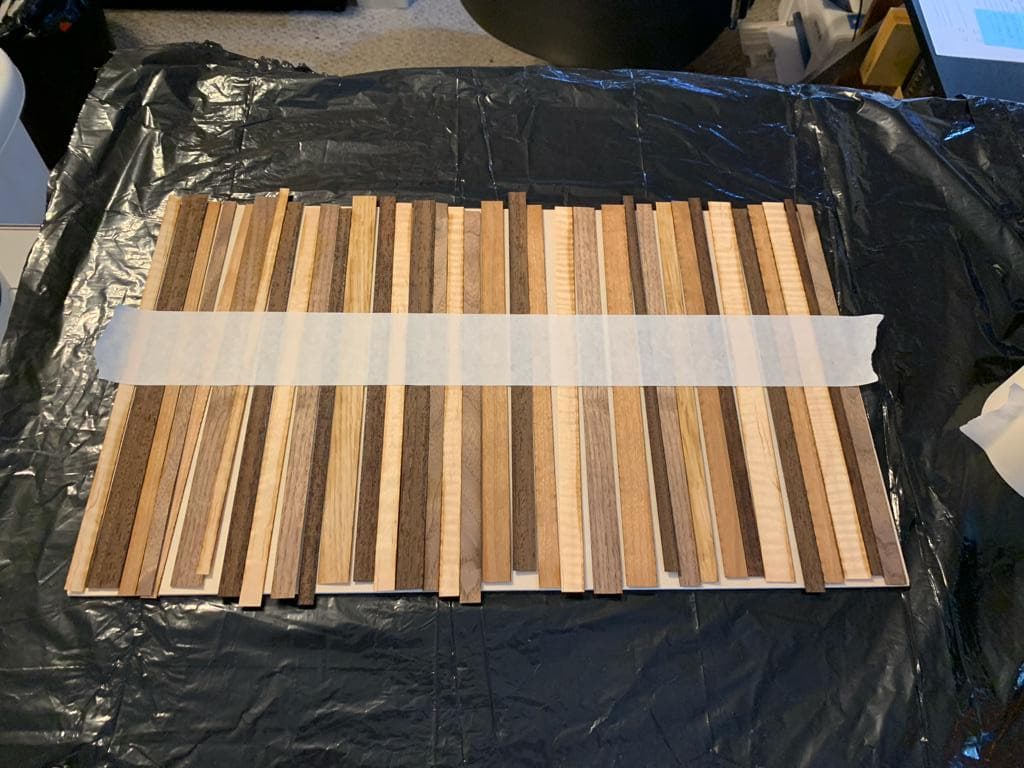
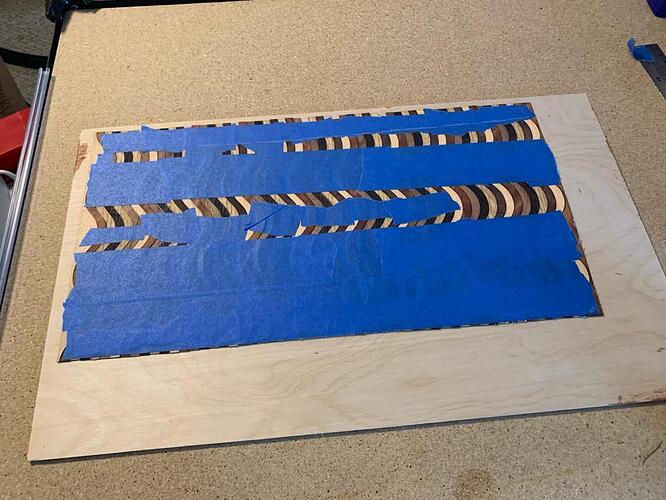
I opted to tape the strips in order using transfer tape (masking tape or painter’s tape would work just as well) to keep the strips the way I liked and to make the gluing process faster/easier later.
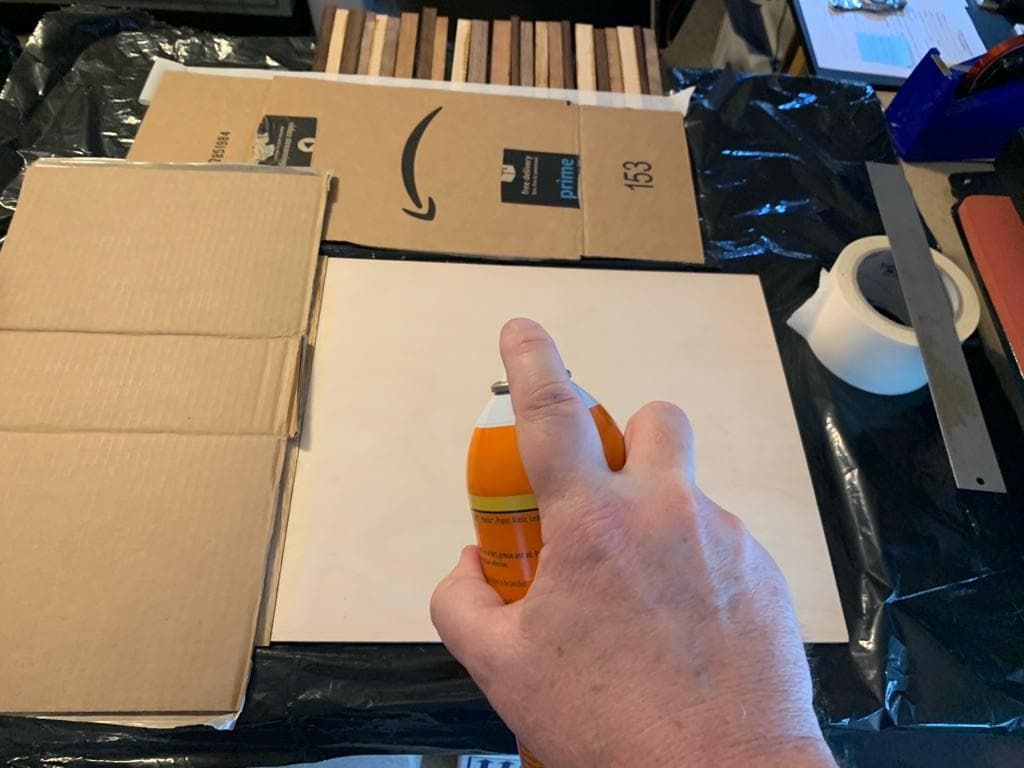
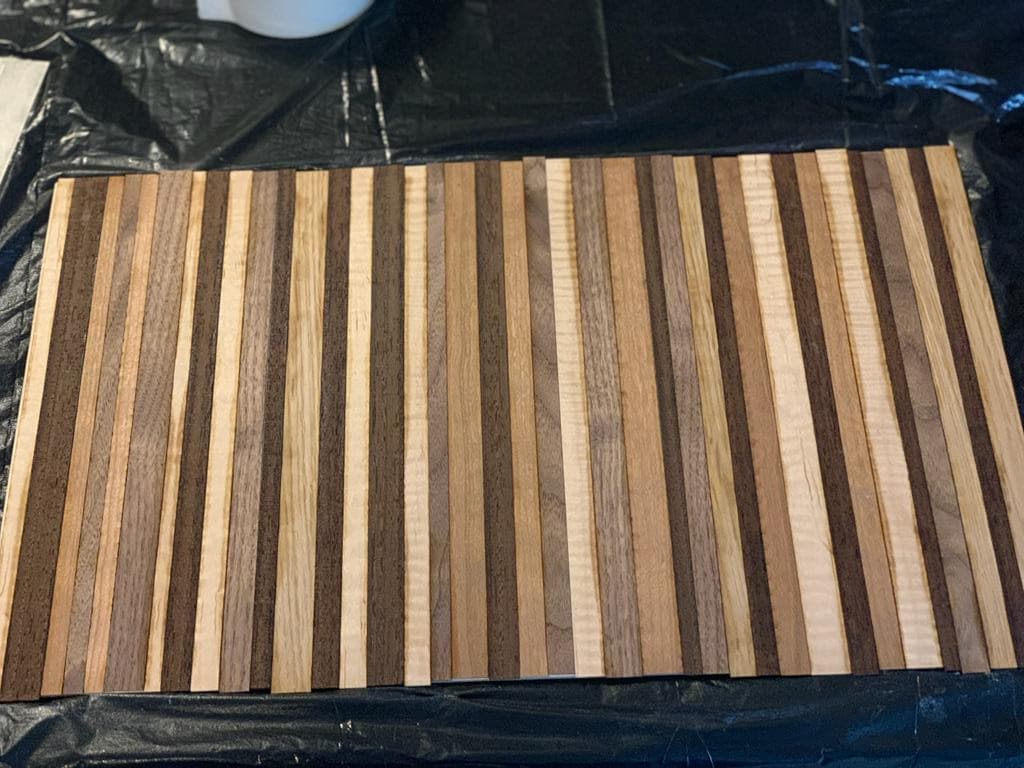
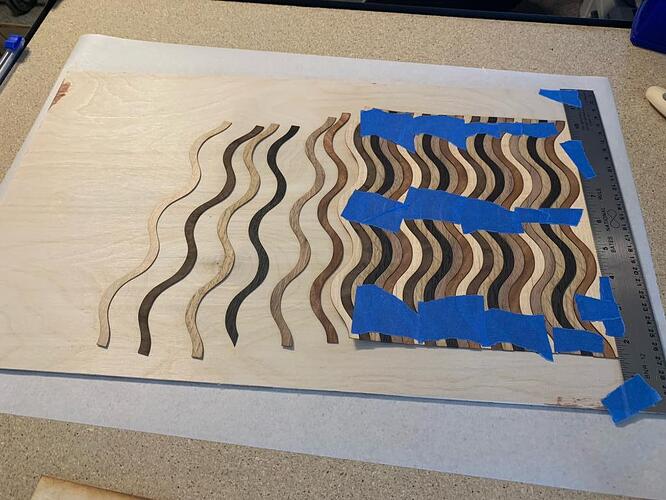
I moved the strips off the base plywood (which was now easy since I taped them). I then sprayed glue on a section of the base and started placing the strips. I didn’t spray the whole base, as the drying time might have been an issue, and working a section at a time was much easier. I made sure to place each strip’s edge is up tight against the previous one, leaving no gaps and no over-hangs.
I worked section-by-section, insuring that I protected the rest of the work area from glue over-spray.
Here’s my progress so far.
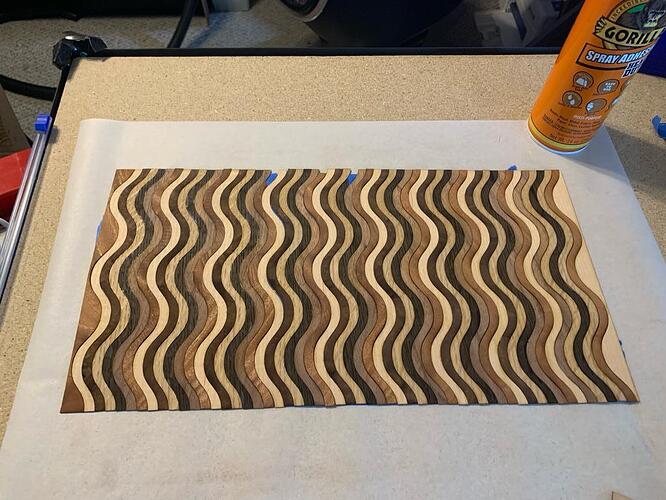
And very soon I had the whole base covered by strips of glued-down veneer!
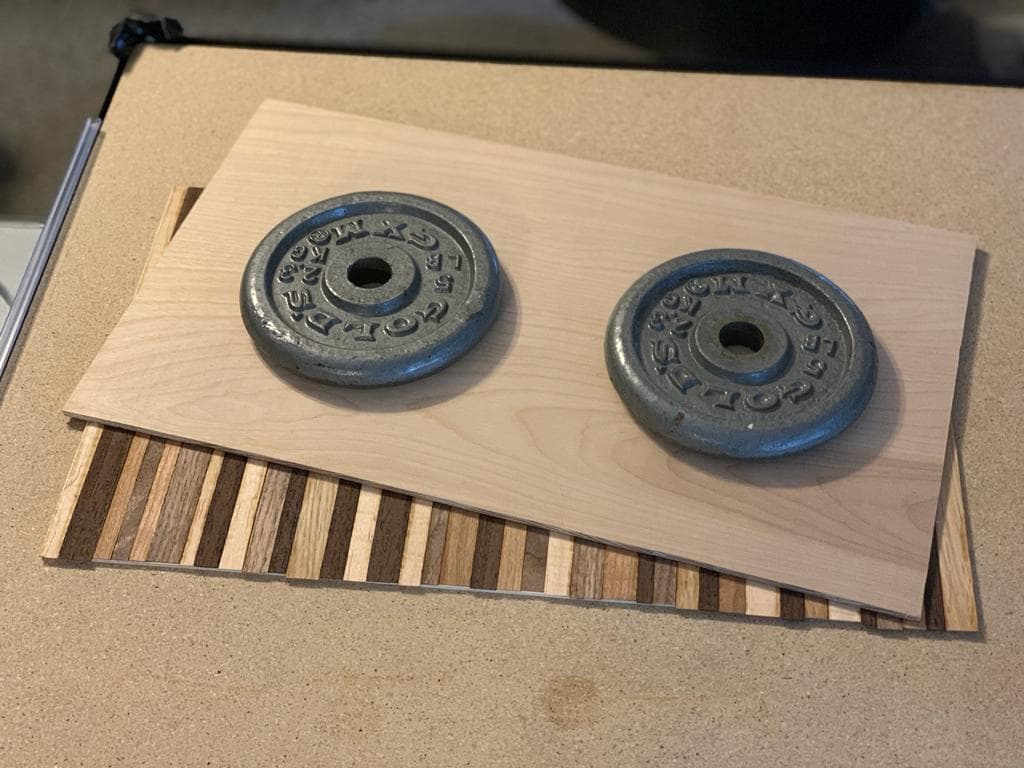
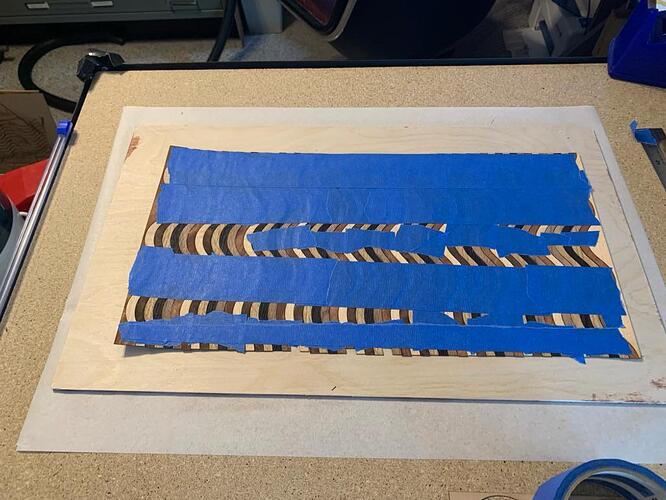
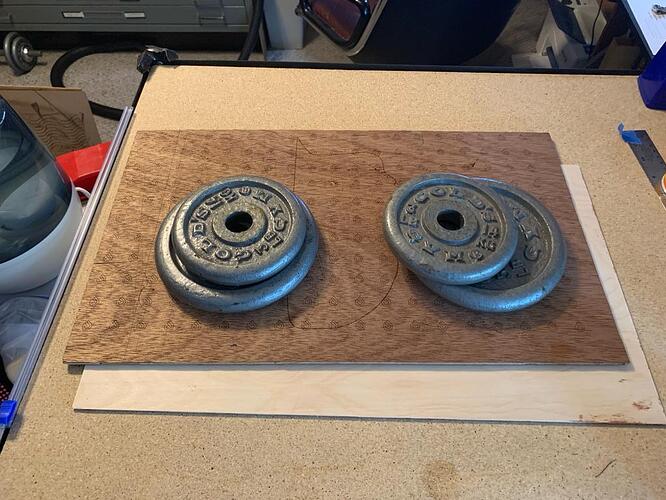
I then placed the whole thing under a clean piece of plywood with some weights to ensure that all the strips have good contact with the base while drying. This photo is to illustrate my point. In “real life” the top piece of plywood completely covered the strips and base below.
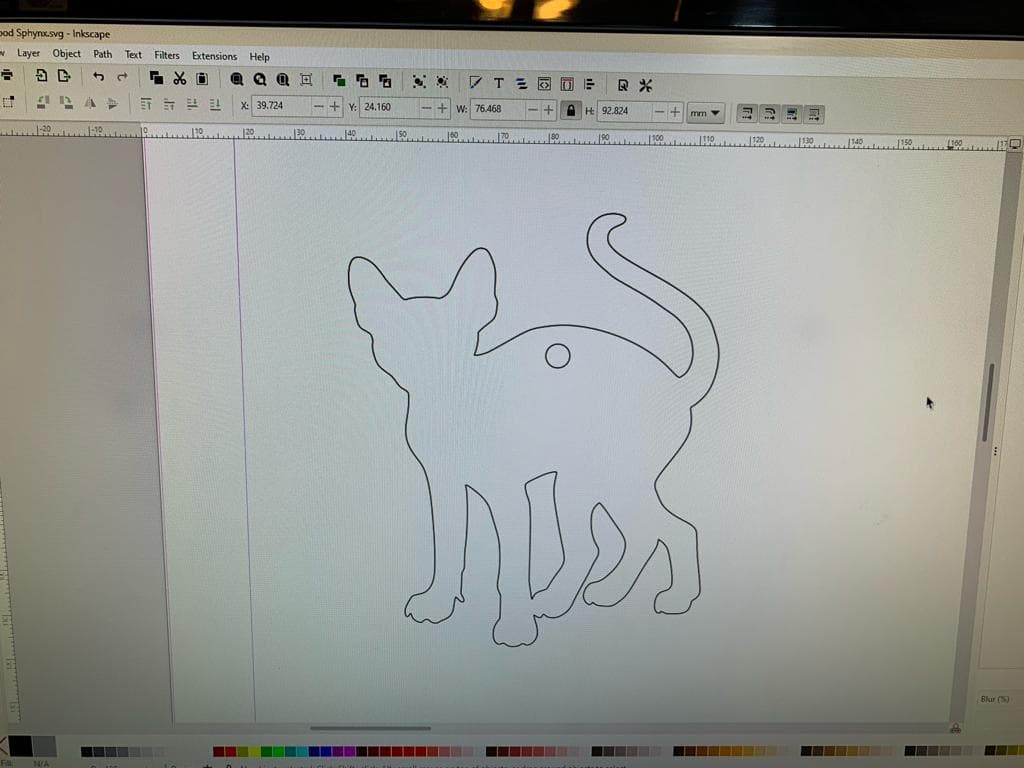
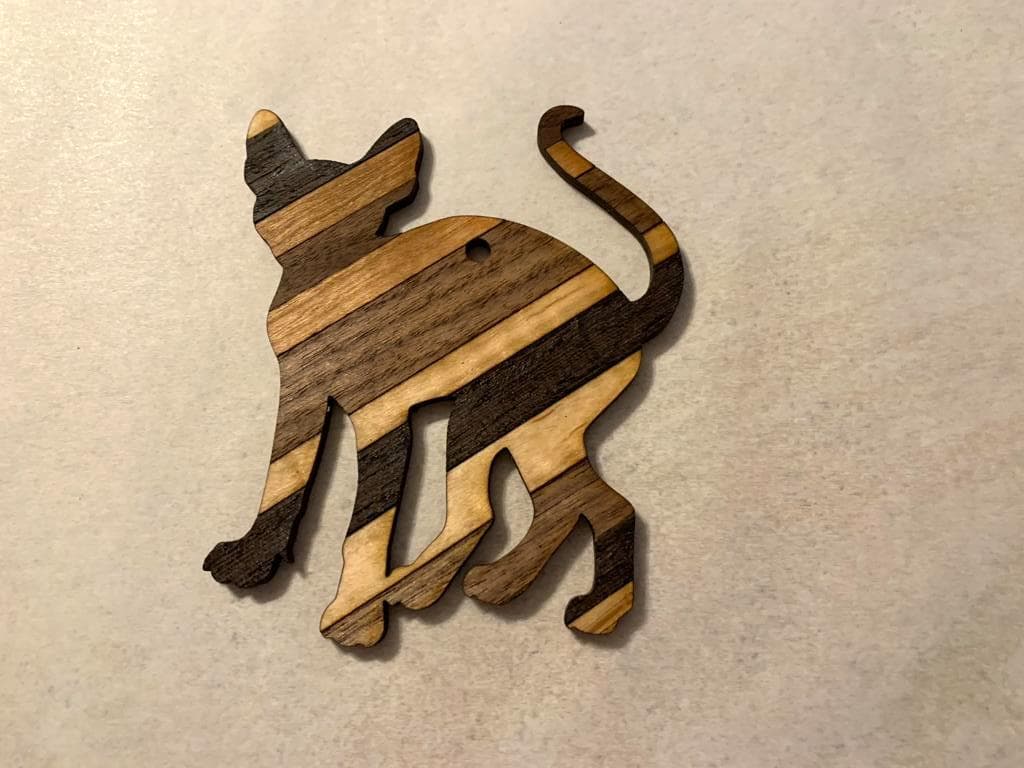
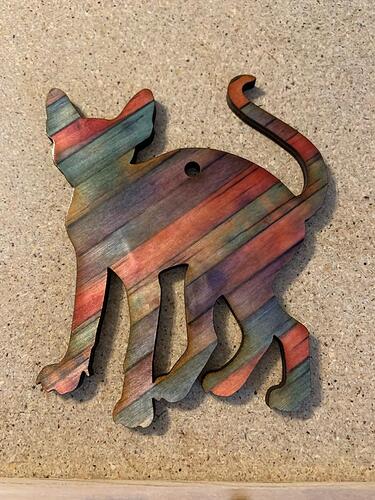
While waiting for that to fully dry, I whipped up a simple Sphynx cat ornament for my wife so I could test out this new “fancy” plywood I made.
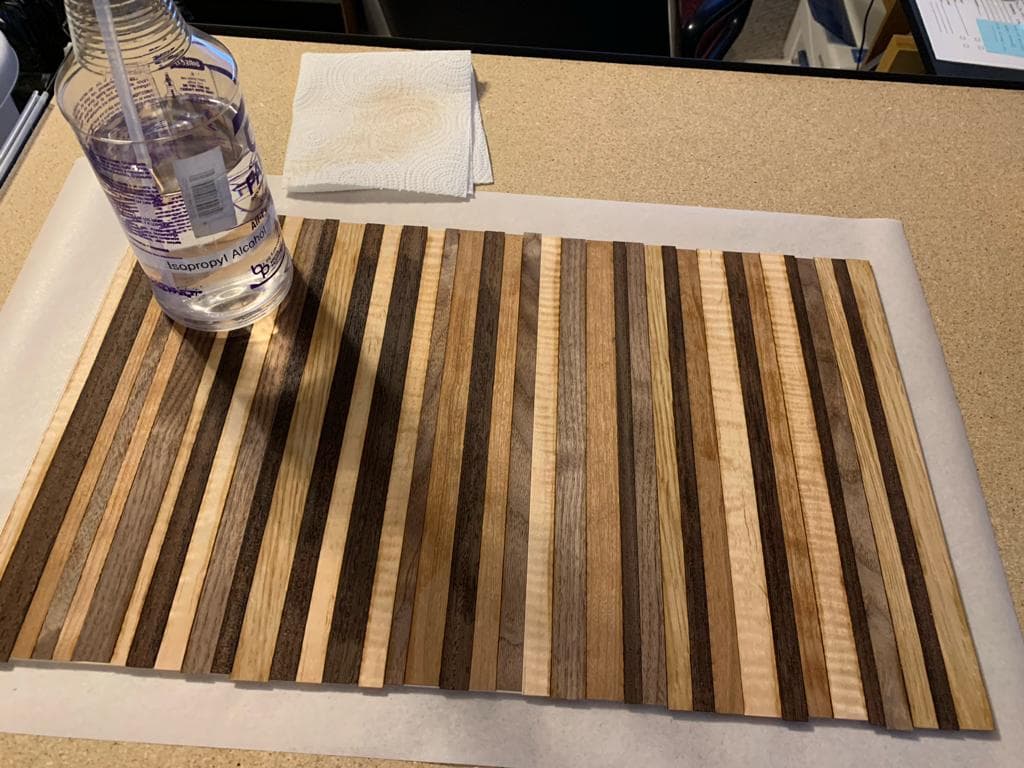
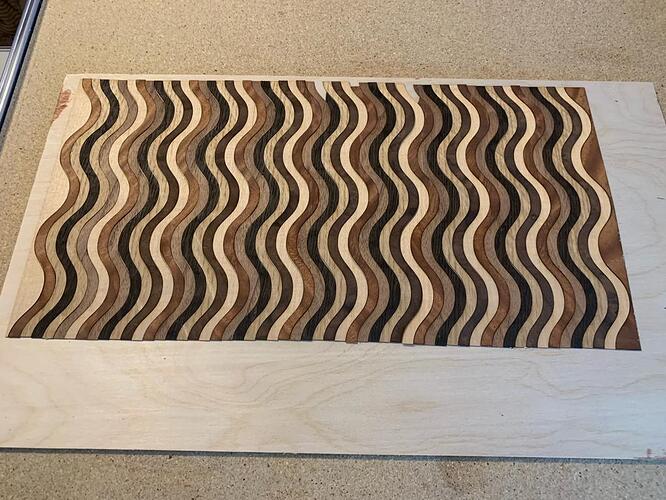
Once the glued veneer was dry, I cleaned off the soot marks (from when the veneer was originally laser-cut) with a bit of Isopropyl Alcohol. I’ve heard that baby wipes work well too. Or you could lightly sand it. Or you could simply skip this step!
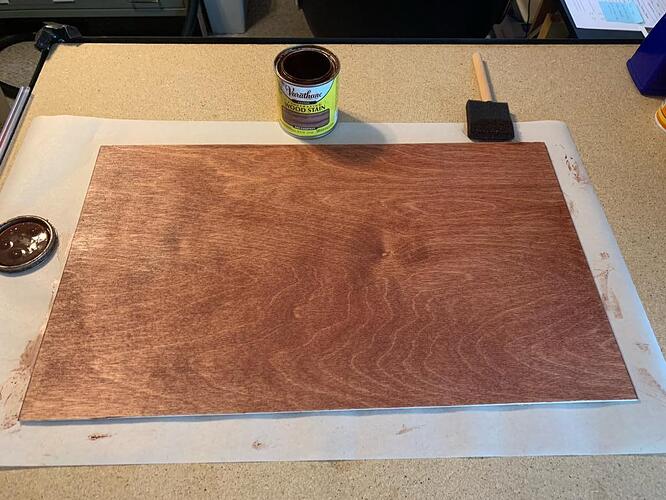
I then decided to lightly treat the wood with some Boiled Linseed Oil I had on-hand, as I’ve been told it can “bring out the grain” of the wood or something. This step is definitely optional. For me, it just seemed to give the wood a tiny bit of shine. It might not have been worth the 2-minute effort. Not sure.
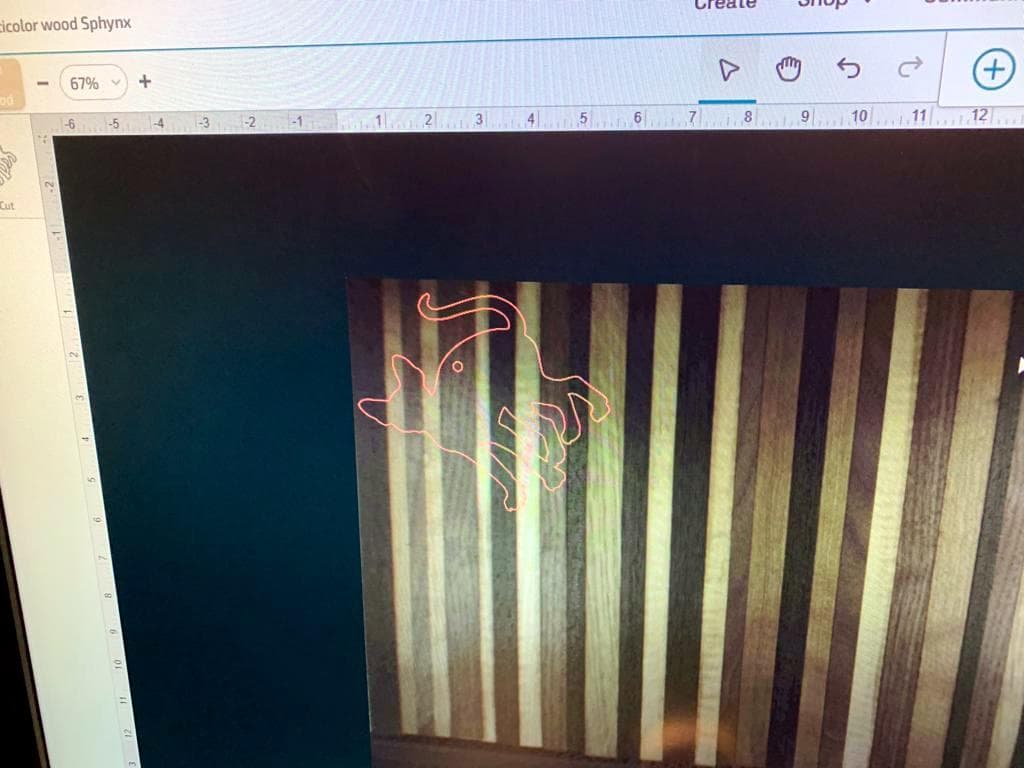
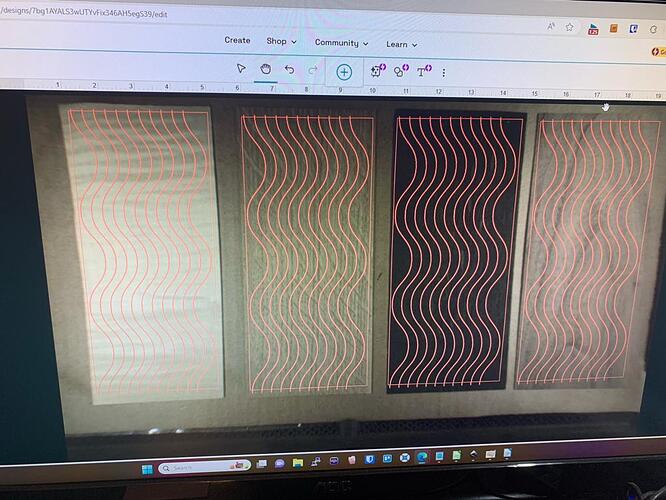
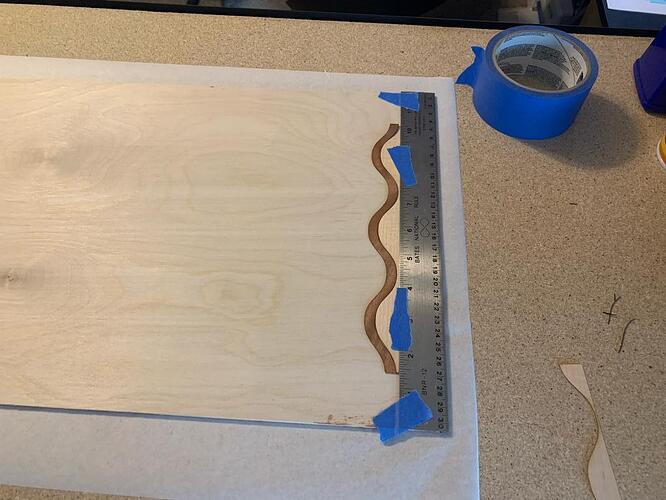
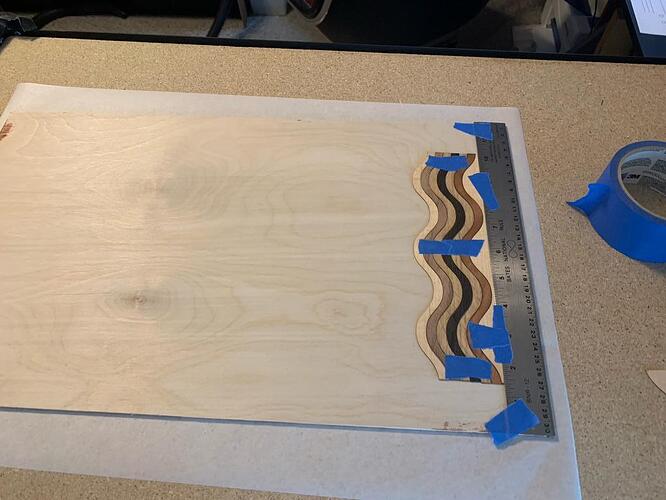
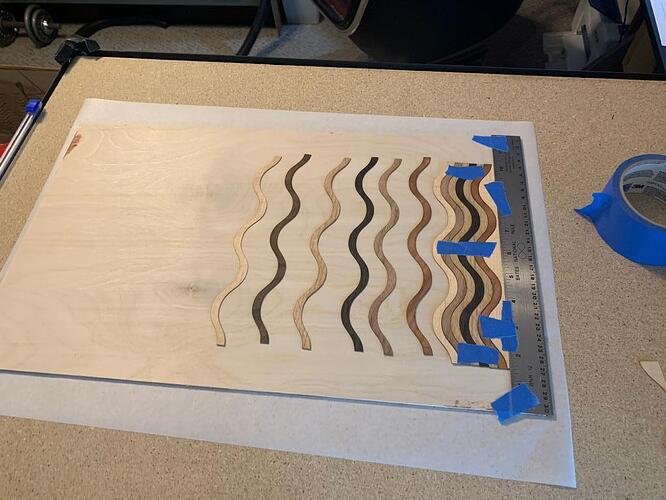
Now it’s time to cut! I angled the image so the end result would not have all the strips just be vertical.
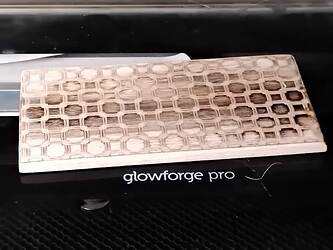
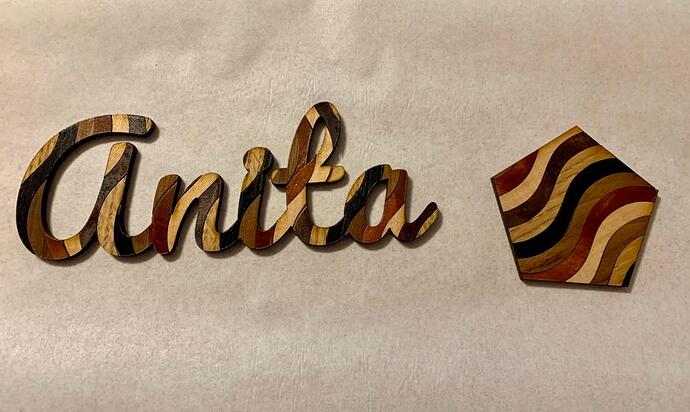
And here’s the first result of my little experiment.
This technique could be used for signs, ornaments, and all kinds of other things. And now I have a full board of it, so cutting my next “fancy plywood / simulated wood inlay” design will be a piece of cake.
Going forward…
I’m betting there are lots of other ways to improve/simplify my process, so let me know what you come up with!
Other things that I might try someday:
The veneer strips could possibly be cut and glued in different patterns (herringbone, zig zag, etc.) on the base to get interesting results.
Would colored construction paper strips work?
How about colored wool felt strips?
And who knows what else? Do you have any fun ideas to try?
Thanks, and let me know what you think of this technique!
