Electricity as the Dominant Force in the World

Before we begin:

Currency Image Use – Reproducing Color Illustrations of U.S. Currency

Federal law permits color illustrations of U.S. currency only under the following conditions:

  • the illustration is of a size less than three-fourths or more than one and one-half, in linear dimension, of each part of the item illustrated;

  • the illustration is one-sided; and

  • all negatives, plates, positives, digitized storage medium, graphic files, magnetic medium, optical storage devices and any other thing used in the making of the illustration that contain an image of the illustration or any part thereof are destroyed and/or deleted or erased after their final use.
    18 U.S.C. § 504(1), 31 CFR § 411.1.

Black and White Reproductions

Title 18, United States Code, Section 504 permits black and white reproductions of currency and other obligations, provided such reproductions meet the size requirement.

(Source: Home | Engraving & Printing)


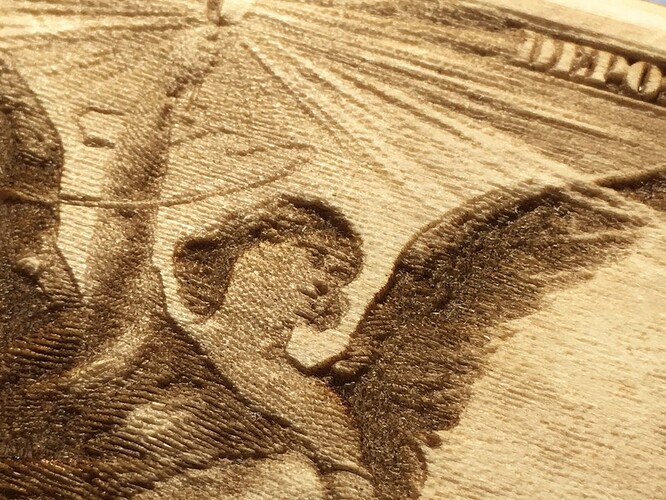
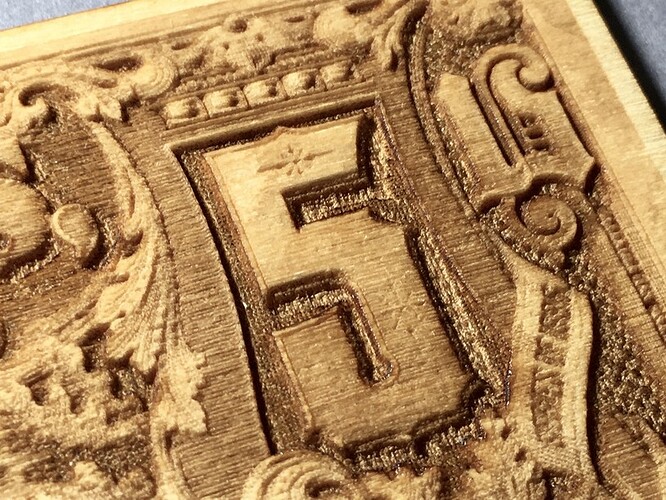
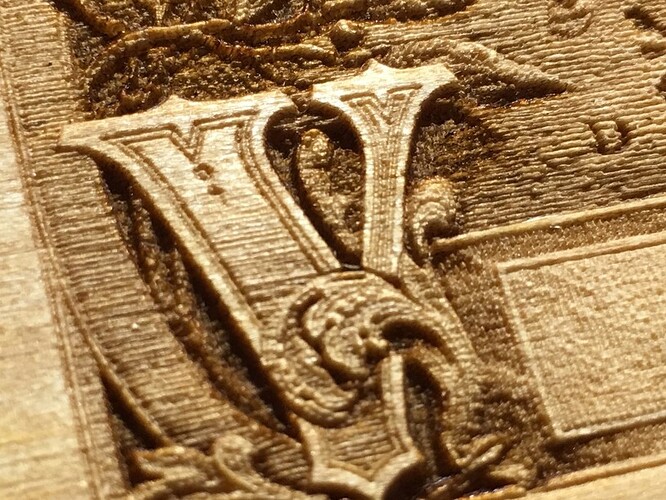
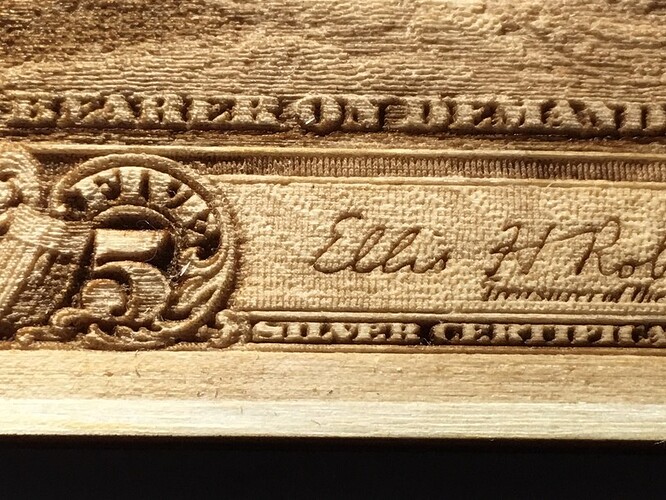
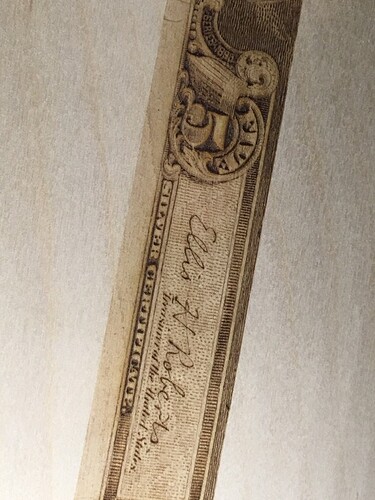
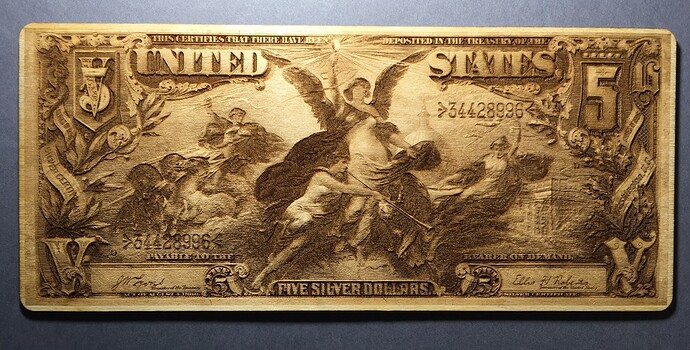
With that out of the way, I’ve always been a huge fan of the Educational Series of silver certificates from 1896, they’re all great, but this one is my favorite, if for just its title alone.

Electricity as the Dominant Force in the World

Details:

Want to do it yourself? Wiki has very high quality scans, go forage for your forge.
79 Likes

Nice! Money makes beautiful engraves. You might enjoy the American Silver Eagle coins as well. With a little bit of work, you can even get the coin ridges / reeding on the side in there.

4 Likes

Never thought to do money, but the art work is there! Beautiful engrave! :grinning:

1 Like

I love the engrave (and the title as well). Can you share some details on your settings? What material, LPI, power, speed, and engrave type (vary power, dot density, or patterns), for example.

1 Like

The ‘Millwork’. Texturing the edges of coins started way back when precious metals were used in currency. Prior to it, the merchant could ‘shave’ the edge of the coin, and it became pretty much standard practice and the weight (it’s value) was reduced significantly.
If the milling was gone, you’re getting ripped.

6 Likes

interesting that now it acts as a way to ID coins for the blind. I always thought it started from that!

2 Likes

I didn’t know that. Makes perfect sense.
I can’t imagine navigating a life in this world blind.

That’s incredible!

1 Like

This is beautiful!

1 Like

That is the origin of the term “chiseler” that one could make a large profit by removing (with a chisel) tiny bits off each of a great many coins. Today they use computers buying and reselling stocks ahead of each trade getting as much as one percent of the price, of each but billions over all. the result is very similar

6 Likes

Interesting analogy, and spot on.

Honestly, I wouldn’t follow my example here. The more I look at it, the less happy i am with my settings. I think I burned it a hair too hard, the shadows lost more detail than I wanted. I’m redoing it right now at same power but higher speed and at a larger size (17" wide by about 8" tall, or 43x20cm – it’s going to take 2 hours!).

My material choice isn’t ideal either, using baltic birch ply. Plywood is sketchy for engraves because if you go too deep you hit glue+internal layers, which changes the look of the darks. While I’m sure that this can be used for good, right now it’s firmly evil.

When I get serious about a final version of this, I’ll probably find a nice blank of maple or basswood to do it on. I’d say to use proofgrade stuff, but it’s masked, and I’d want to get a good look at the surface before trying it, a knot will impact the final piece in a big way.

Besides, I curved this piece so that there is no true white anywhere, I find that the transition from “barely engraved” to “not engraved” is too harsh, so I put my lightest whites at something just under 255. This means that the advantage of proofgrade being prefinished is negated, because I’m ablating the whole thing. (hint to GF, sell unfinished and or unmasked proofgrade at a discount!).

So, in the end, about the settings: nah :slight_smile: You don’t want any of this nonsense.

EDIT: I think it already looks much better, engraving dust and all:

15 Likes

Someone here had a fix for this. It was noticed that a bright light along the back showed voids or knots and you could mark the location on the masking so as to avoid it.
I have not done this yet, since I have no proofgrade (:proofgrade:), but I have examined some unmasked stuff I was pre-measuring for thickness and the concept sounds valid.
Wanted to provide the link but could not locate it, sorry.

1 Like

I actually found the Baltic Birch plywood had a better dynamic range than the Proofgrade stuff. I have a thread on my experiments with engrave settings here:

https://community.glowforge.com/t/an-engineers-perspective-on-photo-engrave-settings-for-wood/15042?source_topic_id=16035

Regardiing the masking: add a score on top of your cut line, then do a GFUI run with only the score enabled, then you can carefully peel off the masking (the score will have cut through it) without moving the material, then go back into GFUI and enable everything except the score before doing your final run.

This will allow you to remove the masking just over your piece. If you don’t mind the extra score line, you can alternatively do this just around your engraving area.

7 Likes

I believe you mean this:

https://community.glowforge.com/t/trick-for-inspecting-plywood/15168?source_topic_id=16035

Written by someone, as in by me :slight_smile:

And yeah that might help identify knot locations on proofgrade too.

2 Likes

I seriously thought that your print was either a replica die stamp, or the real thing. Stunning, my friend!

1 Like

The detail on that engrave is incredible!

1 Like

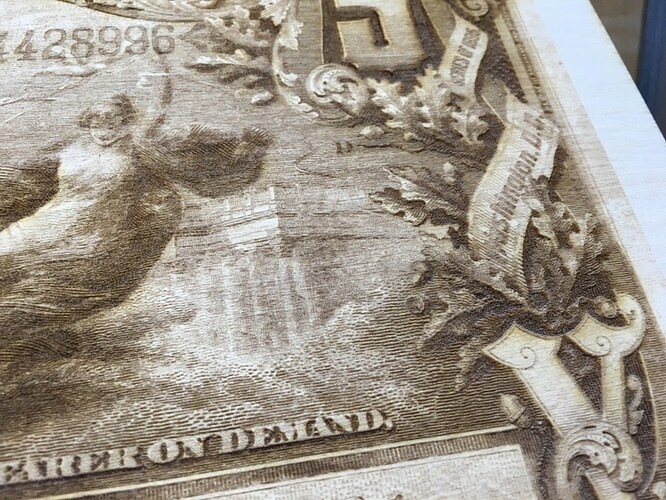
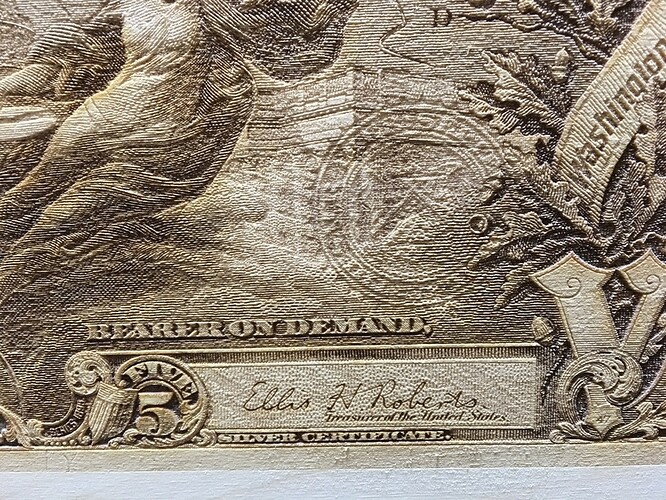
You aren’t kidding. When I did it at 17” wide, this gem became apparent—

The corner of the Capitol building:

But, if you turn it so the light catches it correctly you see the mint stamp:

That’s just nuts.

32 Likes

Holy cannoli! :open_mouth:

2 Likes

Gasp! Fainted…

2 Likes