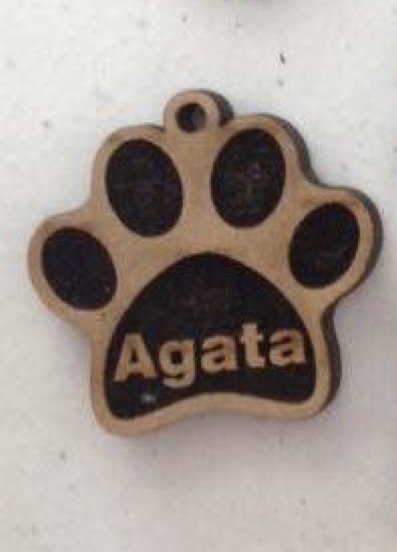
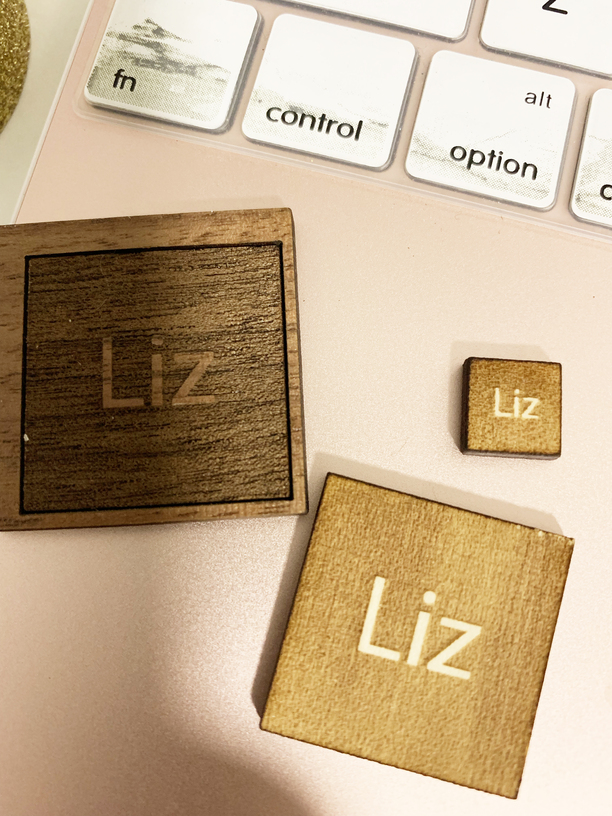
Does anyone know how to engrave like this? See how Agata looks like it has been engraved around and the name is the color of the wood.
Yes - you do it in your graphics program basically telling it not to engrave where the name is - what program do you use, I almost guarantee there are instructions on here 
Illustrator. I have been searching high and low and I think i am just missing it. DO you use illustrator?
I don’t - but the link you need is: Adobe Illustrator - Pathfinder Menu - Merging, Subtracting Objects, Trim, Difference, Outline
You’re subtracting the name from the paw shape
3 Likes
What design program are you using?
You will want to make a solid fill background and then take your text and do a boolean operation to punch out the text and make it part of the background object.
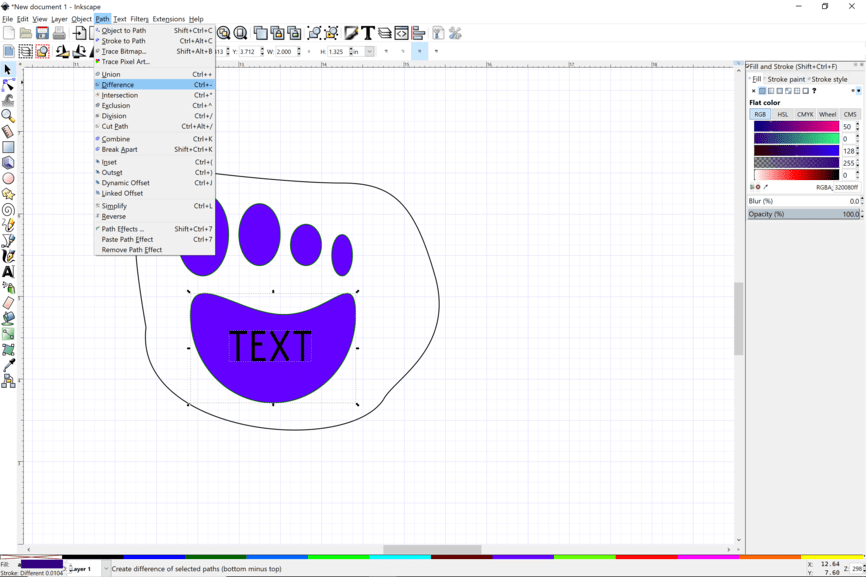
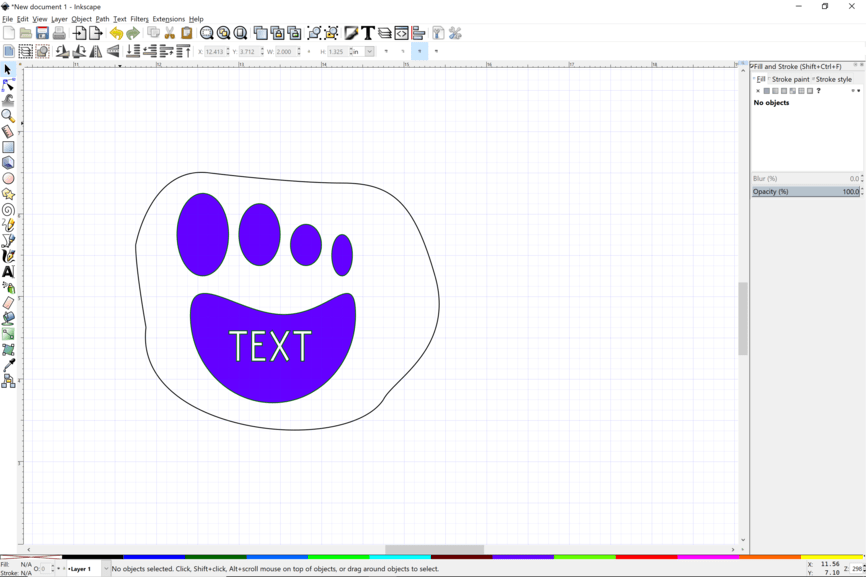
In Inkscape:
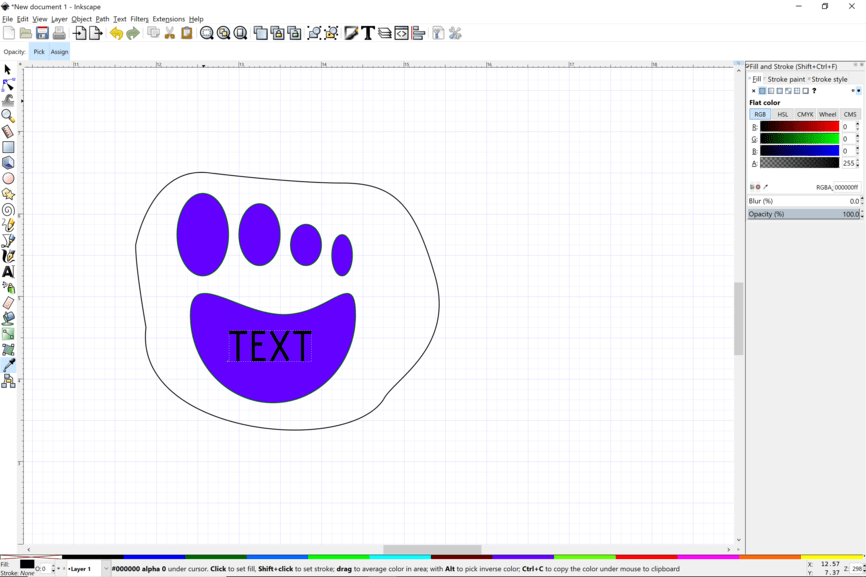
Make your text. Object to paths.
Ungroup.
Combine all the separate letter objects.
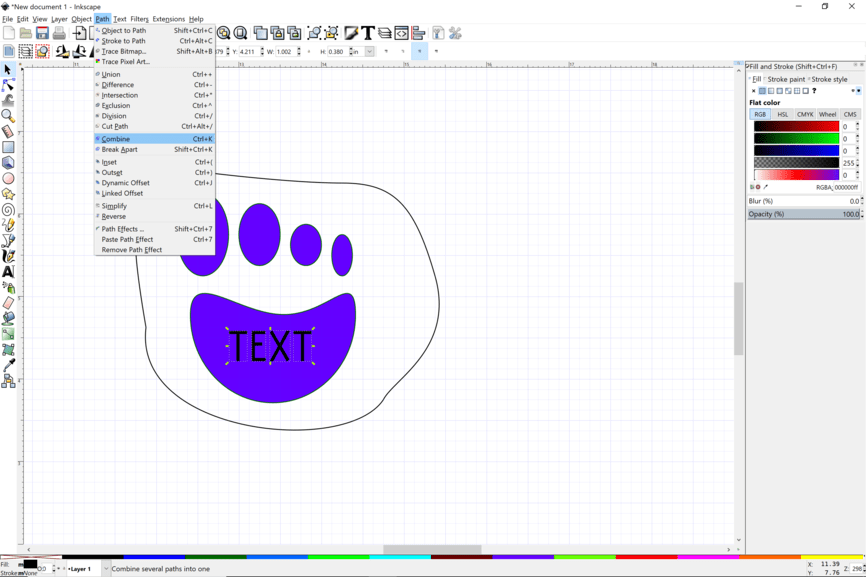
Then select that object and shift select the background.
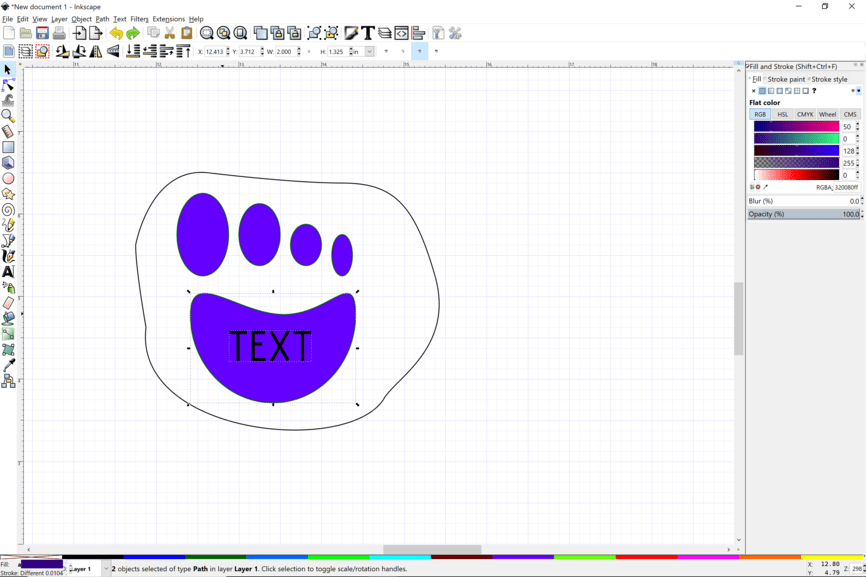
Then use the difference command.
Spend some time browsing the Tips and Tricks section of this forum. There are a bunch of wonderful how tos made by @Jules and many other forum members.
8 Likes
Oh wow, this is great. Thank you so much for creating this. I am using illustrator but this may help now that I know what it may be called and the process of it. I am going to play around in Illustrator and see if I can mirror this process. I really appreciate you.
2 Likes
Thank you so so much!!!
1 Like

Here is the file that you can look at and see how it is made. Right click on it and save where you can find it.
Learning the design vocabulary is a bit challenging when starting out. How do we call that? Some folks have called them “islands”. I often think of it in terms of punching out from the background.
This technique is important in making stamps.
Another way of doing it without having to mess with converting text and doing a difference operation is to save the design as a PNG/bitmap. Then import it back in with the vector cut file.
Funny, here is a topic that asks your question and uses a similar example!
This topic called it “raised text”
2 Likes
You’re my hero ![]()
2 Likes
You said Illustrator, so this pic shows you everything you need:
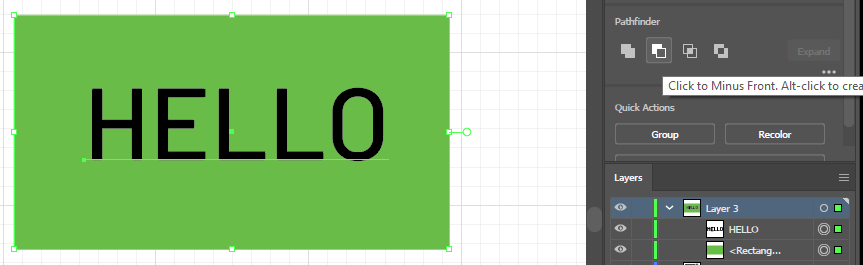
Put your text on top of the shape, convert the text to curves, select all, then use the “Click to Minus Front…” button
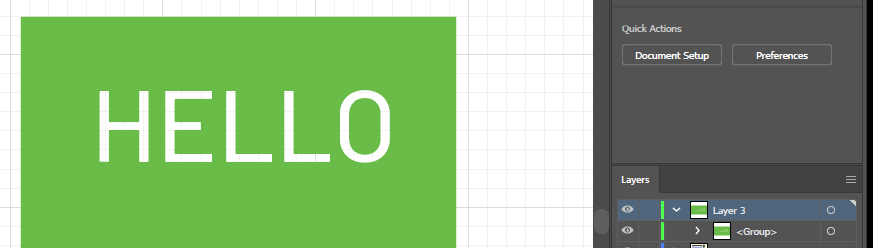
In the GFUI select engrave for the “green” in this pic and you’re there.
10 Likes
OMG THANNNNNKKK YOU SO MUCH! I just practiced it in illustrator and I am going to attempt it tomorrow after work. I will let you know how it turns out. THANK YOU THANK YOU THANK YOU!!!
5 Likes
I’m so glad your prints turned out, @HolaLola! Thanks for the help @marmak3261 and @hansepe, those tutorials are very helpful! I’m going to close this thread now. If you need help with anything else please feel free to start a new thread or email us at support@glowforge.com.
1 Like