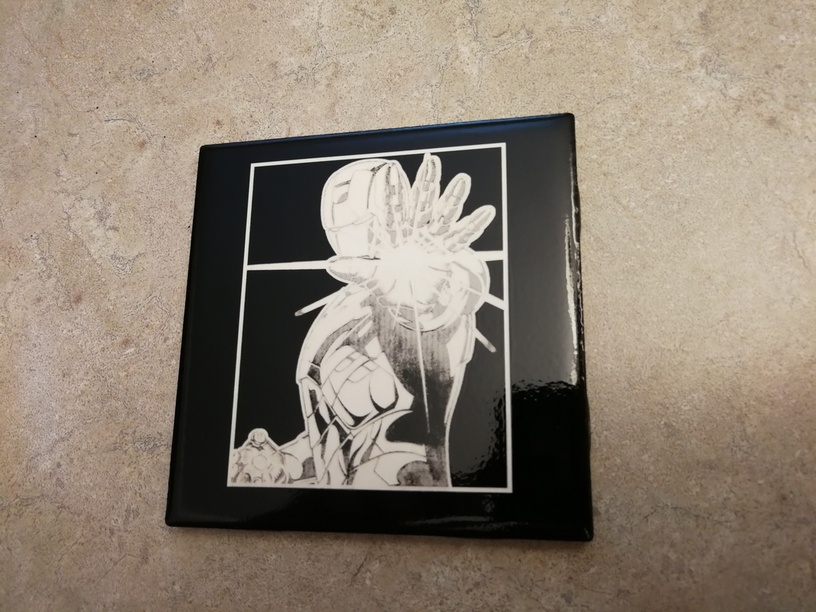
Hey guys thought I would share another cool tip. I decided to take the plunge on the clear white tiles you see everyone engraving on then using sharpie, but I decided to see how detailed of an image I could get on with less manual coloring (with Spray Paint). I will be making and tuning this trick and settings on my page fb.me/freshstartcustoms as they are made, feel free to follow there if you want to stay up to date with it, I don’t want to flood the forums with the same things over and over, just try to share some of my more successful projects and test on here.
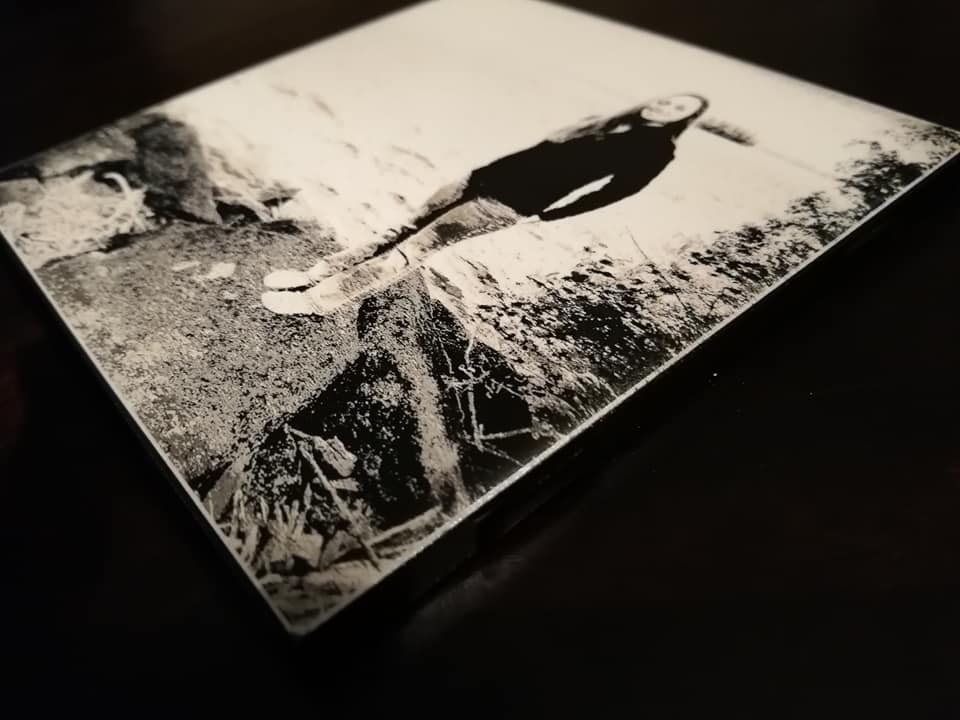
Step 1: I took laser safe black spray paint and sprayed the whole white tile black. Let it dry.
Step 2: Crop your image to size of tile then make your image as two toned as possible get rid of all shadows that you can and all grays as possible and make it completely black and white as possible.
what did the BW image look like? that may be more instructive to those who haven’t mastered the art of converting an image for engraving successfully yet.
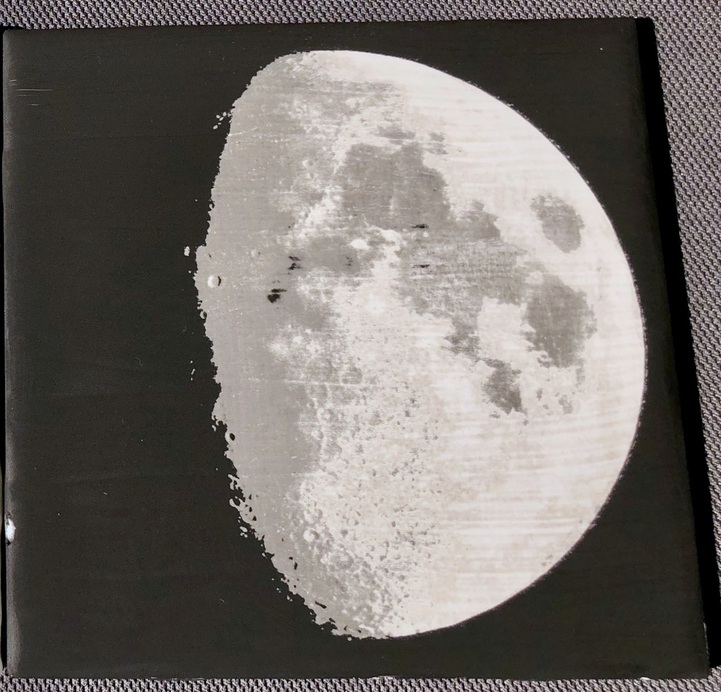
I used a similar technique when making a moon tile, only used black acrylic paint instead of a spray paint. This was a total hack with little fine tuning. You can see a hint of gray scale. I think if either of us were to really dial in the settings, we could get some really fine looking gradients! In theory, you might even be able to get some even more interesting gradients with multiple layers of different color paints? Maybe. Sounds a bit fiddly and luck of the draw.
Right now, I’m experimenting with different sealing techniques before I get back to more B&W imagery.
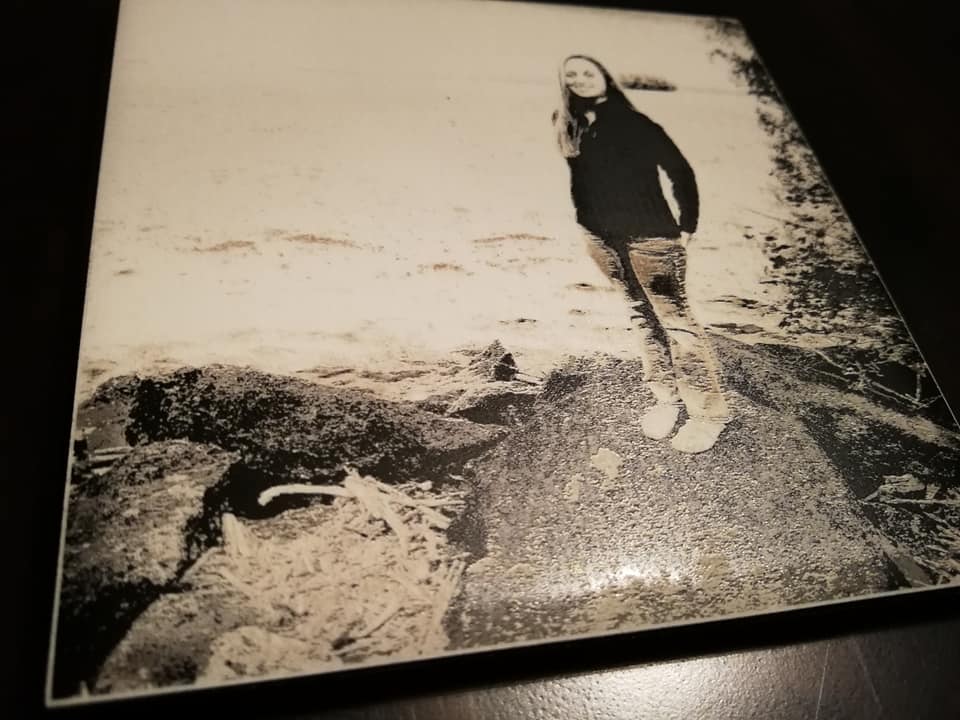
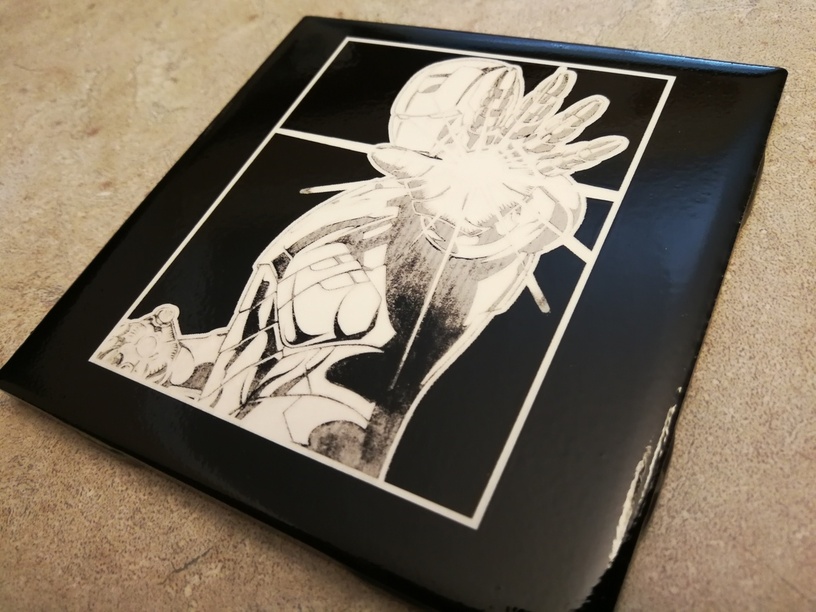
Etches it slightly, but if you check out my page I just posted another set, I spray it with a clear coat of shellac and that seals it and seems like it even shades a bit. Oh wait here you go…
Oh. My. Gosh. This is amazing! Now I’m glad I didn’t order any of those laser tiles that everbody’s been getting. No need! Can’t wait to try this. Thanks so much!