To everybody: you’re welcome to sell boxes made from these files, just don’t try to sell the files. The lids are kind of my specialty but I don’t own a copyright to them so it’s fine for you to make these boxes and sell them!
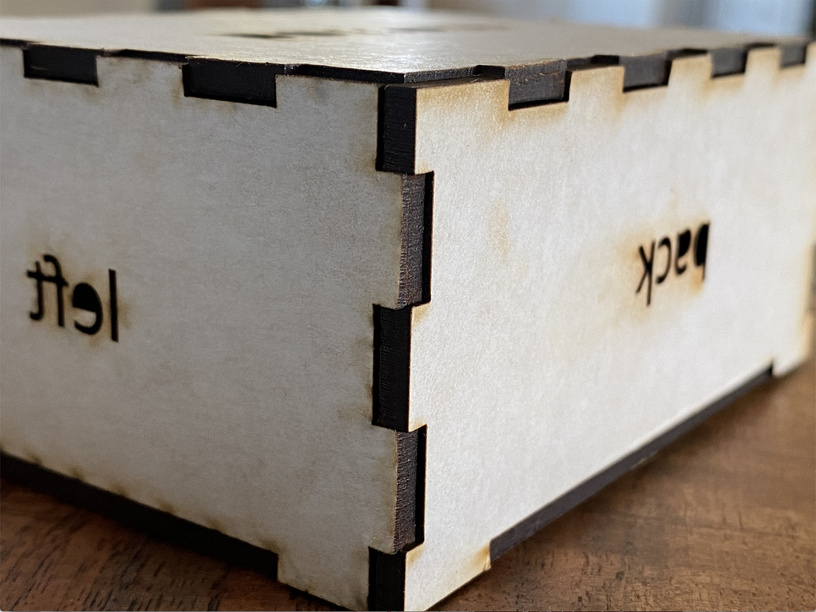
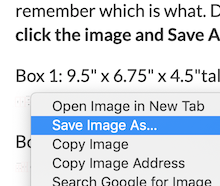
@amanda3 asked for some boxes, so here are some of the sitting lid. I’ll be adding the box top lids and eventually sliding lids when I have time. I hope these help out some other people. This style of sitting lid leaves the top very open for engravings without framing it with a bunch of fingers. The kerf is for a 1/8" thick wood and has a kerf of .007" so that it can be hammered together. They are situated in the best orientations to fit a 10.95" tall viewport for cutting but you can move them wherever you wish. To easily rotate the designs in the Glowforge UI, hold down your Shift key while rotating the image; this will make it rotate 45 degrees at a time. Either edit the files to get rid of the labels or just ignore them in the GFUI. Files have their measurements in them so that you can easily remember which is what. Dimensions are in inches for length, depth and height in that order. Right click the image and Save As SVG to download the files.
Thank you! Cute and super functional!
(and lots of ideas how I can use this–modifying dimensions & artwork, of course, for some of my goods… great help to those of us that are not great box makers yet!).
@LadyBawlsArt right click the image and go to Save As and make sure the File Type is SVG.
@bansai8creations hope you got it figured out! You’re welcome to make whatever you want out of these boxes and sell them, just don’t try to sell the file C: cause nobody can’t copyright a plain box haha.
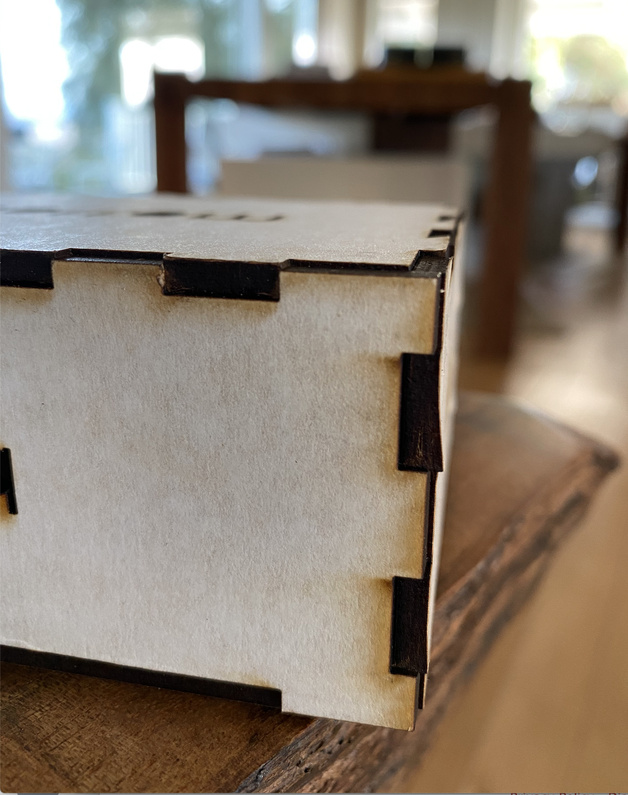
@crkjelstrom thank you so much for the files! I did a test print of the smallest one…do you have any tips for getting it assembled? I used a hammer and really banged it, but can’t get it together any better than this and was crushing and bending parts a bit in the process…but it is very snug without glue which is awesome! I don’t know why the GF printed the words, when I uploaded the file it said it was going to ignore the text, but it was just a test print so I’ll figure that out.
Also, can I use these same files to print on 1/4" birch plywood or are the settings ingrained in the file specifically for 1/8"?
@amanda3
You can adjust the kerf to be a little less if you need it, I’ve just found that .006" and .007" work the best. It takes a light hammering to make sure you don’t rip the plywood. If you tested it on Draftboard that will always crumble because it is so soft. Also, when you upload to the GFUI you need to change the settings to Ignore. The files can’t tell the GFUI to do anything: you have to do that yourself in the UI.
If you want them done in 1/4" wood that would have to be a different file. The fingers would need to be doubles in depth.
In addition, about kerf, it all depends on the actual measurements of your boards. Some are a little thicker or thinner than 1/8" and none are exactly that. If you had Adobe Illustrator, you could open the files and click one of the sections, then go to Object>Path>Offset Path. In there would change Offset by .001 to get the kerf to .006, or -.001 to get the kerf to .008.
Looking at how your fingers ended up, .007" might not be the right kerf for your board (it seems a little thicker than my current set of boards). That’s the biggest issue with boards; they aren’t always the exact same.
I used the “medium draftboard” that came with the GF as it was the only thing I had in 1/8" to do a test run of the file, but that is not what I will use for the boxes. I’ll see if my local hardware store has 1/8" plywood.
I do have AI, but I know how to use it about as well as I know how to use the GF!
Thank you for all your help and knowledge. I really appreciate it and feel more positive about my project.
If you ever want to chat about this, I’m open to Skype. Might make it easier to explain some AI stuff. Shoot me a PM too if you have any other questions.
Thank you!! Yeah, i was only getting the option to see the jpegs and there was nothing under the options…I am using Chrome Browser and usually this isnt an issue…but any way _THANK YOU for ziping and uploading!!!
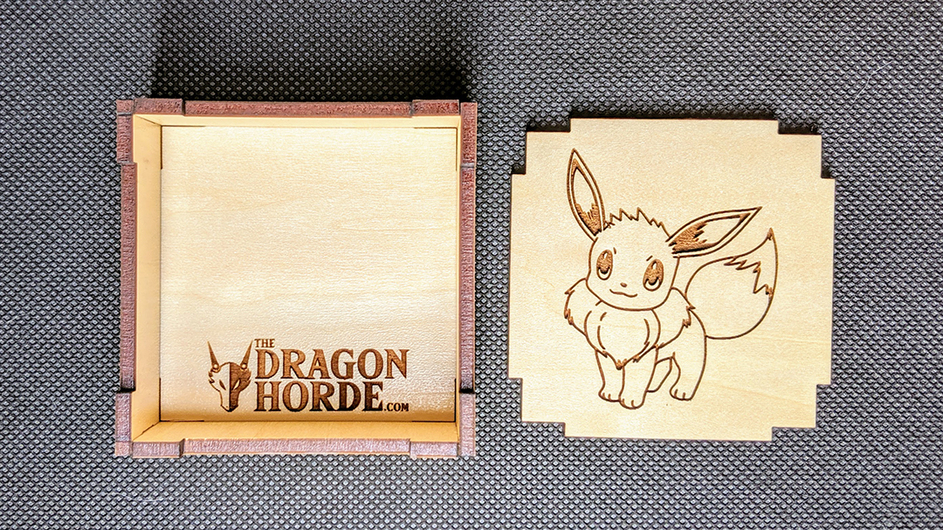
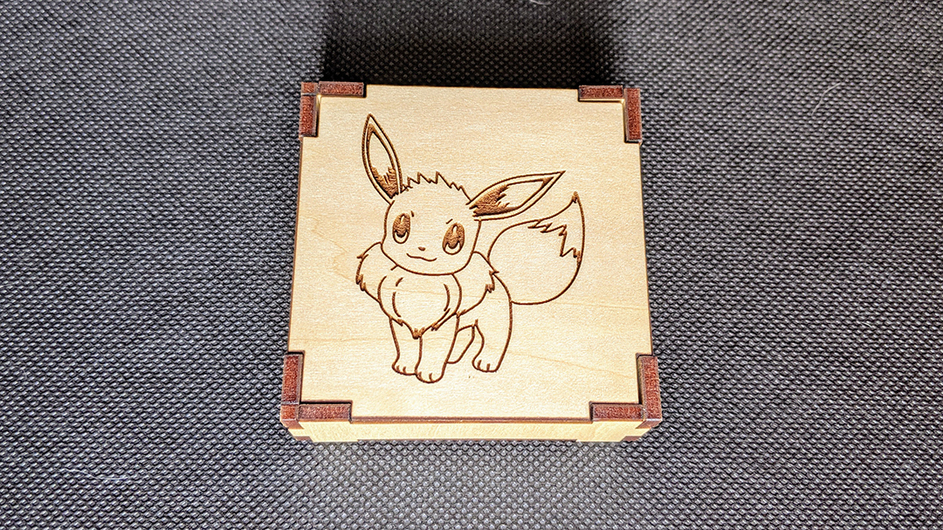
 ) assistant LOVES Eevie; I still owe her a 3D printed model.
 ).
).