Glowforge mis-cutting / cutting overlap

Do all cuts after the first failure fail? What I mean is if you are cutting 10 snowflakes and the 7th one fails, do the 8th, 9th & 10th fail too? That would point possibly to declining power output.

Or is it that all snowflakes in a specific area fail? If that’s the case, is it the same area each time or does that change? That might suggest either a materials density issue or focus problem if they’re all clustered together but in a different area each time. Same area for the cluster of fails might suggest hardware.

Or are both the order & the placement of the fails random? Sometimes upper left and then a middle one and then maybe the right side all with intervening ones that worked fine?

Well this is disappointing, although I didn’t expect the calibration to make a difference.

I have the same update, file worked fine for me as I posted above.

Support will have to dig in deeper.

This isn’t a failure to cut-thru issue, the cuts are randomly happening in the wrong place - on his machine, not mine (same file)…

Thought it might be a missing tooth.

But the cuts look okay, just shifted (the whole oval us moved vs just part of a line) which really does seem to be software related - the waveform coming back from the cloud is wrong.

I reran the same cut (this time a score) on a piece of medium draft board. The alignment was off, but it didn’t mess up the design. (Ignore the glowforge alignment marks).


Ugh… you’re saying it didn’t mess up on score, just when cutting? Because I didn’t cut, only score, so my test wasn’t worth much.

Score and cut are supposed to be identical in process, just different power.

1 Like

It really does seem to be random. I can detect any kind of discernible pattern. It’s like it forgets where it is, then finds it way back at the end.

Though it seems like there are more errors on the right side of the machine versus left side.

Yes, didn’t mess up on score. I tried another time with just scoring on paper, and it cut fine (see above). The same file gave me trouble when cutting.

I think my next test is going to score the board first, see what happens, then cut the board and see if it messes up.

Though on the teacher pencil things, the engraving messed up. That was even stranger because it was only the tip (haha) but the rest of the engraving was accurate.

A difference in path following between score and cut seems like a pretty major issue to me. They are supposed to be identical - and in my opinion, that rules out it being a mechanical issue with your machine.

Take a simple shape and use manual settings for a score, you’ll find you can set the same speed and power as cut.

In fact, if you want to try it, perhaps run your job using manual score settings that mirror your cut settings.

This was a score cut. Scored the snowflakes from left to right. Everything seemed to be doing fine until the last snowflake. Everything lines up but the last snowflake. On the last snowflake it sounded like it grunted and messed up the cut. I think it grunted when going to the extreme right (where the arrow is). The shapes in the red circles were scored after it grunted.


Same file as a cut last night. You noticed it messed up the cut differently, but in the top right.

I just re-scored the same file, didn’t touch anything. It scored and messed up in the same exact spots. It did sound like it grunted again (or didn’t run as smooth … maybe grinding noise??) when it tried to cut on the extreme right again.

I turned off the machine and gently ran the head from left to right. Here is the video. When I get to the extreme right (19 second mark) it seems to stick or rather I have to apply more pressure. It does not run as smooth.


Here is another shot of doing the same thing. Again runs smooth until about the 10 second mark.

I had a machine I had to return because it would get misaligned when printing on the rightmost 2-3 inches of the bed. I first noticed it in full bed-width designs like yours, which made it seem really random. But when I would do prints where nothing fell into that rightmost area, they’d come out fine. Turned out it was getting wonked up when it printed on the right, and then that affected the whole bed.

That is exactly what is happening to me. I have only been printing within the first 15 inches and everything is coming out fine. I’ll send some pictures later.

You can really feel it when you move the gantry like I posted in the videos above. It feels like it gets tight moving left all the way to right. However if you move it back and forth within the rightmost 2/3, it moves fine.

I have a hypothesis I am going to test later. I am going to print four rows separately. The first will be left to right. The second will be within 15 inches. The third will be within 15 and 20 inches. The last will be another left to right print. My prediction is 1st and 4th will be messed up and 2nd and 3rd will be fine.

1 Like

Here are some of my latest cuts. This cut perfectly. The mess up in the middle was user error. This was within the fist 15 inches.


This was my first test. As predicted, the first row messed up. Started out fine until the extreme right. I canceled it at the end.


This was my second test. As predicted, it cut fine, though alignment is off.


This was my third test. The first cut fine, but on the extreme right it got wonky


This was my fourth test. This cut fine which was a surprise. Alignment still off.


Is there a fix for this? Does something need to be WD40’d? Or cleaned. I don’t see anything in the belts or rails, etc. Other suggestions?

1 Like

Mine was under warranty, so they had me return it. Could be a different scenario if your warranty is up. It will be interesting to see what they have to say.

Just FWIW, since your first test was off, the alignment is going to be off until you reboot the machine - and that also increases the odds of it trying to extend beyond its boundaries (even though it seems to be doing that anyways).

Long thread and all that. Have you checked the belt tensions?

Can you turn off the Glowforge, turn it back on, and then take a picture of where the head parks itself from an angle where we can see it fairly well (kind of a top down)?

1 Like

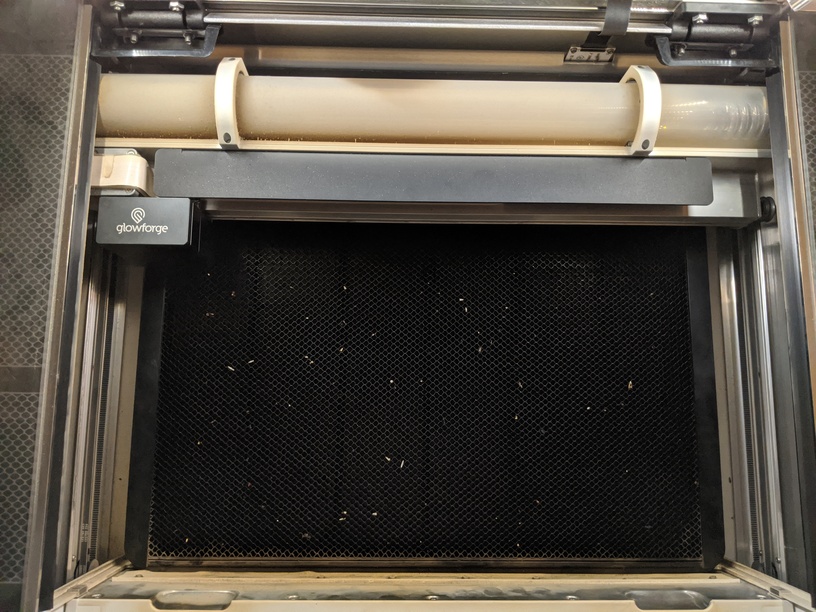
Here is where the head parks itself:

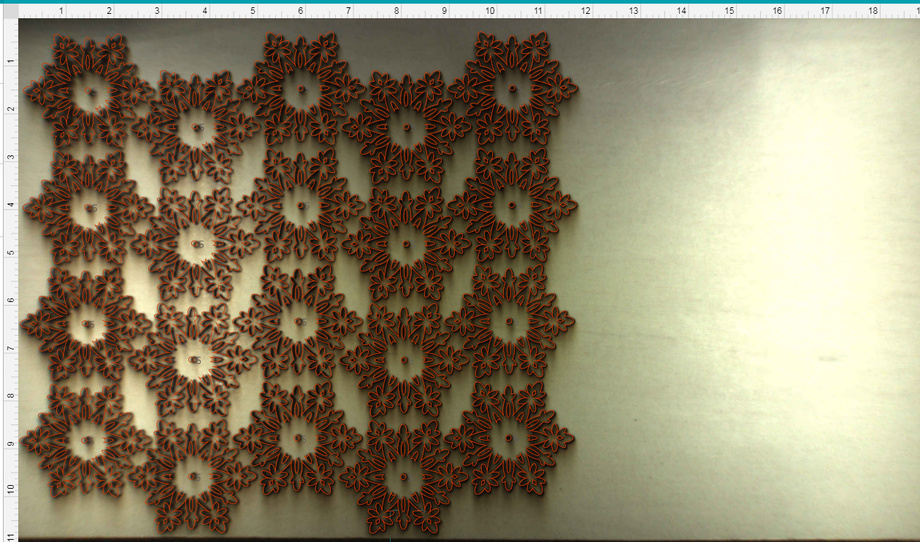
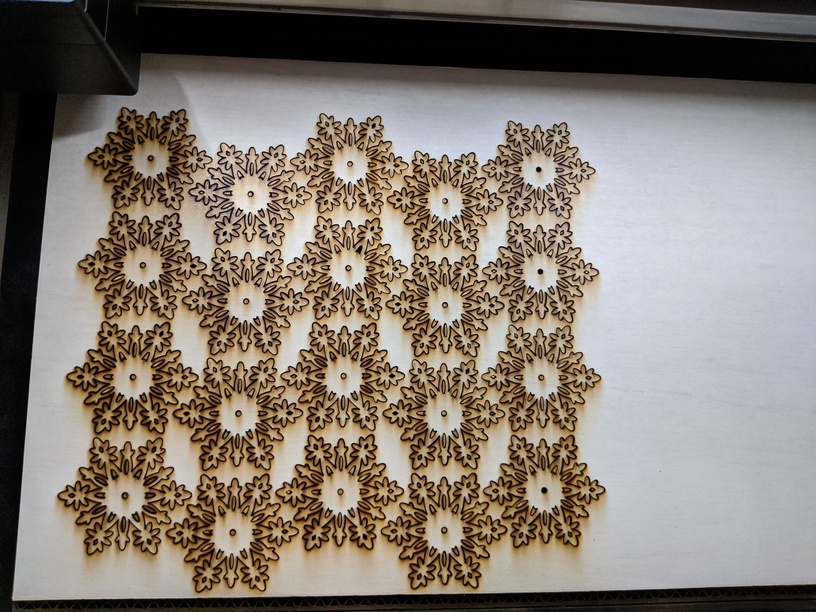
Here is another cut today. This is only within the first 12 inches and everything is as it should. Perfect cuts, perfect alignment.


I think I might check the tensions of the belts and also maybe try removing the laser carriage plate as discussed here banding-resolution-lines-not-matching-up. Seems people experiencing similar issues resolved by tightening the belts. Though if the head is “sticky” towards the right I would think the belt would be too tight, not too loose. If so, that would be strange for a belt to tighten overtime instead of loosening.

I doubt this has anything to do with my issues, but I saw in another post and they didn’t have the tape on. Should the tape be removed? Are they just dimming the lights on the side of the camera? When unboxing the Glowforge it did not mention anything about the tape.

Those are lights. They used to be used during calibration. Not sure they are even used now, I haven’t noticed. Either way, the tape is not supposed to be there.

2 Likes

That tape is definitely odd!

Also - looking at your photos it looks like there’s a lot of residue buildup on your tube and front edge of the crumb tray. When was the last time you deep cleaned your GF?
A similar amount of buildup on the belts and rails might be causing your shifts.

I apologize for the delay in response! I wanted to make sure that we reviewed all of this amazing information you provided, as well as the videos you recorded and posted to the forums.

After extracting the logs from your Glowforge to review the prints you experienced trouble with, and taking a look at the images of the results you provided, you’ll need to replace the Pulley Assembly on the right side, underneath the Laser Arm.

You referenced this snag in the video you provided, right at the 10 second mark. You can see your Printer Head adjust incorrectly to the right, due to the pulley assembly slipping on the right side. In combination with this video, the images you provided, and all of your great tests, we were able to narrow the trouble down to this.

I’ll reach out directly via email to work on the next steps for the replacement pulley assembly. I’ll now close this thread.