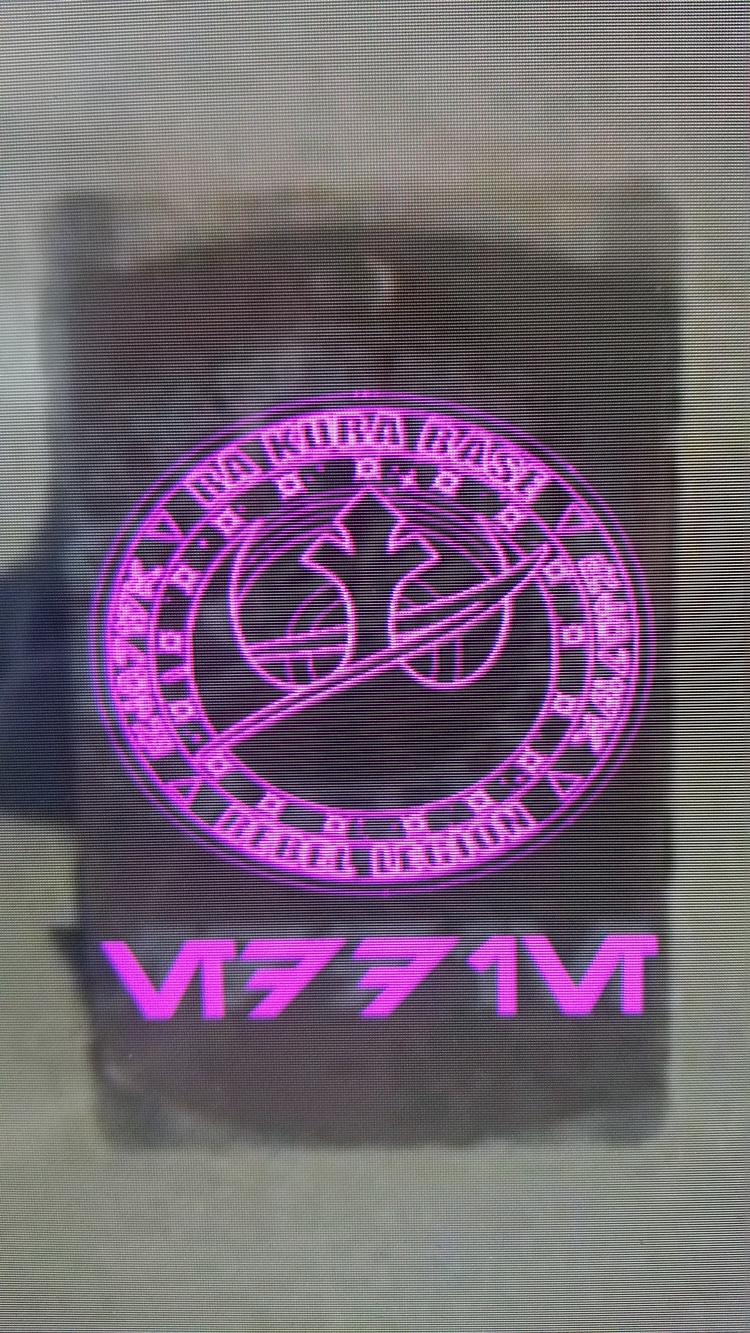
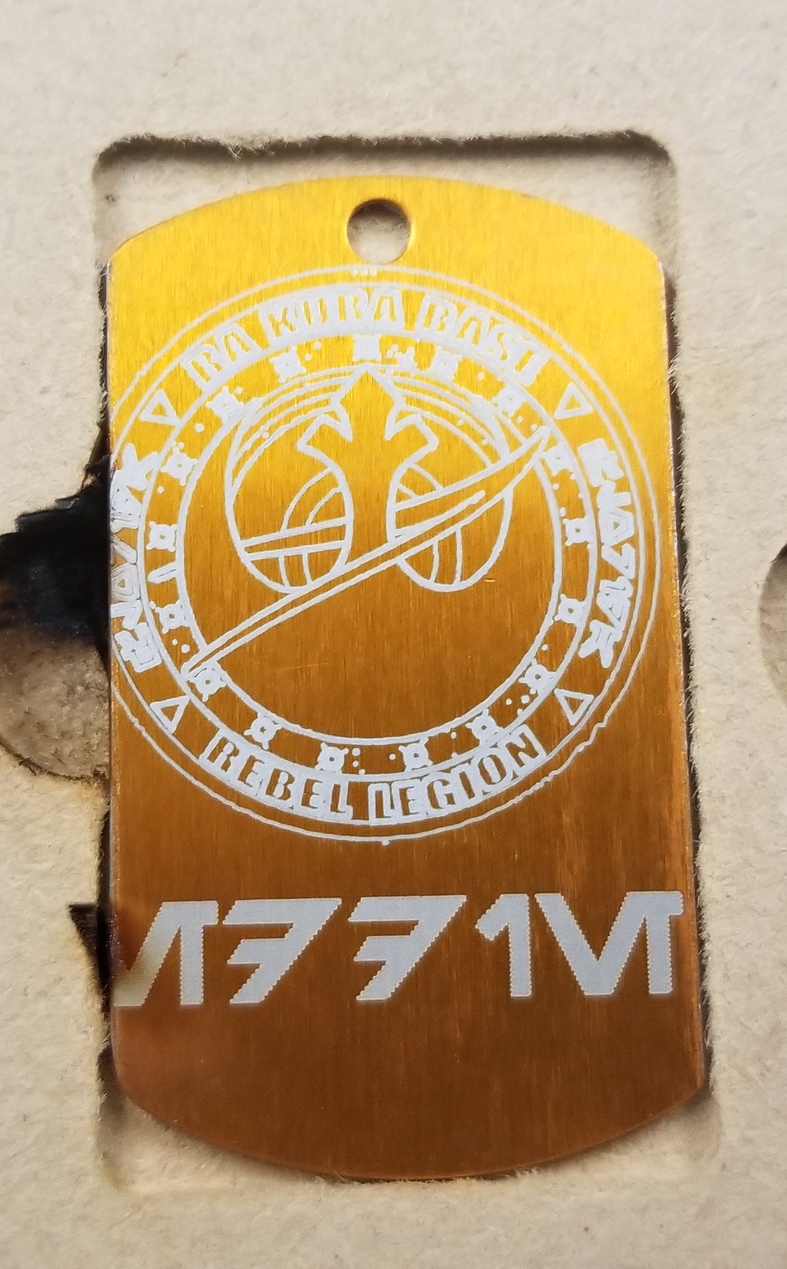
So tried to etch a dog tag. See attached pictures. This was placed almost directly under the camera.

Hard to say without knowing exactly how you’re going forward with it all. Ideally, one would set up their jig and artwork in one SVG file. Cut the jig, keep everything in place, and then run the artwork.
1 Like
rule number 1 of the glowforge.
to get perfect alignment on items every time you must cut your jig and run your engrave file from the same file every time.
so step 1) cut holes for tags, step 2) place tags in those holes, turn off cut, run engrave.
2 Likes
So if I purchased a jig how would I go about setting it up?
You make your jig that would look just like that holder for the dog tags. Cardboard is easy to use and works most of the time.
Make a file with the vector shape of the dog tags as one color to cut out the slot for the tag. In the same file position the graphic as you want it to appear on the dog tag.
Using separate prints for two operations, cut out the shape of the dog tags and remove the center. Make sure the thickness of the material of the jig is is used for this operation.
Then place the dog tags in the slot. Then do a separate print for the dog tags without moving the design in the GFUI nor the jig. Make sure that operation has the thickness of the dog tag for the operation.
6 Likes
@marmak3261 pretty much summed it up.
Here are some good links to look at.
We are all here to help if you have more questions.
5 Likes
While my fellow travelers are most likely correct about the optimum use of jigs, your photos make me think that your height measurement is off. The image doesn’t look shifted (look at the right side of the bottom lettering in GFUI and engraving). It look scaled larger to me. The right edge stayed on and the left went , leftward.
6 Likes
Your scaling appears to be off. I see you have this in a jig. I would suggest taking you jig svg and adding a layer of what you intend to tech. Now you can get your scaling corrected on the desired print.
Hide the jig layer and save the svg. Align your print to your jig. I personally have all my jig zeros to the top left or bottom left of my glowforge. You can place a sheet of draftboard aligning it to the bottom of your tray. Now you can cut out the tech area of the glowforge. Now you have a point of reference to place items in your glowforge. I use the SVG file that make the cutout as a base layer in all my designs. This has greatly increase productivity.
2 Likes
When I jig up aluminum blanks I do the first pass on a scrap piece of material held down with strong magnets so it cant move, and score an outline of the blank. I then place the blanks over the outlines and hold them in place with double sided tape.
The Glowforge does not have an absolute 0,0 home, so most jigs and fixtures that would otherwise work in lesser lasers are useless.
1 Like
You can make a jig for you glowforge to get you an almost perfect 0,0. I have been doing it a while.
How?
In your GlowForge:
Take a sheet of draftboard. Place it in your machine. Align it to the bottom of you tray. Now make sure you tray is snug to the top left.
On your computer:
Open Inkscape. Create a rectangle that is the size of your etch area. Cut it out. Now you have a 0,0 point for Inkscape in the bottom left, if you use an SVG file template based of this cut out. Else you have a 0,0 in the top left for you general glowforge uploads.
1 Like
Thanks for reaching out.
The software on your Glowforge is responsible for ensuring that the print lands on the material in the same place as the preview. When you’re done with a print, let a new image load. If the print appears on screen far from where it was supposed to go, you may have an alignment problem.
Most alignment problems come from the material being closer or farther from the camera than expected. While the software is still improving, you can take these steps for the most accurate alignment results:
- If you don’t use Proofgrade materials, use a precision set of calipers to measure your material, and enter the thickness in the “uncertified materials” dialog.
- Use material that is not warped or tilted.
- Clean the area underneath your crumb tray, particularly the four indentations on the floor.
- Reboot the machine. Alignment can drift over time, particularly if you bump the head of your Glowforge while removing material.
This print shows that your Glowforge is performing within the range of accuracy that we expect right now. As we make improvements to the software, I expect you to see further improvements to your alignment.
I’m going to move this topic to Beyond the Manual so other folks here can continue to help. If your alignment error worsens or if you have other questions, please post a new topic in Problems and Support and we’ll help you right away!