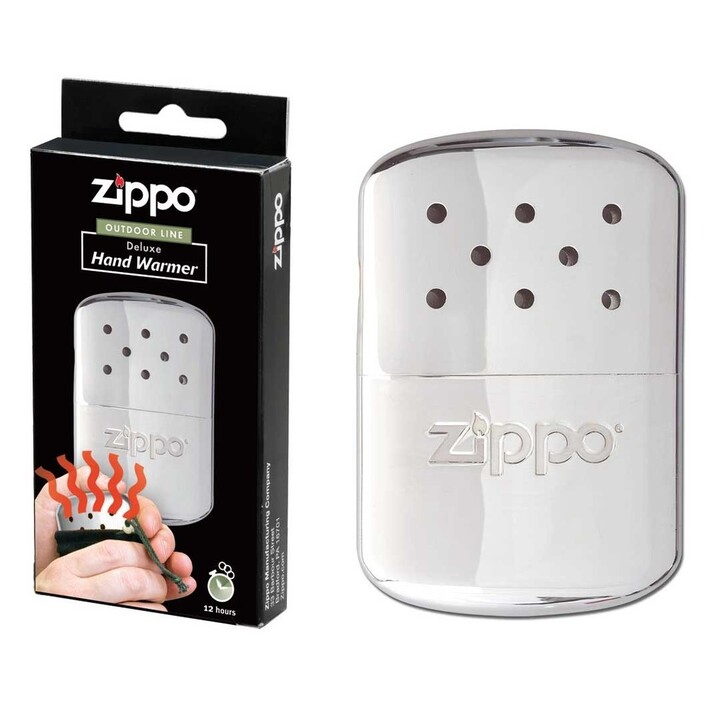
I’m waiting for delivery and I am planning my projects. One of the projects is a bunch of Zippo hand warmers that I am bringing to a camping trip a bunch of my buddies and I take every winter. They look just like metal Zippo lighters. I would love to engrave them.
I am assuming I cannot just put them on the bed and drag my artwork over them due to the inaccurate placement I am reading about. Do I need to make some sort of jig? I can see creating the outline of the hand warmers and cutting them out first then dragging the artwork over them.
So how bad is it? Does it make using the camera to align cuts useless? If I have a sheet of PG with lots of cuts taken out of it, and I want to cut something in a tight space remaining, can I realistically do this by scanning the board and dragging my artwork to the place on the board I want it cut, seeing as there is little room for error?
Not bad at all – but I have found the best way to do something like this (coaster, pieces of slate, pre-cut circular wood discs) is to create an art file that has the artwork I want inside a cut-line the exact shape of the object – in this case your lighter. Then I turn off the engrave and just cut it out of a piece of cardboard or draft board. This creates a jig that you can then lay the lighter in – then turnoff the cut line and turn on the engrave with the proper measurements, speed, power, LPI etc.
@rand has it as far as the jig goes. Personal experience is that the most important thing for accurate placing is accurate thickness information. 95% of the time, I don’t even bother trying to make a jig. The other 5% of the time, it’s the cut cardboard, then engrave item. Just make sure you do not allow the jig to move while using it.
I do something kinda similar, but I just use a paper jig instead. I place a piece of paper on the tray and put the material on top. I put magnets around the paper to hold it down and I use a pen to trace around my material. I then line up my artwork. If I have an outer cut line, I set it to score and go full speed and power of 1. (If I don’t have an outer cut line to use, I just add a line to the artwork and later set it to ignore for the final cut.) I then remove the material and run just the score line and place my material accordingly. (FWIW, I haven’t had to adjust my material placement as my alignment is OK.)
Ive found it accurate enought for using small bits of proofgrade and such. Even accurate enough for doing my logo on the back of coasters without a jig (because slightly off center on those doesnt bug me). I even used it straight on to some christmas presents where I was engraving leather. But those hand warmers are taller than 1/2 which means taking the tray out and adds a large amount of measuring error to get the right height which means more error in placement. I wouldnt do anything where I was fussy about placement with the tray out using just the camera placement.
The inaccuracy is based on distance from the camera. So if you center an object directly under the camera, when you center an engrave on the object it ends up lasering quite accurately, because there’s minimal optical distortion.
If precision really matters (or you’re cranking out multiples) I’d use a jig. I do @rand described - put (for example) a dozen copies of a design, with a cut and an engrave, on a 20x12 artboard in Illustrator, load into GFUI, load a sheet of cardboard with some magnets to hold it in place, cut (but not engrave), pull the cutouts up with some tape, drop in the real objects, and run the engraves (but not cuts). It’s a bit of clicking turning things on and off, but once you get going, you can blast out tons of copies very quickly - just remove the engraved ones, drop in new ones, and run the engrave.
One caveat - don’t close the browser or reload the tab - GFUI goes back to default position and forgets settings.
You can fix that position thing by setting the x and y of your art to be in the right place to begin with. Glowforge UI will place it in the same spot each time you load it. Settings, you might be able to use the bookmarklet that was recently posted, though I haven’t tried it yet.
Good point - if you move material to suit the position in GFUI, rather than moving in GFUI to fit the material! And that makes perfect sense for cranking out lots of copies of something.
Mine is off 1 arrow movement click to the left and 2 arrow movement clicks up if I’m in the center. So for super accurate placement I just place it visually and then click once right and twice down.
I figured that out by drawing a + in the middle of a piece under the camera and then overlaying a crosshair design over it and then scoring it with a low power/high speed setting. Then I simply adjusted the position and re-ran it. I wasn’t far off the first time so I was able to hit it spot on with the first adjustment.
You realize that you won’t be able to engrave those on the Glowforge? They are either polished or chrome plated steel and the laser won’t touch it. You will also run the risk of damaging the laser from the reflection.
You may be able to mark them with Cermark or another method, but direct engraving will not work with this material.
You may not need a jig. Obviously you have no worries with a jig, but you may find the preview in the GFUI to be satisfactory. Once you have your unit up and printing, test placement with some scrap. I can usually do it in mine. An accurate thickness measurement of the hand warmer is critical.
As ben1 mentioned, I’ve read that chrome, like copper, is an IR reflector. That said, there are plenty of shiny finishes that aren’t actually chrome. Perhaps the Zippo website has more info.
My bed depth is 1.4" and I have never had a problem shimming up thick items into the focus range (did a 0.7" cutting board just yesterday). I personally have never seen a difference in placement accuracy between objects on the crumb tray and those correctly shimmed and measured. YMMV, obviously.
I know they make colored ones. Might be able to vaporize the color coating. But, yeah, definitely won’t be able to directly engrave the chrome version. Cermark would definitely be the only answer there.
Because you have to measure from the tray to the floor, then the lip of the tray, then your stack of stuff to get the item in range you introduce a lot of measuring error. And since the placement accuracy rests on that number I find that my camera placement suffers significantly compared to when I’m using the tray.
Why glowforge don’t include the tray height with each glowforge I have no idea; it would save a bunch of fiddly measuring and they must measure it to set the glowforge during testing.
I’d imagine you can get pretty dang close by saying “crumb trays are xx height”. But if you want it down to the 8-10 thousandths range, you’ll probably have to bust out come calipers.