Inkscape 0.92
I’m also now seeing “Snapmarks do not match” when I switched to Chrome to test the same file there. I used .25 for the thickness, both when I made the jig, and when I tried the next step to engrave the pencils.
Inkscape 0.92
I’m also now seeing “Snapmarks do not match” when I switched to Chrome to test the same file there. I used .25 for the thickness, both when I made the jig, and when I tried the next step to engrave the pencils.
I’ve seen resizing issues between Illustrator and Inkscape after installing Inkscape version 0.92 that I wasn’t seeing before. So it might be something to look into.
If you can, measure the distance between the Snapmarks in the file in Inkscape, then measure the distance between the printed marks with a calipers. I’d be interested to know if those numbers are different. (And if they are, that’s probably what’s going on. I’d test it…but still raining here.)
@bonny…and anyone else (@julybighouse) who is having issues with AD (version 1.6.1) and Snapmarks. With some guidance from Jules, I just got this to work. I made a jig using a file she sent to me…which worked, so the job was to find out why my own file hadn’t worked. Turns out when I copied the actual Snapmarks (GF logos) they got sized down, so they were much smaller than they should have been. I took note of the physical size of the Snapmarks in Jules’ file and resized the ones in mine to match. Bingo! AD had apparently reduced the .332"x .405" marks to .249" x .304".
Don’t know why or how it happened, but now I know and can adjust accordingly.
but… I’m using the same file. It isn’t going back to inkscape and then to the jig. I thought the distance between the snapmarks didn’t matter (i.e. must be 4 inches apart EXACTLY for snapmarks to work), I thought the distance and orientation needed to be the same from the file to the jig.
So I load the file into GFUI and laser it onto the hardboard to make the jig. I take the cutouts out, and put in the pencils and ignore the cuts and snapmark scores and now the engraves won’t work.
I’ll check the size of the snapmarks. THAT might be the part I’m missing…
It’s almost certainly because the SVG is sized in pixels rather than real units. Then if your DPI settings don’t match then it’ll end up resized.
While SVG supports real units (inches, millimeters, etc), it seems that most design software doesn’t use them. For this reason I tend to use PDF for most things now.
Yep. Inkscape resized the snapmarks themselves. I’ve resized and now I’m attempting the jig again.
Surprisingly, I think I understand what you just said. 
 It makes sense…especially the part about the DPI. Because yes, I open the SVG and it’s in pixels, so I change it to inches, but never thought to compare the dpi. I appreciate your input! Thank you.
no dice, still not finding the snapmarks.
unlike @xabbess, I’m not getting the dpi thing as clearly. What DPI should I make sure Inkscape is using? I’m assuming it is the Scale option in the Document Properties with Inkscape. Mine just says 96 user units per inch.
I didn’t really ‘like’ this post. 
 Pleeeeeease! Let me have a go at the snapmark! My daughter bday is in october! Need a lot done! Lol thanks in advance!
That is the exact ratio difference between 96 DPI and 72 DPI.
So everything you copied in should be scaled that way.
EDIT:
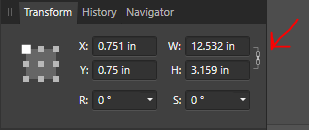
I did a test. I brought the template file into the latest AD and it imported at 72 DPI instead of 96. I just selected everything and made sure that W and H were linked and multiplied by 1.3333333.
Everything fine now. I guess just something to be aware of.
I get this in concept…especially about the difference in dpi, but I don’t know what you mean by linked. Thanks for this information.
edit; I just tried it out…new document at 72dpi, copied/pasted Snapmarks = perfect! ![]()
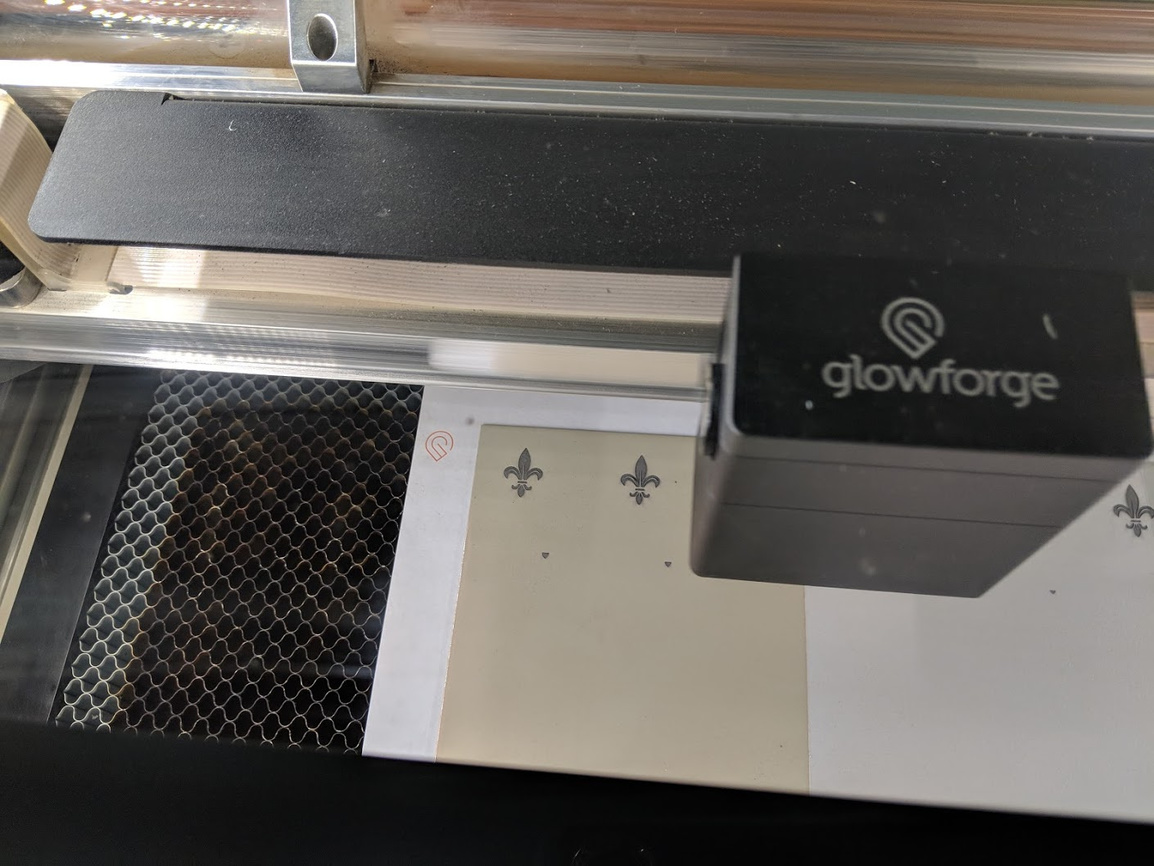
Here is a little test from today. I didn’t want to try align everything by eye so Snapmarks to the rescue.
I started with creating a pattern to try no a plate painted by one of my friends. A custom Fleur-de-lis, 10 rows varying from 100 power to 10 power.
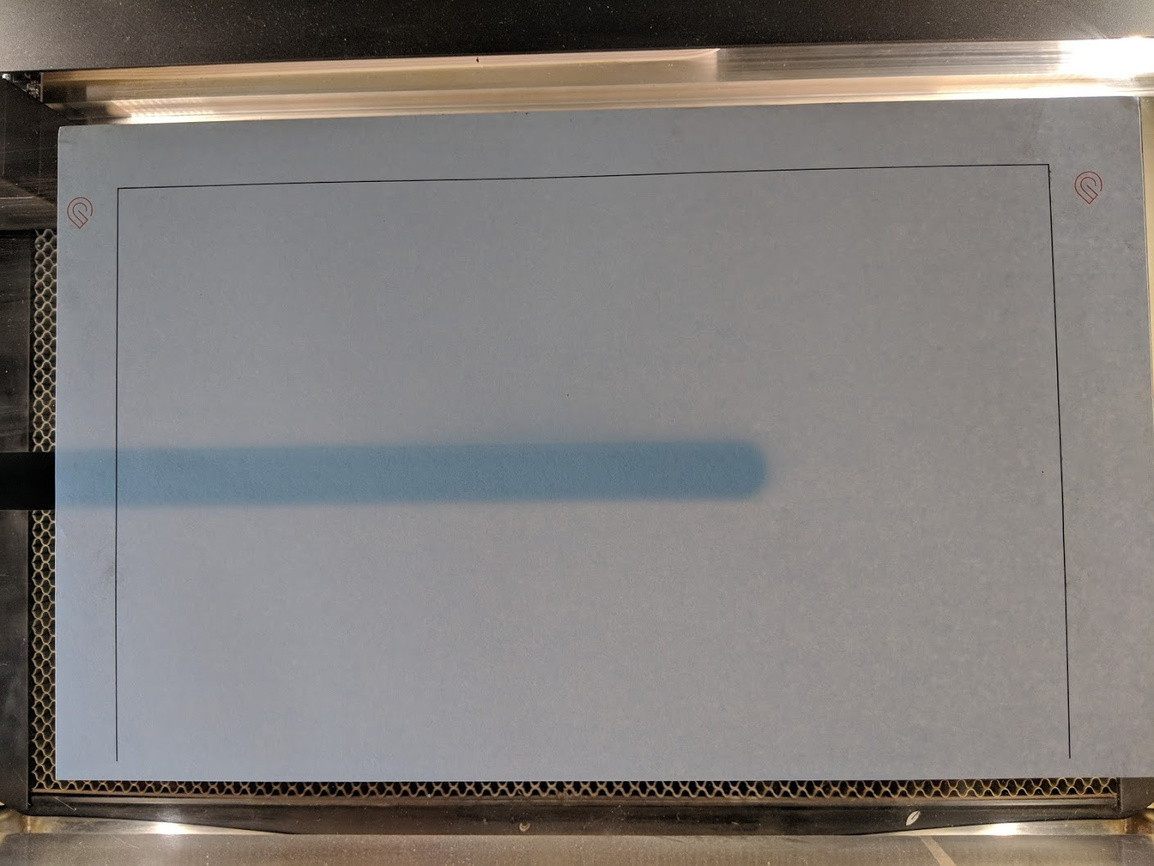
The plate is 12 x 12, so I printed a legal size sheet with snap marks and a boundary to align the plate to. This was generated from the same file as the pattern. This got the pattern right where I wanted it.
I loaded the file, spent a few minutes adding the material thickness and then the powers/speeds/etc. for both engraves and scores. Select the Snapmark button, and in no time I was able to start printing.
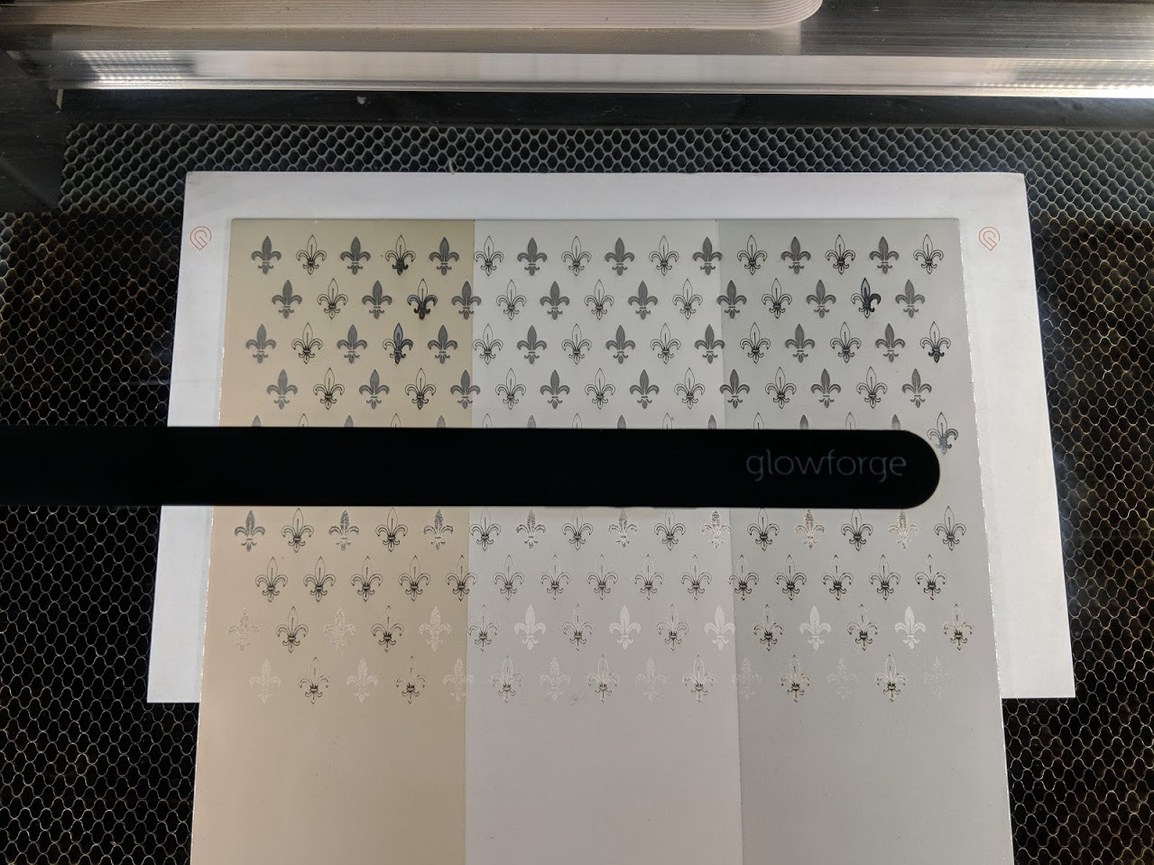
The finished piece looked like this an hour and 5 minutes later.
I find this method works great for squeezing the most out of leftover materials whenever I need to also. It’s a really cheap and reproducible jig.
They call it “Lock Aspect Ratio”. This thing:
So…
I got this lovely email that the Snapmark feature had been added to my machine yesterday. Now two days later, no fancy new icon in my tool bar. What gives?
I’m not reading anything that implies that there is an update I need to apply (and that wouldn’t make sense any how.)
Do I just sit here, impatiently drumming my fingers on my forge???
But seriously, did I miss something? I have coolness to create!!
@michael_leonard Have you had another GF? If so it may have been added to the other one. If it has see @Jules post in this thread
Boom!
I just had that thought and checked. It’s added to the returned forge. Thanks for pointing this out, I’ll add my name.
Oh cool! Thank you. I’ve learned a lot of stuff today!
Good luck. They disabled/removed the disable functions.