Is there any way to remedy this, or is this something I have to work around somehow?
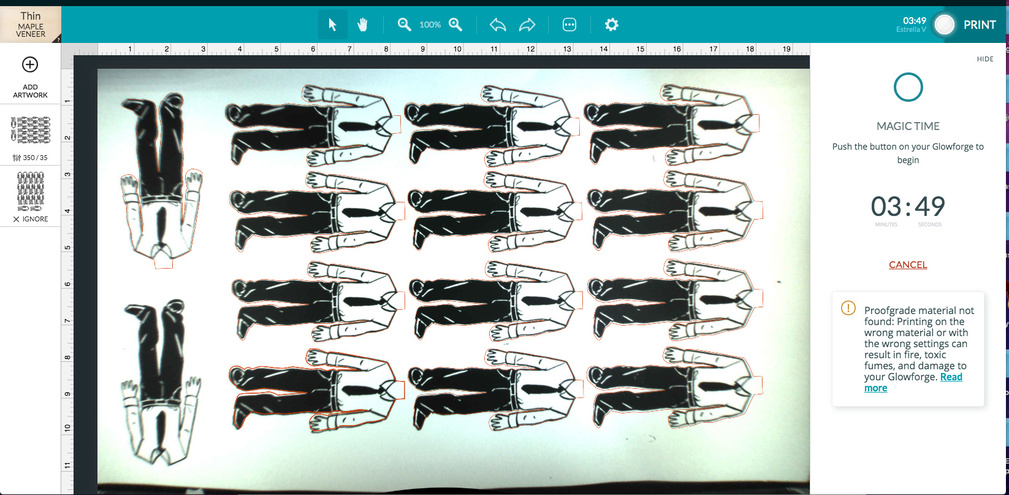
Also, the camera makes the image blurry on the edges. Is that normal?
Welcome to Glowforge! There’s so much advice here on the forums, you’re gonna learn tons
Currently up to 1/4" variance is within spec - though they are actively working on making that better! You can figure out your own Glowforge’s particular alignment issues by scoring an entire page of evenly spaced Xs (there are some designs uploaded here - but literally, just print a page of Xs) and then see where (by # of clicks) you’re off
It’s a bit of a pain, but if you’re doing random images it’s probably the best way for now. If you’re doing that same image multiple times you can use the waste from your cut above as a guideline for where to put the art on the page, and it should be exact (presuming that was a full sheet and right up against the edges of your 'forge
Also, I notice the bottom edge of your image looks wavy - if the material is not perfectly flat you’re going to get alignment issues - if there’s a chance it had some waves I’d run it at least once more with magnets to hold down the material against the bed
What you’re describing is called a “Print and Cut” file in the digital cutter world, and it’s a lot harder to pull off with a laser, since there is nothing that ties the laser movement to the inkjet printed image on the paper.
Except…for Snapmarks. Snapmarks can be used as a point of reference that ties everything together. If your machine has been chosen to be on the Snapmarks beta test, you will have a little magnet icon on the top row of the GFUI. There are some notes for using them to create Print and Cut files here:
If you don’t have Snapmarks activated on your machine, you can still improve your alignment through using a couple of different techniques to compensate for the fisheye effect of the lid camera…@cynd11 wrote up a popular one here:
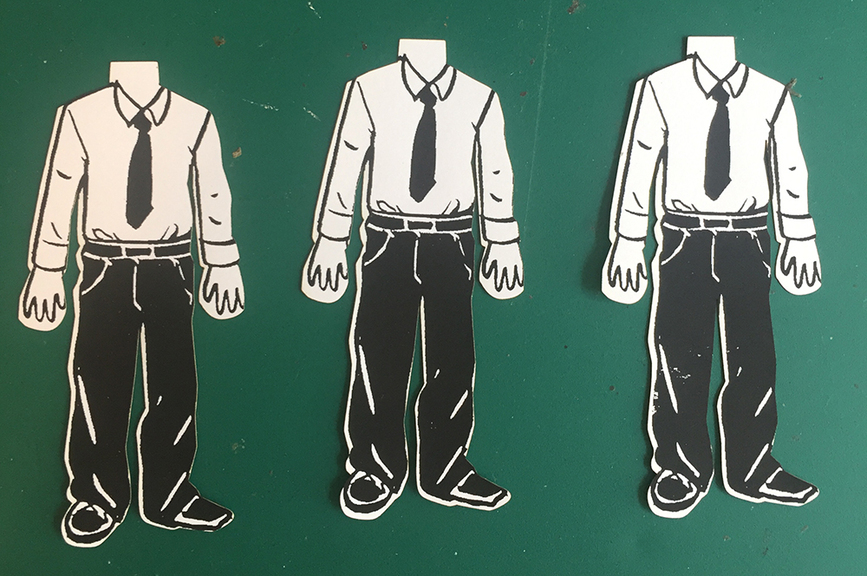
I’ll try the grid method you mentioned…my big problem is that the printed image is actually silkscreened by hand, and so each print is a tiny bit different in terms of where the artwork is on the page. I guess I’ll need to make the cut less tight around the artwork.
As soon as they start offering Snapmarks to everyone, you’ll be able to nail that with precision better than a digital cutter…(like you’ll be able to cut accurately around each finger if you want to).
Until then though, if you just cut fewer figures, you’re going to get the best results right under the camera. The problem areas are out to the edges of the bed due to the fisheye effect of the lid camera. (They’re still working on improving that with software adjustments.)
We’d like to have you try a few troubleshooting steps for us:
Turn off your Glowforge.
Check for small pieces of debris or dust.
Check the lower door to make sure it closes all the way. It may require some force to open, but open it, wipe any dust off the edges, and close it all the way.
Remove the tray and clean any dust or debris from the surface underneath. Pay careful attention to remove all debris from the four dimples where the tray rests.
Check the lid to make sure it closes all the way. Small particles of material, such as dust or debris, can prevent it from closing completely.
Check the surface your Glowforge is on to make sure it’s flat. Ensure it is not twisted slightly and that there is no debris propping up one side of the machine.
Turn your Glowforge back on.
We included an extra piece of Proofgrade Draftboard with your materials shipment for troubleshooting. Place the Proofgrade Draftboard in the center of the bed and print the Gift of Good Measure using the default settings.
When the print finishes, leave the lid closed and wait until the fans stop and the picture updates. Without moving your artwork or your material, take a screenshot of the Workspace to show us the difference between the artwork placement and the actual print placement. Make sure to include the rulers in your screenshot and show as much of the bed as possible.
Mac: Press Shift-Command-4 and click and drag a box around your image. You’ll find the screenshot file saved on your desktop.
Windows: Click on the Start Menu and type “snipping tool”. Open the Snipping Tool > New then click and drag a box around your image. Click the Save icon and name and save your file.
Post the screenshot along with the date and time of the print, and we’ll investigate.
@cynd11 is the master of print and cut. This was one of her primary use cases that she explored even before production units came out. So click on her avatar and navigate to the topics she has posted. You’ll learn a lot.
The above posted links demonstrate how it is done, but you have identified the key issue: the graphic in the GFUI lines up different from expected. It varies from machine to machine too. So aligning one pre-printed image on the material under the camera in the bed can be be accurate, lots of images across the bed will give different results.
Looks like support has chimed in here and they will see if your machine is within the 1/4" specs of accuracy in the alignment.
There are workarounds. There have been improvements. It keeps getting better. Stick with it and you’ll figure it out.
It’s been a little while since I’ve seen any replies on this thread so I’m going to close it. If you still need help with this please either start a new thread or email support@glowforge.com.