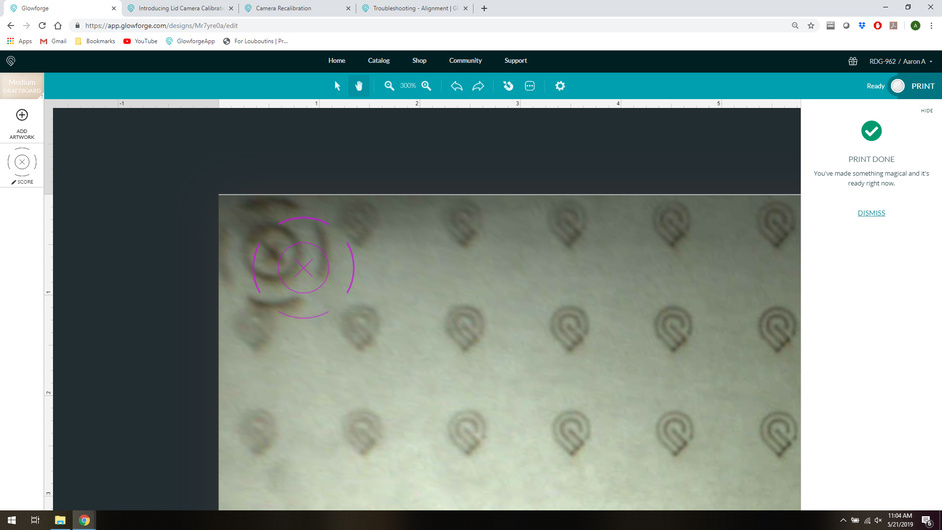
Back from a work trip to try this again. Results are just as bad as before, maybe even worse. I bought the exact wipes you called for, followed all the steps, including a reboot, still WAY off… Here is teh upper left, did not bother any further after that. I did use set focus as well. This is frustrating. The zoom is 300%
I performed the lid camera calibration and found a great improvement. At the top left and right corners, the test target lined up nearly perfectly with the engraved image. On the bottom left and right corners, the alignment was off by perhaps 0.05"- not perfect, but much better than before calibration.
I’m sure other users aware of the following, but thought I’d pass it along. When I’m doing a project that involves many engraving and scoring steps where I apply and remove transfer paper between steps, I leave the target piece undisturbed in the laser bed. For thin pieces on the crumb tray, I use two very strong magnets to make sure the piece doesn’t move. I salvaged magnets from an old disk drive that are very powerful, and only about 1/4" thick. When I’m working on a piece that’s more than 1/2" thick, I start with an oversize piece and screw it to a very flat piece of 3/4" plywood that’s about 12x20 inches. The weight of the assembly keeps it immobile in the bed between steps. This allows me to engrave or score on the target piece through transfer paper and carefully apply acrylic paint to image details. Sometimes the overall process involves ten or more steps, requiring an hour between steps to let paint dry before I can remove the transfer paper and apply a new piece. Thankfully I’ve found that I can shut the Glowforge down and close out of the app and then start again the next day. When I restart the app and the laser, everything is still perfectly aligned! So while the improved alignment after lid camera calibration is much appreciated, I haven’t found it to be essential for my projects so far.
6 Likes
I ran the Calibration twice and both times when it went to take the measurements and calibrate I got an error message. The lens was clean and the table where the printer is sitting wasn’t touched. Any recommendations?
What was the message?
That it couldn’t complete the calibration. Try again or contact support. I contacted Support and they sent me to this thread.
Hi @tara.stoneking, thanks for letting us know that happened. I’m sorry camera calibration didn’t go smoothly. I extracted the logs from your Glowforge to investigate the error, and it looks like the material you used may not have been sitting far enough toward the front edge of the crumb tray for calibration to be successful. I’m sorry for the inconvenience, but could you please try one more time, making sure that the material is placed as far toward the front edge of the crumb tray as possible? Please let me know if you’re still running into trouble after doing so.
Thanks for running that test, @his_z24, and letting us know the results. I’m sorry for the continued trouble. I’m looking into this now, and I’ll follow with more information shortly.
Thank you so much for the reply. That’s incredible customer service. I am using the Proofgrade Draftboard flipped over and I had it lined up square with the grate of the crumb tray. Should I push it forward so it hangs over the grate area of the tray?
It shouldn’t need to be much farther forward, in that case, but if you’d like to try a centimeter or so over the edge that would be fine. Before running the camera calibrator again, could you also please remove the tray and clean any dust or debris from the surface underneath? Pay careful attention to remove all debris from the four dimples where the tray rests. This may have also caused issues.
I’ve been having some issues with the calibration. There is an ever so slight bump in my Crumb Tray, which I never noticed before because it hasn’t been an issue. After calibration, some cuts I attempted that I had done before didn’t go all the way through and the calibration is off.
I ended up having to do the engrave part 3 times before I got a successful calibration which really sucked. For my final attempt I had to disconnect the glowforge, reconnect it to my tethered phone and then finish it using that connection. My connection has been fine for all other cuts on the glowforge.
It would be great that if you already have the engrave done you can just re-use that sheet for calibration. This would be especially nice where I’m in Canada and I can’t easily re-order proofgrade material. Yeah I can go to the hardware store and get generic stuff but then I have to bust out the tablesaw to cut it down to the glowforge sizes.
Pack of proofgrade materials arrived this morning.
I finished the calibration test just now.
I know, you’ve seen it.
but WOW.
I always put things right under the center of the camera, and I am more sure of the bottom right quadrant. top left on my machine has always been absolutely the least reliable and the least predictable on focus.
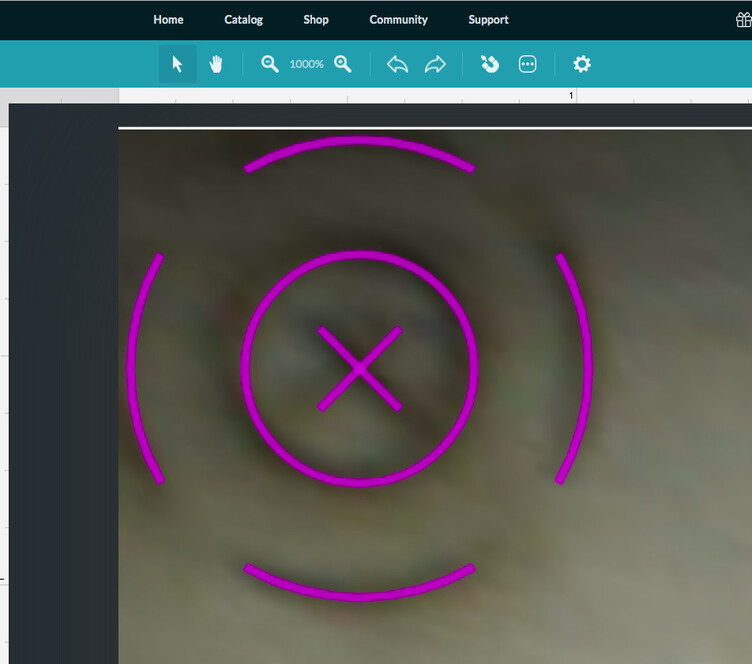
That’s extreme top left.
Thank you Glowforge. I’m a happy happy happy camper.
11 Likes
I am very impressed with the new calibration results. I wasted a lot of material and products before… now I can very reliably hit the mark every time.
Like Dan S I always set the focus before firing up the forge.
One idea is if the Glowforge could perform an automatic calibration of different points on a material based on the laser plan. Then as it is progressing across the material it could auto change the focus for that part of the material.
This would be useful for engraving real-world objects as they are never completely flat / level.
Keep up the great work Glowforge!!!
4 Likes
Er is een Glowforge gebruikers groep in Nederland. Ter info. www.beqwaam.nl Paul
3 Likes
Love the results, used some Woodpecker thin 1/8" plywood that I masked myself since my thick draftboard had just about had the same amount of warp as the ply did, and I have no more medium draftboard. Pinned one corner down with the bed pins that @eljefe4 shared. Worked perfectly. Thanks for pushing this development out, the continued development is one of the reasons I love my GlowZomb ;p
1 Like
Dat wist ik niet! Ik zie op de website niets over een lasersnijder, waar moet ik precies kijken?
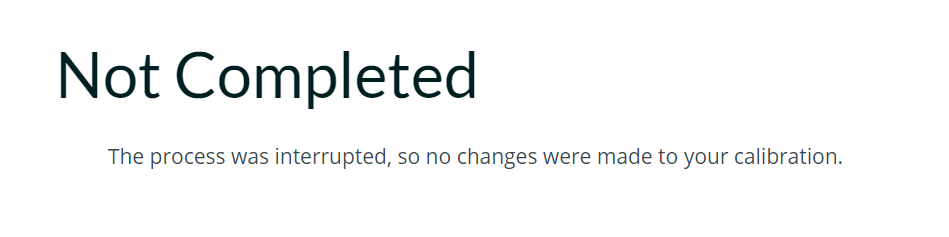
I’ve tried running it twice. Got through the print, through the post-print image capture, 0% in the 30-minute process after that, and each time within a minute I got this Not Completed error instead. I was in another room, so nothing could have messed with the lid.
I don’t want to sacrifice more sheets just to keep getting the same error.
Help?
@mattmay, make sure that the sheet is completely covering the front of the grid tray, and that the material is flat. (You can use any 1/8" thickness wood, it doesn’t have to be proofgrade. A flat sheet of baltic birch ply will also work.)
Or you can cover the used sheet with a couple layers of any kind of light colored adhesive masking tape so that the older marks are obscured, and re-use it. Just make sure you have the front of the tray completely covered by the material.
Different error than the other Not Completed I saw, btw.
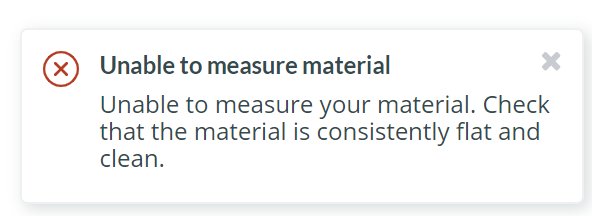
Flat, clean and light colored. The camera is going to look for burn marks, there needs to be contrast.
Make sure the lenses have been cleaned and there isn’t any glare on the head.
1 Like