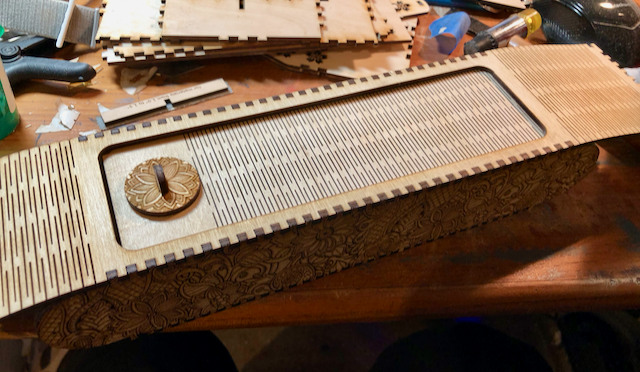
Here’s the pattern for the Living Hinge Pencil Box I posted over in Made on a Glowforge. It’s sized for 1/8" plywood – the ones in that post were both cut from Baltic birch.
The engraved pattern shown in the photos isn’t included, since I stole it from Pinterest. 

I was more focused on building than taking photos, but hopefully I got enough build details to let folks get one assembled.
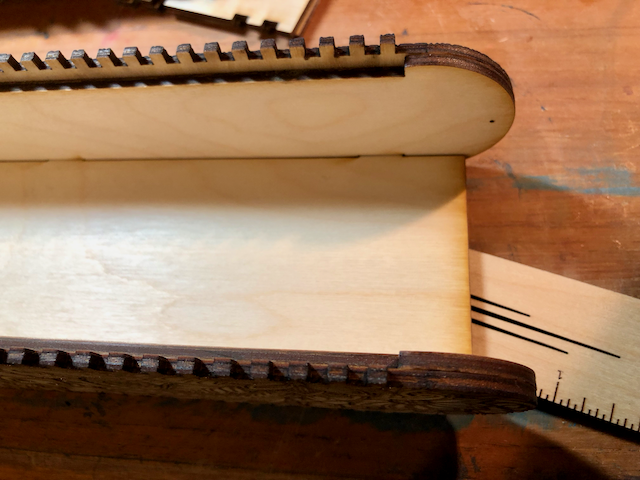
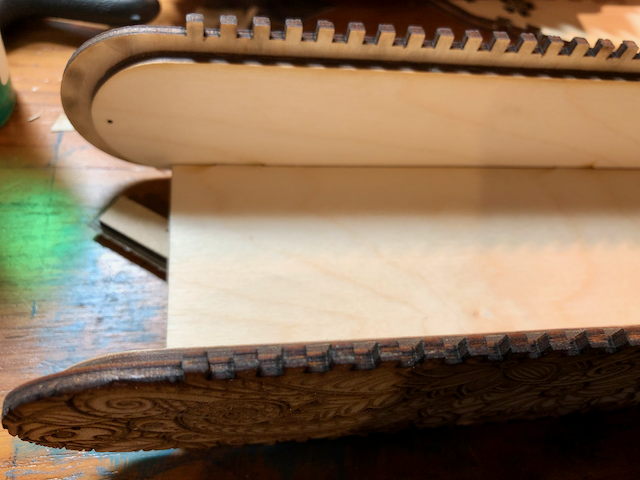
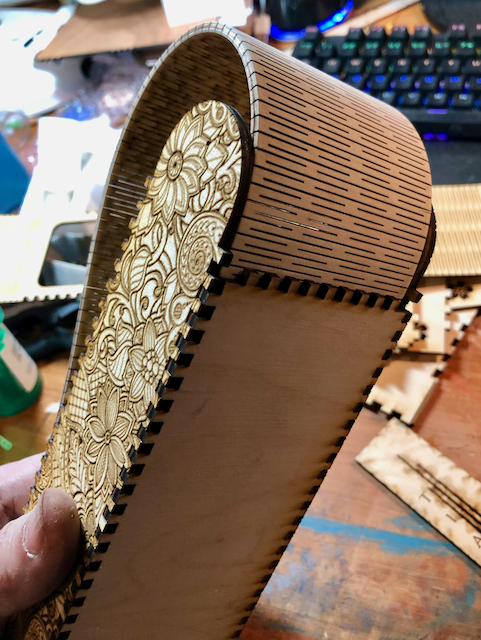
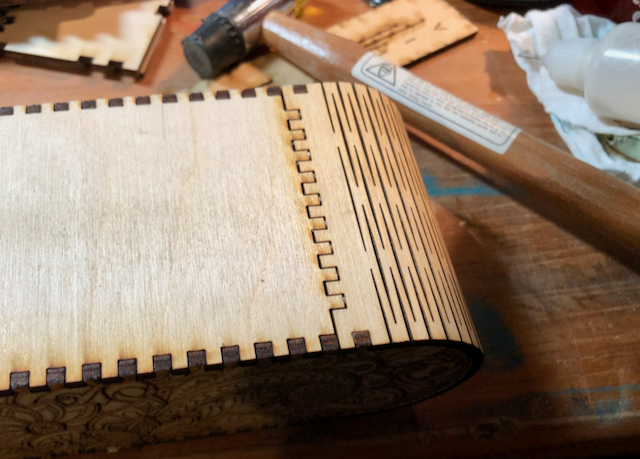
The key to making it work is in the pre-assembly sanding. Grab the top (the piece with a living hinge at each end) and pick an end – this will be the end the lid slides into. You need to bend the hinge backwards – the opposite way it will be bent after assembly – and give it a good sanding on the inside surface, focusing on rounding all those little cut edges in the hinge. Then do the same thing to the top side of the lid (the piece that’s almost all living hinge), except bend that one the way it will be in the final piece while you sand it. While you’re at it, round off all its sharp non-hinge edges too, especially the end opposite where the handle will be, since it will be the leading edge when the lid slides.
At this point you should add whatever stain / finish you want, at least to the lid and inside portions that will be hard to reach later.
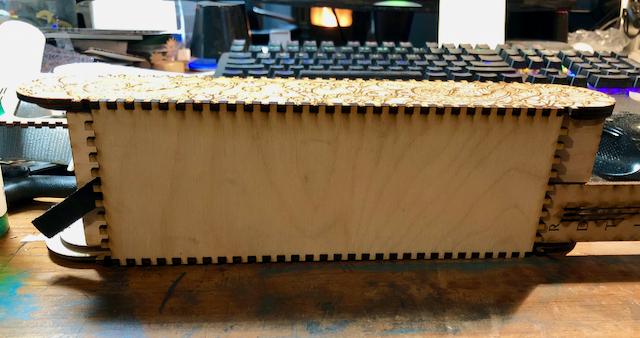
Now you’re ready for assembly. Here’s where I missed taking some photos. The sides (the ones with rounded ends and finger joints down both long sides) and the lid guides (similar but with only 3 wide finger joint slots each) have pinholes you can stick a straight pin through for aligning them. The wider end of the guide will line up with one end of its matching side piece, and the narrow end will stop a little short of the other end. Try them out before you add glue, to make sure you’re matching up the right holes, and that they’re assembled to mirror each other.
Next glue the false bottom to the lower edges of the lid guides. It’s the rectangular piece with only 3 large finger joints along each side. Note that at one end the finger joint is farther from the end – that end goes toward the end of the box where the guides are wider and line up with the ends of the side pieces. The other end is cut a little short to allow the lid to slide past.
Next, add the bottom of the box. The kerf is adjusted for a pretty good friction fit, so you probably won’t need glue. Use some scraps to keep the false bottom in place while you’re banging on things – if you add two layers of Gorilla or duck tape to a 1/8" scrap it will be just about the right thickness.
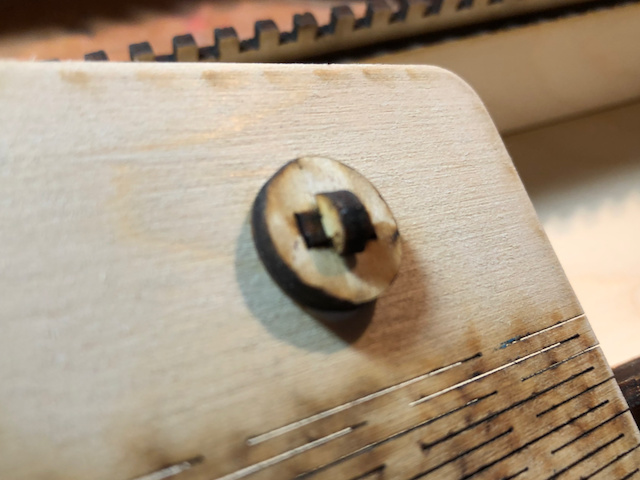
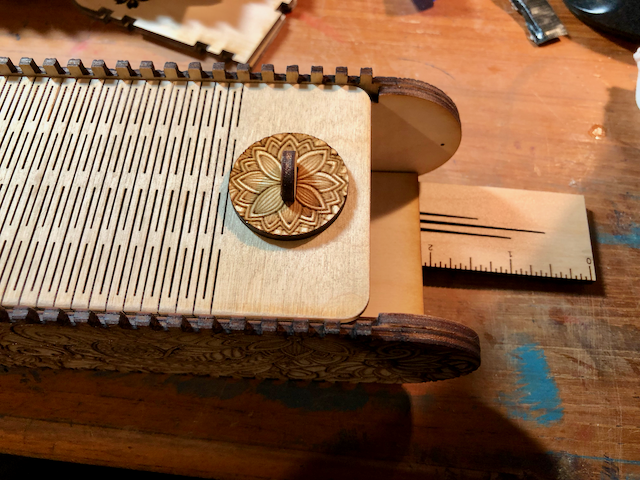
Set that aside to allow the glue to finish setting, and get the lid ready to go. The larger circle with a slot in it goes on the top side, and the half-round piece with two “legs” is the handle, and sticks down through it.
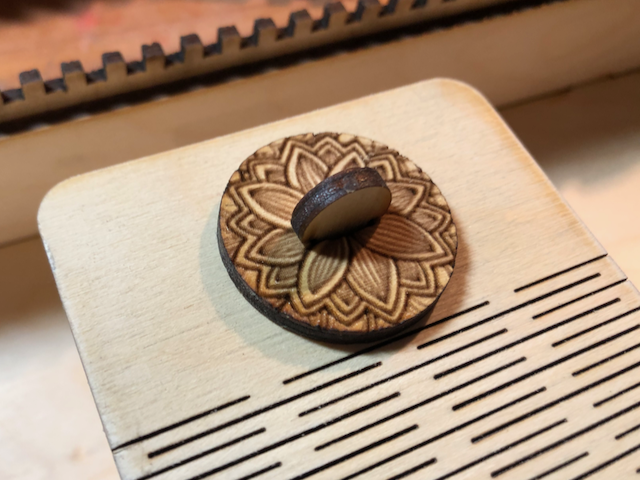
The smaller slotted circle goes on the back side, and the little peg piece sticks in to help hold everything together. It’s a decent fit, but I used glue anyway, to make sure it doesn’t come apart over time.
Now put the lid in place. The handle end goes toward the larger ends of the lid guides:
The other end slides between the bottom and the false bottom:
Place the top of the box over the lid, with the sanded living hinge part at the opposite end from the handle, sanded side down. Tap into place with your assembly hammer.
Now bring each living hinge end around to meet the bottom, and tap together. I would definitely use glue here to make sure things stay together, but be careful not to get it on the lid or the track it slides in.
And that’s it! Go engrave some pencils to keep in it!

