Well, I didn’t get to proof this quite as well as I wanted to, because my 'Forge has decided to go wonky on me. But I did manage to get enough of the prototype done to verify its functionality, at least, and I know a few people are waiting for it and I don’t want to make them wait any longer. So here it is:

NOTE: The little part with the living hinge needs to be rotated to match the grain of the wood before cutting. I couldn’t fit it on my project page in the correct orientation for cutting on ![]() , and forgot to mention it when I posted.
, and forgot to mention it when I posted. ![]() (thanks for the reminder, @marmak3261!
(thanks for the reminder, @marmak3261!
Engraves and scores are in blue. My “final” build in the photos below is missing some of those, because my 'Forge is having issues with them at the moment. ![]()
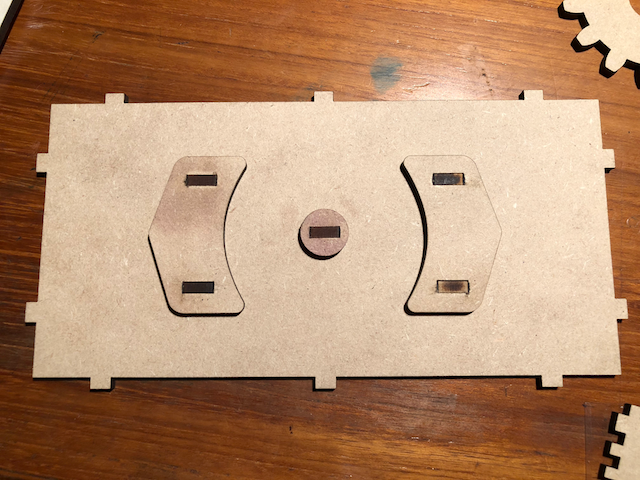
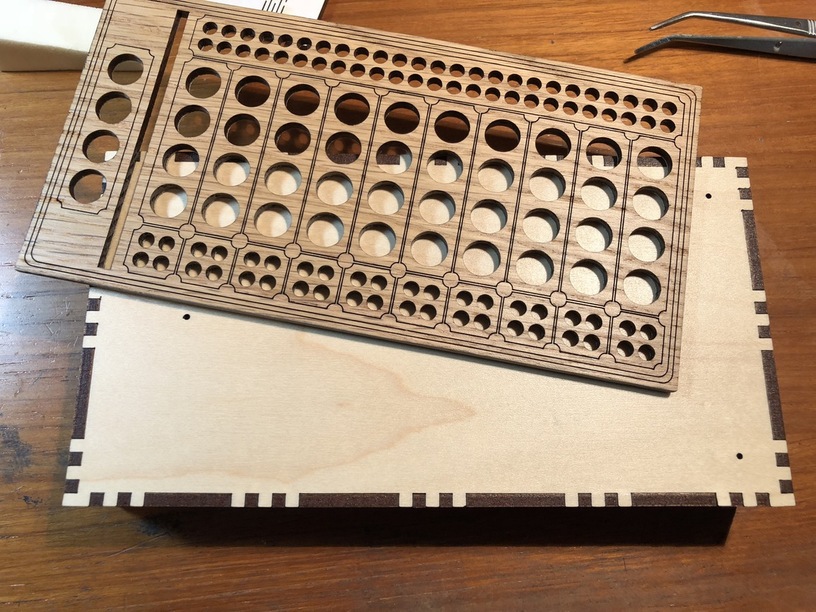
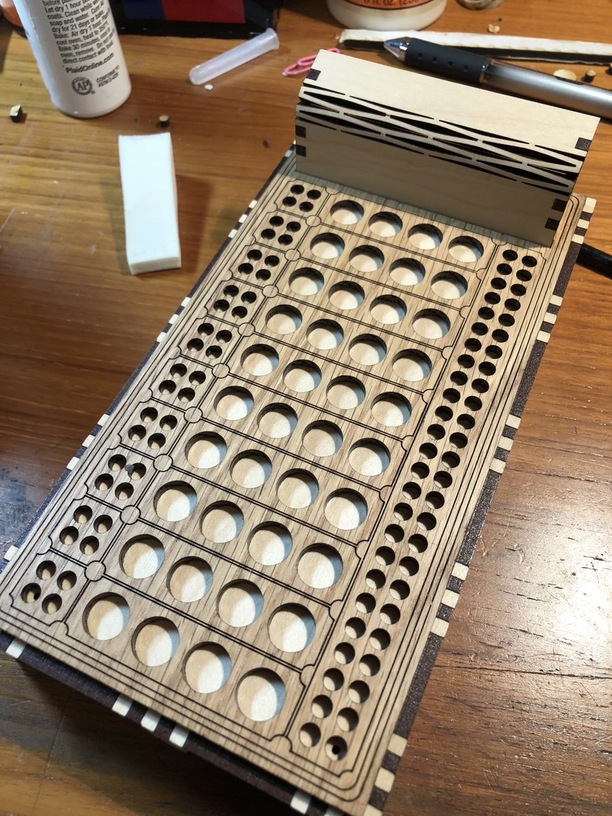
For the model in the photos, I cut the game board (center top) from PG medium red oak hardwood, and the inner box bottom (lower right corner) from PG medium clear acrylic; everything else was cut from PG medium maple plywood.
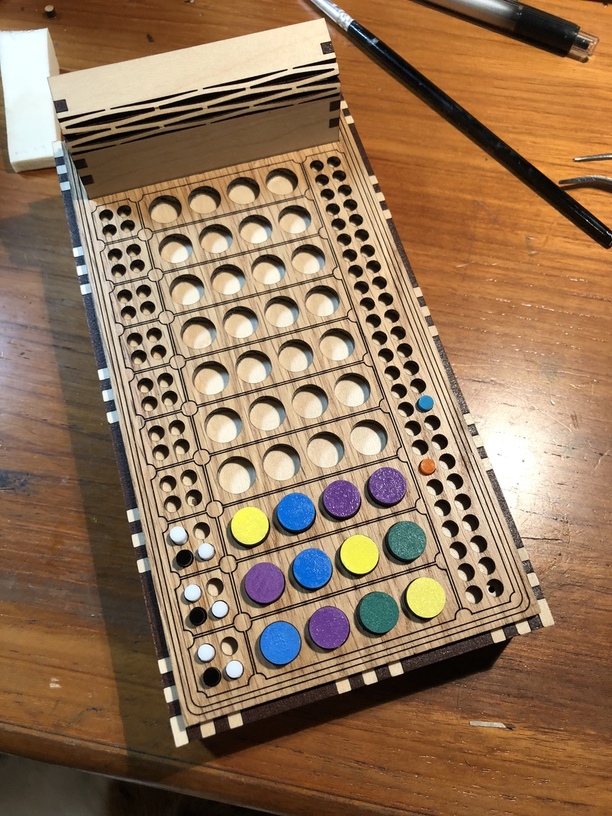
My plan is to cut the playing pieces (2 sizes of pegs to fit the 2 sizes of holes in the game board) from PG thick acrylic in various colors, but I want to play with rounding the tops, which requires engraving capability, so for the photos I’m just using temporary ones I threw together from scraps last weekend (I hadn’t received my acrylic order yet) so my granddaughter could help me play test it. ![]()
Note–assembly photos include a couple of different models, since I’ve been experimenting, and didn’t always remember to take photos of every detail; I hope that’s not too confusing! Also, my craft table is messy and I’m too lazy to clean it up just for assembly photos. Don’t judge me, I’m giving you free stuff. ![]()
Instructions:
Before cutting, you might want to put sticky stuff on the back of the game board, to stick it to the box top with. Or you can use glue. I used double-sided duck tape, and even remembered to change my material height to compensate!
The piece with the two little lock icons is the inner box bottom. You can dab some paint in them before peeling the masking, if you want to make them show up better. If you cut it from acrylic, you’ll need a spot of white paint on the back, too, or they really won’t show very well.
Start with the gear assembly, which mounts on the inner box bottom. Lay it on your desk with the lock icons facing up, and use the 5 toothed pegs (and dabs of glue appropriate to the materials you’re using) to attach the gear spindle and the two triangle-ish pieces, like this (this was a pre-lock-icon model):
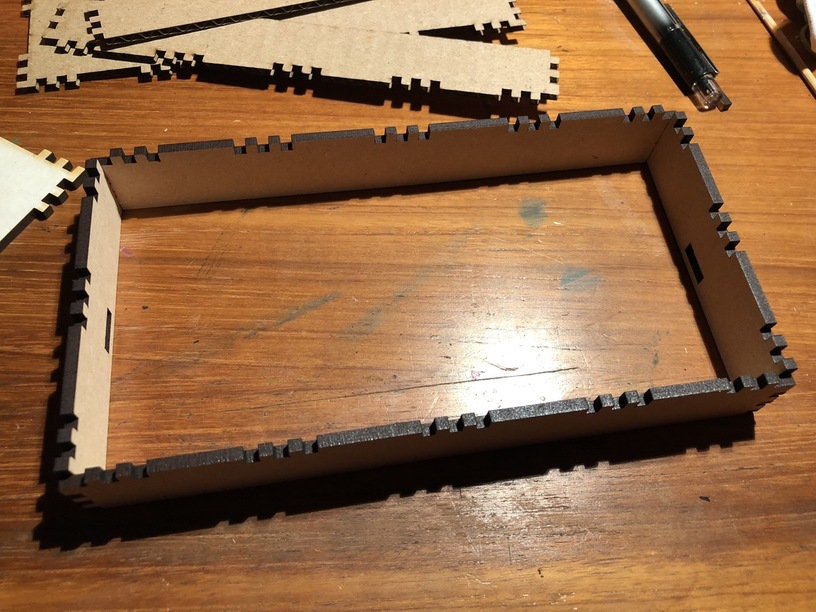
Now assemble the box sides and inner partitions (gear side goes down):
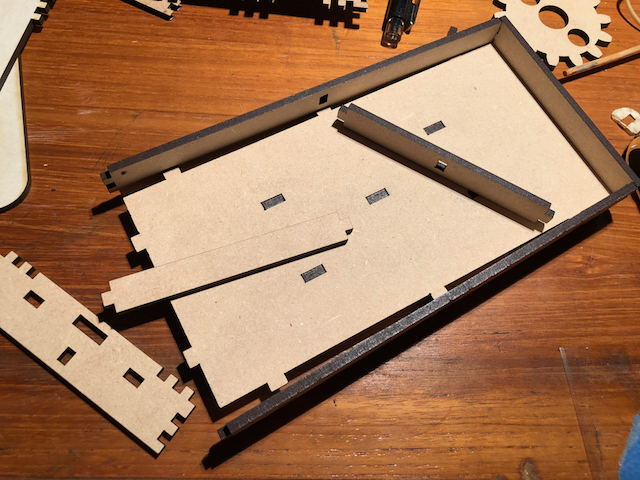
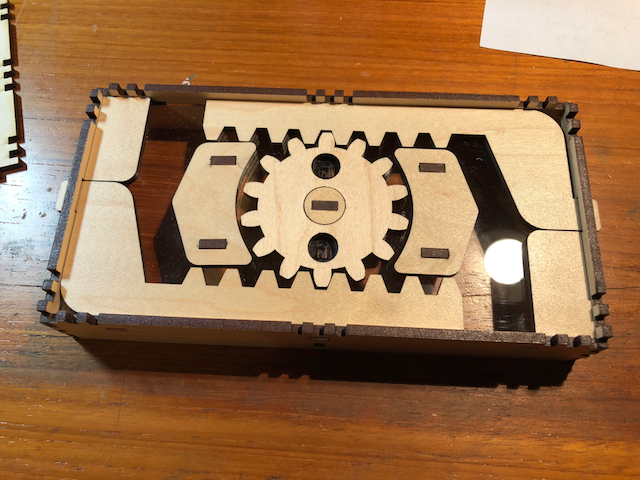
Turn it over and finish the gear assembly (switching to the acrylic-bottomed model now – ignore the missing partition; I hadn’t convinced my ailing 'Forge to properly cut it yet):
Place the gear so that the lock icons show through the holes (they’re there, honest – I hadn’t added the white paint yet, so they’re hard to see):
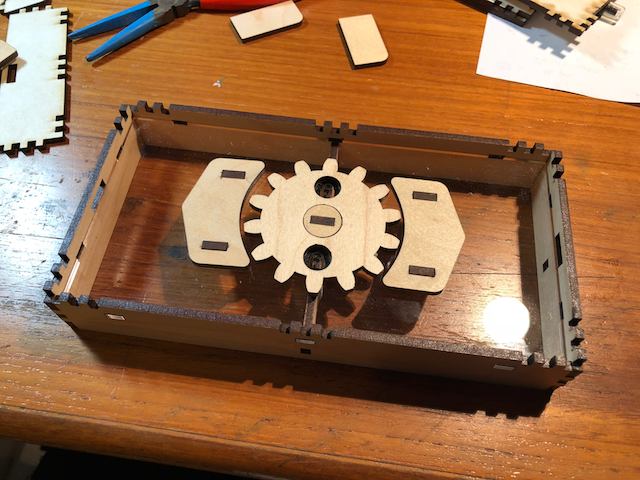
Then drop in the pinions and position them so they stick out through the end slots – this is what will lock the box together. The two corner pieces are there to cut down on wobble, and are glued in place, flush against the sides of the box.
If you want to add wax to the slidy parts, now’s the time to do it. I didn’t find it really necessary – everything slides pretty nicely straight out of the 'Forge.
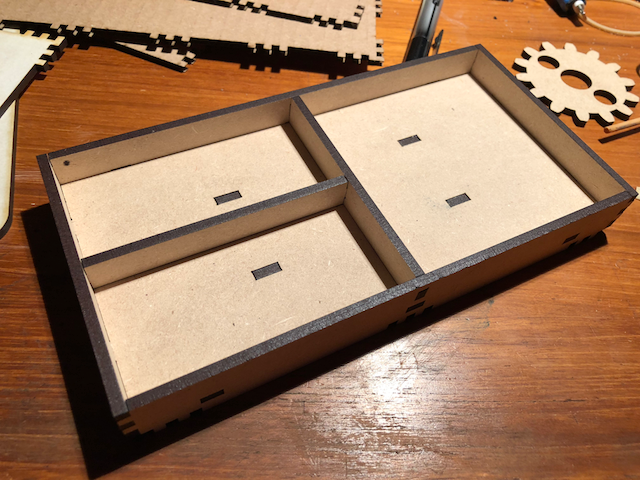
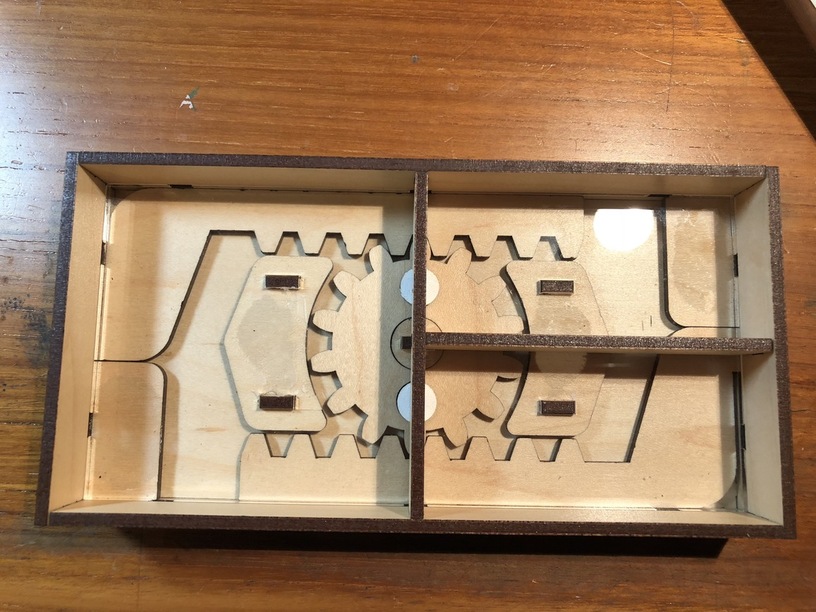
Now you can add the bottom of the box:
Here’s how it looks from the inside (if you’ve used the acrylic):
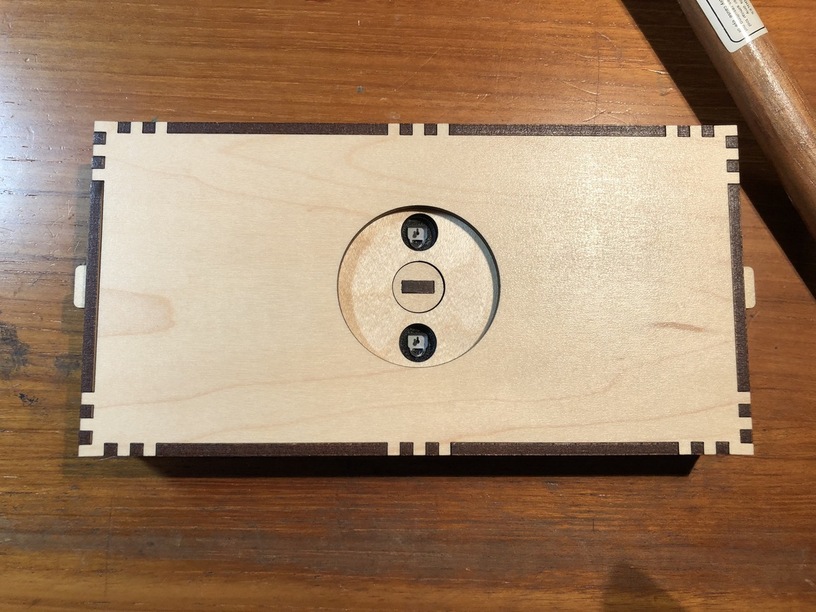
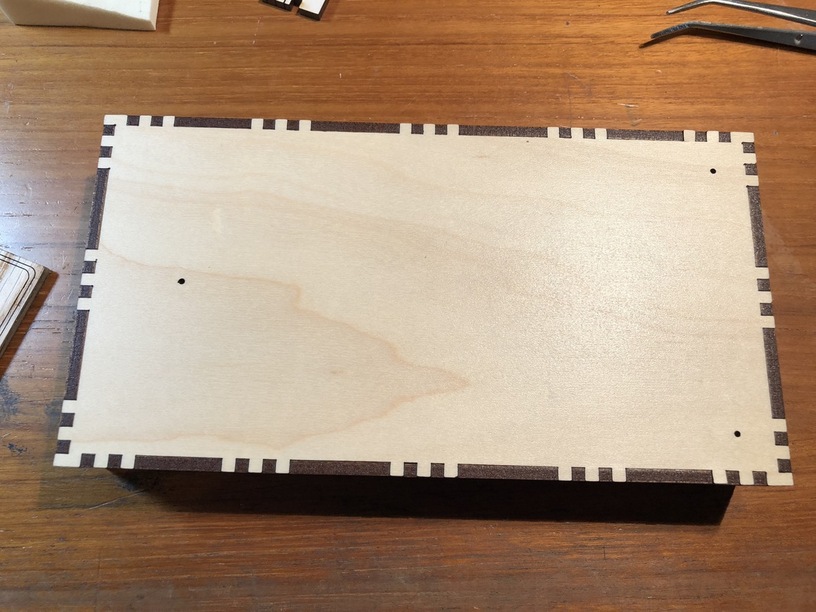
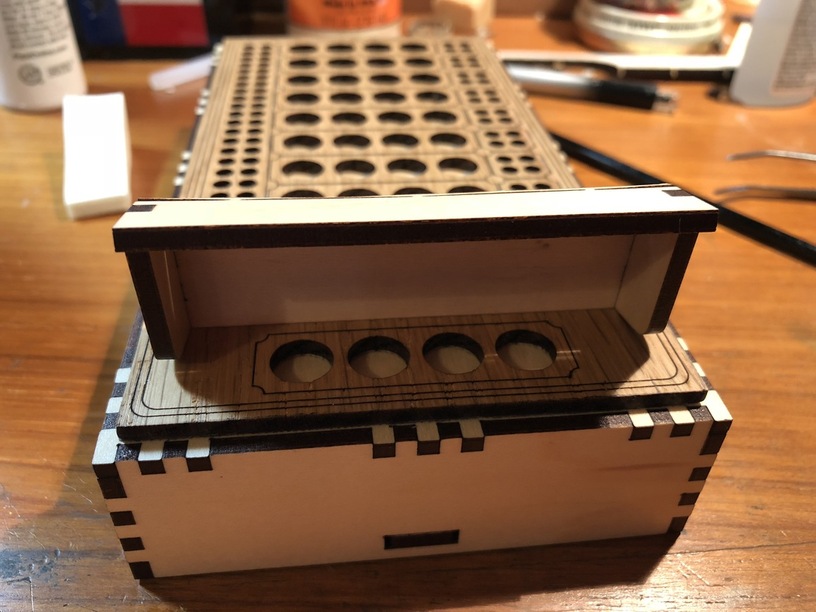
Next, the box top. Assemble the sides, then put on the top. The one in the SVG has letters engraved on it that will show through the holes, but my 'Forge refused to let me have them. (The 3 tiny holes are to eliminate vacuum when you’re opening the box.):
Sides (draftboard):
With top (maple):
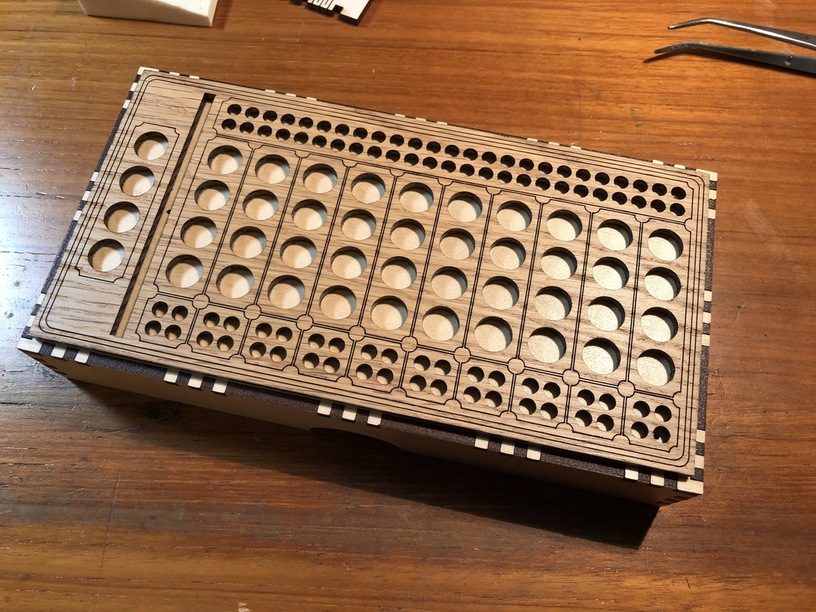
Now you can stick on the game board using whatever method you’ve selected. It’s sized to fit between the finger joints, because @timjedwards thought it was prettier that way, and I trust my baby brother’s artistic taste. ![]() The single small hole will end up in the slot at the top end of the board, and the two in the opposite corners will show through the lower-most small peg holes.
The single small hole will end up in the slot at the top end of the board, and the two in the opposite corners will show through the lower-most small peg holes.
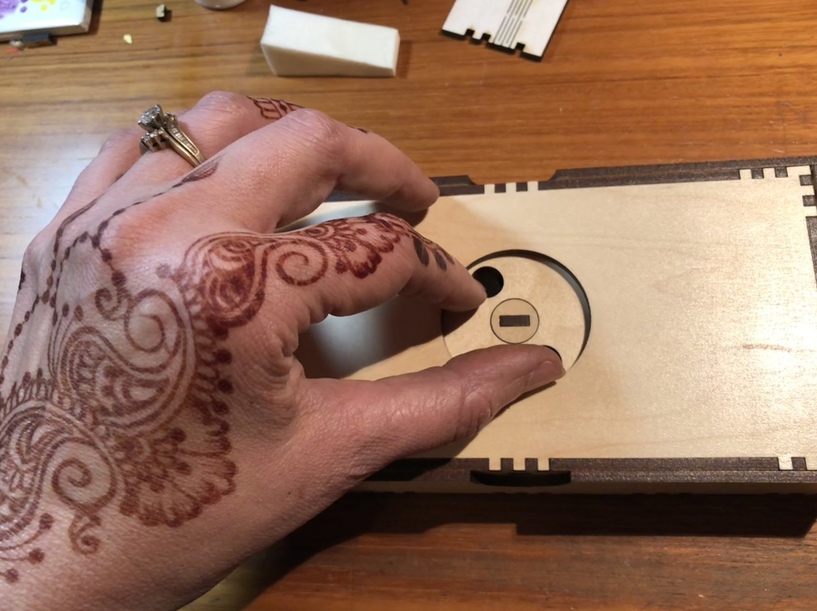
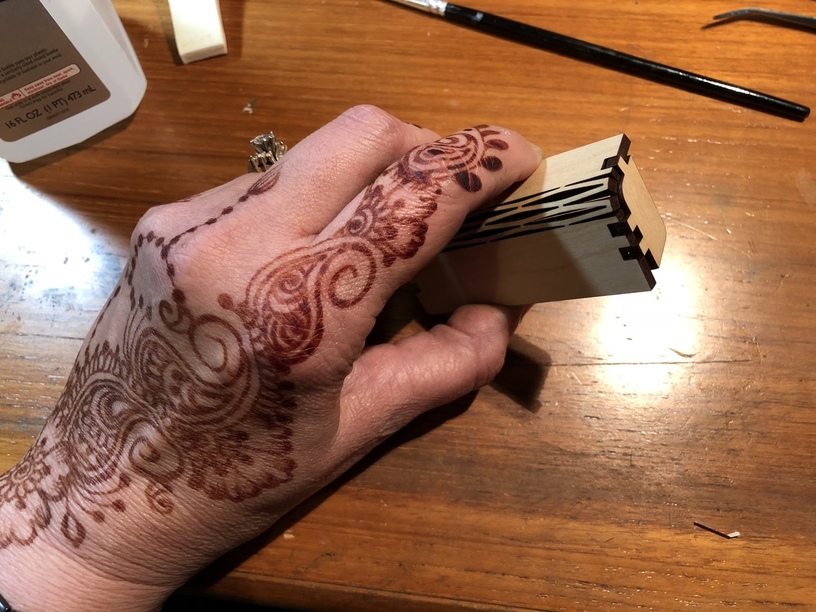
Now put them together and try out the locking mechanism! (There was a henna artist at our office party the other day, so I’m rocking the New Age look right now.) ![]()
The last bit is the little shield that keeps the “guesser” from seeing the solution he/she is trying to figure out. Give the little living hinge a few gentle bends to loosen it up before you try to assemble it. Dripping water or alcohol into the slots while you gradually bend it farther will help make it more malleable so it doesn’t crack.
You’re kind of on your own for the pegs, for now at least. You can copy the holes from the game board for sizing. I’m thinking probably 30-40 each of 5 different colors for the large pegs, and 40 each of black and white for the small “scoring” pegs. For scorekeeping you just need one each of two different colors, or you can just use black and white.
And here’s how it looks all together:
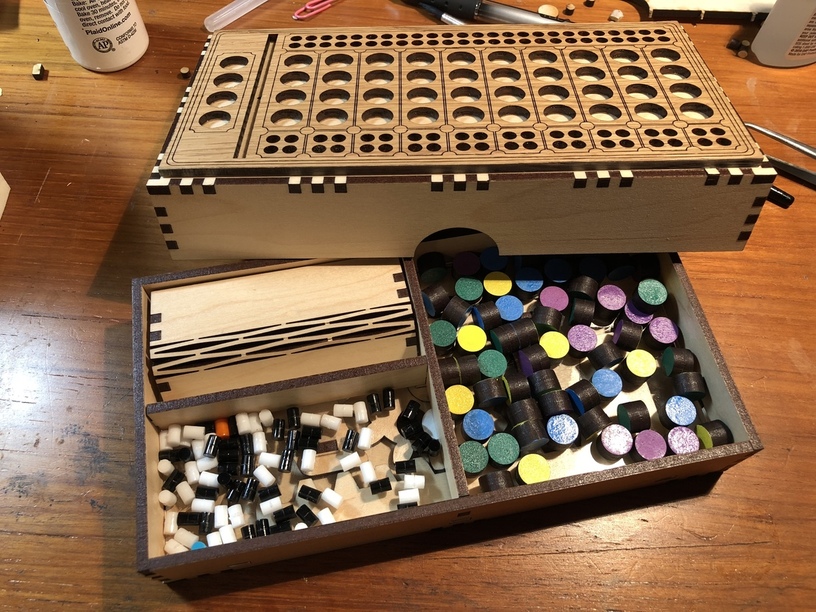
Parts storage:
There you go. Now show me what you do with it! ![]()


