Hi everyone,
I have made some progress in my laser cut woodblocks for block printing. This is a continuation of the project with rubber stamps that I wrote about here:
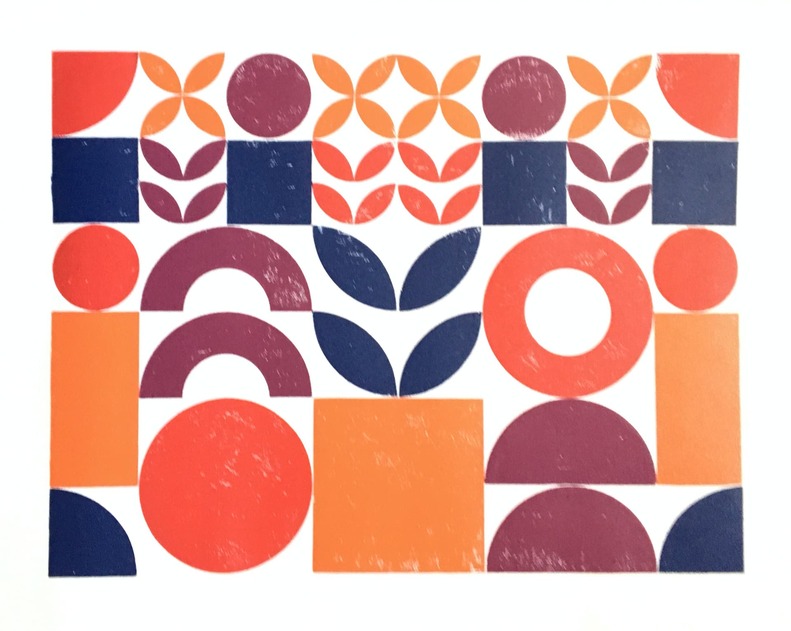
This time, I went large, and made the blocks out of wood. Here are some prints. The large square in both sets is 4"x4".
4"x10" Lokta paper
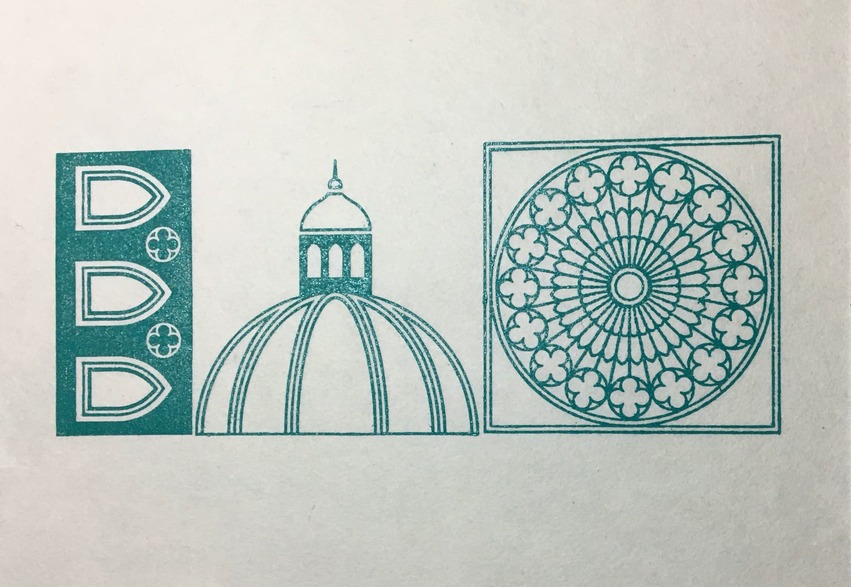
10"x4" Lokta paper
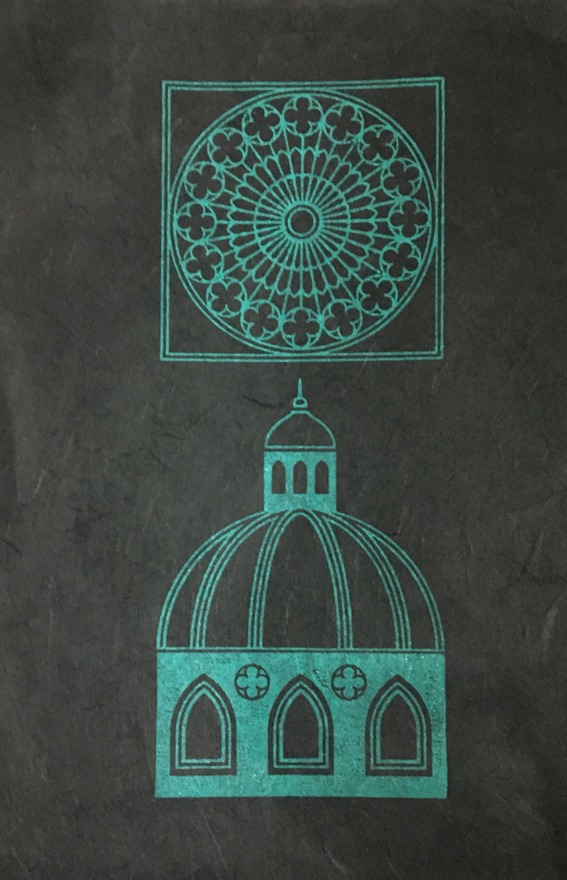
12"x16" Unryu handmade Thai paper
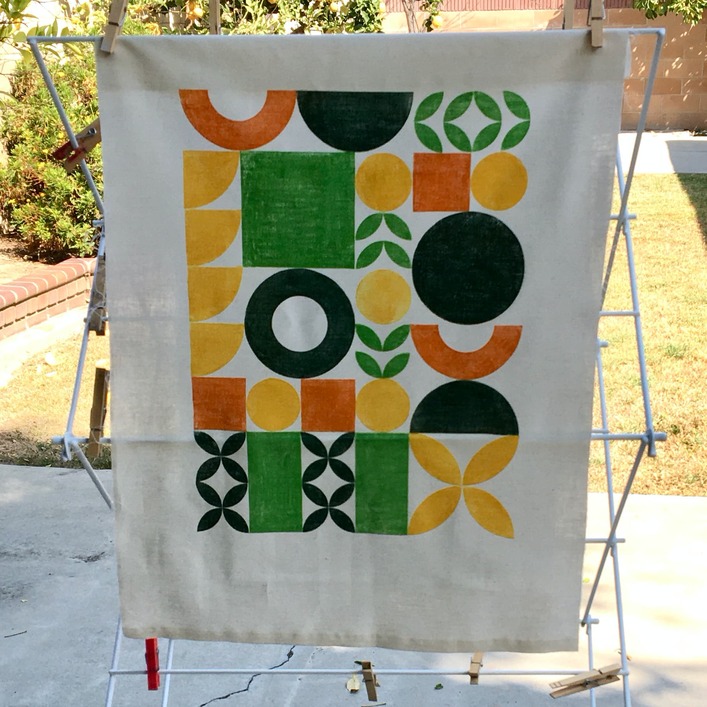
12"x18" (linen blend)
Instead of using magnets to keep them lined up like I did with the stamps, I made sort of a peg board.
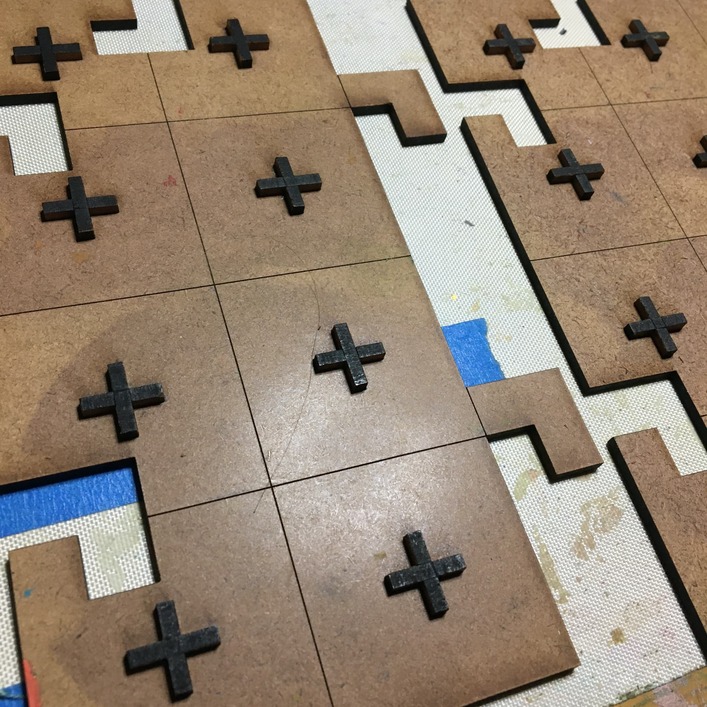
The peg board is modular, so I can add panels to make it larger (took me quite a few tries to get the L shapes to fit snuggly enough). So far I have 20"x16" total area.
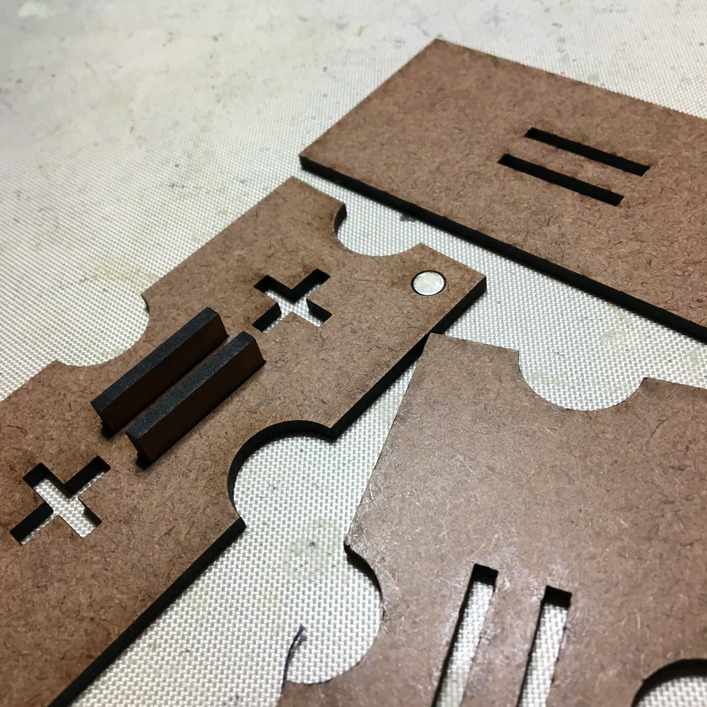
Here’s what the blocks look like before I glue them together. They have 4 layers; the bottom three are hardboard from Home Depot (or Ghanal) and the top printing layer is baltic birch plywood. On the bottom most layer, you can see
- the plus-shaped holes that fit on my peg board,
- holes for the rectangular alignment pegs,
- indents around the edge that make the blocks easier to pick up (especially if they are inked), and
- two round magnets (already glued in), which hold the blocks still when I’m applying the ink (I stick them on stainless steel sheet metal when inking).
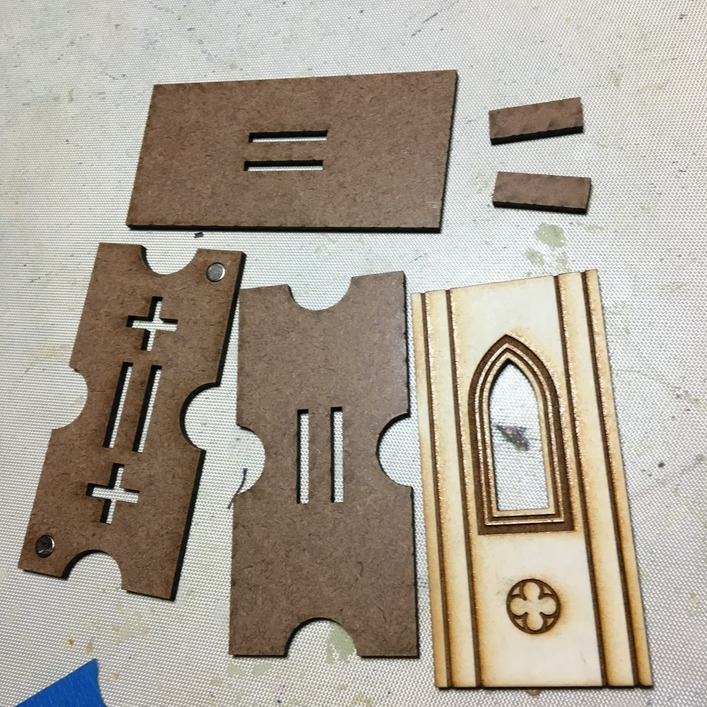
I use the two rectangular pegs to help me align my stack. The top printing layer is always exactly the same shape as the layer just below it, so I can align it when gluing more easily even without the pegs.
Here’s what a similar block looks like after it’s glued, right side up and upside down.

I have some non-rectangular blocks in this set. I just make the bit with the plus shaped hole only on the bottom two layers. In the picture below you can see the back and front of a little triangular roof. (These blocks have not been used yet, so they are not yet stained.)

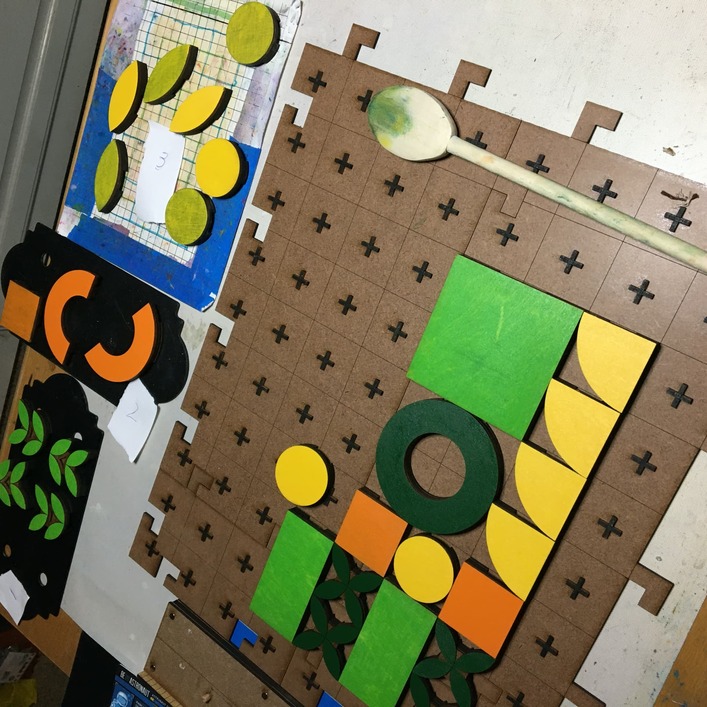
Here’s a design laid out with the geometric set. I figure out what I’m going to do and photograph it, and then label the photo with which color will go where.
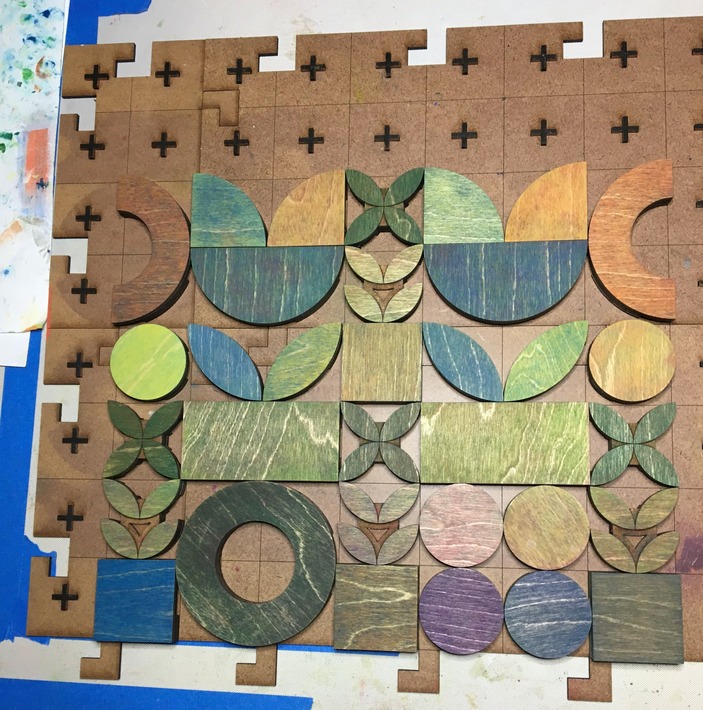
When I’m printing, I sort the pieces onto magnetic surfaces by what color they will be, and then ink them all up. Then I place the inked blocks onto the pegboard where I pull the print.
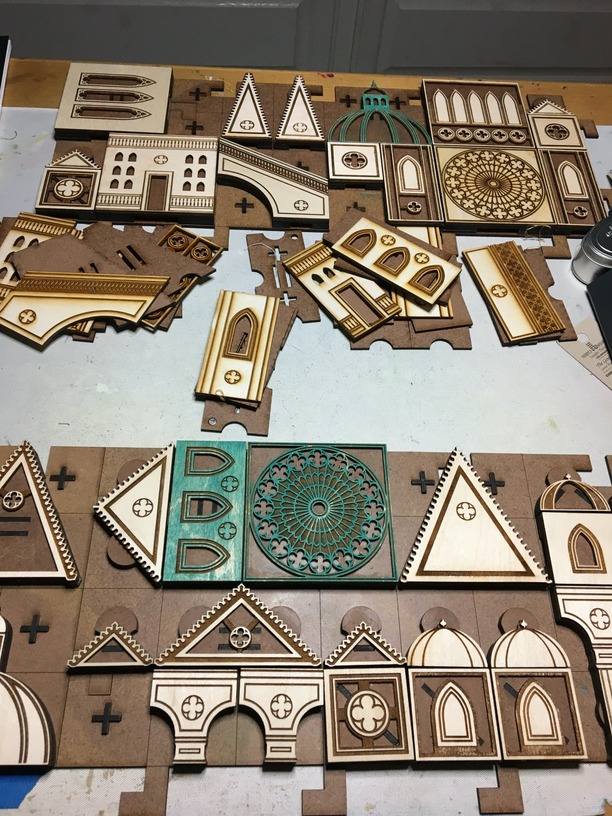
Here’s the state of my messy desk at the moment.
I set up an illustrator file where I can plan my buildings, so I can make digital mockups like the one below. I’m excited to get to the printing stage with this set!

Thanks for looking!

