This stuff is looking amazing!
Man, and that’s just your first two days. 
Awesome start!!
Love the sugar skull…colorfill?
Explain the Make things…glitter background?
And the orange transparent plexi…double sided ?
Excellent first projects 
Wow, all that in two days… so productive 
Excellent work!
This is marvelous!!!
Don’t tell, but if you put more than $100 of material in your shopping cart, shipping’s free. ![]()
Is this also true for your international buyers? 
I wish! The store isn’t open for international deliveries yet though.
Wow! Amazing work sir. I’m particularly loving the idea of engraving both sides of coloured acrylic so it shows through. Very neat.
That’s what it gets for making you wait so long for it!
You did all that in two days? It’s all so beautiful. Wow, I can’t wait to see what you can do after two weeks!
Great first projects - nice variety of substrates and styles too. I love the AT-AT!
Wow, if these are your beginner projects, I can’t imagine what you’ll do when you’ve practiced up a bit. Mind blowing!
The orange acrylic piece will be part of a ledge lit sign. the back layer is some fluorescent acrylic from Inventables. This was just etched from the back. The detail is really incredible.
Then i just added a second sheet of clear and etched that from the back as well.
The Make things logo was just an etch of some thicker acrylic i had around the garage. When etched from the front it was fairly rough. I still need to try defocusing the laser to smooth that out. I just hit it with some gold spray paint. The gold paint on the rough surface really made a fun glittery finish.
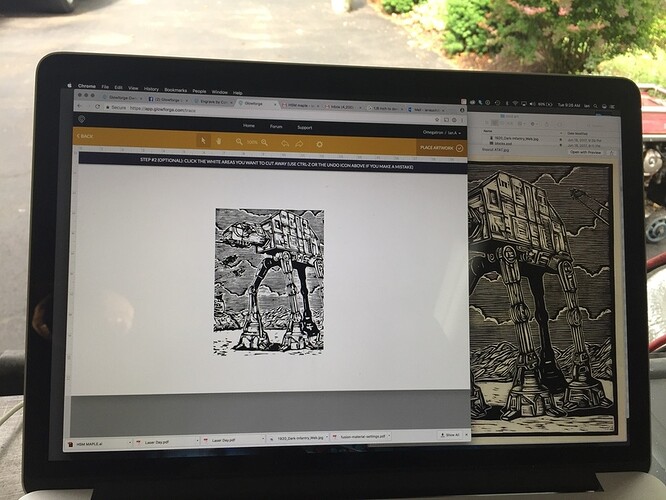
The ATAT and the octopus where part of a fun experiment. I was talking with a friend about the possibilities of doing linocuts or wood block prints. After we searched the internet quickly for some examples we just used the camera to scan the iPad screen.
This worked even better then i thought. It was great for a quick test. It would be really nice to have a few more tools available in the UI for editing the scan and adding simple cut shapes, but i’m sure that will come with time.
Good to know.
Note to self: Add two days worth of awesome projects to my personal hopper.
Holy cow! So cool that you can scan directly from the iPad screen!
Man, you really hit the ground running. Very cool variety of projects. Amazing how well that came out from the iPad scan.
Thanks for the pictures!
I love this effect with the clear on front!!
