My First Cuts! Pocket Tsuro and Pet Name Tag

So, I was already mentally trying to figure out how to make a pocket sized Tsuro, when my Glowforge arrived. Then, just for yucks, I typed “tsuro” into these forums and was thrilled to see that @tom (Tsuro Board) and @kyle (My turn, My turn! The first cuts) had shown that Tsuro can be made on a Glowforge.

Using the Path Tile Game Designer and some work in Inkscape, I produced a version that had a frame and a bunch of small tiles. Intending this to be pocket sized, I then added little notches the the corners of the game tiles so that they could be levered out of place with the tip of a pen or the post of an earring during gameplay if necessary.

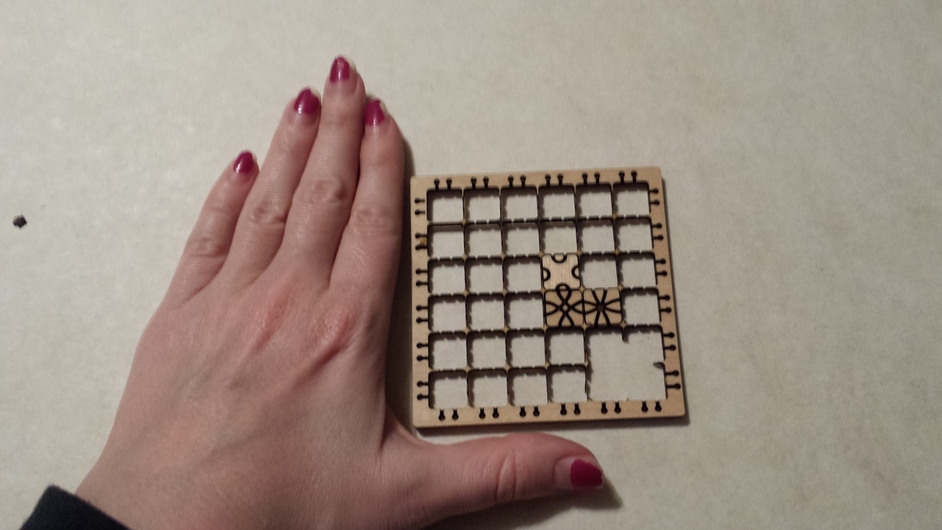
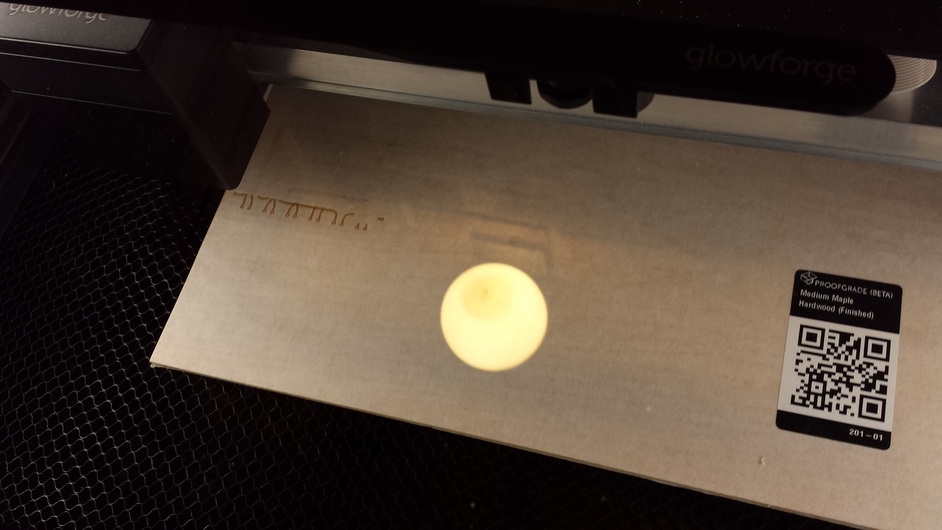
I imported everything into Glowforge and set the total board size to a 3" rounded square and used a sheet of hardwood maple that came with my Glowforge and we were off to the races!

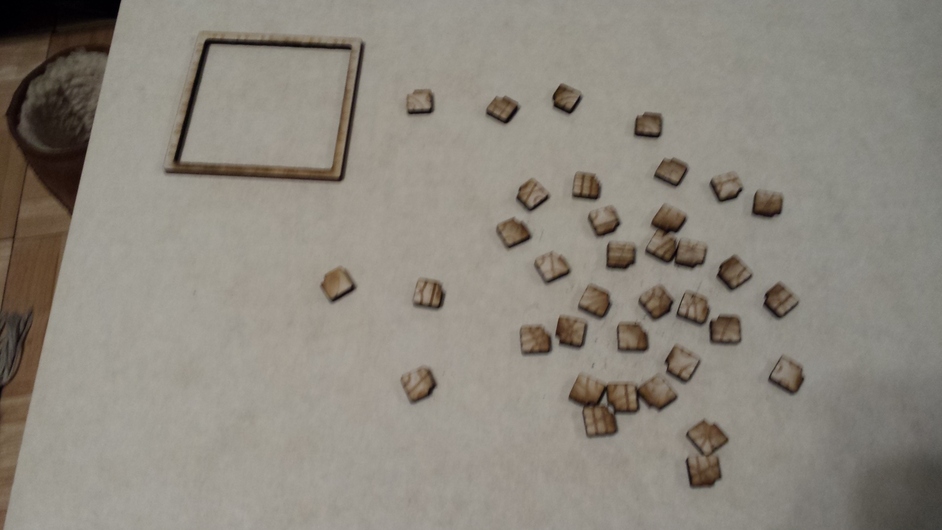
The result was exactly as I’d envisioned, a pocket sized frame and eentsy weentsy pieces. However, removing the masking tape from this is going to be a pain, so please pardon the fact that I haven’t done that for any of the pictures. In fact, in real life I’ve only removed the masking tape from the top side of the frame. I figure if I can ever trick someone in to playing Pocket Tsuro with me, I’ll task them with masking tape removal.

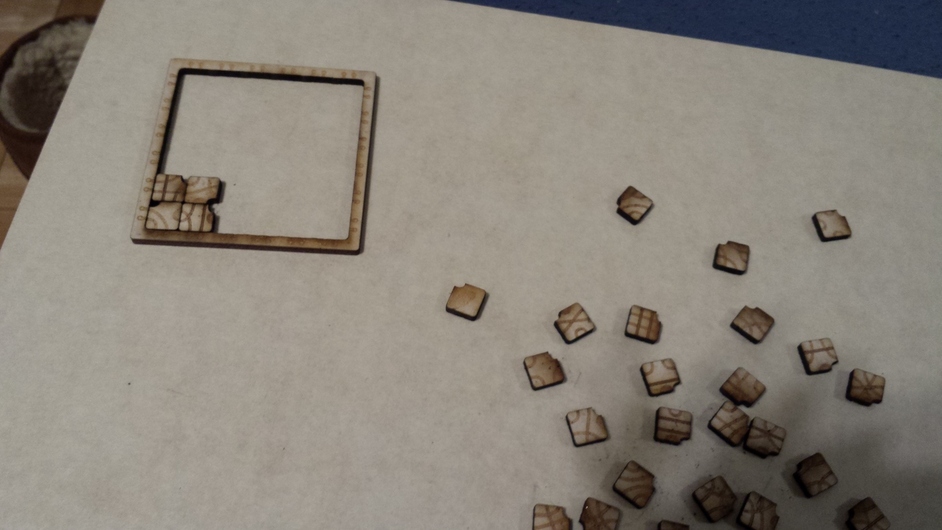
Here is the pen notch in action:

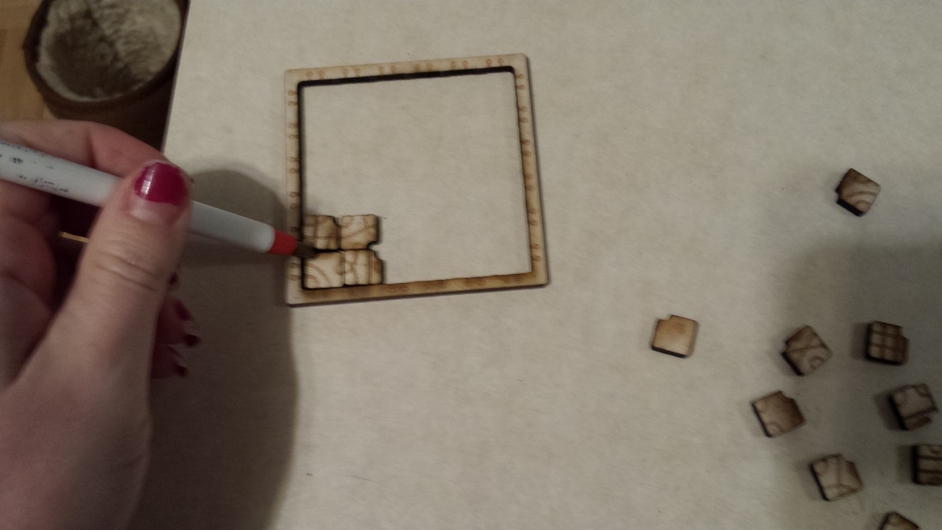
Lessons learned: There is no need for a pen notch. Next go-round I will make Pocket Tsuro without it. The pieces aren’t locked in to place and are easy enough to simply slide away.


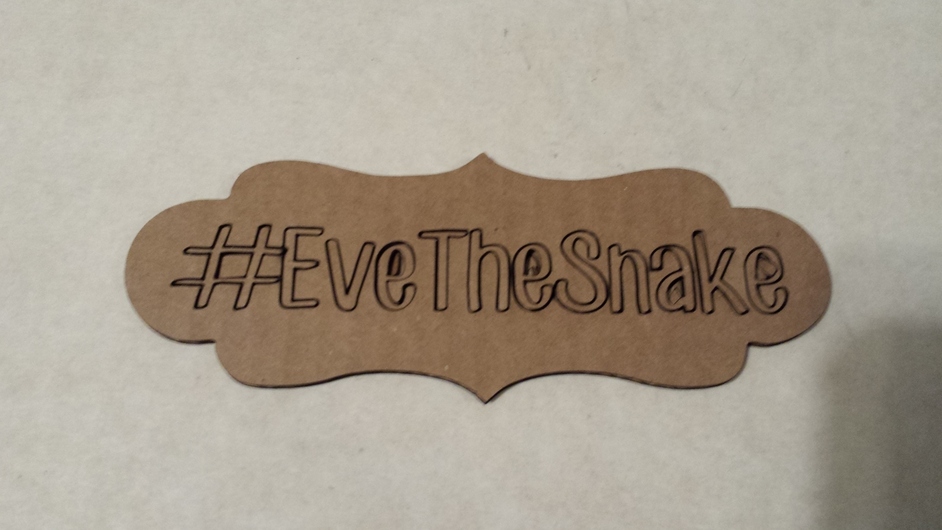
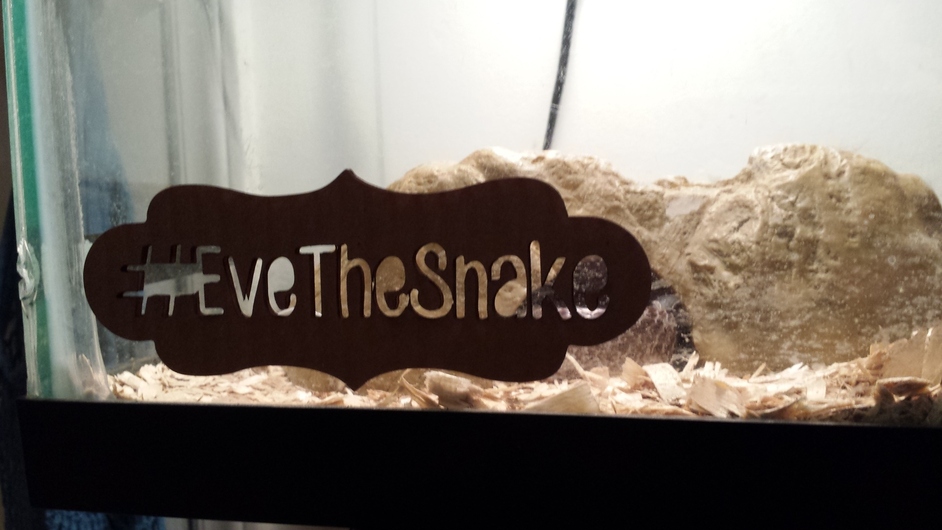
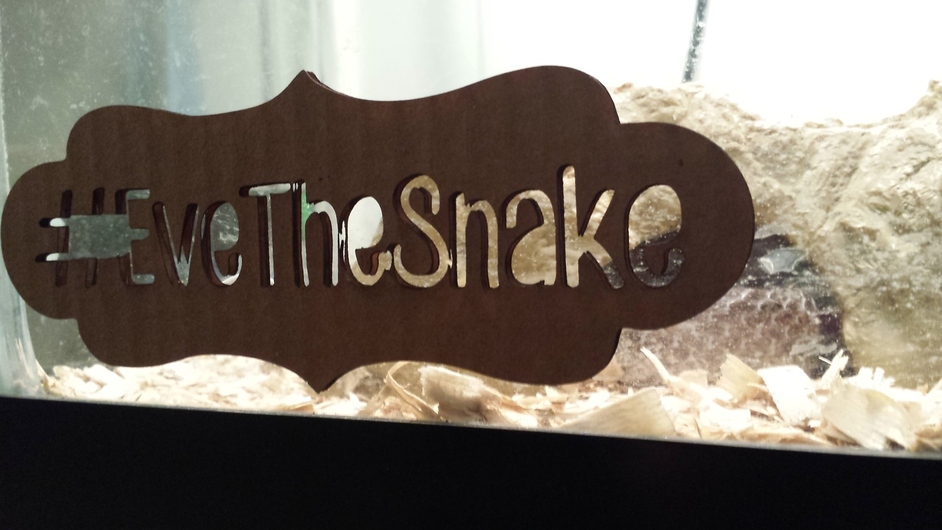
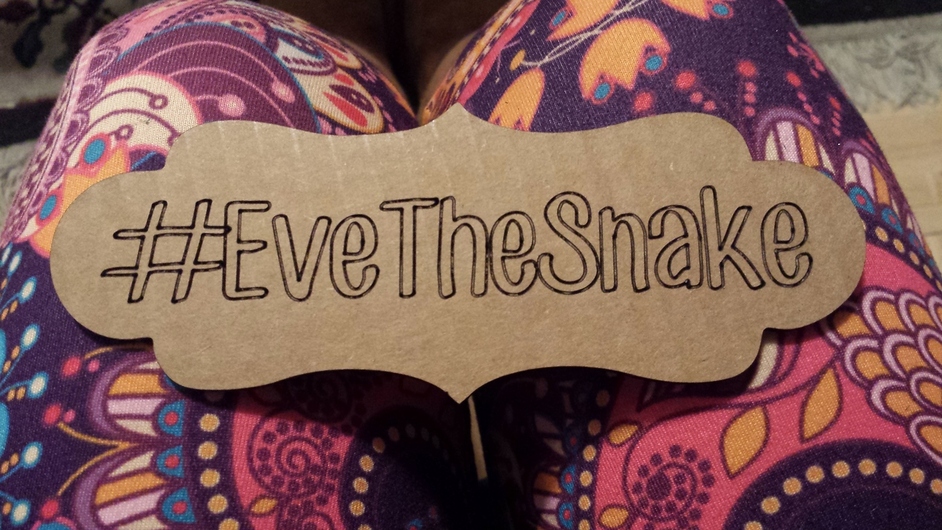
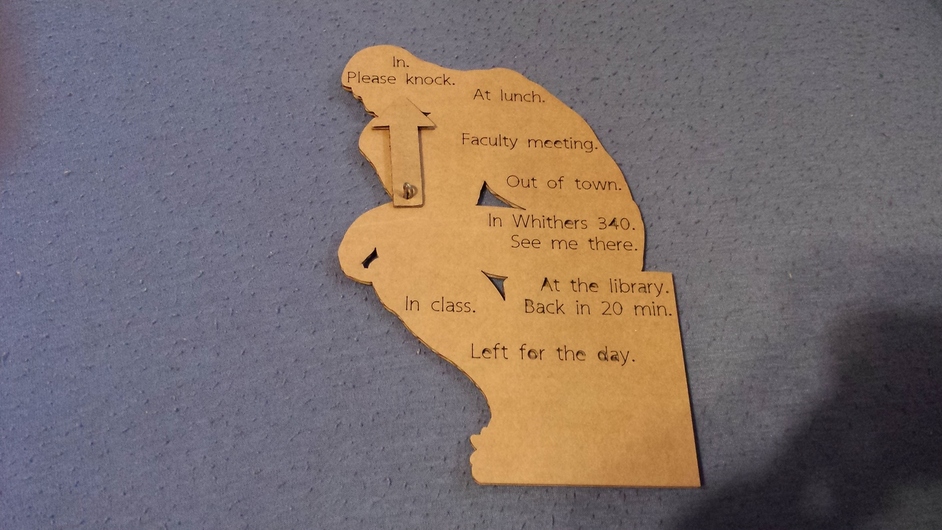
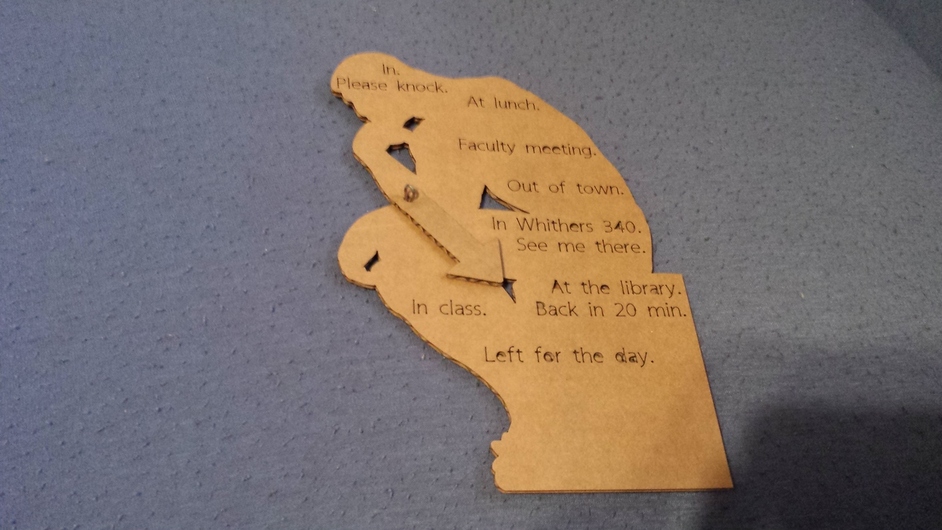
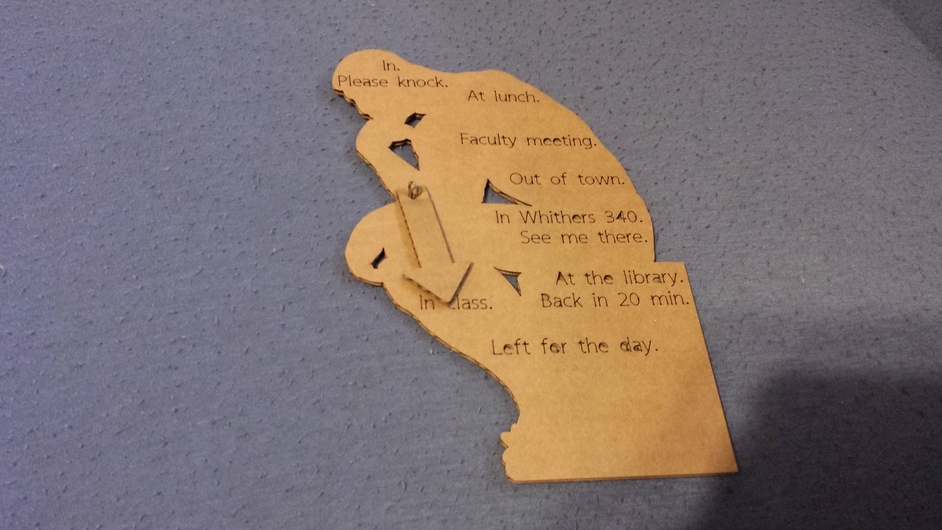
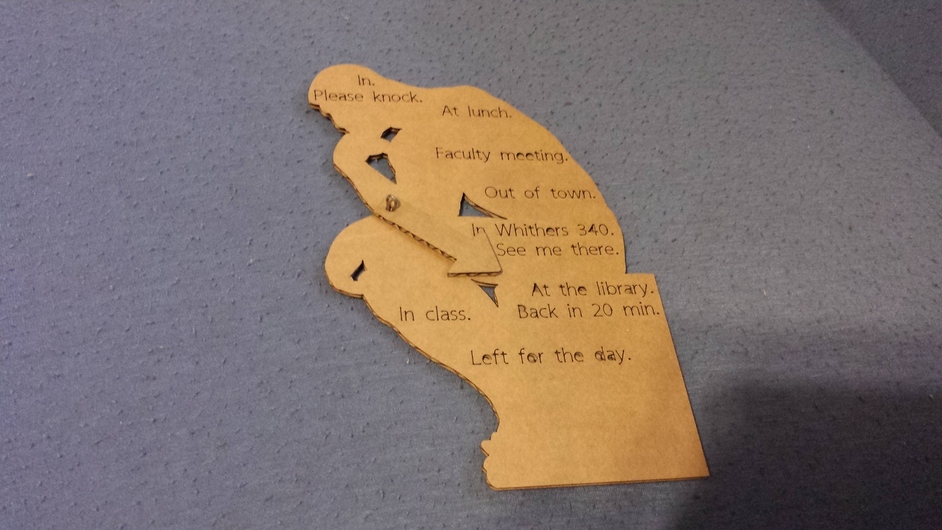
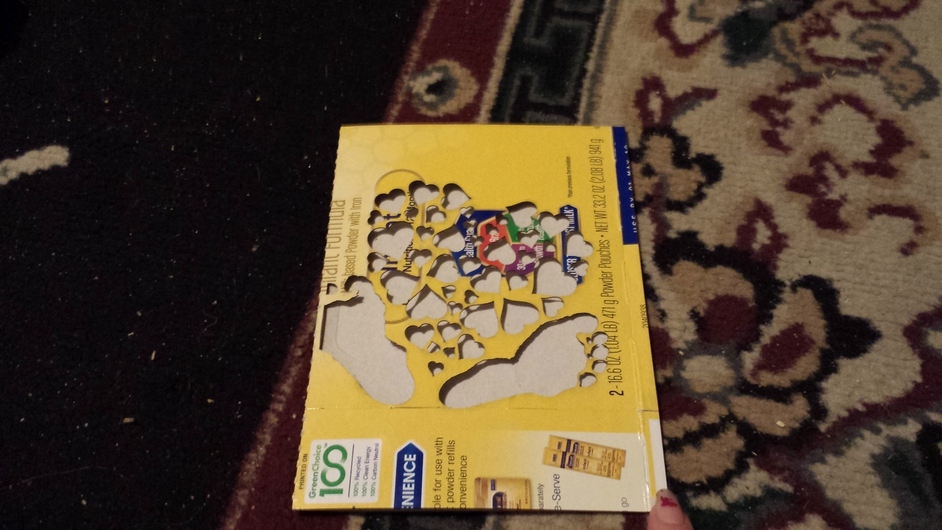
I also have a pet snake named #EveTheSnake (yes, with a hashtag). I promised her that the first thing I would ever do with my Glowforge would be to make her a tank name tag. It ended up being the second thing I ever did. Shhh. Don’t tell her. Cut out of the flap of an Amazon box using the settings for cutting corrugated cardboard, I present:

32 Likes

Chuckle! Cool! (And I’m sure she’ll forgive you.) :smile:

And now, my second cuts!

First of all, I made my flatmate pocket chess because he asked for it, but he absconded with the chess as soon as it was made, so all I have is the SVG for anyone else who wants to make it. Cuts in one color, scores in another, and engraves are set to engrave. One side gets the positive chess pieces, the other side gets the negative chess pieces, and cut small enough that each half of the board is less than 3" long so that it will fit in a Ziplock snack bag. The piece holder is good for captured pieces. Given that it is pocket chess and will be stored in a snack bag, the piece holder is useless for holding the pieces.

Antonio%20Pocket%20Chess%20v%206

noname

Lessons learned: the positive pieces are too large in the negative spaces and some of the negatives (queen and bishops) crumbled into much smaller bits when cut in Proofgrade Maple Hardwood at a total length (left to right) of 6".

Pink = cut. Teal = score. Black = engrave.


Pocket Tsuro v 2.0 made without the pen notches. I also deepened the engraving and tried to add a frame, but as you can see it was too thin in most places. My goal is to keep this small enough to fit in a Ziplock snack bag (and I did). In order to get a thicker frame next time, I may have to go the puzzle piece route like I did with the chess board.

I’d love a REAL, OFFICIAL Pocket Tsuro (hint, hint. I’ve heard rumors that the Tsuro designer is a Glowforge owner so maybe she’ll stumble here …)


#EveTheSnake is getting a new tank on Monday. An upgrade. She’s growing. 55 gallons! And so, she’s going to need a new name tag since her old name tag is affixed to her old tank.

So, this time I didn’t just cut the cardboard, I scored it, too. I like the wood burned look. I cut this at a 30 degree angle to the corrugations so that nothing would fall in to the cardboard. The score settings came from here, but I reduced the power to 25.


Using those same settings, I made my brother a coaster sized artwork for his beloved English Bulldog, Sonny. This time I cut with vertical corrugations. As you can see, the O on Sonny’s name as well as a few toes, one of his eyes, and his shoulder fell in to the cardboard.

11 Likes

And now my third cuts!

My mother is a university philosophy professor who has long had a printout of possible locations on her office door, and slides a paperclip along the left side of that list to indicate where she may be found. The list is old and needed an update, anyway, and since I have a Glowforge, we can do something a bit more stylish.

Cardboard and paperclip. A tiny piece of masking tape on the back to hold the paper clip in place so the spinner is a bit stiffer than what you’d want for a spinner game, but will keep the arrow properly oriented.

Cuts at 180/60.

Words are scored at 250/20 (and could probably even then be reduced in power).

If you are sitting there saying, “I recognize that overall shape, I just cannot put my finger on what it is!” the answer is Rodin’s sculpture “The Thinker”. An ideal fit for a philosopher, I think.

If you happen to know any philosophy professors, you are welcome to have and cut this same on your own. I’d remove the “Whithers 340” location, unless your philosophy professor happens to teach at the same university my philosophy professor teaches at. In which case, hail local, well met!

thinker-black-silhouette

10 Likes

Love it! (You need to make one in Maple plywood now for permanent mounting.) :grinning:

1 Like

Valentine’s Day is coming up and I wanted to make a special valentine from The Small One who is too young to do any of her own crafts. I wanted something that really nailed who she is right now. So as a material for the valentine, I decided to use…

since by next Valentine’s Day she won’t be drinking formula any longer.

So, I played around with speed and power settings until …


… I discovered that 500 speed/74 power was the minimum values necessary to cut the Enfamil refill box. So if you just so happen to have a little one on the same formula, now you can make some awesome cuts from the box cardboard.

And so, with a scanned in footprint (on a regular scanner; not using the Glowforge trace feature) that was then bitmap traced in Inkscape and a filigree heart SVG, a valentine was born.

And here is a blank card template, complete with dashed center “fold” line (makes folding the cardstock easier) that was painstaking to make. Please feel free to use it rather than trying to painstakingly make your own. You won’t be able to see the dashed center fold line with your naked eye unless you are extremely zoomed in, because it is very thin, but it is there. Just mouse around the center of the SVG and click and you’ll stumble on it.

Blank%20Card%20with%20Fold

8 Likes