I am doing this in BTM because I want to document materials and settings clearly. Although on further searching, I realize that @cynd11 had posted the settings for this thickness of Mylar, I still had to pester her with a PM to get the settings right. She had even gifted me with 7.5 mil and 10 mil Mylar that in my ingratitude never got around to using. Mostly because I didn’t have an application. But today I did and I thank @cynd11 for her help and for trailblazing Mylar back in the pre-release days.
I am using 10 mil Mylar. First point to make: a mil is a thousand of an inch. That is 0.001 It’s an Imperial unit of measurement. Something good to know. For example, the usual kerf for medium Proofgrade plywood is 14 mils, or 0.014. When I want a tight fit for a veneer inlay, I expand the part by .007, to give me 1/2 of the kerf.
Anyway, this is about Mylar, specifically what you can buy at Michaels.
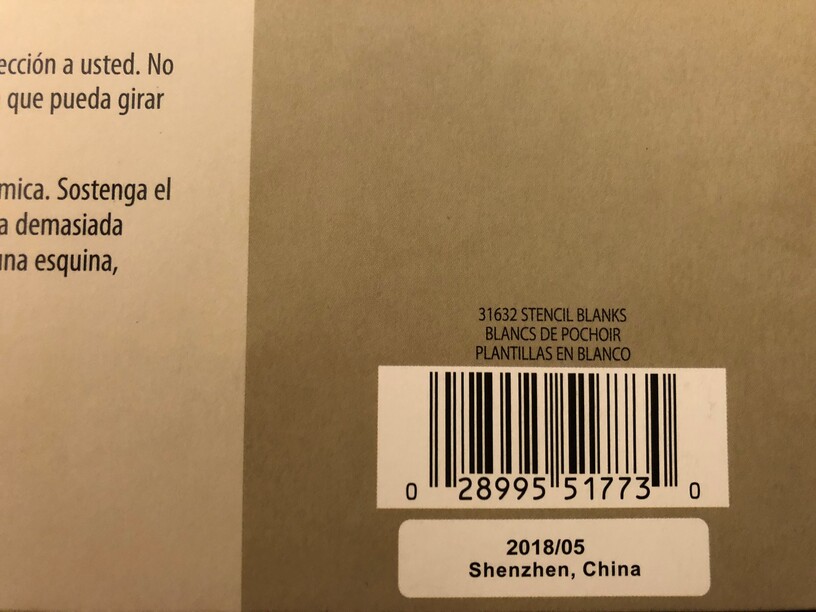
So often people post about materials and settings, but don’t always get into the details of sources. Just trying to document to a degree that would enable a new user, who may never have gone into a craft store, to be able to get what they need.
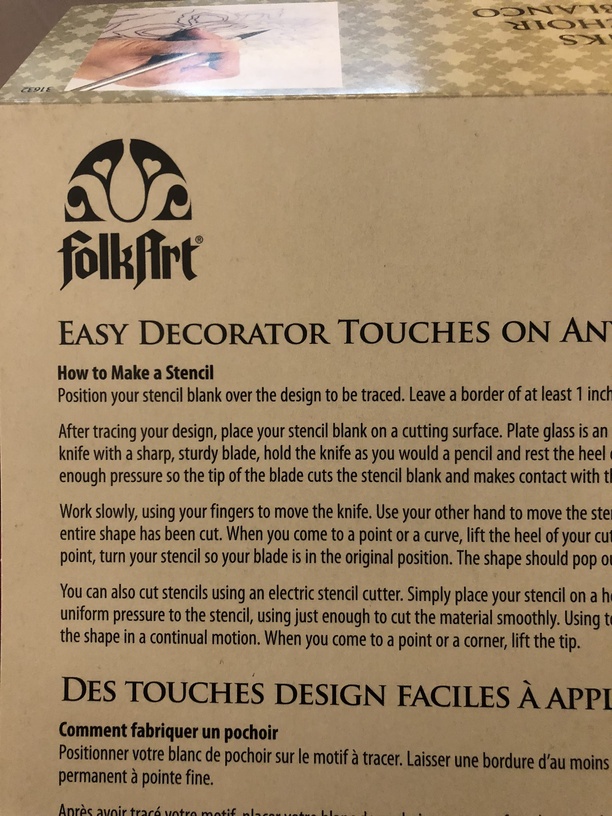
This is 10 mil mylar for making stencils. It is marketed for either tracing outlines or using paint, by brush or sponge. 12"x12".
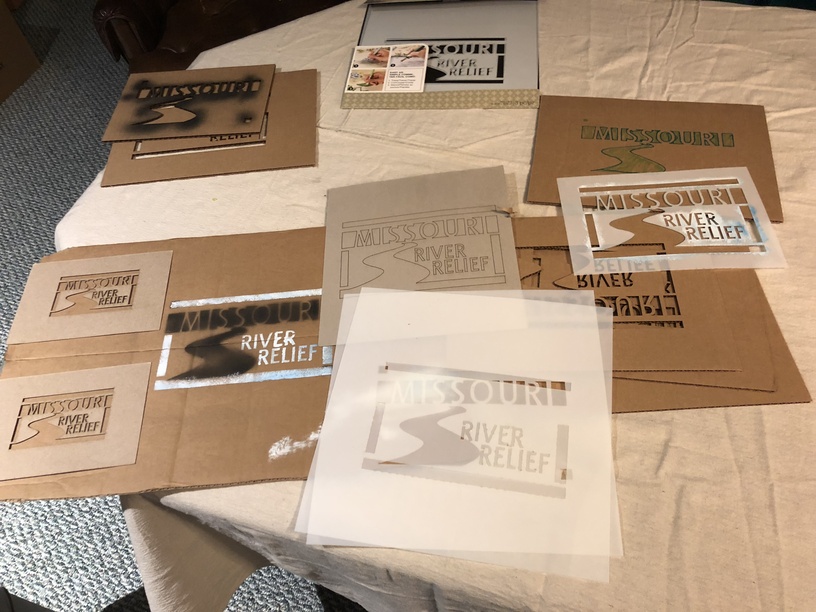
@cynd11’s settings of Speed 235 and Power 25% was spot on. Thanks so much. I noted that the inner part that was cut out of a shape, the smaller piece left behind, showed the greater amount of curl and deformation, not bad, but noticable. I was not going for super fine detail here, so cutting was ok. Didn’t try engraving.
And I can’t say enough how I like the set focus feature. It makes switching between materials so easy. #6 performed flawlessly. It’s a keeper.
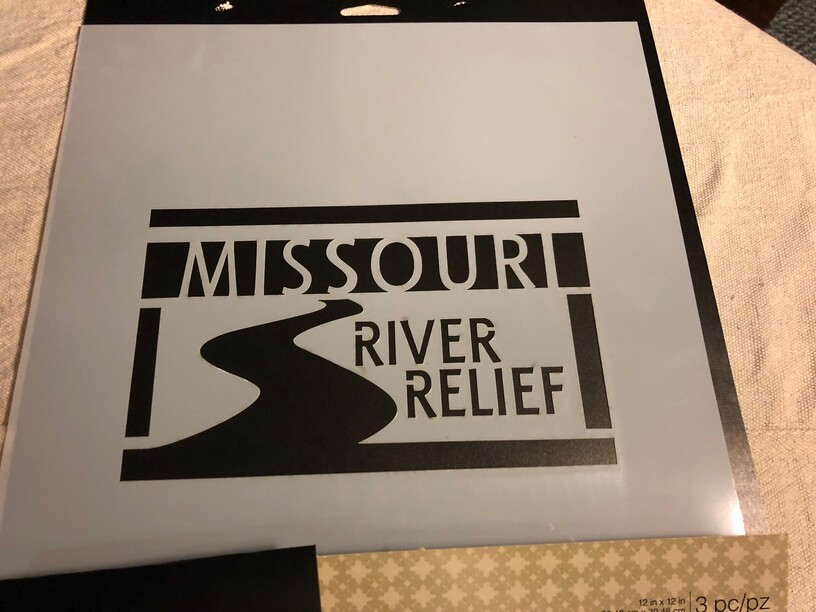
This was a pro bono for an acquaintance of my brother who volunteers with this project. They delivered the logo, and I used Inkscape trace of their raster and some node tweaking to get the stencil right. They had sent the stencil file they had done before as a vector, but it was an odd eps file that Uniconverter kept choking on.
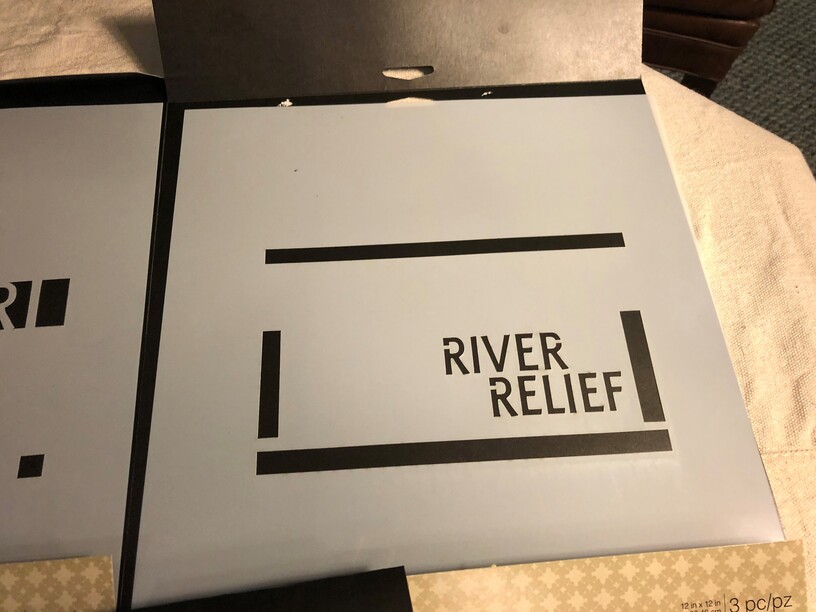
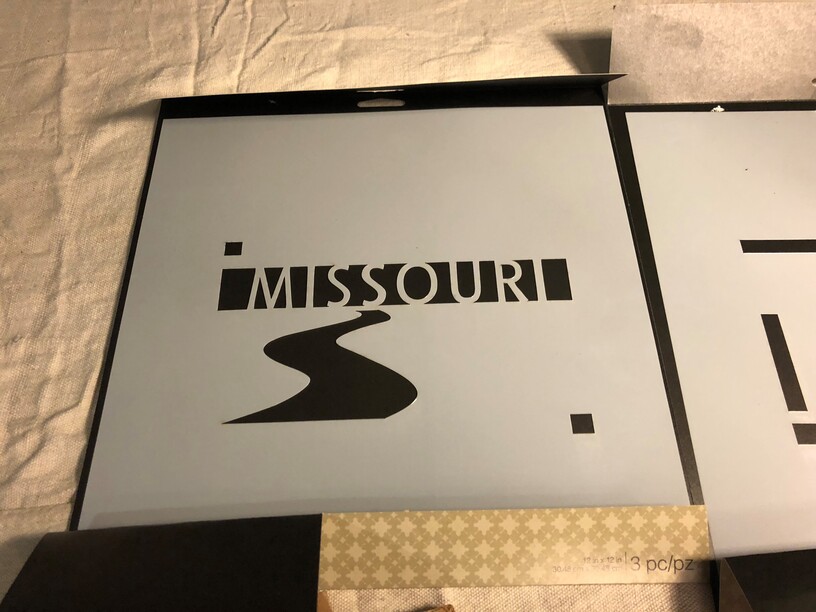
And since I had the file ready and enough material, gave a bonus with making it a two color stencil. These are for life jackets and other materials, but a little color is always nice. The two squares for the upper left and lower right are for registering.
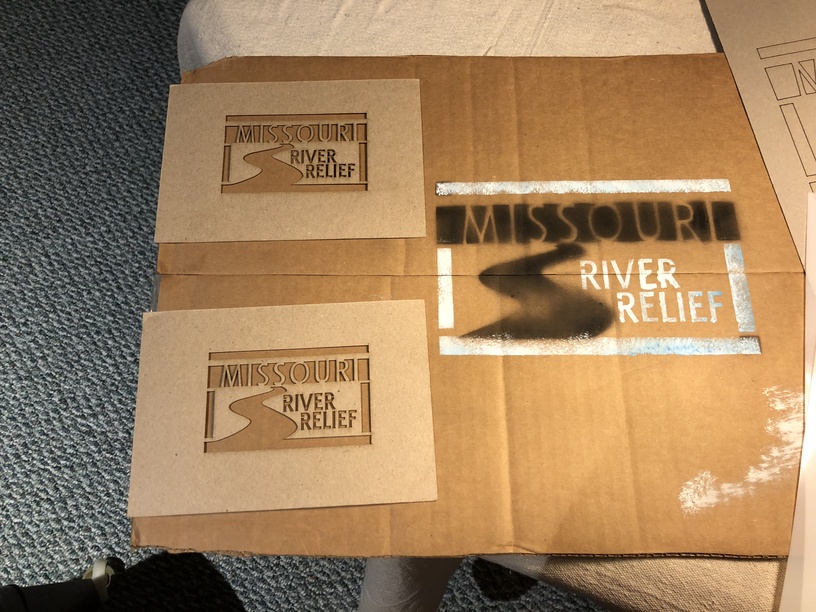
Finally, while I was at it, I threw in some small chipboard stencils that they could use for a t-shirt or whatever. The spotchy black was using cardboard. Doesn’t work too well for a paint stencil. You need thinner material that will follow the contour of the substrate. That is why mylar is good for stencils.