I have had to re-cut multiple projects because I cannot get the picture aligned - here is the latest mishap — 1 hour 10 minute program and my 3rd wasted picture — Any helpful tips?
Can you post this again but with the rulers in the pic? Trying to determine how far off it is.
Make a jig and use the crumbtray rulers found in the free files section
4 Likes
If alignment is super important in a project, use a cardboard (or other material) jig. It’s literally the only way to be sure.
There are a lot of jig posts on the forum, I won’t go into it here, but that is what I’d do.
3 Likes
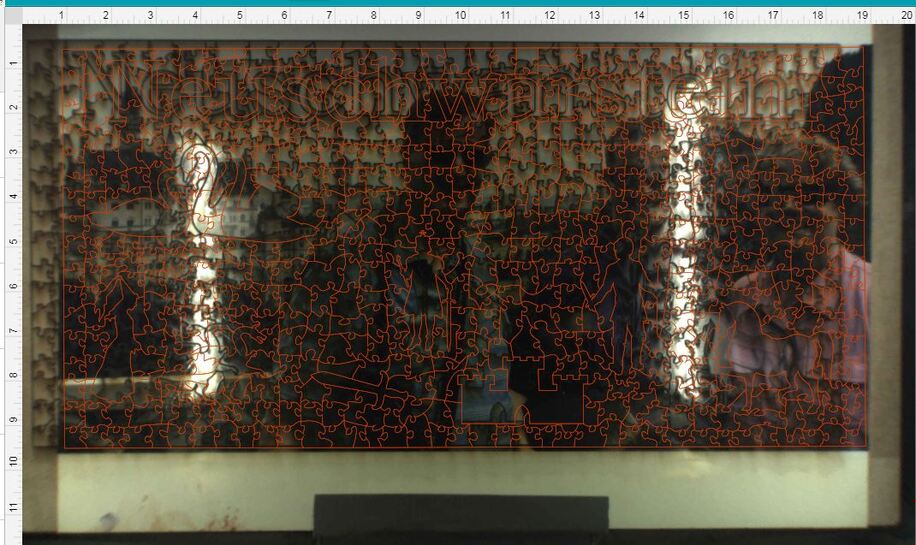
I uploaded a new photo
What material are you using? And are you inputting an accurate material thickness into the uncertified materials box (if it’s not Proofgrade)?
1 Like
I’ll buy you a coke if I ever meet you!
3 Likes
I didn’t realize you could enter in a number - I have just scrolled through looking for something similar to my material from the materials list -
it is not proof grade material.
You definitely need to input a number of it’s not Proofgrade. An accurate number. It uses this number to perform the dewarping algorithm for the lid camera. Now - the overlay to actual cut can still be off up to 1/4” at current specs, even with Proofgrade, but that should solve a lot of your problem here.
5 Likes
A lot, maybe. Look into jigs if you need it to be 100%.
1 Like
How exactly would a jig work in this instance? (My husband is the designer and Engineer, he would probably know what you mean)—I just push print  but want to push print correctly
Click on Unknown and use uncertified material and the popup box allows you to enter the thickness of your material - 0.xxx format. It needs to be .5" or less.
I prefer two-edged jigs but a one edge would probably work too.
Not a bad tutorial for a three-edge setup:
Also not bad:
Again, just searching jig will yield a huge trove.
5 Likes
And by “huge trove” he means “rabbit hole.” 
4 Likes
I’m so sorry you ran into trouble. Thanks, everyone, for your help in this topic! As others have mentioned, when you’re not using Proofgrade material it’s very important to use a precision set of calipers to measure your material, and enter the thickness in the “uncertified materials” dialog box.
Most alignment problems come from the material being closer or farther from the camera than expected. While the software is still improving, you can take these steps for the most accurate alignment results:
-
Use Proofgrade™ materials.
-
Use material that is not warped or tilted.
-
Place your design near the center of the bed.
-
Clean the area underneath your crumb tray, particularly the four indentations on the floor.
-
Reboot the machine. Alignment can drift over time, particularly if you bump the head of your Glowforge while removing material.
I’m going to close this thread, but should you finish all of these steps, and find that you have an alignment error of more than 1/4", please start a new topic, or contact us at support@glowforge.com we can investigate.