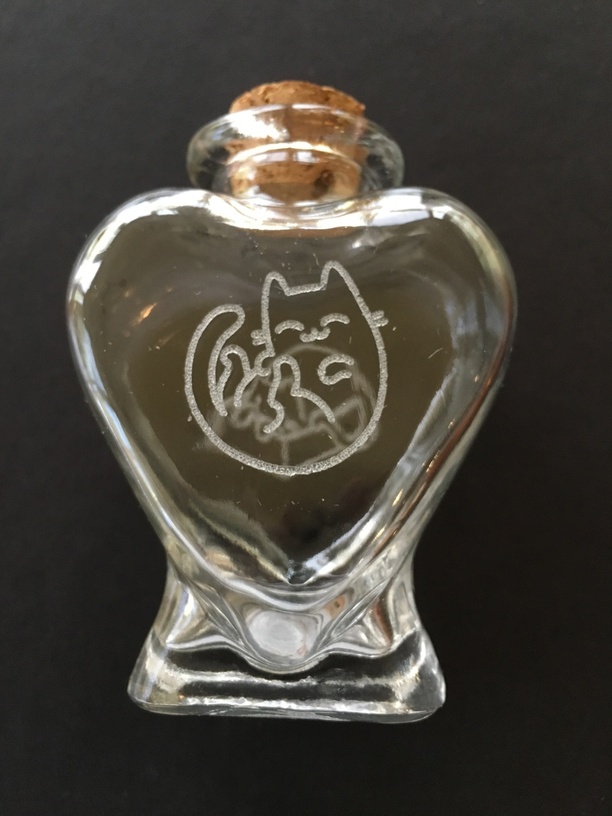
A couple of firsts today… First attempt to engrave glass and first job without the crumb tray.
The test article is a $2 glass bottle from Hobby Lobby. After measuring it, I propped it up on a piece of cardboard to get into focus range, and took a complete swag at the settings…
Nice!
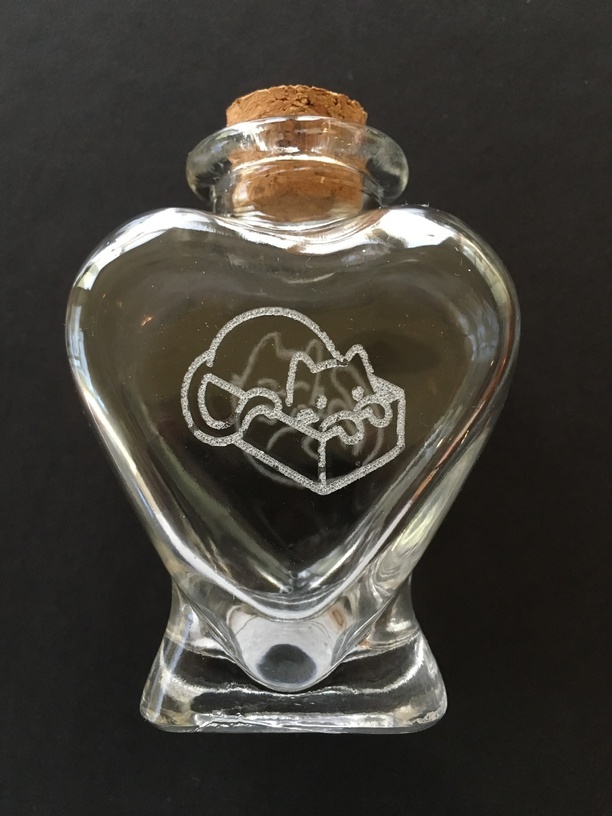
In close up on the second picture it looks like the fractured surface could almost be picked out. Reminds me of tempered fracture pattern. I wonder if a pigment might be carried into/between the pieces by capillary action and secure them? A transparent airbrush paint would let the light play in the fracture pattern.
Do you recall the settings? That;s one thing I’m learning, to take notes. After three tries I get what I’m after, but neglect to write down the settings…
I guess not that big a deal since the software is still evolving.
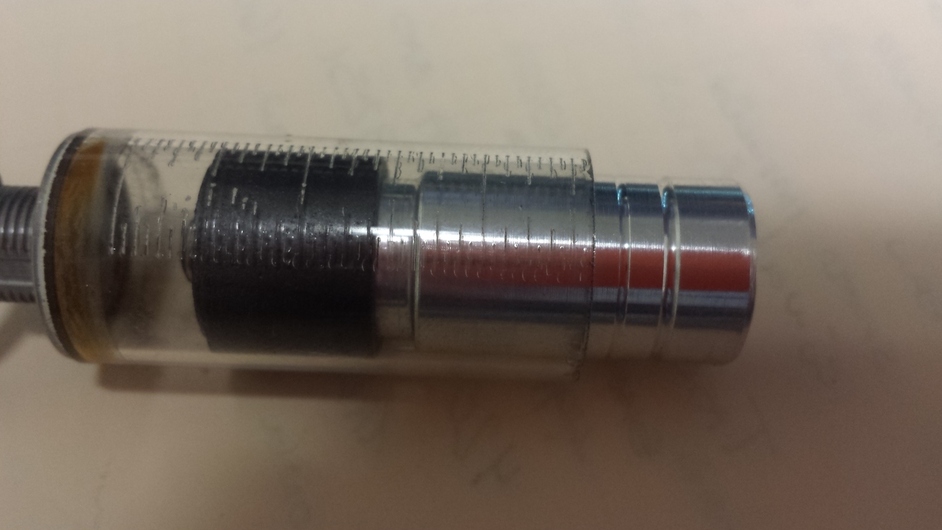
This was my second attempt on putting graduations on a borosilicate (90% positive about this material) tube (from Airpot Corp). First attempt cracked the glass because of too high laser power (at last that’s my assumption). I don’t remember settings (plus it was on a 40W CO2 Eplilog). Had this on my phone and wanted to share earlier but this post reminded me to start it!
I’m trying to get in the habit of saving a screenshot with the finished print, including the GFUI settings, then saving them in Evernote. Didn’t do it in this case (naturally)…
That’s brilliant! I’ve been taking furious notes on my giant desk pad calendar, but it’s now so full/cluttered that it’s hard to tell where one experiment stops and the next one starts. Your method is far more organized
I wonder what actually determines the line width. It looks a good bit wider than the beam assuming it was focused. It seems like the glass fractures into little flakes and their size determines the width.
Note, I have no experience. But I’ve read an awful lot over the past year and a half about lasering all sorts of things. And glass was of interest to me. That said…
As I understand it, it’s to help prevent shattering, not to affect the result. Instead of cardboard underneath to focus, might try a paper towel (damp with water or soap) on the surface itself.
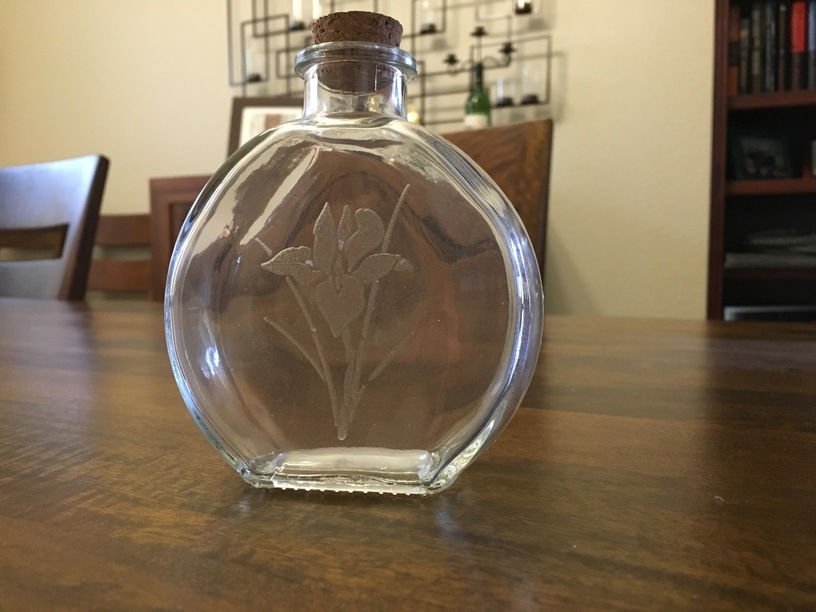
I forgot to coat the glass first and ended up with a “bubble” of glass leaf over the engraved area. Disintegrated as soon as I touched the bottle. Wish I’d taken a picture first…