Yep, got an idea, but explaining it might be beyond my capabilities.
If that is a vector file, it’s going to have to do with how the Compound Path was created at that point…it’s a relatively complex series of shapes subtracted from the background, and you pretty much have to take it in stages to ensure that everything “punches out” of the background correctly.
In Illustrator, if you want to punch out a group of shapes that are not touching, you have to combine them into a Compound Path before subtracting them from the background. Also make sure that you turn on the background grid, so that you can see if there is a white fill shape on top of the background, or if they have all legitimately punched through.
It is generally much easier to just turn the QR code into a raster image in Illustrator (or Bitmap Copy in Inkscape), then it will engrave without any further modification. And it will be a lot quicker…
Except…
NOT when you are trying to do that many of them. Each will come across as a separate Engrave. Just go ahead and fix the vector file. You’re caught between a rock and a hard place here. Might as well correct the file. It will speed up the processing time.
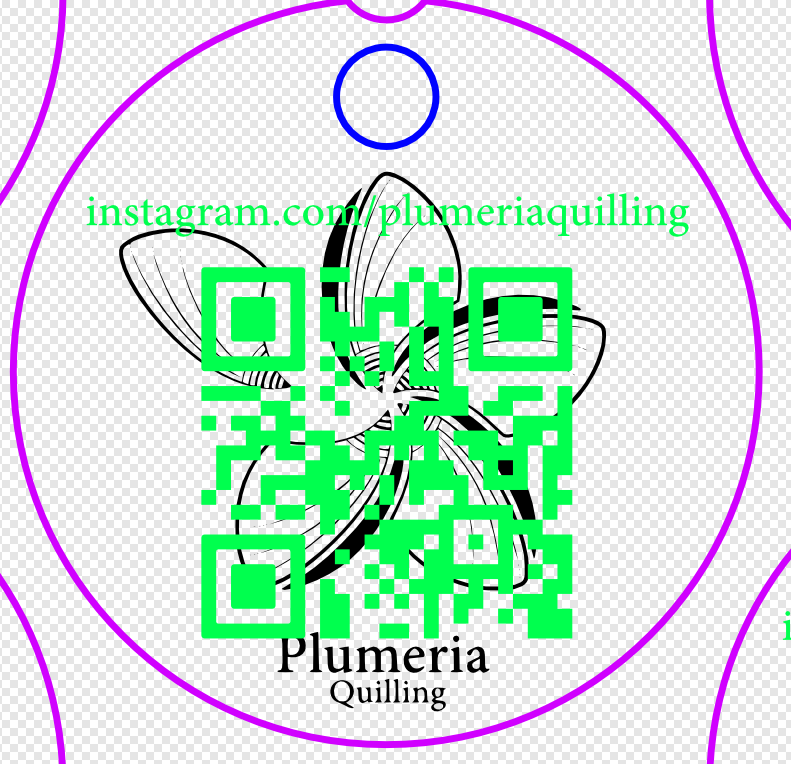
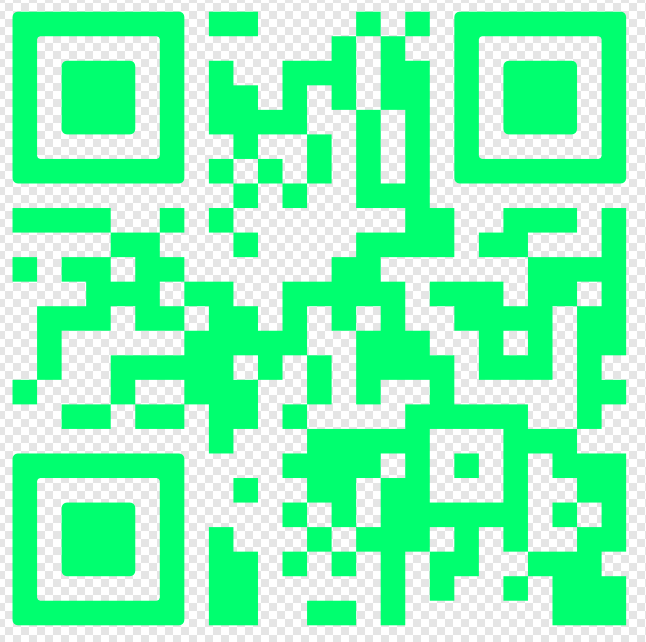
Since that was likely a lousy explanation, I reworked one of the codes from your file…you can just copy and paste this one over the top of the originals, then delete the green ones to replace them.
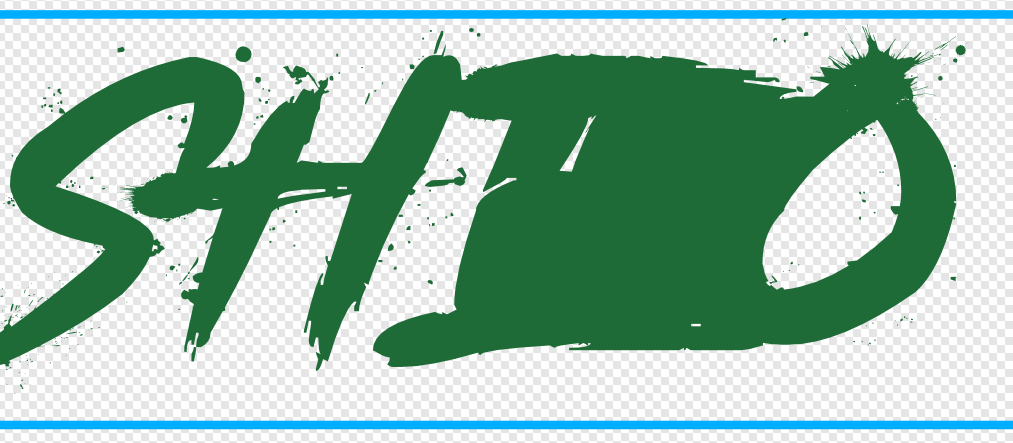
Thank you for the detailed response. Unfortunately, because I am using Affinity Designer and not Illustrator, I’m not exactly sure I understand what you mean.
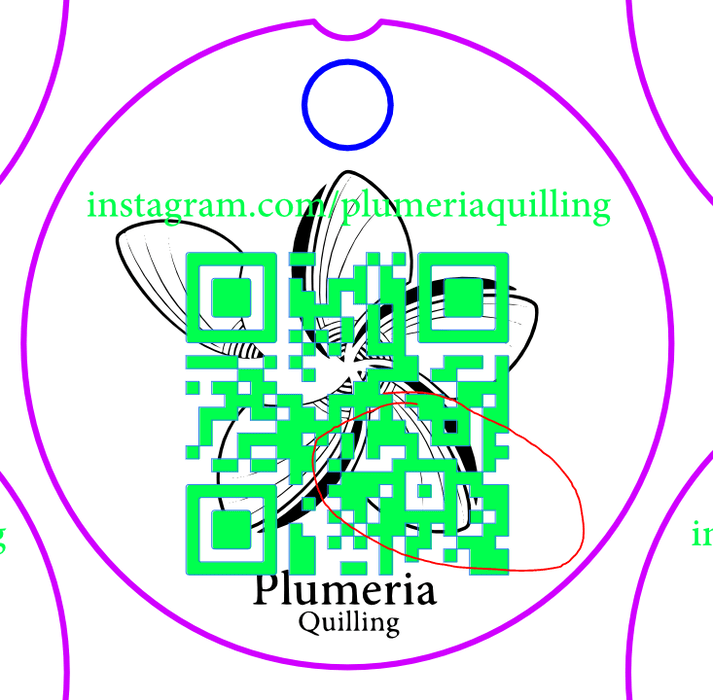
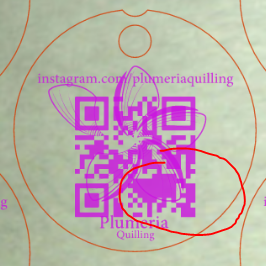
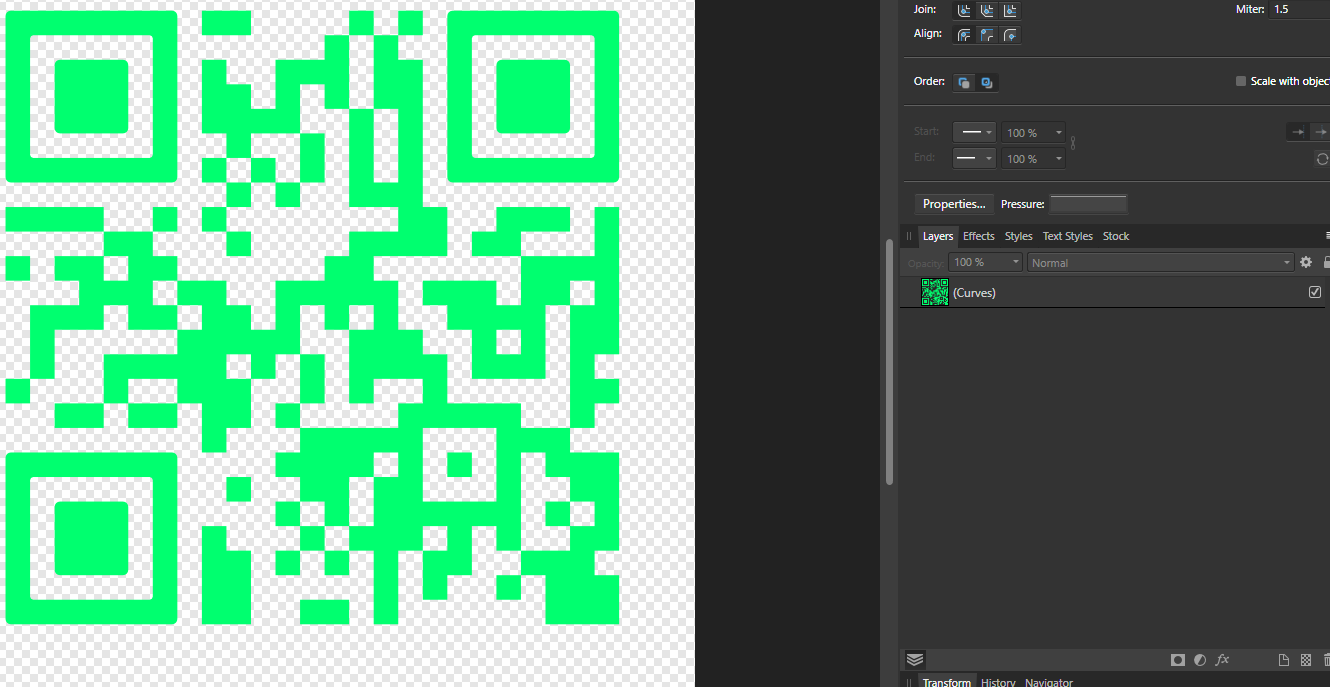
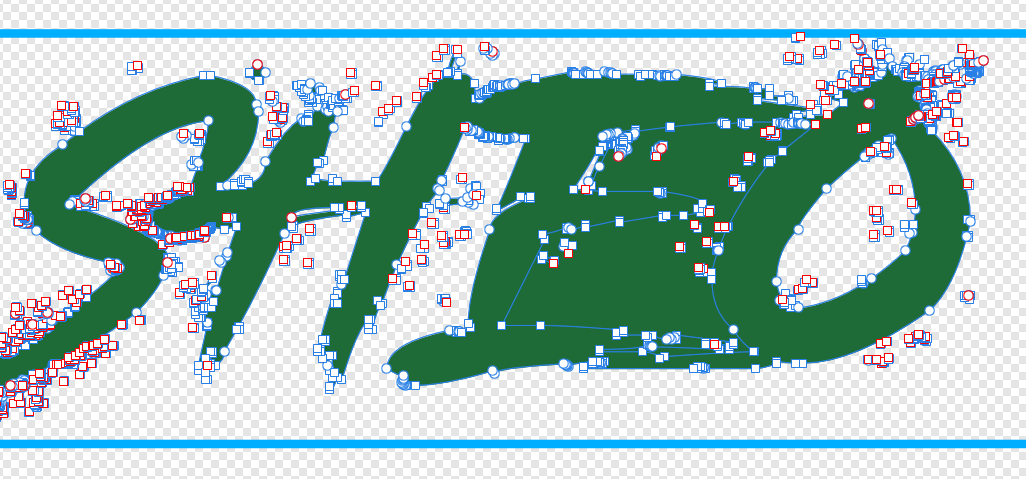
If I turn the background grid on, you can see that it looks like it’s fine:
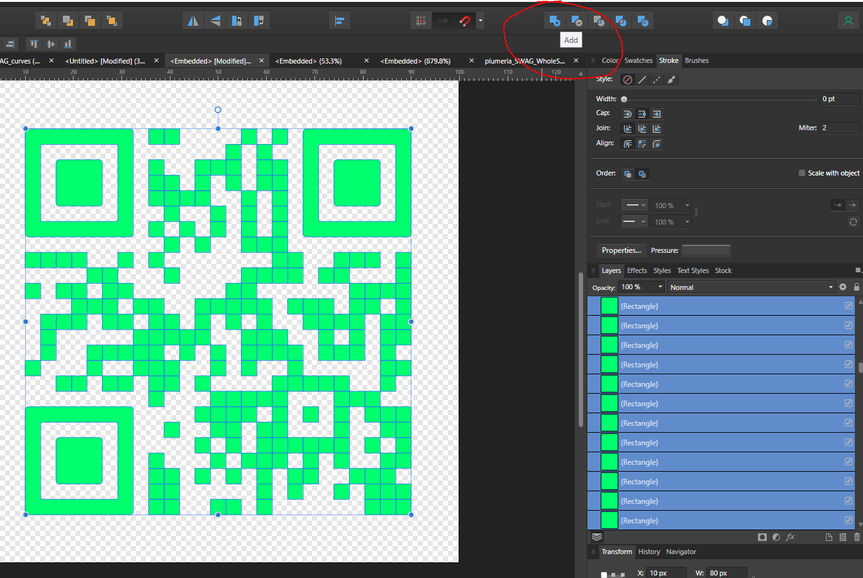
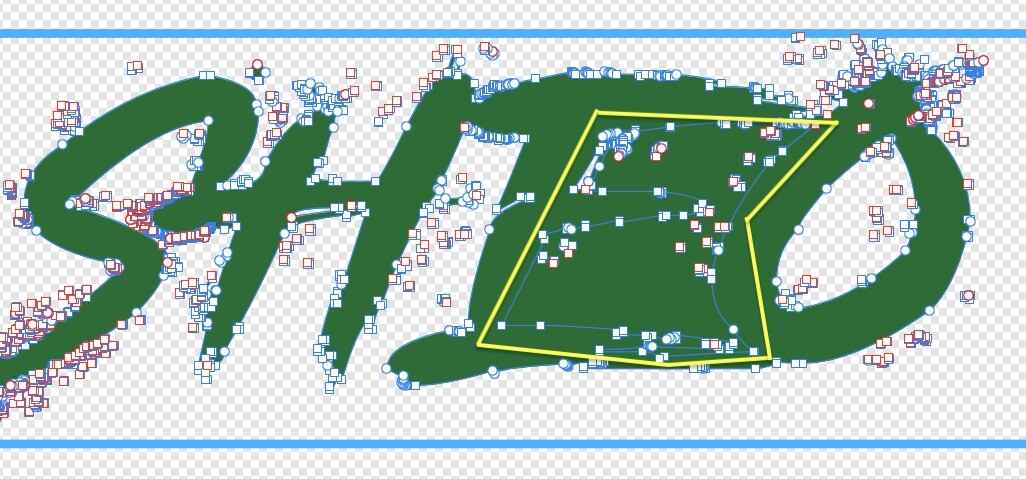
What I did was take the SVG file of the QR code and imported it into my main design file. Because GFUI doesn’t like embedded svg’s in another SVG (at least not when it comes from Affinity Designer) I have to double click the QR code SVG to open it in a separate tab and then copy and paste it all back into the main design file and then delete the QR code SVG. The problem with this is that I end up with a BUNCH of layers, one per small square, as shown here:
Then I copied and pasted that single layer into my main design SVG to then make a bunch of copies and space them out evenly.
I appreciate you fixing the QR code for me but ideally I would like the fishing rod and not the fish so that next time this happens I know how to fix it or how to prevent it.
I think you’re running into the infamous winding rule error. I only kind of sort of understand it just a little bit, but there’s been a lot of previous discussion of it, so a search on “winding rule” will probably bring up some more intelligent explanations than I’m able to give.
I use Affinity Designer too, and they’ve added a tool when you’re node-editing that lets you reverse the direction of a path, and I suspect it might come in handy for fixing stuff like this. I’m just waiting for my next such error to happen so I can try it out.
Yep, that seems to be it. God I hate Affinity Designer and it’s little nuances and lack of common features. I just don’t hate it as much as I hate Adobe’s subscription model
So my question now is: how can I combine all the layers of the small squares in the QR code into one layer without this happening in AD? Basically, how do I “flatten” the vector?
I guess one work around would be to just group them and call it a day but I don’t like that. Any ideas?
The winding rule bug is not Affinity Designer’s fault, if that helps anything.
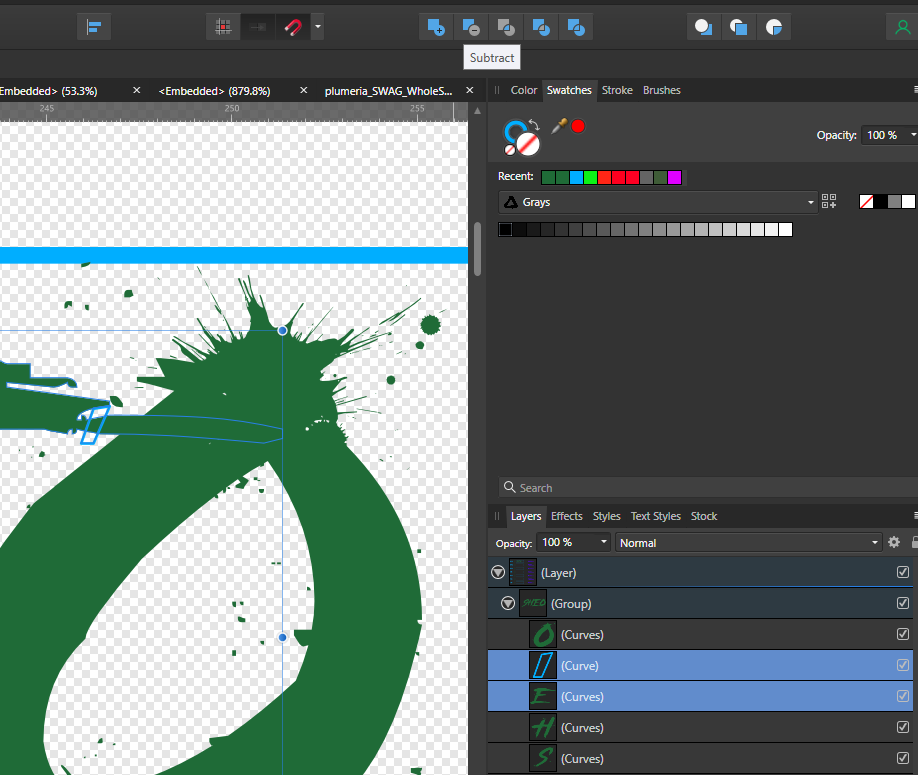
I combine things a little at a time, checking with a fill to make sure the outcome is what I want. That’s where I’ve been using the little reverse paths tool – if I subtract the inside of a letter, and then it’s not empty when I fill the word, I back up a step, reverse the inside shape, and try again.
I actually hadn’t discovered you could change the layer fill mode, that’s good to know!
Can you elaborate on your procedure? I’m not following. Also, I couldn’t find the “Action:” toolbar you showed anywhere. Where is it or how do I enable it?
You might find that Inkscape is worth the cost especially if you add Gimp to the mix as the cost of any powerful program will be similar no matter the price in cash.
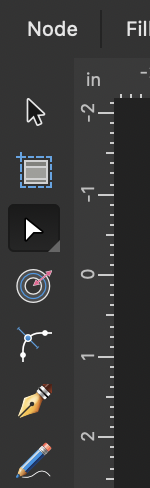
The toolbar appears when you click the node icon on the left to go into node edit mode:
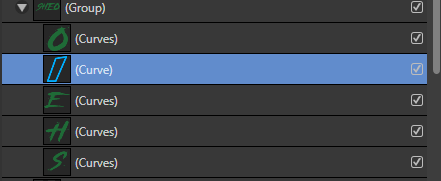
Where I have been using it is when working with combining text shapes. I’ll convert text to curves (layer menu), ungroup the letters, and start adding them together (boolean functions at top right of the screen). Sometimes while merging, the center of an R or O or other enclosed space will disappear. When that happens, I go into node edit and select the nodes for the inner shape and reverse them to fix it.
In your improperly filled shape, if the missing shapes are there but just not being filled correctly, that’s probably all you need to do.
Honestly, I tried Inkscape and Gimp and I just can’t stand their UI. I still use Inkscape to supplement some key features that AD doesn’t have but I try to avoid opening Inkscape whenever possible.
OMFG!!! THANK YOU SO MUCH!!! I’ve had this problem forever and what I was doing to fix it was creating a very thin sliver shape with the pen tool to break the enclosed areas before using the “Add” function. If your method works for this issue it’s going to save me a ton of time!!
I also like AD’s UI better than Inkscape’s, and Inkscape just took too long to make it easy to install on MacOS. By the time they finally got around to it I was used to AD and didn’t feel like changing back again. AD’s functionality has gradually been expanding to be able to do most of the things I was missing from Inkscape. I’m still waiting for better node editing functionality, specifically being able to break apart and join paths in different ways, but I’ve learned other ways to accomplish what I want, so it’s working for me.
EDIT: Actually, even if I drag select all of the nodes around the “E” and click “Reverse” nothing happens. Will have to try with a cleaner example (like the QR code) to see if it works.
That works too, unless you’re cutting out text and need the connections to be able to support the weight of the word.
(I added an image to my previous post showing the nodes to reverse – it only takes a few rectangular selections while holding SHIFT to select the path you want to reverse.)
The problem with rasterizing text is that it becomes pixelated and I feel like I’ve tried this in the past and GFUI handled it in a way that I did not like. May have to revisit this since I can’t remember.
Thank you very much for taking the time to educate me. I really appreciate it! I’ve learned a few new methods and if this rasterizing of text pans out, that will save me a considerable amount of time.
Make it bigger before you rasterize. Or increase the DPI (File → Document Setup) before you do it. Some people on here have figured out exactly the DPI to use for the LPI they plan to engrave at, but I’m too lazy for that. I just make it big.